2nd/3rd Gen Mirror Spacers & LED Light Brackets

Yamaha FJR Motorcycle Forum

Help Support Yamaha FJR Motorcycle Forum:

This site may earn a commission from merchant affiliate links, including eBay, Amazon, and others.
If weight of the mirror plus light is a concern, why not simply place a piece of rubber between the bracket and the fairing? That would take a lot of stress off the sub frame.
There is rubber between the bracket and faring already. It is plate #2. But the weight difference hanging on the subframe is not much of a concern to me.

FZ1 mirrors weigh only 16 oz each, and most of that weight is in the metal stalk. The mirror heads out at the end of the levers are lightweight plastic. The stock FJR mirrors weighs 8oz more than the FZ1's (1.5 lbs each) and a lot of that weight is the mirror head out on the end of the stalk.

The AntiVibe Brackets weigh 5 oz each and the LR4 light heads weigh 11 oz, so total added weight is 1 lb, mitigated by the FZ1 mirrors lighter weight means total added weight for the full configuration will only be 8 oz. But that added weight will be close to the mounting point, the AVB hanging the light heads only 2" from the mirror studs.

The mirror and bracket will be cushion mounted on rubber, just as the stock mirrors are. Plate #1 and Plate #2 are retained, though they really are there to sandwich the painted plastic faring rather than supporting the mirror. Having the faring clamped at the mirror base would provide some limited amount of support to the subframe (as an exoskeleton), but I'm pretty sure the subframe is perfectly able to support the added 8 oz of weight.

Hanging a 4-5 lb HID light off that same point may be a different story.

I hope am wrong with my prediction. I see several differences with how the "chunky stock mirror" is mounted (i.e. flush, covering a larger surface area) and what you all will be doing.
Not sure where you got that idea. When the 10mm spacers are installed the new mirror and bracket assembly will have exactly the same mounting surface, both in shape and contact area, that the stock mirrors do. The only difference is that the new configuration will be completely supported by the large rubber contact area, vs the stock configuration which is partially supported by the small diameter collars, which work to limit how tightly the rubber is compressed and also allow a direct mechanical connection for vibration, etc..

When I get it all assembled with the new 10mm spacers I will follow up with impressions of how stable it is compared to a stock mounted mirror.

 
Last edited by a moderator:
Not sure where you got that idea. When the 10mm spacers are installed the new mirror and bracket assembly will have exactly the same mounting surface, both in shape and contact area, that the stock mirrors do. The only difference is that the new configuration will be completely supported by the large rubber contact area, vs the stock configuration which is partially supported by the small diameter collars, which work to limit how tightly the rubber is compressed and also allow a direct mechanical connection for vibration, etc..
When I get it all assembled with the new 10mm spacers I will follow up with impressions of how stable it is compared to a stock mounted mirror.
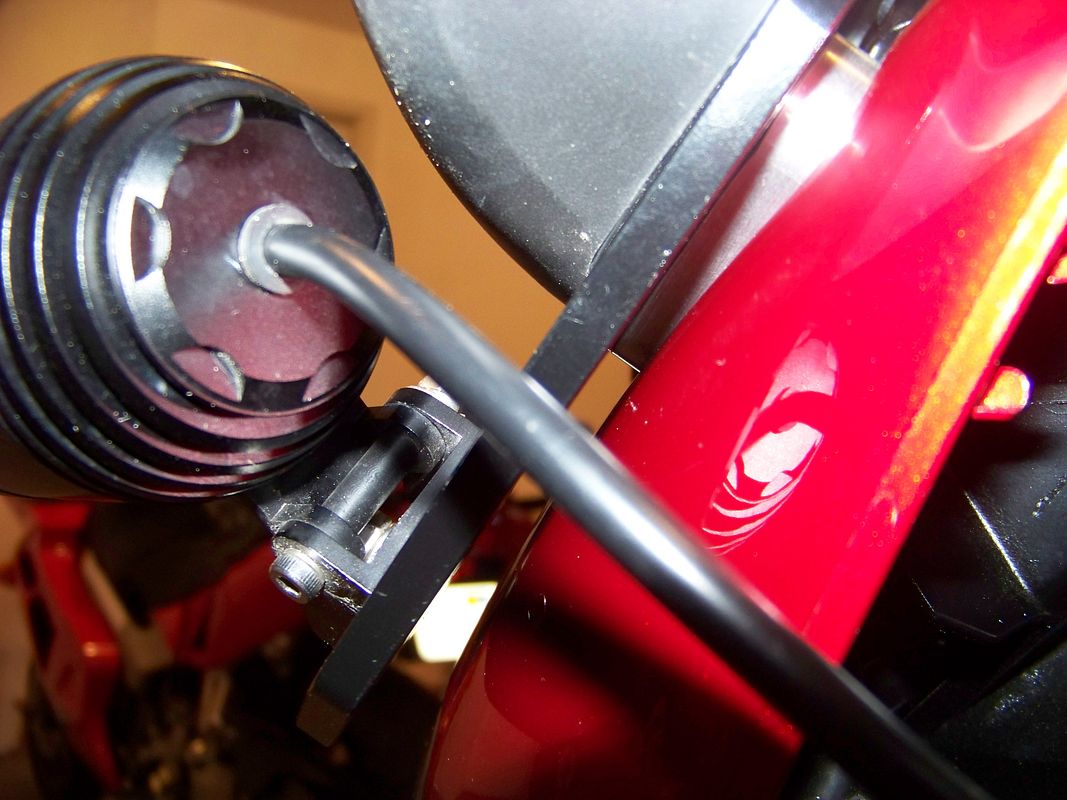
This pic seems to show The original mirror being supported by the rubber cushion:

100_4741.jpg


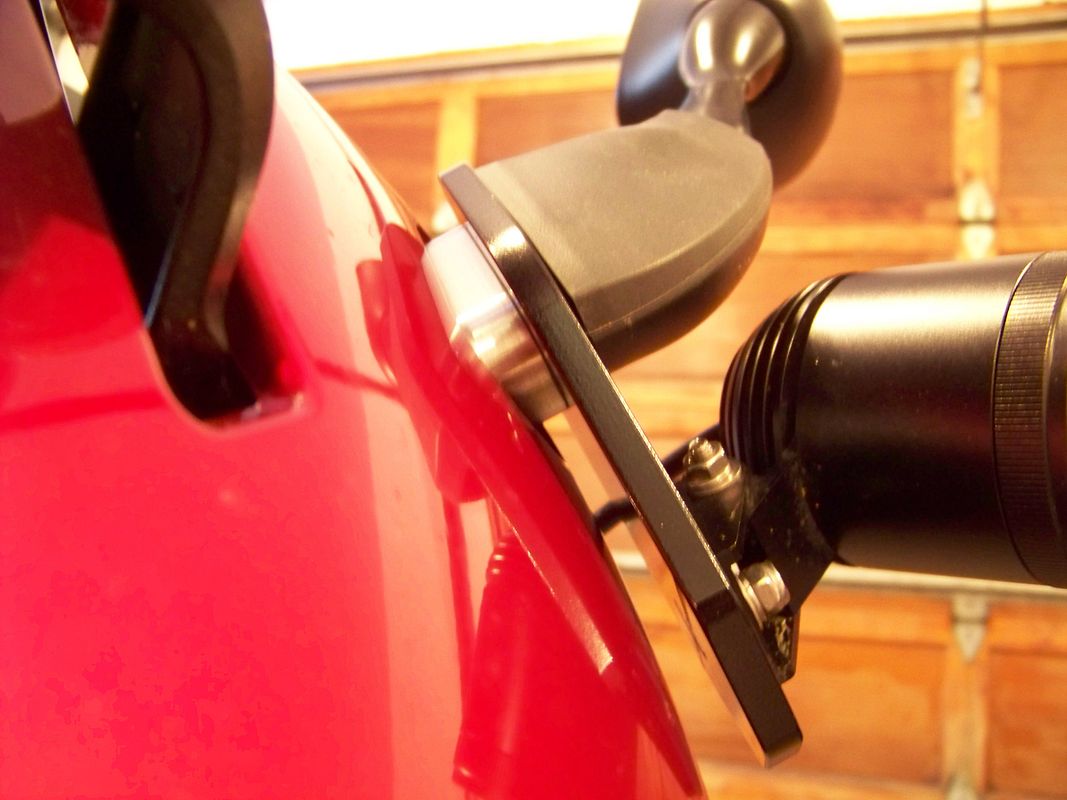
This pic show everything being supported by the collars:

100_4874.jpg


I don't see anywhere in the pictures where anything is being supported by a rubber contact area. From your comments I presume that you are not completely done with parts fabrication. A rubber contact area would help things IMO.

In addition to the weight, the additional wind drag of the flat-faced lights will also play as a factor in the equation. I don't see the failure being an instant thing. I see it being something like the Yamaha top box stress crack failures. As I said before, I hope my prediction is wrong.

 
Yes, you had to actually read what I wrote, and not just look at the pictures.

The 2nd picture you quoted above was where I had cobbed together nuts and washers to determine the required spacer thickness to hold the brackets off the front of the faring, which is ~10mm FWIW. What you see behind the bracket is the 2 stock flange nuts that I used to space the bracket out.

Now Dave just has to make me the 10mm spacers before I will mount the brackets and lights permanently and test for sturdiness.

You can't be serious about the added wind drag...
rolleyes.gif


Last edited by a moderator:
Yes, you had to actually read what I wrote, and not just look at the pictures.
B.S ->
headbonk.gif
<- Fred

Yes, that would help.

By fiddling around with a combination of nuts and washers I found that we need ~ 10mm of spacer between the mirror mounting and the AntiVibe bracket. Essentially we will want to make up some 10mm thick aluminum spacers that are shaped identically to Plate #2. I'll be sending those dimensions (and maybe one of my Plate #2's) to Dave so that he can make up a set from aluminum, which will give us the largest possible surface contact area to the rubber mounting, and allow the greatest amount of stability for the entire mounted assembly.
Now I am smellin' what you are cookin'!

I was serious about the wind drag if you were only going to be perching all that hardware on two tiny studs. With the increased surface area of the 10mm thick aluminum spacers that are shaped identically to Plate #2 I don't see any of it being a problem.

 
I guess I'm not understanding the concerns either, given that the Gen II anti vibration mirror brackets were mounted using FZ1 mirror studs and held the same HD lights just fine?

Is there something I'm not understanding here?

Granted the Gen III has a different sub frame but it still uses the same studs on the mirror and everything is held in compression. The studs on the mirrors have not been a failure point in the threads I've been able to read on the subject.

One question I will have is to what torque should we tighten the FCCN onto the mirror studs with the anti-vibration brackets installed?

The same as specified for the mirrors when installed on the FZ1?

 
Last edited by a moderator:
A very interesting thread.... outstanding work by Fred W, as usual!
punk.gif
Light brackets are important to me, but fortunately, I wasn't interested in stepping the mirrors more outboard. Some awesome outside the box thinking in this thread.

Some may recall I wrestled mightily with the Gen III bracket issue shortly after scoring mine back in Oct, 2012. I worked with Garauld and tested several iterations of the spacers before getting them perfect. His brackets worked fine with the lightweight LR4s... but as Gary will readily tell you himself, his brackets are simply not up to task for heavier LED lamps. LDriders must look elsewhere to hold what is fast becoming the common LD standard of two lamps per mirror stalk.

I picked up a set of Krista Spots at the IBA National last summer, and went ahead and used the Clearwater FJR1300 brackets, since they have basically done all the engineering and created a turn-key (albeit spendy) solution. Their spacers are perfect, resulting in brackets having an extremely close fit, yet they still do not touch the bodywork. They are sweet, I admit.

Here is a comparison photo of the Garauld spacers and the Clearwater spacers. Initially, I thought the Garauld spacers would offer a superior platform, but the fact is, oriented correctly, the aluminum spacers from Clearwater seemed to offer a more rigid mount, and a closer fit (yet not allowing the brackets to strike the adjacent bodywork).

Bracketspacers.jpg


I still had the Garauld spacers installed in this photo below, and even with the thicker Garauld spacers, there is plenty of thread remaining for the mirror bolt fasteners to affix the brackets. There is an additional thread or two if using the Clearwater spacers:

Bracketthreadss.jpg


Now that I was done agonizing with the brackets, I did some experimenting with lamp placement. Clearwater expects you to hang their lamps below the brackets, but here I experiment with the Krista Spots up top, and LEDRider.com's LR4 lamps underneath...

Krista_placements.jpg


I was stubborn, and decided I would go with the upright orientation. Sadly, this orientation requires a new mount hole (forward, and outboard) to avoid the Krista lamp housing from striking mirror stalks.

uprighthole.jpg


I am happy with the final result.. it is is a fairly clean install:

Krista_installed.jpg


A better shot of the approx 5mm clearance between rear heat-sink fins of Krista and factory mirror stalks:

Krista_clearance.jpg


These Kristas are the 2nd-generation "Spot" version containing brand new led optics from Italy. It produces a true 20-degree spot beam (the 1st-generations Krista were floods). While the Erica's produce more light, their beam is just splatted out in the typical LED flood beam pattern. I find these Krista Spots simply more usable for LD night work, plus they were a good bit less $$$.

The above having been said, the Kristas are surprisingly not all that useful the first 75-100 feet directly in front of the bike. But after that.... holy ****, I pretty much OWN the night for a 1/2 mile in front of me! The spot-beam pattern of the new optics is something to behold! Additionally, the LR4s dominate the first 100 feet in front of the bike, turning night into day.

So when both are lit up together, I can essentially See Through Time.
weirdsmiley.gif


Pretty happy with this arrangement... the nylon fasteners are tight enough to prevent movement while underway, yet loose enough to allow all 4 lamp bodies to be easily adjustable by hand. I find this extremely useful, since I now have a fairly frequent pillion to carry around. When she is on the bike, just take a brief sec to rotate the lamps down a bit, and we're good-to-go!
punk.gif


Last edited by a moderator:
Just stumbled on this thread today while browsing. Very interesting and cogent thoughts and ideas.

Warchild . . . thanks for the notes comparing the new Kristas. I bought a set in Denver but haven't swapped them out with my original Kristas yet. Based on your comments I might try swapping out just one of them for a greater distance spot and retaining the one older one for up front closer in flood lighting. I think I'll discuss with Gary and see what his thoughts are also.

To Fred et al . . . thanks for all the great ideas and development efforts. I've used the Clearwater brackets from the beginning as I set up my 2013 FJR, but . . . being new to the FJR, it just never crossed my mind to move the mirrors out. I just accepted that what I had is the way things are. All ya'll are super and I'll be watching with interest.

Shuey

 
Beer's okay when it "blazing hot and thirsty" weather, but this time of year, for me, it's a low-ball glass full of Bailey's Irish Cream.

 
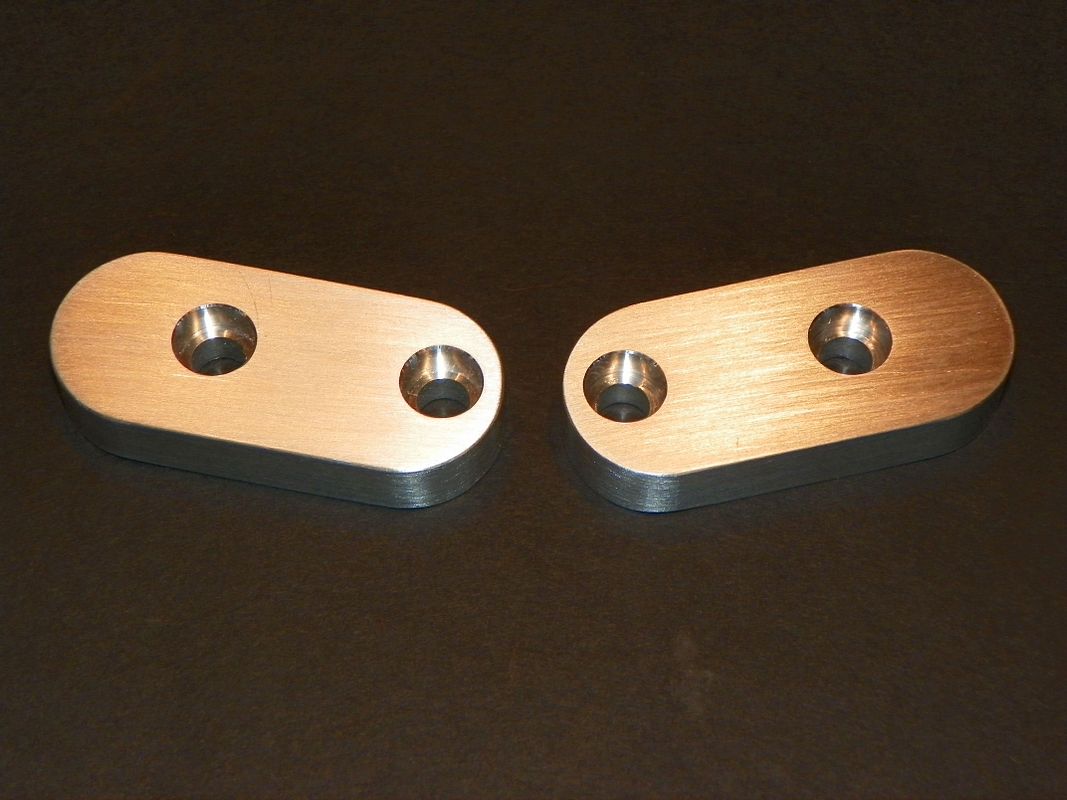
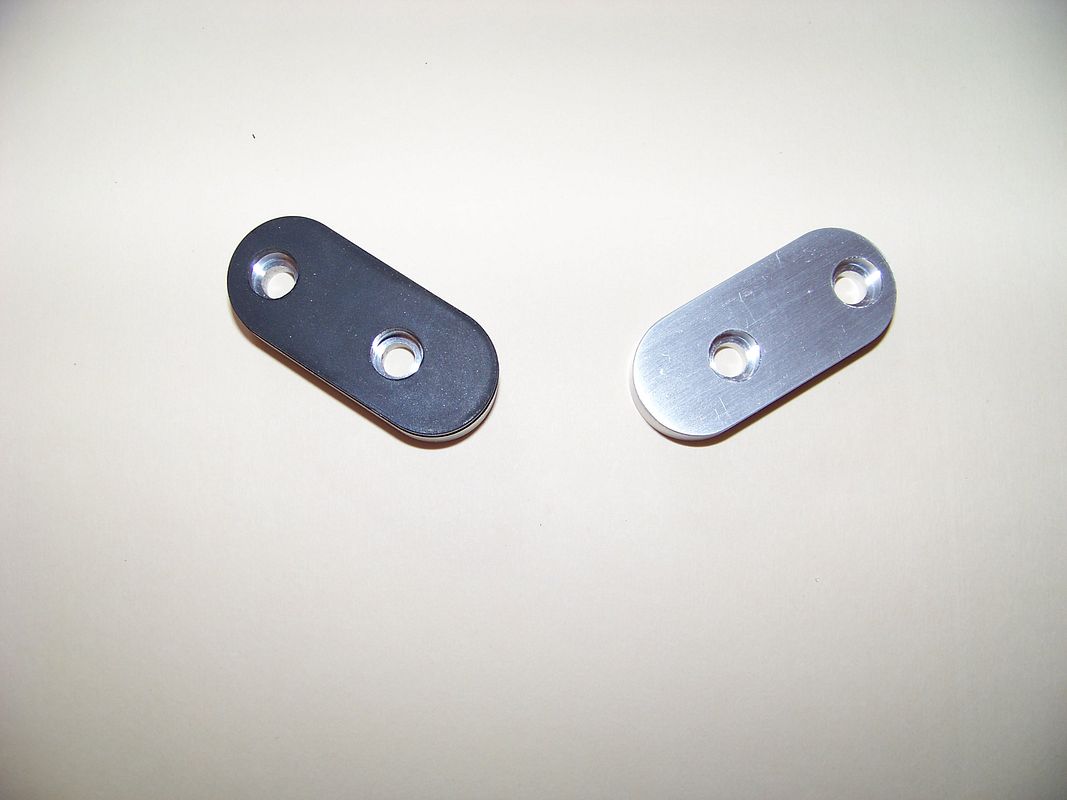
Dave sent me the photo of the new bracket spacers. As is typical for anything he makes, they appear to be works of machining art.

100_1435.jpg


Edit to add more details:

You'll notice in the above photo that I asked Dave to initially drill the holes in the spacers at a small diameter (6.5mm) and then enlarge them to a larger diameter (10mm) on what will be the back side of the spacers. The purpose for doing that is that the smaller diameter will be snug on the mirror studs and help locate the spacer correctly, directly under the mirror and light brackets during assembly. The larger diameter on the back side is needed because the longer (18mm) FCCN's protrude a bit above the surface of the rubber mirror mount, and I wanted to be able to use the longer FCCNs for maximum thread engagement.

If we had gone with the 15mm long FCCNs that counter-boring would not have been needed, but there would not have been any greater surface contact area because the two rubber "plates" (both #1 and #2) have 10 mm holes in them anyway.

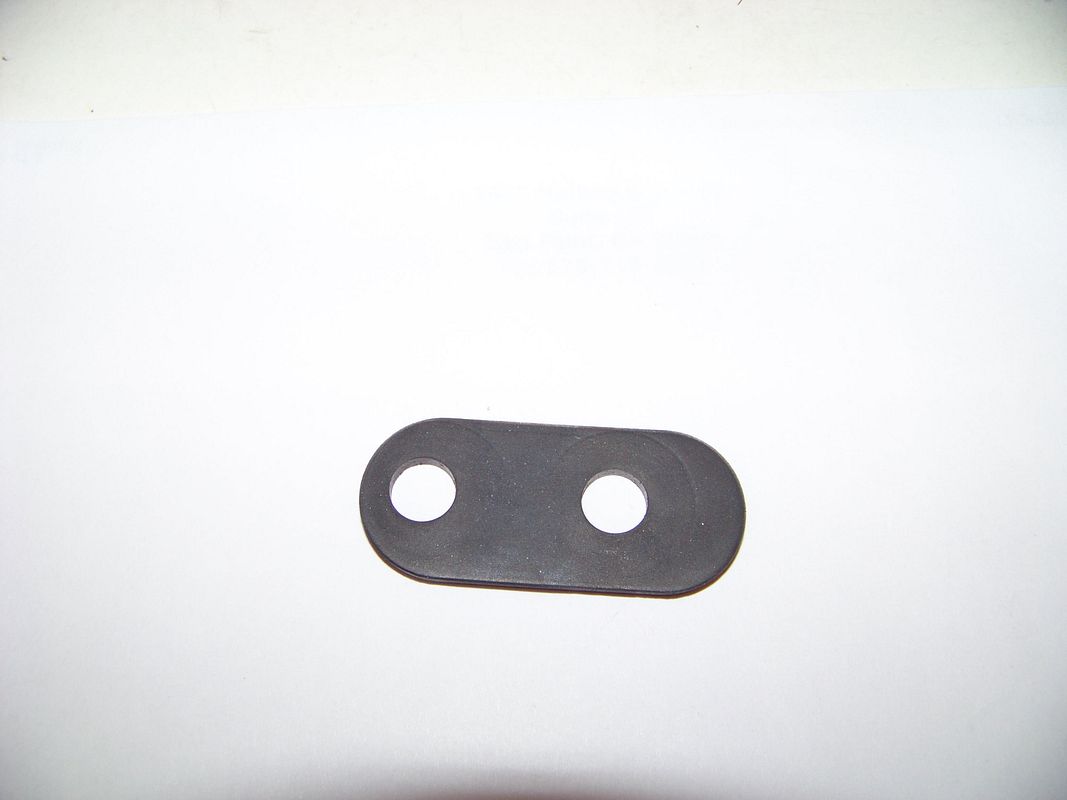
As a reference, here's what the rubber Plate #2 looks like:

100_4877.jpg


These should work very nicely. Can't wait to give them a test fitting.

 
Last edited by a moderator:
Today is Friday. And yes, I am working today. But the spacers are down on the south shore of Mass. I'm sure I'll get them early next week.

 
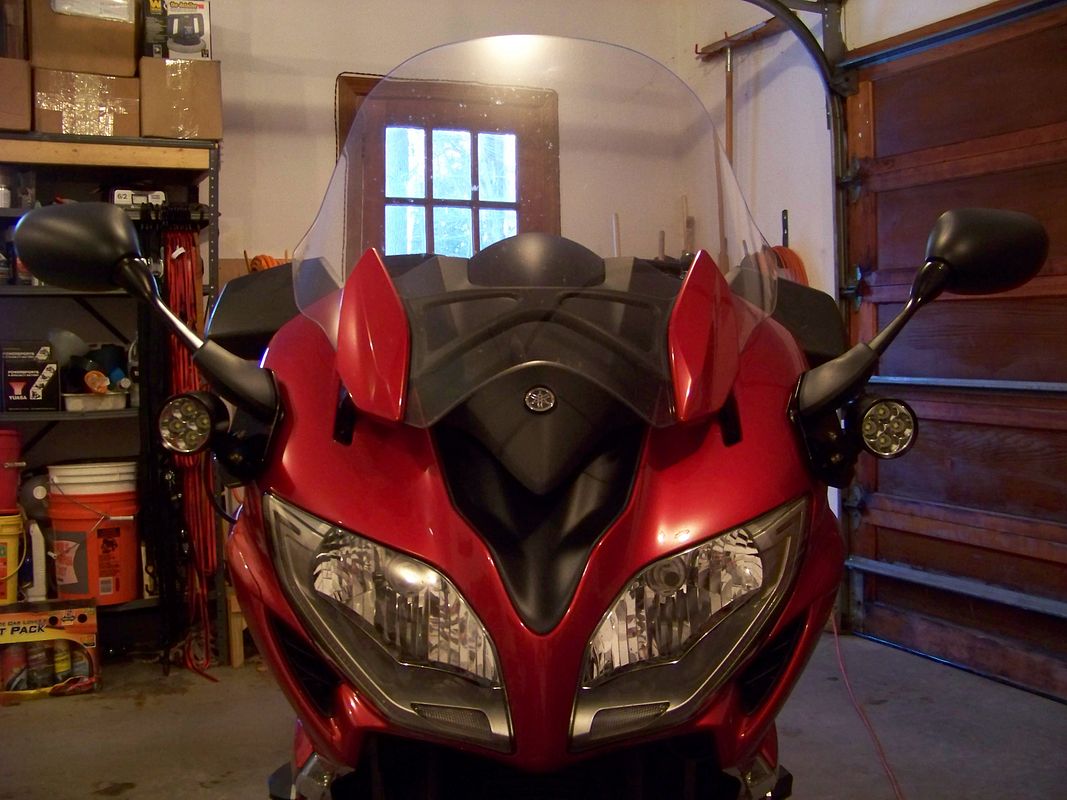
Received the spacers from Dave today. Had them installed in minutes. The lights have (obviously) not been aimed yet...

100_4880.jpg


100_4881.jpg


The 10mm spacer distance was just about perfect for the FZ1 mirrors. Before installing I super-glued the rubber "Plate #2" on the back side of the spacers. Here's one with rubber, one yet to be glued.

100_4879.jpg


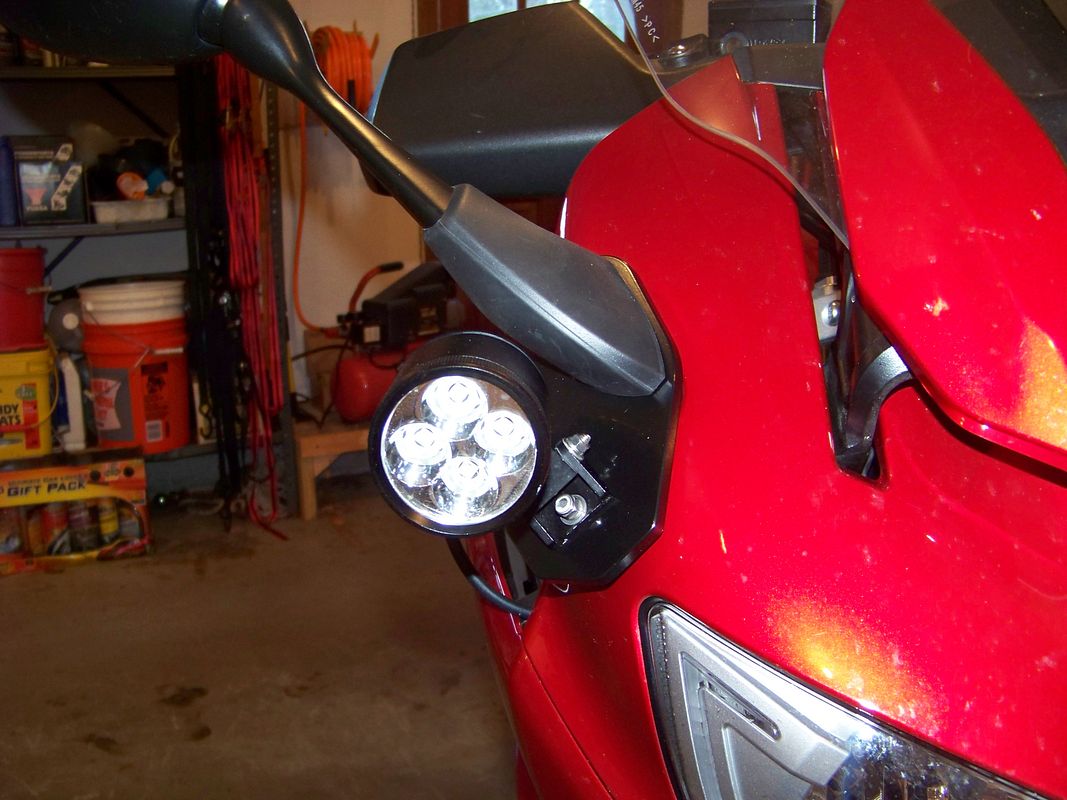
They keep the flat Anti-Vibe Brackets spaced adequately away from the front faring surface and also provide enough reach for the 18mm long FCCNs to extend up inside them.

100_4885.jpg


100_4887.jpg


I did not bother painting the spacers as they are really not that visible unless you are really wanting to look for them. A little hidden bling... ;)

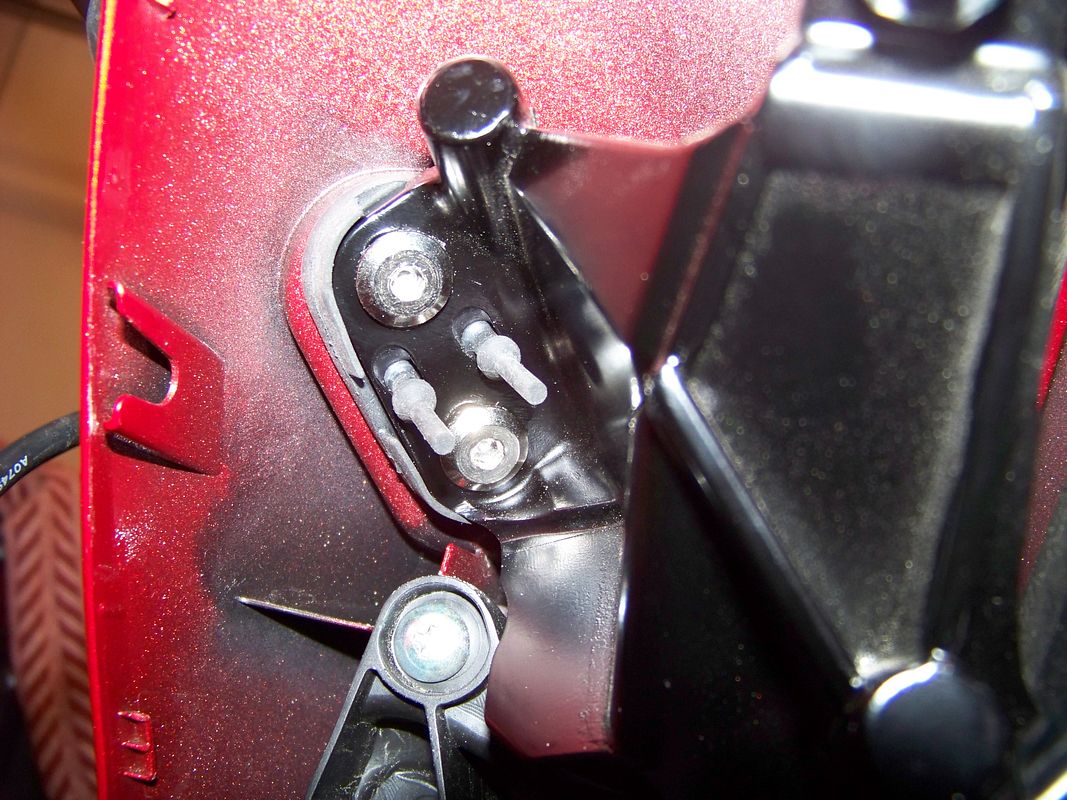
Here's the FCCNs fully tightened up on the inside.

100_4889.jpg


I was able to get plenty of thread engagement, and could feel the rubber mount compressing as they tightened up. Manually trying to wiggling the mirrors or brackets there is not much motion at all. Just a tiny amount that you can get just because the whole shebang is mounted on the compressed rubber.

I would have to declare this project completed. I just need to finish wiring the lights to my LEDRiders dimmer, aim the lights and then do the final tightening on the light mount pivots.

I'll share my source for the FCCNs with Dave, and then I would imagine he will tally up the cost of his materials and time to make them, and then come out with a kit for the brackets for anyone that wants to use them with (their own) FZ1 mirrors.

For folks that would like to use this same bracket but retaining the stock FJR mirrors, Dave will only need to make some 18mm thick spacers (instead of the 10mm thick ones) and then everything should work just fine. The thicker spacer will have the added bonus of moving your mirrors out a little bit, but it won't be all that much. Total spacing would be 23mm.

The other alternative would be to go with the SW Motech spacers and mount your lights directly on them as someone said did earlier in this thread.

Special thanks to Dave for sticking with me on this project, even through his overflowing septic system, holiday craziness, and his recent off road biff. I hope this pans out for other folks, but it looks like a winner to me.

 
Last edited by a moderator:
Fred - that looks awesome.... great Job to the both of you.......

Super Nice to have an alternative to what I have with the SWMotech risers and glad I still have my FZ1 Mirrors.....

Thanks for all the hard work on those....

 
Last edited by a moderator:
Another excuse lost for not looking at a Gen III. <sigh>

Nice job guys. Question, and coming from someone who knows squat about machining, could the bracket and spacer be produced as one piece?

 
Thanks Fred. I can't wait.

Dave, please pm me the cost and your PayPal address.

I'll take the next set produced!

 
<blockquote class='ipsBlockquote'data-author="BigOgre" data-cid="1202519" data-time="1420500405"><p>

Another excuse lost for not looking at a Gen III. <sigh><br />

<br />

Nice job guys. Question, and coming from someone who knows squat about machining, could the bracket and spacer be produced as one piece?</p></blockquote>

I'm sure that it could, Mike, but it would increase the effort to manufacture and would not really improve the design tangibly.

Plus, with this 2-piece design it opens the door for using the same bracket with 2 different sized spacers so they could be used with FZ1 mirrors or with stock FJR mirrors if you don't mind the elbows view.

 
Getting this started,

Hardware is on order, I need to pick up some bar stock for the spacers. I think I will order some FZ1 mirrors to prove some other stuff out also. The plan is in action and pricing will follow.

1) BIGJOHNSD

2) Greg

3) ?

Stay tuned.

Dave

 
Last edited by a moderator:

Latest posts

Top