hppants
Well-known member
A lot of people have asked me questions about motorcycle camping. I’ve been touring this way for about 4 years and have taken many camping trips all over the country. That doesn’t make me an expert, but I’ve learned a few things along the way and thought I would share my experiences with you. I do recognize that there are many ways to skin this cat, and welcome any contribution any of you may have to this thread.
Throughout this thread, a re-occurring theme should jump out and grab you:
LESS IS BETTER THAN MORE!
The more I do this, the more I realize that I really need a whole lot less than I think. Less means less cost, less weight, less space, less to clean and keep up with. Less is better than more.
Campground Selection:
To me, WHERE you camp is as important as HOW you camp. Of course, we all want to choose a place to camp that offers great scenery. But I have learned that there are many other factors to look at. There are some exceptions, but overwhelmingly, the public campgrounds are far better than the privately owned ones. They are larger with bigger sites, better maintained, usually contain less people within them, and generally less expensive than their privately-owned counterparts.
Federal public campgrounds are found in the National Parks and National Forests. However, the best camping areas I have found are the ones run by the Army Corp of Engineers. These are the cleanest and least used, which makes them more pristine. You can also find public campgrounds at State Parks, State Recreational Areas, and even Municipal parks.
Important for me is that the campground has a paved road to get in, out, and around the campground. If it is not paved, then it can’t be very long as riding 700 pounds of motorcycle and gear on gravel can get very scary.
Regarding amenities at the campsite itself, by far the most important thing is a picnic table because it allows you to get your stuff off the ground for setup and packing. Next in line would be a fire ring, preferably one with an adjustable grill on it for cooking. After that, running water at the site is nice, but if there are restrooms, I can grab the water I need. Next would be a bathhouse for a shower but if that is not available, I bring provisions to take a GI shower, and have even bathed in the lake or stream. I know some of you might balk at that idea, but give it a try. I work in an office and spend my “real-world life” in a box – when I’m on vacation, adventure is preferred. Electricity and water hookups are useless to me and only promote others to bring their rolling houses with loud music, TVs, generators, lights, and other things that just piss me off. In short, with regard to campgrounds, generally LESS IS BETTER THAN MORE.
Camping Gear: Good camping gear cannot be understated. Buy the cheap stuff and you will be disappointed and miserable. Good camping gear is lightweight, packs into a smaller space, and most importantly, is weather resistant. Below is what I use, but there are tons of good stuff out there. A great online vendor to use for camping gear is:
www.rei.com
These people are extremely helpful – if you call them and have questions, they will take great measures to understand your needs and make good recommendations. They have a wonderful return policy, and truly stand behind every product they sell. Shop their closeout stuff for really good deals.
Tent: The rule of thumb on tents is “minus 1”. If the marketing says it’s a “2 man tent”, it will sleep 1 comfortably. Other things to consider:
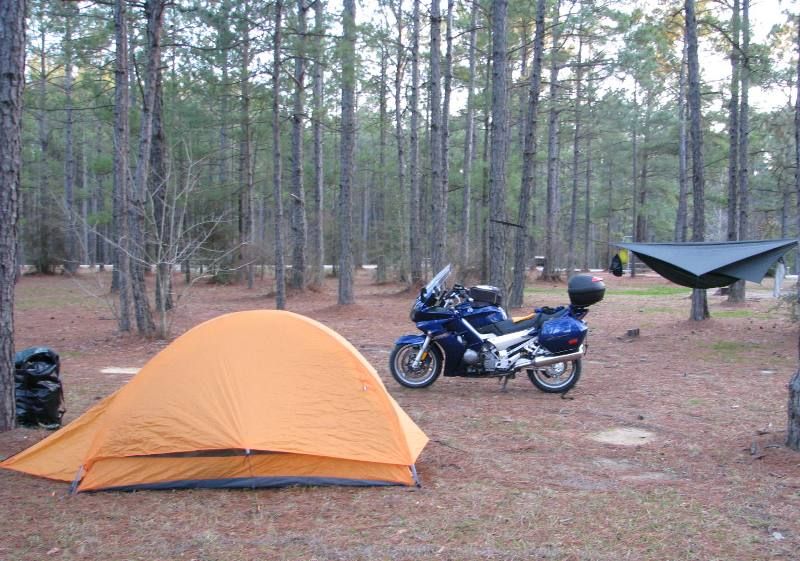
This is the tent that I use – it’s made by Marmot:
Sleeping Bag: My rule of thumb for sleeping bags is “Plus 20”. That means if the sleeping bag is rate for “20 degrees F”, in reality, it’s really only good down to 40. Because of this, I have 2 sleeping bags – a 30 degree bag for warmer camping, and a zero degree bag for colder temperatures. I choose which one will give me the best coverage for my anticipated weather.
Other things to consider:
These are very similar to my two sleeping bags:
Zero Degree:
https://www.rei.com/product/864541/the-north-face-aleutian-0-sleeping-bag
30 Degree Bag doesn’t seem to be available, but it resembles this one inspecifications:
https://www.rei.com/product/870762/rei-polar-pod-sleeping-bag
Air Mattress: This is HUGE – it can make the difference between wonderful and miserable. Things to consider:
This is similar to the mattress that I use now:
https://www.rei.com/product/868743/alps-mountaineering-lightweight-air-pad-regular-special-buy
But this would be a better choice for a little more money (insulative)
https://www.rei.com/product/868718/alps-mountaineering-endurance-air-sleeping-pad-long-special-buy
Pillow: I can’t sleep well without a pillow. I tried to use a bag full of clothes on a trip, but it was ineffective. So I bought a pillow that comes with its own stuff sack.
This is the pillow I use:
https://www.amazon.com/Grand-Trunk-TP-01-Travel-Pillow/dp/B001M0O2AQ/ref=sr_1_1?ie=UTF8&qid=1428700268&sr=8-1&keywords=grand+trunk+pillow
Camping Chair: You can spend a LOT of money on a camping chair, but for compactness and comfort, this one is very hard to beat:
https://www.rei.com/product/829239/rei-flex-lite-chair
Tarp: I bought this tarp to help me get out of the weather. It’s large enough to shelter my tent, my camping chair, and my bike. I tie it to 2 trees, and use a stick for the third pole. Then position the stick such that the water runs down the tarp and off the stick corner (down hill from the rest), then the water runs away from me. I bought a compression sack to hold this tarp and it is fantastic.
https://www.rei.com/product/808940/kelty-noahs-tarp-12-x-12
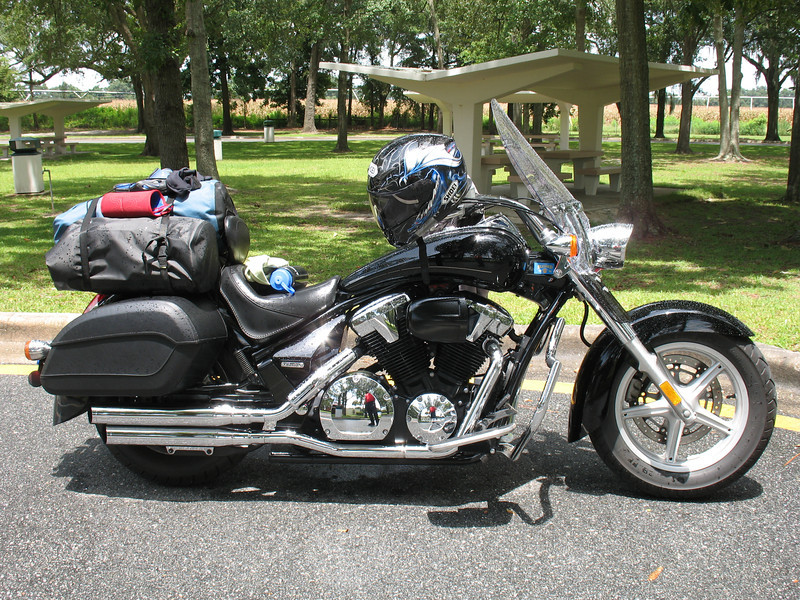
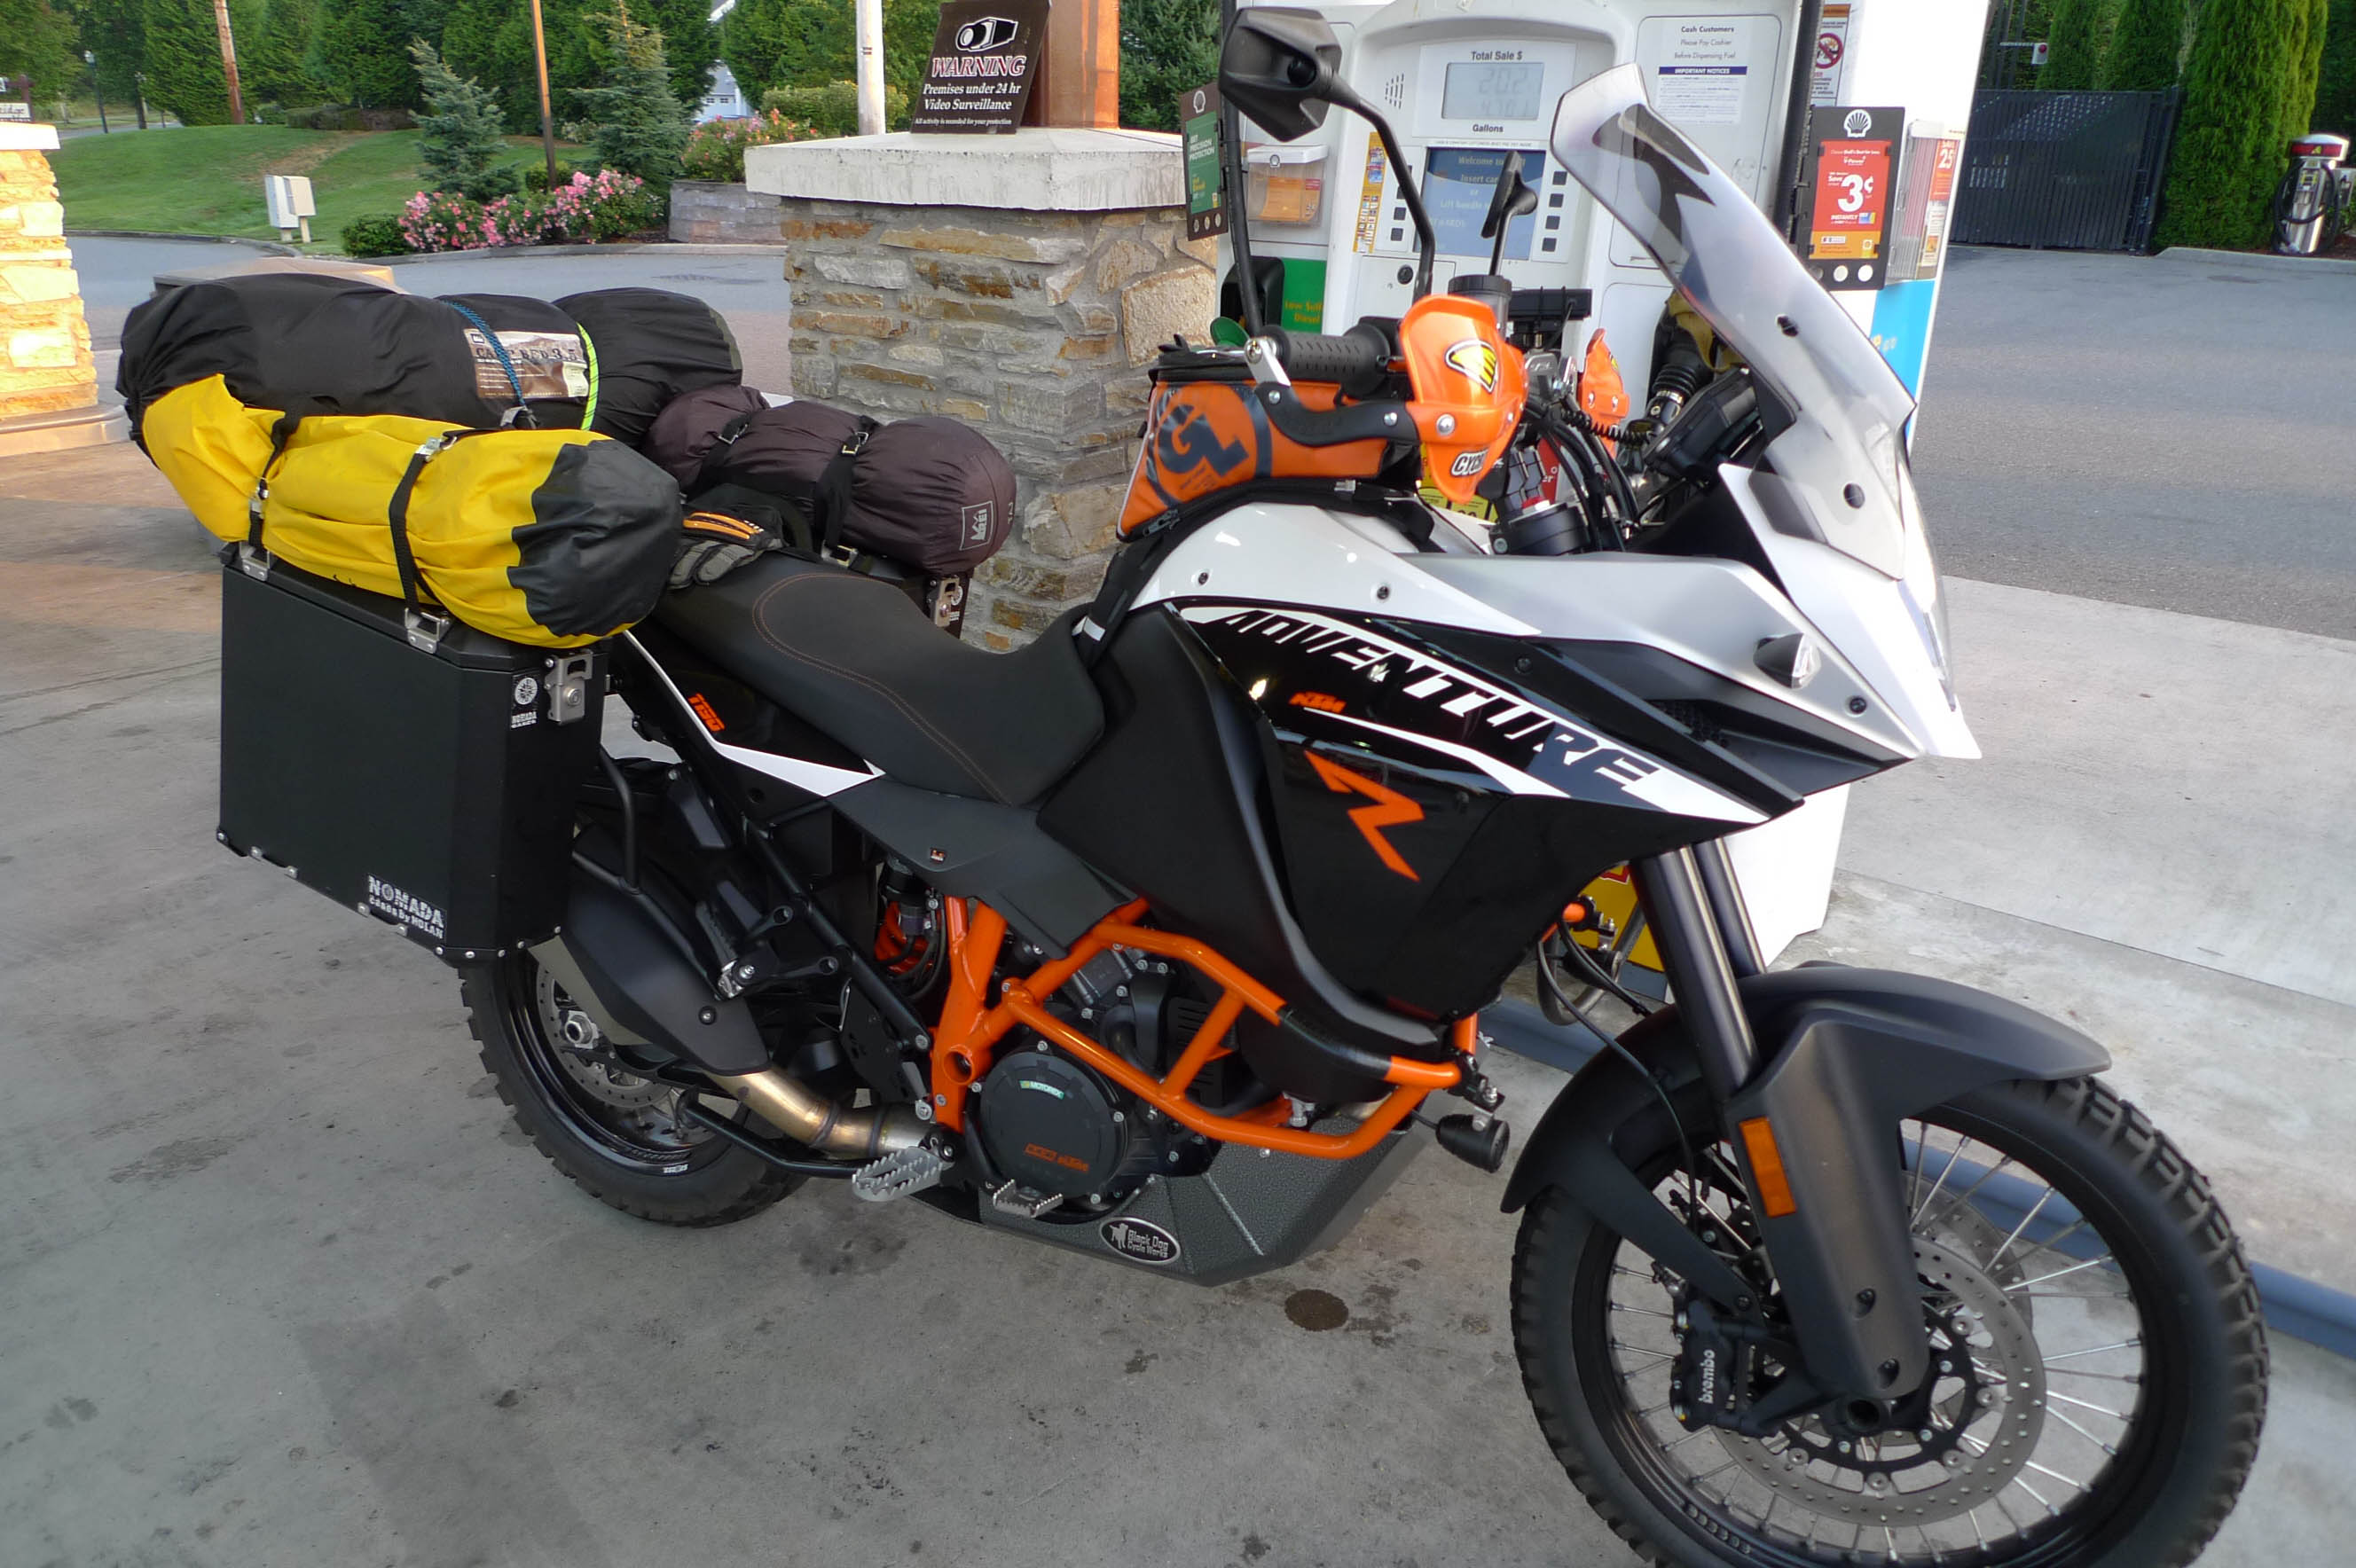
Dry Bag for holding all Gear: You need something to hold all of your gear. You want to be able to strap it down on the pillion seat with some Rok Straps (I do NOT like bungee cords). A large compression bag is a great way to go. BION, there is an art to packing your bag and you will just have to experiment with it on your own to find your best way. I arrange my gear such that when I pull the compression straps tight, the cross section of the bag is more rectangular (tall and narrow), which gives me the most seat room on my bike.
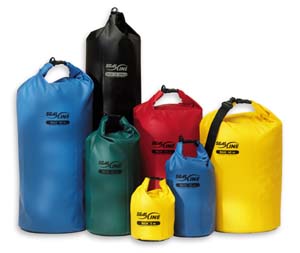
Someone gave me a waterproof compression dry bag made by Cabelo’s a few years ago and it is fantastic. I can’t find a duplicate but it works like this one:
https://www.cabelas.com/product/Sea-to-Summit-Compression-Stuff-Sack/715030.uts
Other items I bring in my “house bag” are:
Camp Saw – this thing is fantastic – it will cut up some wood in a hurry and takes up no space and weighs next to nothing:
(shop it online – you can find it cheaper – got mine for $20.00 shipped!!!)
https://www.coghlans.com/products/folding-saw-8901
Water Bag: This is nice when you don’t have water at your site. Simply go to the restroom and fill ‘er up! I tried the cheaper ones, but they don’t last. This brand (Platypus) has a lifetime warranty and folds down to nothing:
https://www.fontanasports.com/water-tank-6-liter-1407?cvsfa=2731&cvsfe=2&cvsfhu=33333430&gclid=cjqwmyex78qcfqwzaqodqdiarw
Small Battery Operated Fan for stoking up a stubborn fire.
https://www.qualitylogoproducts.com/tradeshow-promotions/fan.htm?variant=BLANK&imageID=270743&gclid=CLXIt76x78QCFQmmaQodbpsAOA
Micro-towel: I picked up a 16” x 24” micro-towel in the car wash section of Walmart for about $5 bucks. It’s a great bath towel that folds up to nothing. I usually shower in the evening so I hang the towel in my tent to dry (on the shelf) overnight. If it’s not dry in the morning, I run it under my camping bag straps and let it get the “60 mph dryer” in the morning.
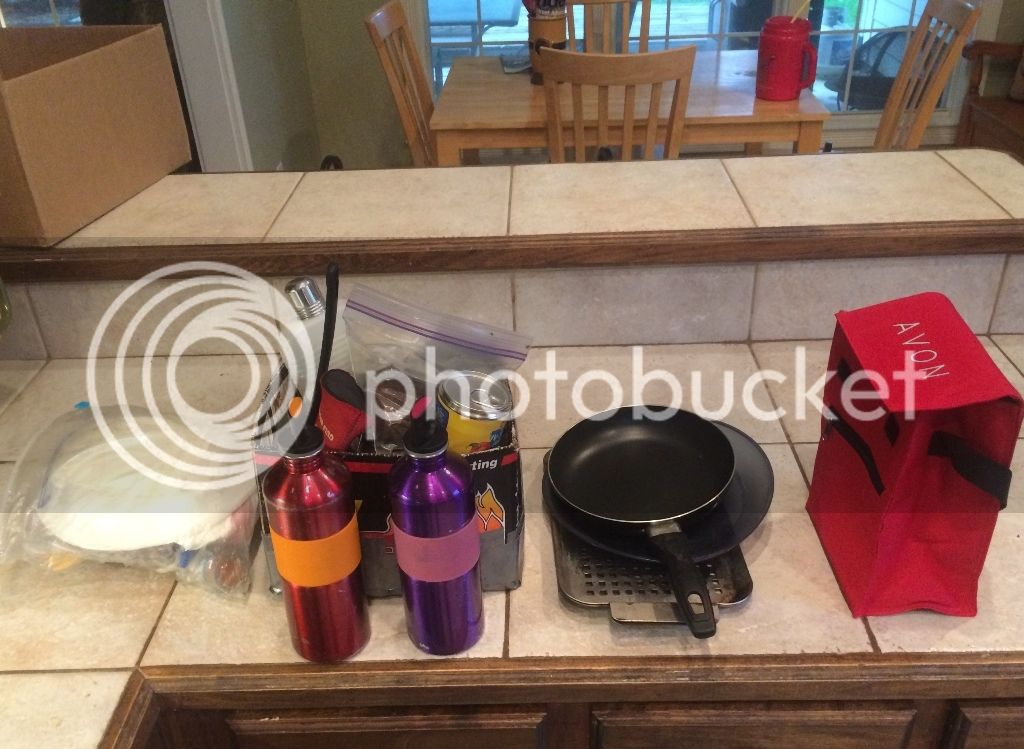
Kitchen: I pack my entire kitchen in my top box, which is a 31 Liter Givi Mono-key. Here is what I take with me:
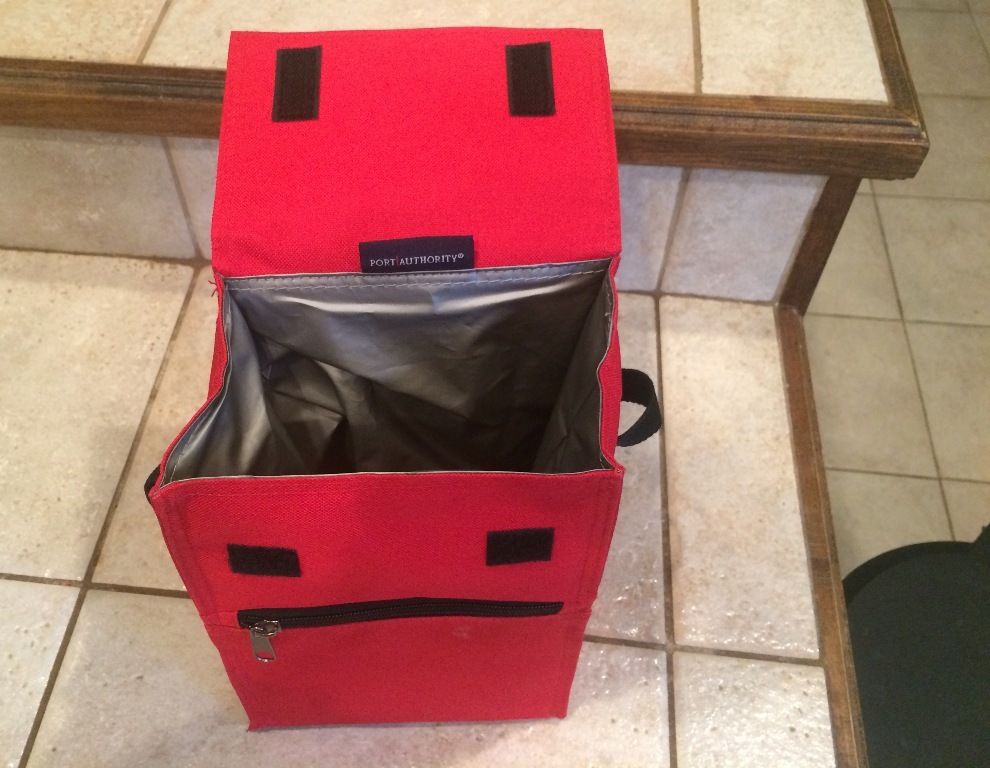
My refrigerator is a simple collapsible insulated bag that will hold approx 2 quarts. Many times we cook on night one and I’ll bring a few frozen pork chops or something – this bag will keep them all day. Sometimes we will stop at a grocery to pick up supplies to cook. I will get a bag of ice and tie it to my camping bag. When I get to the campground, I use one of my saddlebags as an ice chest – it will keep ice overnight very well.
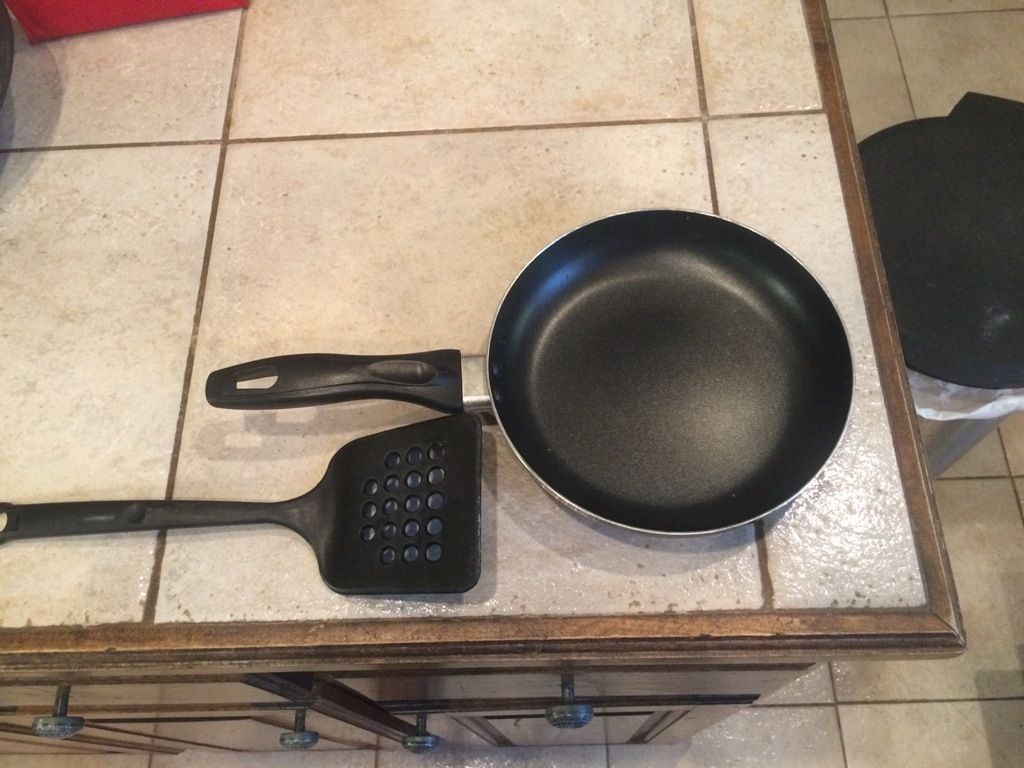
I bring an 8” frying pan and a spatula – cheapie walmart specials.
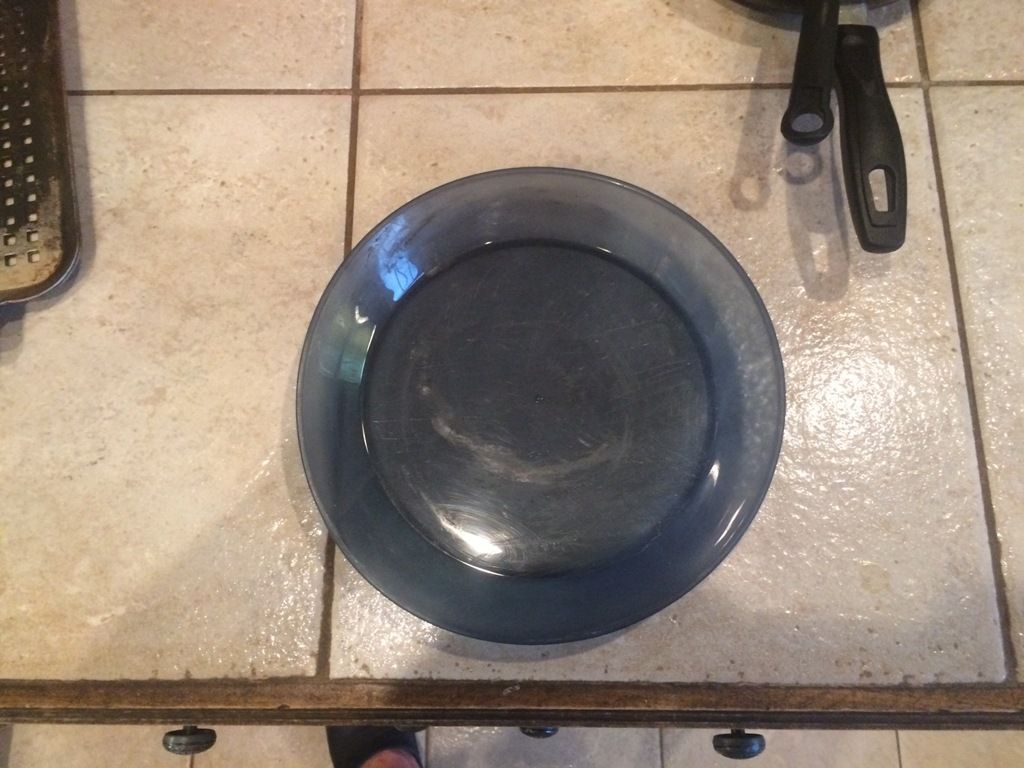
My plastic camping plate – again $2.00 at walmart.
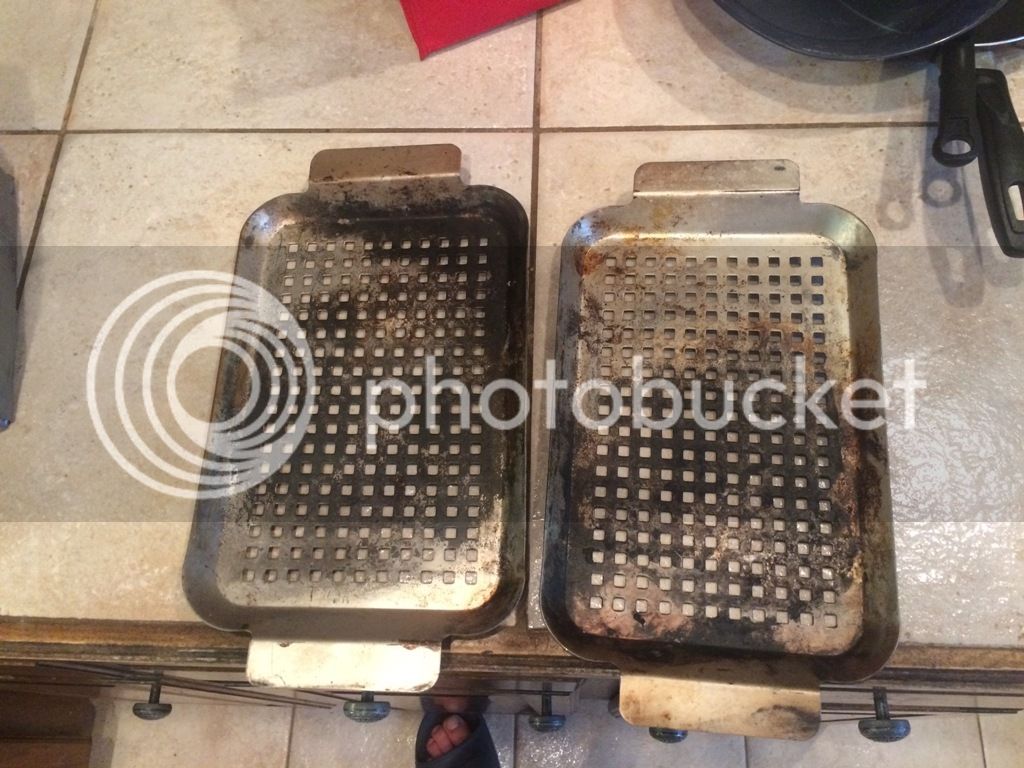
I bring these two grilling pans that I bought at World Market for $20.00. They are heavy duty and are about 6” x 12”. When there is no grill at the campsite, we can sit these on some rocks or whatever and cook on them. I’ve cooked chicken, pork chops, steaks, potatoes, veggies, etc.
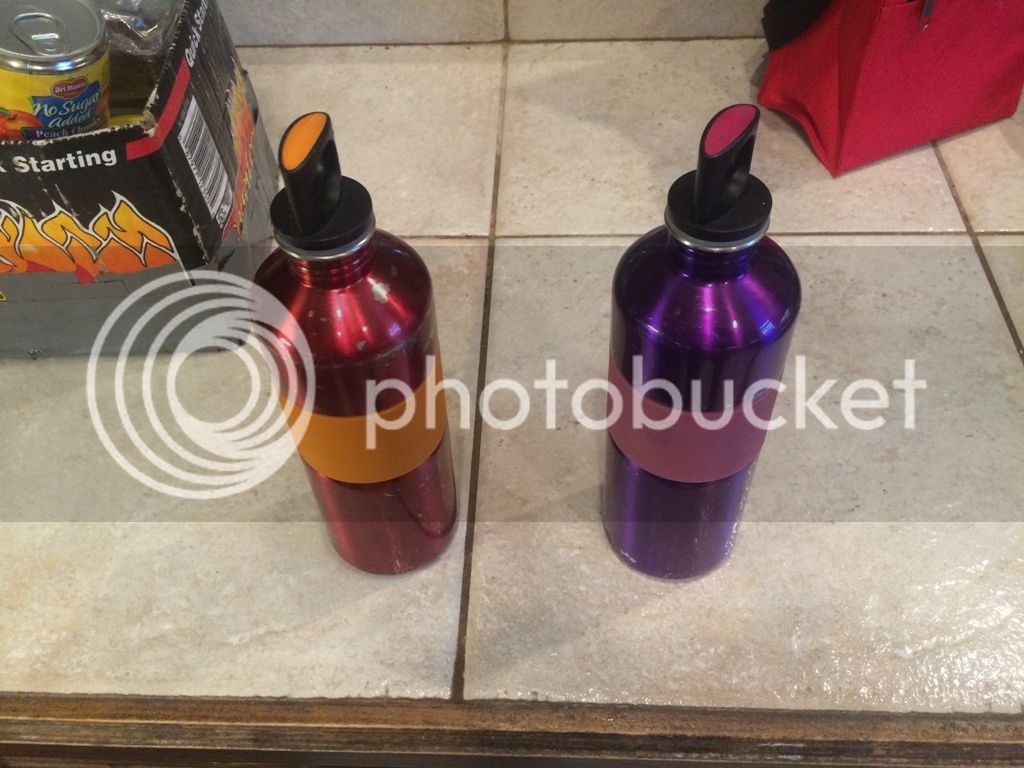
Two aluminum re-fillable water bottles (about 2 quarts)
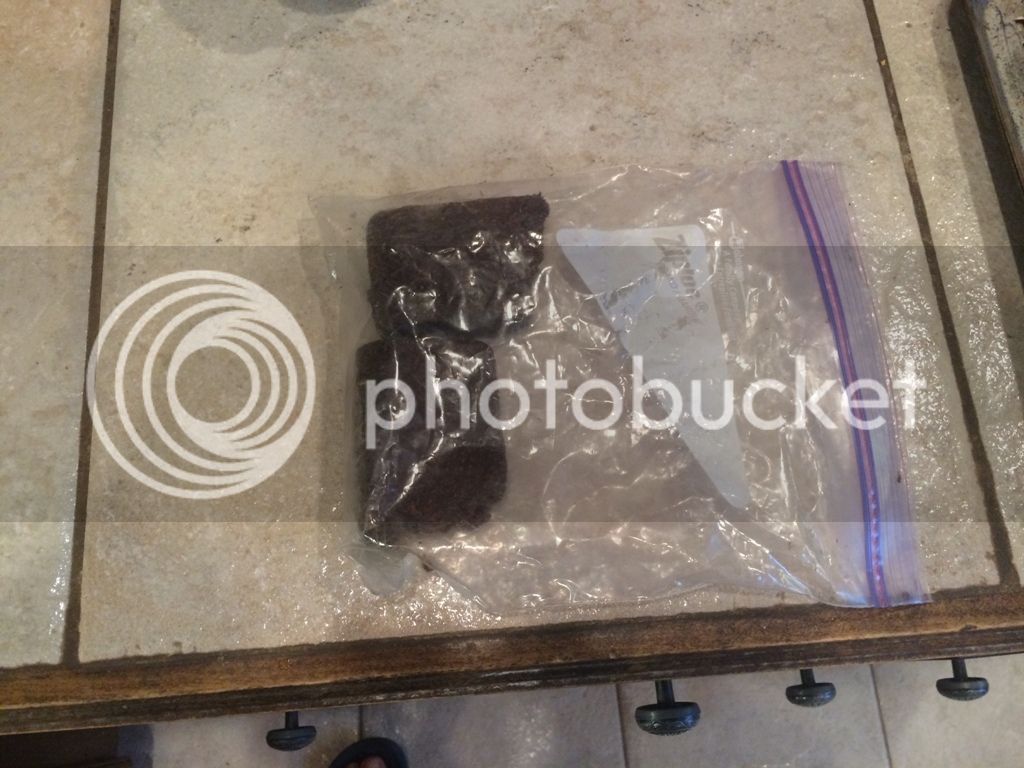
A fire starter brick
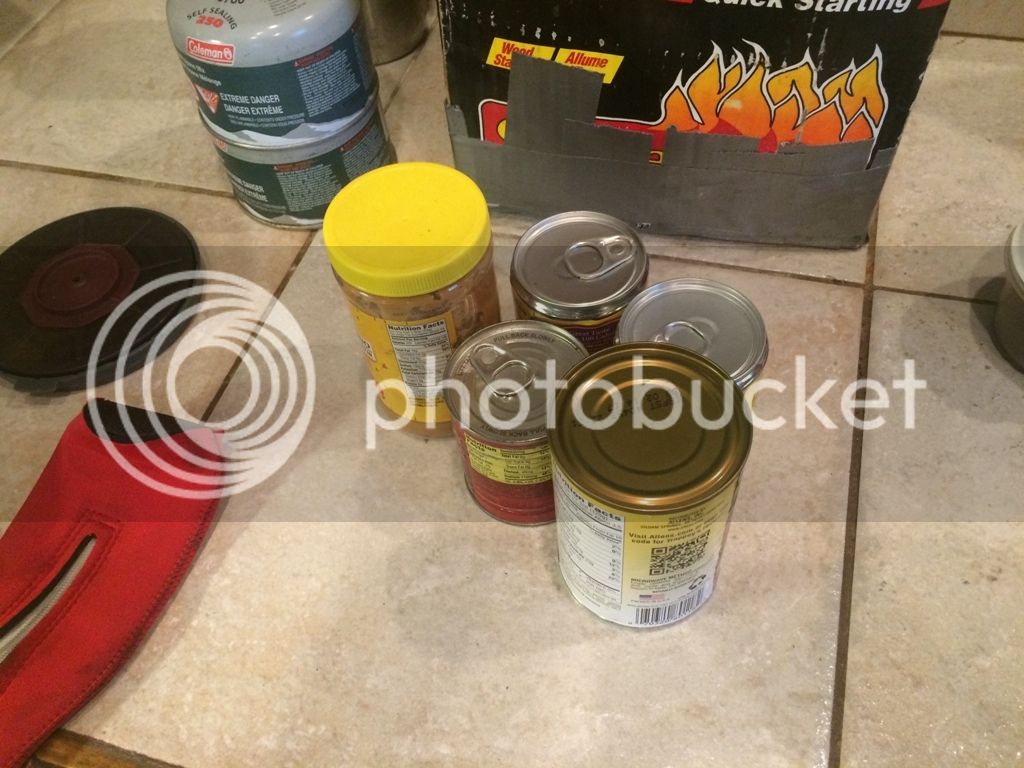
Can goods and my small Tupperware of coffee
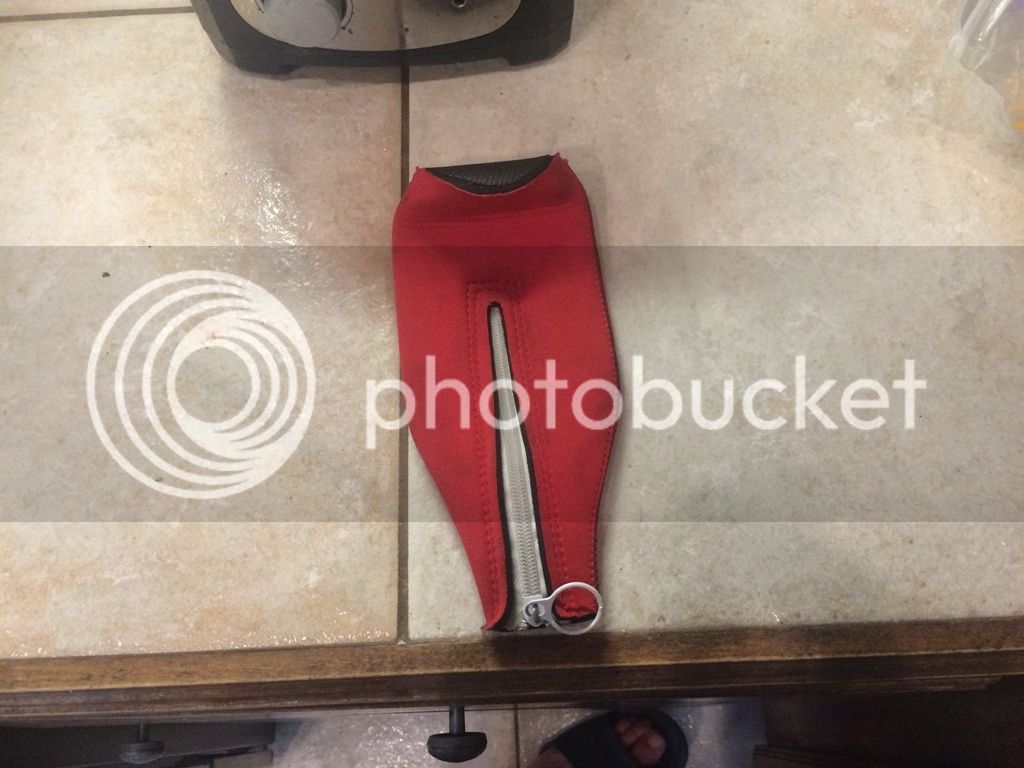
Can’t forget the beer huggie!
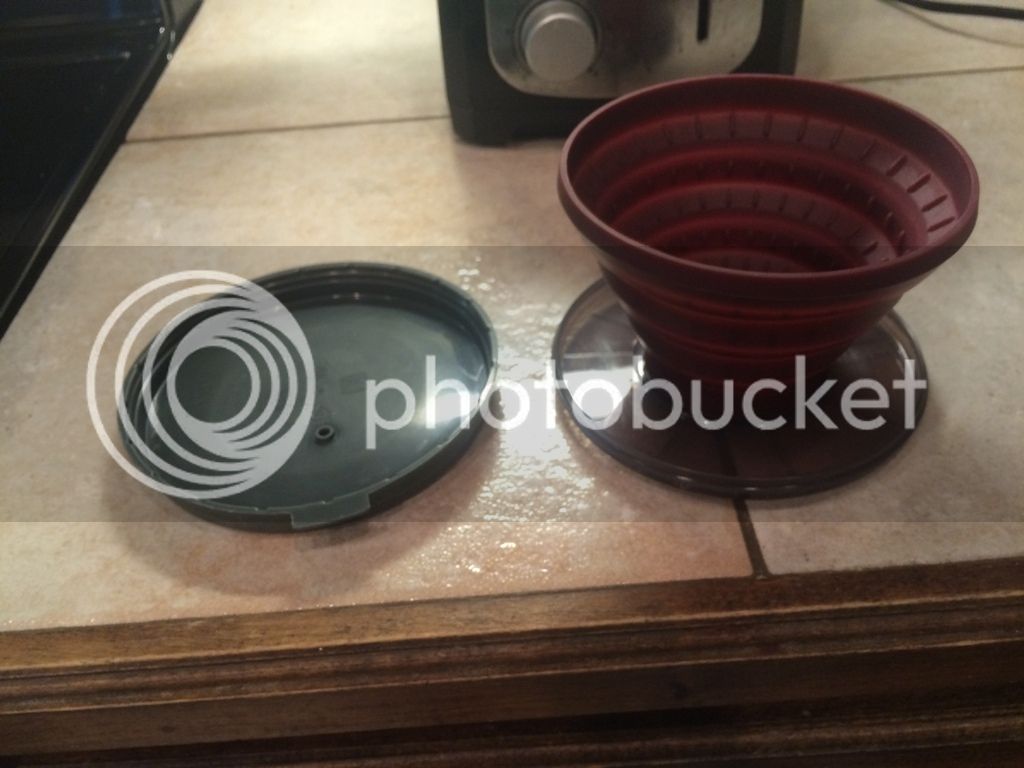
Collapsible coffee filter funnel.
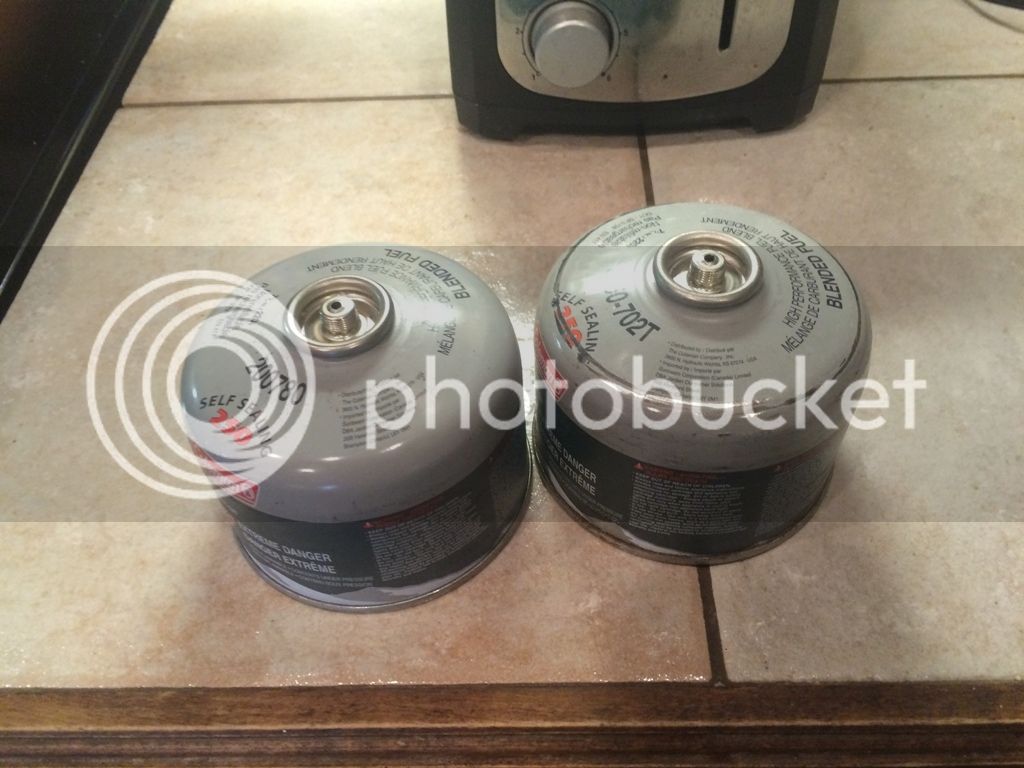
Fuel for my stove.
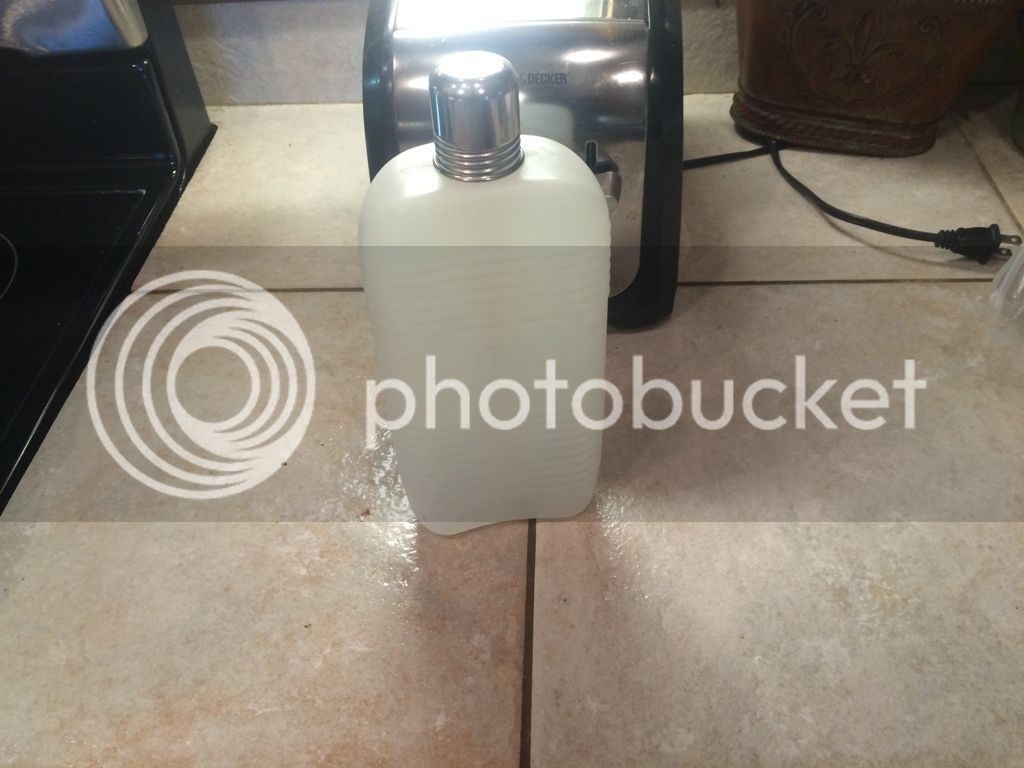
A 750 ml flask filled with my spirit of choice (usually Heradura Tequilla).
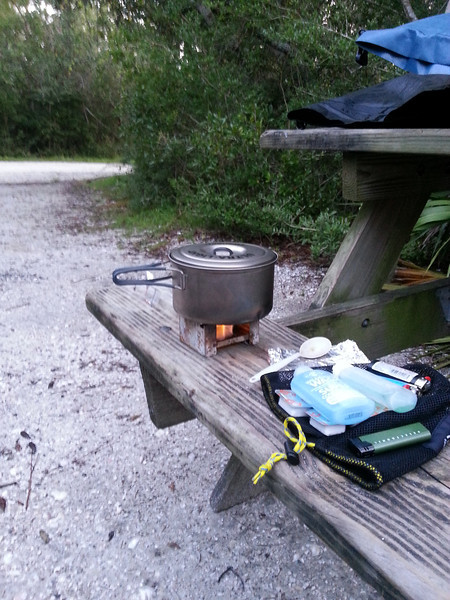
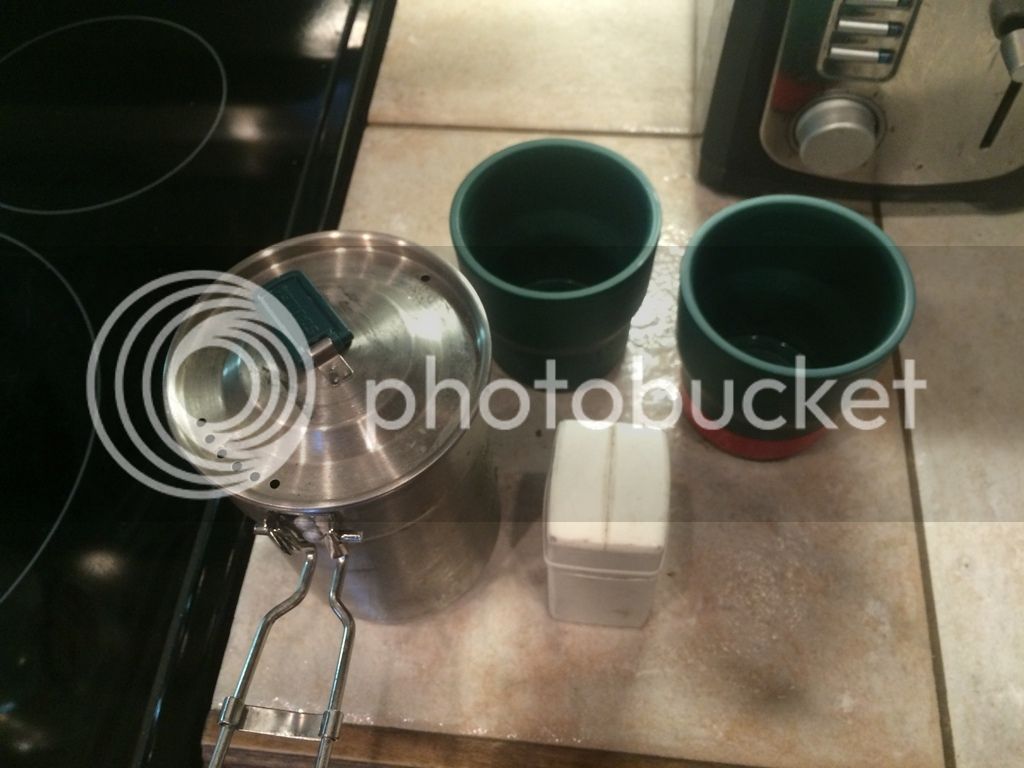
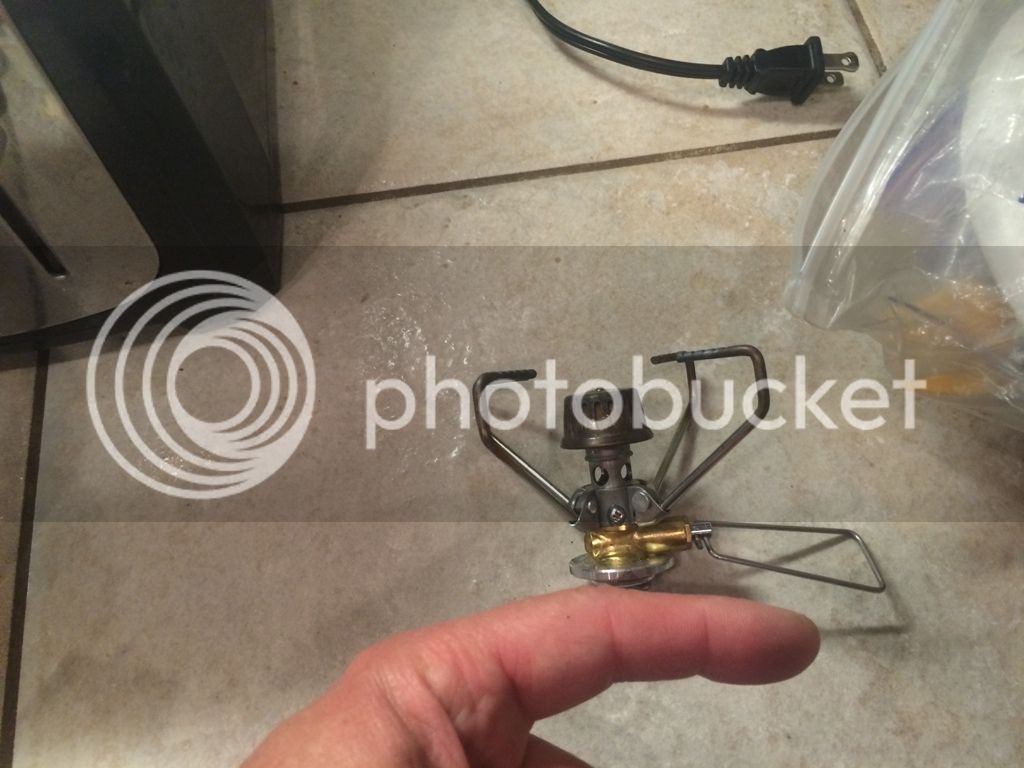
My stove, cups, and pot. Everything fits into the pot. The pot and cup set is made by Stanley, and the stove is a snow peak unit.
https://www.shopstanley-pmi.com/product/adventure-camp-cook-set-24-oz-stainless-steel
https://www.rei.com/product/643058/snow-peak-gigapower-auto-stove
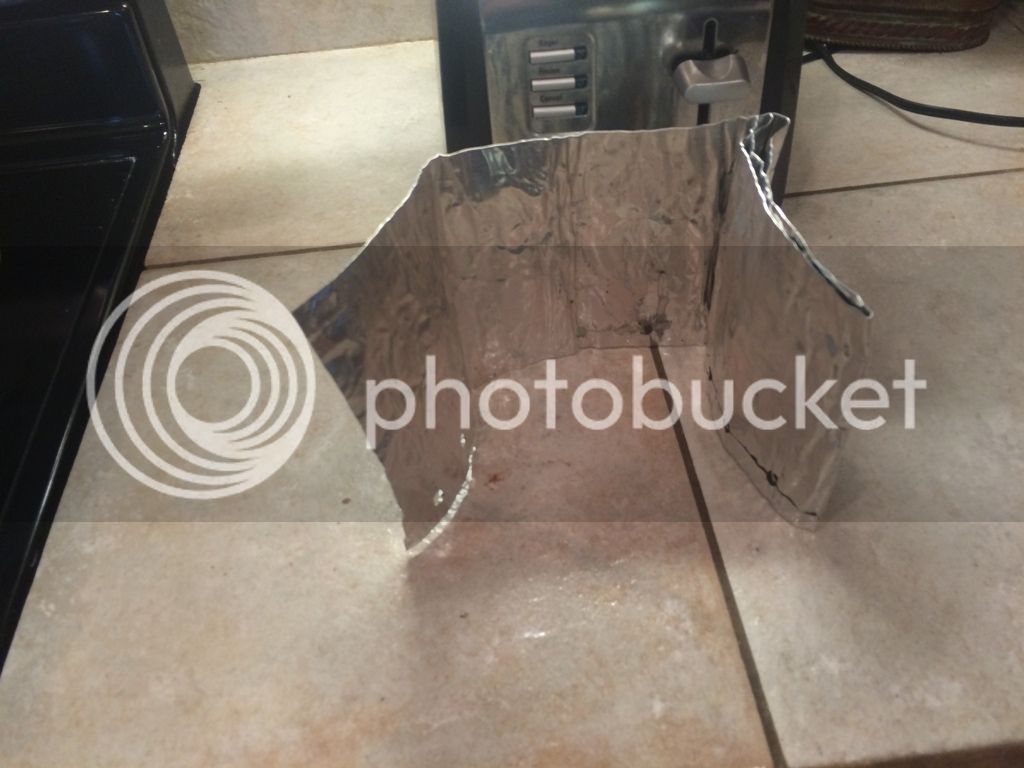
My friend Mike made me this great wind shield for my stove. I folds up to nothing, has small holes to allow a little draft in, and provides great protection against the wind. This cuts way down on my fuel use for my stove.
Then I bring this 1-gallon Ziploc bag of my kitchen goodies:
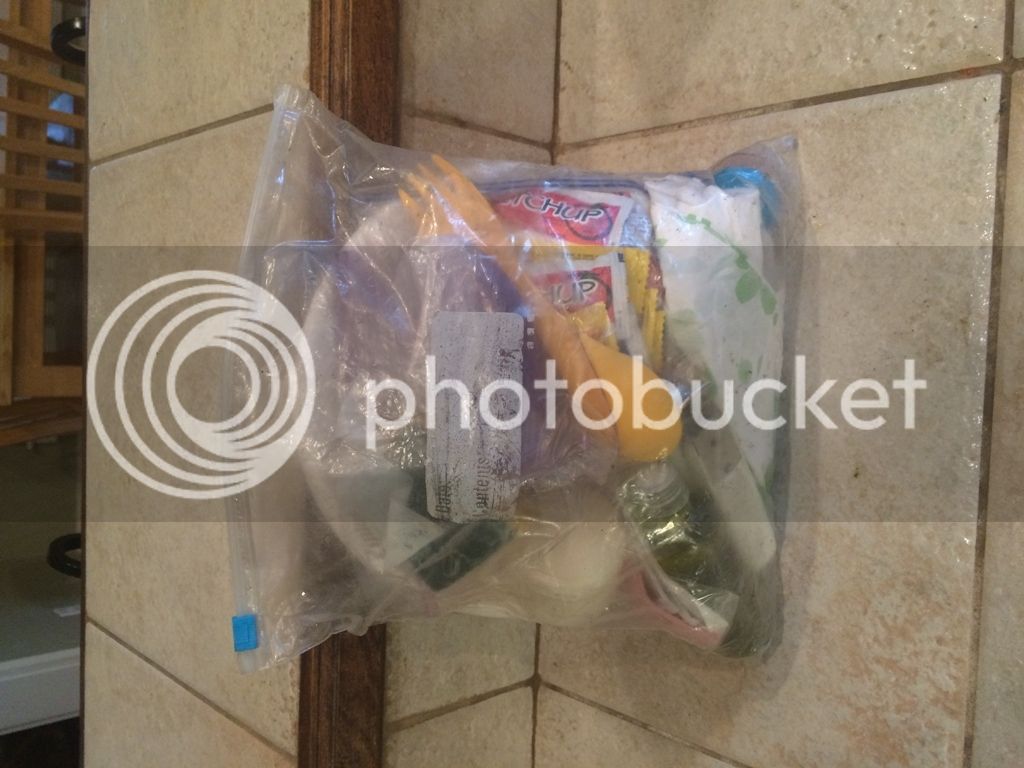
In this bag, I have:
Condiment packets that I grabbed from a fast food restaurant (ketchup, mustard, mayo, lemon juice, tobacco, sugar, sweet-n-low etc)
Coffee creamer
Coffee filters
Small bottle of olive oil
Small container of salt and pepper
Small container of season all (Tony Chaceries)
Small container of BBQ sauce
Small container of dish washing soap and scrub sponge
Couple of lighters
Handful of napkins
Couple of trash bags (walmart bags are nice)
Bottle Opener
Couple of Sporks
You can make your own party pack by picking up a set of the trial sized containers in the toiletry section of Walmart for a few bucks. Make sure you get containers made of Polypropylene. Polyethylene is not safe as a food container.
Other things that I always have on the bike that I also use for camping:
Good headlamp with a spare set of batteries (LED lights are great)
Small LED flashlight
Multi-tool with a sharp knife (my Kobalt unit is excellent)
OTC medicines (Ibuprofin, Anti-histimine, Anti-acid, etc)
First Aid Kit
Spare set of prescription glasses (my old pair)
Spare set of batteries (AAA and AA)
Having a riding buddy that also camps is helpful because each of you can contribute and you can avoid bringing duplicate stuff.
For your first trip, I would suggest you try a 1-night camping ride on a place around 100 miles away. Pick a couple of good weather days to minimize the challenges. Take you time and bring a pen and note pad. You will think of stuff you forgot or would like to have while you are out there. Jot it down then because your memory will fade by the time you get home.
Also, the bike will feel a bit heavy when you start out. The added weight of the camping stuff will make your suspension sag just a bit lower (be sure to adjust your suspension to accommodate the additional weight). After about 10 minutes, it gets normal to me. Take you time and get used to it. Tighten down your straps and after about 10 miles, stop and re-check them to make sure you are secure.
I hope this information is helpful and useful to you.
Throughout this thread, a re-occurring theme should jump out and grab you:
LESS IS BETTER THAN MORE!
The more I do this, the more I realize that I really need a whole lot less than I think. Less means less cost, less weight, less space, less to clean and keep up with. Less is better than more.
Campground Selection:
To me, WHERE you camp is as important as HOW you camp. Of course, we all want to choose a place to camp that offers great scenery. But I have learned that there are many other factors to look at. There are some exceptions, but overwhelmingly, the public campgrounds are far better than the privately owned ones. They are larger with bigger sites, better maintained, usually contain less people within them, and generally less expensive than their privately-owned counterparts.
Federal public campgrounds are found in the National Parks and National Forests. However, the best camping areas I have found are the ones run by the Army Corp of Engineers. These are the cleanest and least used, which makes them more pristine. You can also find public campgrounds at State Parks, State Recreational Areas, and even Municipal parks.
Important for me is that the campground has a paved road to get in, out, and around the campground. If it is not paved, then it can’t be very long as riding 700 pounds of motorcycle and gear on gravel can get very scary.
Regarding amenities at the campsite itself, by far the most important thing is a picnic table because it allows you to get your stuff off the ground for setup and packing. Next in line would be a fire ring, preferably one with an adjustable grill on it for cooking. After that, running water at the site is nice, but if there are restrooms, I can grab the water I need. Next would be a bathhouse for a shower but if that is not available, I bring provisions to take a GI shower, and have even bathed in the lake or stream. I know some of you might balk at that idea, but give it a try. I work in an office and spend my “real-world life” in a box – when I’m on vacation, adventure is preferred. Electricity and water hookups are useless to me and only promote others to bring their rolling houses with loud music, TVs, generators, lights, and other things that just piss me off. In short, with regard to campgrounds, generally LESS IS BETTER THAN MORE.
Camping Gear: Good camping gear cannot be understated. Buy the cheap stuff and you will be disappointed and miserable. Good camping gear is lightweight, packs into a smaller space, and most importantly, is weather resistant. Below is what I use, but there are tons of good stuff out there. A great online vendor to use for camping gear is:
www.rei.com
These people are extremely helpful – if you call them and have questions, they will take great measures to understand your needs and make good recommendations. They have a wonderful return policy, and truly stand behind every product they sell. Shop their closeout stuff for really good deals.
Tent: The rule of thumb on tents is “minus 1”. If the marketing says it’s a “2 man tent”, it will sleep 1 comfortably. Other things to consider:
- If the tent comes with a foot print (a piece of material cut to the exact dimensions of the tent that goes between the ground and the tent to keep moisture from coming up on you from the bottom), this is a plus. If not, you can cut one out from some 4 mil visqueen, but I think the footprint is better.
- Get a full size rain fly that covers the entire tent and has the ability to be velcroed or otherwise tied to the tent. In warmer weather, you can always use your rain fly ties to pull it away from the tent for ventilation. But in a wind driven rain, that full size will be a blessing.
- Run some paracord from each corner of the rain fly to give you more anchor points for it in extra windy conditions
- Look for a mesh “shelf” that forms on the top of the tent, to which you can hang things.
- The zip out “door” opening on the widest dimension of the tent is more convenient to get in and out of , and to load and unload your gear.
- I pack my foot print and rain fly in a separate compression sack than my tent, poles, and stakes. This keeps the wet stuff separate from the dry stuff when traveling
- When you return from your trip, setup your tent outside in the sun for a full day and do not pack it away until it is “crispy dry”. Otherwise, when you go to unpack it on the next trip, it will be full of mold and likely ruined.
This is the tent that I use – it’s made by Marmot:

Sleeping Bag: My rule of thumb for sleeping bags is “Plus 20”. That means if the sleeping bag is rate for “20 degrees F”, in reality, it’s really only good down to 40. Because of this, I have 2 sleeping bags – a 30 degree bag for warmer camping, and a zero degree bag for colder temperatures. I choose which one will give me the best coverage for my anticipated weather.
Other things to consider:
- The down sleeping bags pack much smaller than the regular synthetic bags, but they are a LOT more expensive.
- Get a bag that is long enough for your height. Many of the products offered come in longer lengths if you are taller than 5’-11” inches.
- If you prefer to sleep on your right side, order the version that unzips on the right side (and visa versa). It makes it easier to get in and out from your preferred sleeping position.
- Plan to put your bag in a good compression sack to reduce its size while you are riding.
- Do NOT store your bag in the compression sack at home because over time, you will smash the insulation and render it less useful.
- Follow the care instructions but I would not dry my sleeping bag in the dryer (air dry only).
These are very similar to my two sleeping bags:
Zero Degree:
https://www.rei.com/product/864541/the-north-face-aleutian-0-sleeping-bag
30 Degree Bag doesn’t seem to be available, but it resembles this one inspecifications:
https://www.rei.com/product/870762/rei-polar-pod-sleeping-bag
Air Mattress: This is HUGE – it can make the difference between wonderful and miserable. Things to consider:
- You can get by with a 20” wide mattress, but a 24” wide will be much more comfortable.
- Again, if you are taller than 5-10”, pick an air mattress that is sized “long”, or your feet will be hanging off the end of it.
- Choose an air mattress with an insulative value of at least R-3. The one I have now is far less insulative and during very cold nights, by early morning, I can feel the temperature coming up my back.
- The stuff sack that comes with the mattress is sufficient.
- Some of the air mattresses come with a separate chamber that can be used as a pillow. This can save you some packing space.
- Take care before you place your tent to remove any acorns, sticks, rocks, etc. that might poke through the tent and into your mattress.
- Many people bring an air pump but that is not necessary. It will take about 30 breaths to blow it up. I usually do it in stages. Blow 10 breaths, then do something else while I catch my breath. Rinse, lather, repeat….
This is similar to the mattress that I use now:
https://www.rei.com/product/868743/alps-mountaineering-lightweight-air-pad-regular-special-buy
But this would be a better choice for a little more money (insulative)
https://www.rei.com/product/868718/alps-mountaineering-endurance-air-sleeping-pad-long-special-buy
Pillow: I can’t sleep well without a pillow. I tried to use a bag full of clothes on a trip, but it was ineffective. So I bought a pillow that comes with its own stuff sack.
This is the pillow I use:
https://www.amazon.com/Grand-Trunk-TP-01-Travel-Pillow/dp/B001M0O2AQ/ref=sr_1_1?ie=UTF8&qid=1428700268&sr=8-1&keywords=grand+trunk+pillow
Camping Chair: You can spend a LOT of money on a camping chair, but for compactness and comfort, this one is very hard to beat:
https://www.rei.com/product/829239/rei-flex-lite-chair
Tarp: I bought this tarp to help me get out of the weather. It’s large enough to shelter my tent, my camping chair, and my bike. I tie it to 2 trees, and use a stick for the third pole. Then position the stick such that the water runs down the tarp and off the stick corner (down hill from the rest), then the water runs away from me. I bought a compression sack to hold this tarp and it is fantastic.
https://www.rei.com/product/808940/kelty-noahs-tarp-12-x-12
Dry Bag for holding all Gear: You need something to hold all of your gear. You want to be able to strap it down on the pillion seat with some Rok Straps (I do NOT like bungee cords). A large compression bag is a great way to go. BION, there is an art to packing your bag and you will just have to experiment with it on your own to find your best way. I arrange my gear such that when I pull the compression straps tight, the cross section of the bag is more rectangular (tall and narrow), which gives me the most seat room on my bike.
Someone gave me a waterproof compression dry bag made by Cabelo’s a few years ago and it is fantastic. I can’t find a duplicate but it works like this one:
https://www.cabelas.com/product/Sea-to-Summit-Compression-Stuff-Sack/715030.uts
Other items I bring in my “house bag” are:
Camp Saw – this thing is fantastic – it will cut up some wood in a hurry and takes up no space and weighs next to nothing:
(shop it online – you can find it cheaper – got mine for $20.00 shipped!!!)
https://www.coghlans.com/products/folding-saw-8901
Water Bag: This is nice when you don’t have water at your site. Simply go to the restroom and fill ‘er up! I tried the cheaper ones, but they don’t last. This brand (Platypus) has a lifetime warranty and folds down to nothing:
https://www.fontanasports.com/water-tank-6-liter-1407?cvsfa=2731&cvsfe=2&cvsfhu=33333430&gclid=cjqwmyex78qcfqwzaqodqdiarw
Small Battery Operated Fan for stoking up a stubborn fire.
https://www.qualitylogoproducts.com/tradeshow-promotions/fan.htm?variant=BLANK&imageID=270743&gclid=CLXIt76x78QCFQmmaQodbpsAOA
Micro-towel: I picked up a 16” x 24” micro-towel in the car wash section of Walmart for about $5 bucks. It’s a great bath towel that folds up to nothing. I usually shower in the evening so I hang the towel in my tent to dry (on the shelf) overnight. If it’s not dry in the morning, I run it under my camping bag straps and let it get the “60 mph dryer” in the morning.
Kitchen: I pack my entire kitchen in my top box, which is a 31 Liter Givi Mono-key. Here is what I take with me:

My refrigerator is a simple collapsible insulated bag that will hold approx 2 quarts. Many times we cook on night one and I’ll bring a few frozen pork chops or something – this bag will keep them all day. Sometimes we will stop at a grocery to pick up supplies to cook. I will get a bag of ice and tie it to my camping bag. When I get to the campground, I use one of my saddlebags as an ice chest – it will keep ice overnight very well.

I bring an 8” frying pan and a spatula – cheapie walmart specials.

My plastic camping plate – again $2.00 at walmart.

I bring these two grilling pans that I bought at World Market for $20.00. They are heavy duty and are about 6” x 12”. When there is no grill at the campsite, we can sit these on some rocks or whatever and cook on them. I’ve cooked chicken, pork chops, steaks, potatoes, veggies, etc.

Two aluminum re-fillable water bottles (about 2 quarts)

A fire starter brick

Can goods and my small Tupperware of coffee

Can’t forget the beer huggie!

Collapsible coffee filter funnel.

Fuel for my stove.

A 750 ml flask filled with my spirit of choice (usually Heradura Tequilla).

My stove, cups, and pot. Everything fits into the pot. The pot and cup set is made by Stanley, and the stove is a snow peak unit.
https://www.shopstanley-pmi.com/product/adventure-camp-cook-set-24-oz-stainless-steel
https://www.rei.com/product/643058/snow-peak-gigapower-auto-stove


My friend Mike made me this great wind shield for my stove. I folds up to nothing, has small holes to allow a little draft in, and provides great protection against the wind. This cuts way down on my fuel use for my stove.

Then I bring this 1-gallon Ziploc bag of my kitchen goodies:

In this bag, I have:
Condiment packets that I grabbed from a fast food restaurant (ketchup, mustard, mayo, lemon juice, tobacco, sugar, sweet-n-low etc)
Coffee creamer
Coffee filters
Small bottle of olive oil
Small container of salt and pepper
Small container of season all (Tony Chaceries)
Small container of BBQ sauce
Small container of dish washing soap and scrub sponge
Couple of lighters
Handful of napkins
Couple of trash bags (walmart bags are nice)
Bottle Opener
Couple of Sporks
You can make your own party pack by picking up a set of the trial sized containers in the toiletry section of Walmart for a few bucks. Make sure you get containers made of Polypropylene. Polyethylene is not safe as a food container.
Other things that I always have on the bike that I also use for camping:
Good headlamp with a spare set of batteries (LED lights are great)
Small LED flashlight
Multi-tool with a sharp knife (my Kobalt unit is excellent)
OTC medicines (Ibuprofin, Anti-histimine, Anti-acid, etc)
First Aid Kit
Spare set of prescription glasses (my old pair)
Spare set of batteries (AAA and AA)
Having a riding buddy that also camps is helpful because each of you can contribute and you can avoid bringing duplicate stuff.
For your first trip, I would suggest you try a 1-night camping ride on a place around 100 miles away. Pick a couple of good weather days to minimize the challenges. Take you time and bring a pen and note pad. You will think of stuff you forgot or would like to have while you are out there. Jot it down then because your memory will fade by the time you get home.
Also, the bike will feel a bit heavy when you start out. The added weight of the camping stuff will make your suspension sag just a bit lower (be sure to adjust your suspension to accommodate the additional weight). After about 10 minutes, it gets normal to me. Take you time and get used to it. Tighten down your straps and after about 10 miles, stop and re-check them to make sure you are secure.
I hope this information is helpful and useful to you.


