Having my fuel injection cake and eating it too!

Yamaha FJR Motorcycle Forum

Help Support Yamaha FJR Motorcycle Forum:

This site may earn a commission from merchant affiliate links, including eBay, Amazon, and others.

UselessPickles

Making Grand Canyon replicas from air boxes...
Joined
Sep 2, 2006
Messages
951
Reaction score
20
Location
Michigan
I decided to give up trying to find the right balance between power/smoothness and fuel economy and instead just have both available at all times. My Motty AFR Tuner has two separate fuel maps (and accompanying AFR target maps). I can setup one map to be smooth, powerful and wasteful with the fuel for when I'm having fun, then setup the other map to run as lean as reasonable for when I'm willing to deal with side effects (some hesitation on acceleration, etc) to extend my range and wallet a bit.

The only problem is that I currently have to connect my laptop to the AFR Tuner to switch maps. Luckily, the latest firmware upgrade for the AFR Tuner (which has actually been available for quite a while) adds support for a digital input (i.e., on/off) that can be configured to control a few things:

  • Turn data logging on/off.
  • Turn the "self mapping" feature on/off.
  • Temporarily boost the fueling (for use with NOS).
  • Switch between the two maps.

I spent some time searching for a switch to use and settled on this: https://www.crazypc.com/products/vandal-latching-823911G.html

greenlatchingfull.jpg


It's waterproof, has separate contacts for powering the LED, and it's a SPDT switch (switches between connecting a single common contact with one of two other contacts), so I can easily wire it up to switch between supplying power to the LED and supplying a signal to the digital input of the AFR Tuner. It will also blend in nicely with my black bike. I'm going to set it up so that the light is on and the "economy" map is selected when the button is in the down position (green light for economy!).

Now I just have to wait for the switch to arrive and hope that it fits where I want to install it. I'll post pictures of the install when it happens (probably this weekend).

 
Last edited by a moderator:
Seriously nice mod! Looking forward to seeing the installed results and hearing if it all works as planned. :)

 
UP,

I hope this is not a hijack of your thread, but I was wondering from your experience with this subject whether the new PC V with the wide-band O2 sensor is a direct or close enough competitor to the AFR Tuner?

I know the DynoJet site only lists the 2009 FJR as compatible with the PC V but when I spoke with their tech support yesterday, they said that they simply have only tried it on the 2009 and not that there were some specific differences/reasons why the PC V would not work on any of the Gen II FJRs.

 
UP,I hope this is not a hijack of your thread, but I was wondering from your experience with this subject whether the new PC V with the wide-band O2 sensor is a direct or close enough competitor to the AFR Tuner?

I know the DynoJet site only lists the 2009 FJR as compatible with the PC V but when I spoke with their tech support yesterday, they said that they simply have only tried it on the 2009 and not that there were some specific differences/reasons why the PC V would not work on any of the Gen II FJRs.
pc5 with autotune works just fine on other years(at least gen2),my 07 is setup with it.

 
Cool idea... but man that's a big *** switch! Needs lots of room behind the panel. Where are you thinking of putting it? Are you able to switch while rolling? The switch would be easy to operate with gloves on I guess. B)

 
UP,I hope this is not a hijack of your thread, but I was wondering from your experience with this subject whether the new PC V with the wide-band O2 sensor is a direct or close enough competitor to the AFR Tuner?

I know the DynoJet site only lists the 2009 FJR as compatible with the PC V but when I spoke with their tech support yesterday, they said that they simply have only tried it on the 2009 and not that there were some specific differences/reasons why the PC V would not work on any of the Gen II FJRs.
The PCV + AutoTune and Motty AFR Tuner are roughly equivalent. They both perform the same main function (automatically tuning a fuel map based on and AFR target map). The main differences between the two are:

  • Motty is a single device with self-mapping, data logging, storage for 2 maps, and a custom switch/button can be easily added to switch between maps on the fly. To get all of that with the PCV, you also have to buy the AutoTune module (for self mapping) and this ugly LCD display (for data logging and multiple map switching; it also has some potentially useful display features).
  • The PCV plugs into stock connectors on the bike; the Motty requires custom wiring (that was part of the fun for me).
  • Price is different if you forgo the data logging and multiple maps on the PCV. PCV ($279 at fuelmoto?) + AutoTune ($199) = $478. The LCD module is an additional $233 -> totals up to $711. The Motty is currently $683 (fluctuates with exchange rate; I got it for $630) + ~$50 for the wide band sensor (cheaper to buy it yourself than order from Motty, because they would have to import from the USA just to send it to you) = ~$733. The Motty is actually priced pretty well considering everything it includes.


There's been no change in the ECU or injector wiring since 2006, so all Gen II FJRs should work just fine with the PCV.

 
Cool idea... but man that's a big *** switch! Needs lots of room behind the panel. Where are you thinking of putting it? Are you able to switch while rolling? The switch would be easy to operate with gloves on I guess. B)
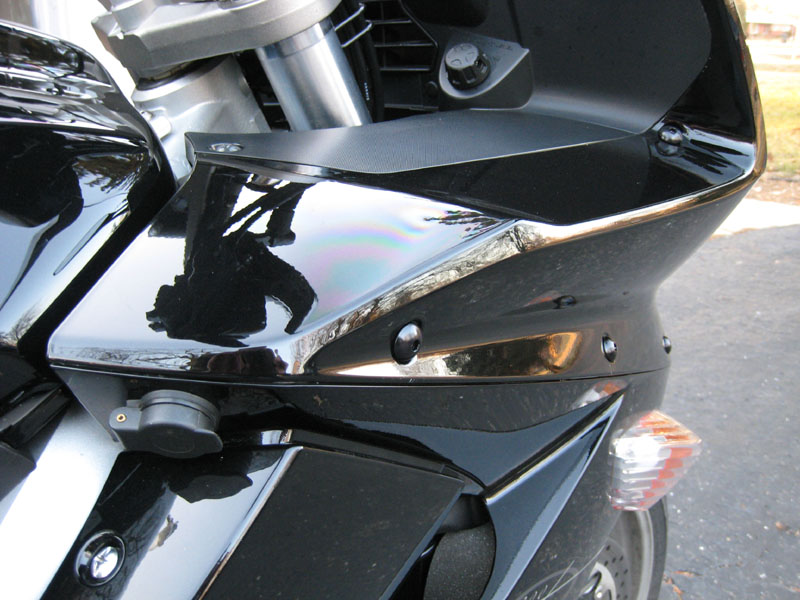
I have 2 slightly different locations in mind. Both are easily accessible with the left hand while riding (actually more easily accessible than the OEM heated grip controller). One of the locations is easily visible while riding (easy to see whether the light is on or not), but might look a little out-of-place. The other location would be the same as where my powerlet outlet is, but on the left side:

tastynuts_upper_fairing.jpg


This position would look nice and neat, but would require some craning of the neck to see if it's on while riding.

 
I got the scariest parts of the project done.

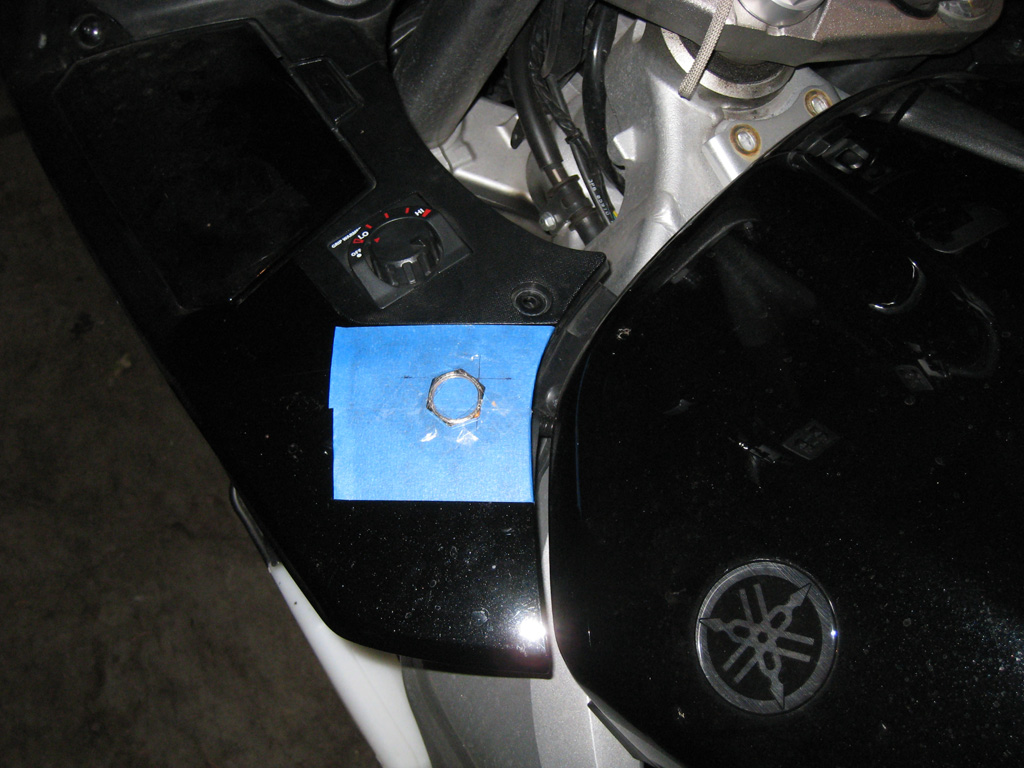
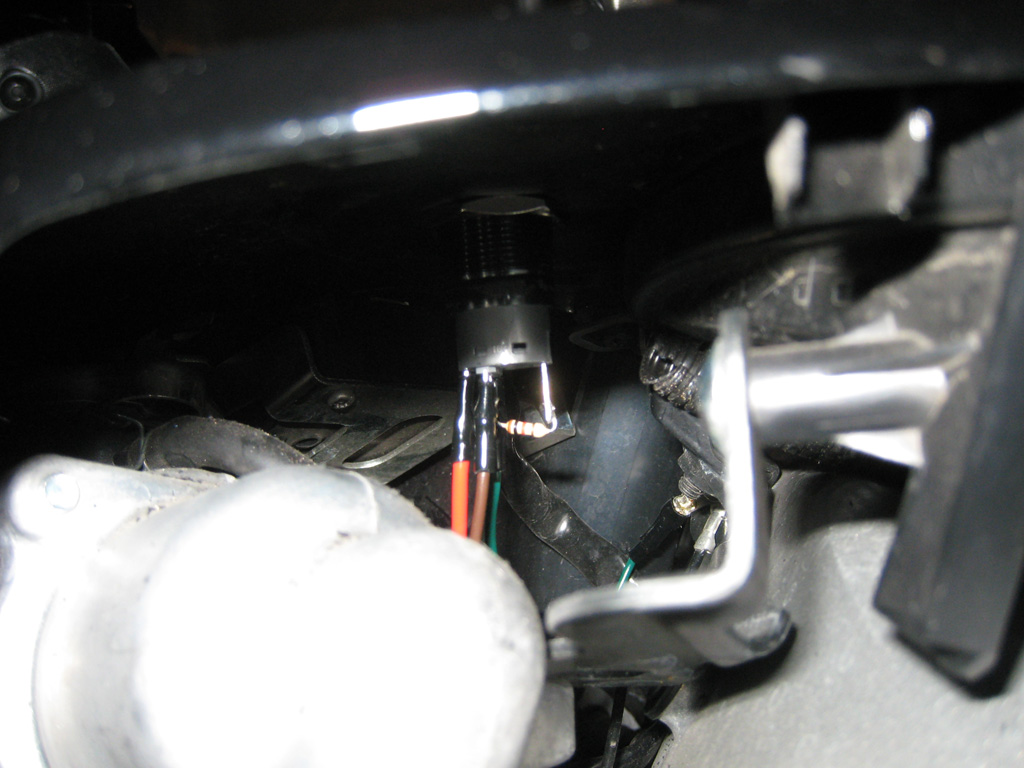
Measured/marked the location of the button, then taped down the button's nut as a guide for the hole (after checking for clearance under the panel, of course).

hole_marked.jpg


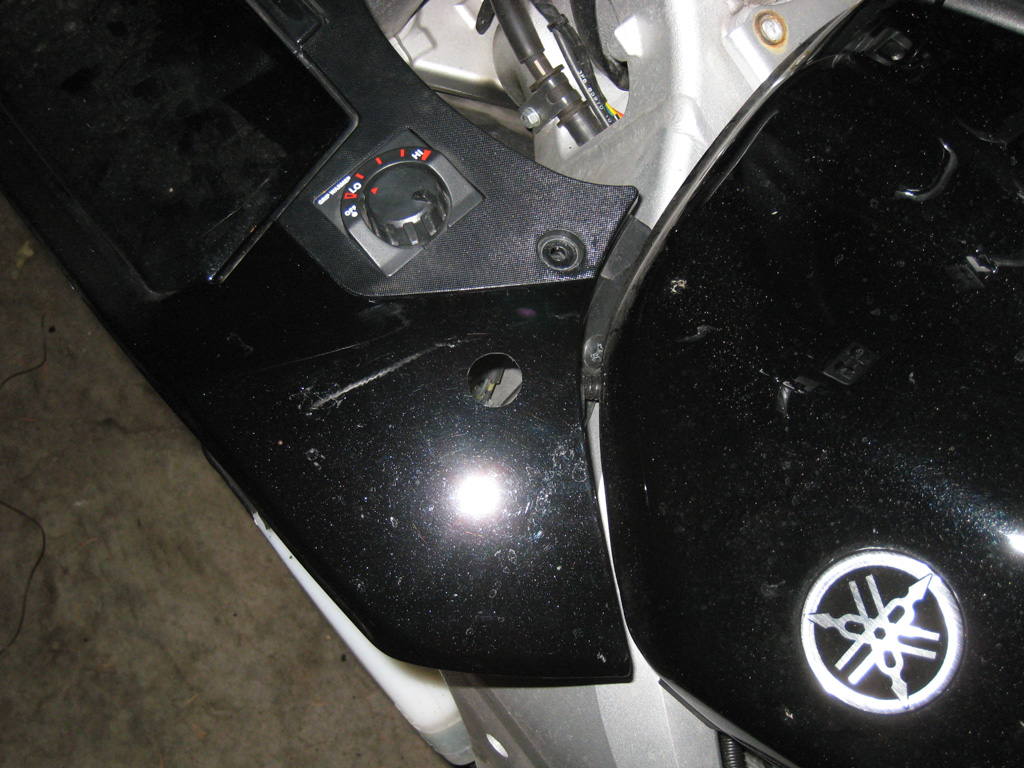
Used a Dremel to cut the hole. Used a router bit to clear out most of the center of the hole, then used a sander bit to slowly and carefully enlarge the hole to the necessary size.

hole_drilled.jpg


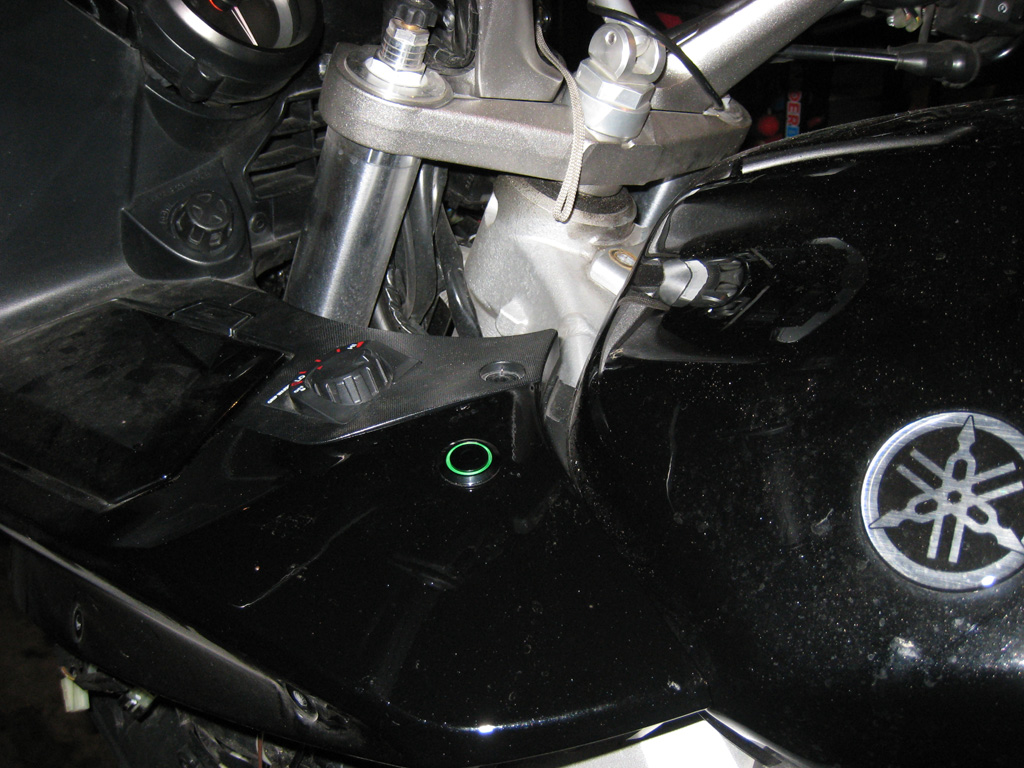
I didn't screw up the expensive plastic! The button fits!

button_installed.jpg


There's plenty of room under that panel for adding buttons/switches/etc.

under_button.jpg


I'm pulling +12V power from the conveniently located and unused stock left horn wire (I have FIAMM Freeway Blasters with Randy's wiring harness installed). That extra wire dangling down is the wire that needs to be routed back to the Motty AFR Tuner to provide the digital input.

power.jpg


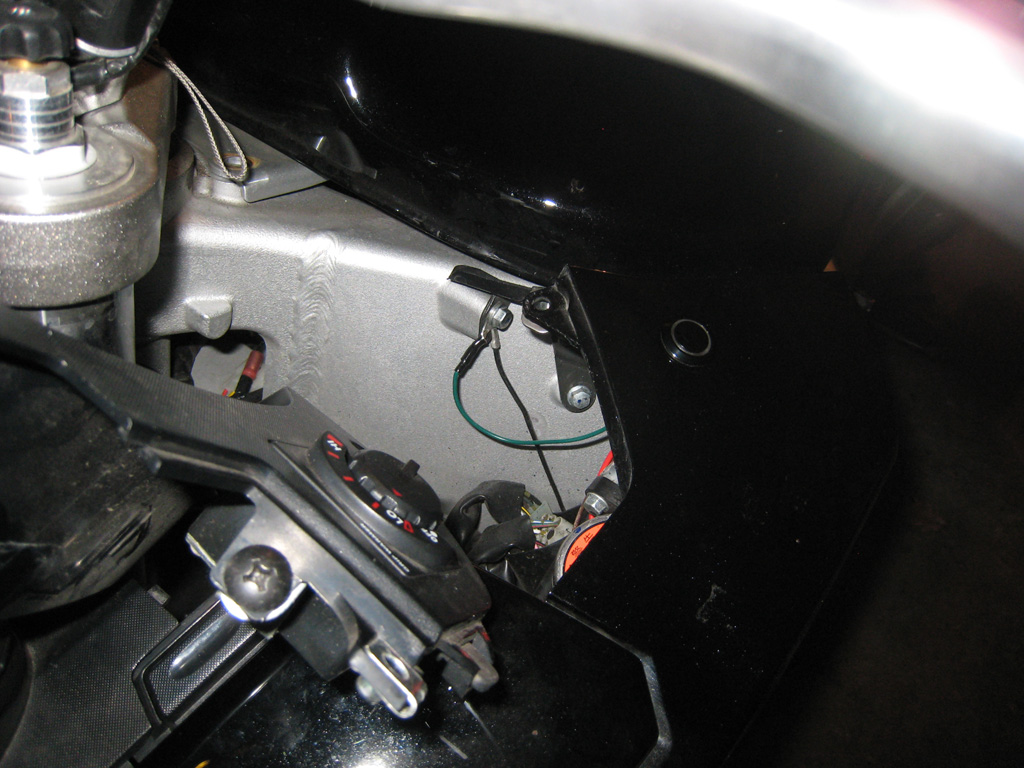
I hope the wiring gods forgive me, for I have sinned. I grounded the button to this conveniently located bolt on the frame (You can see that I've previously sinned with the ground wire for my Audiovox Cruise Control). I plan to ground the Audiovox to the battery this winter, but I think I'll leave the button as-is; it's only drawing 9 milliamps to power the LED in the button.

ground.jpg


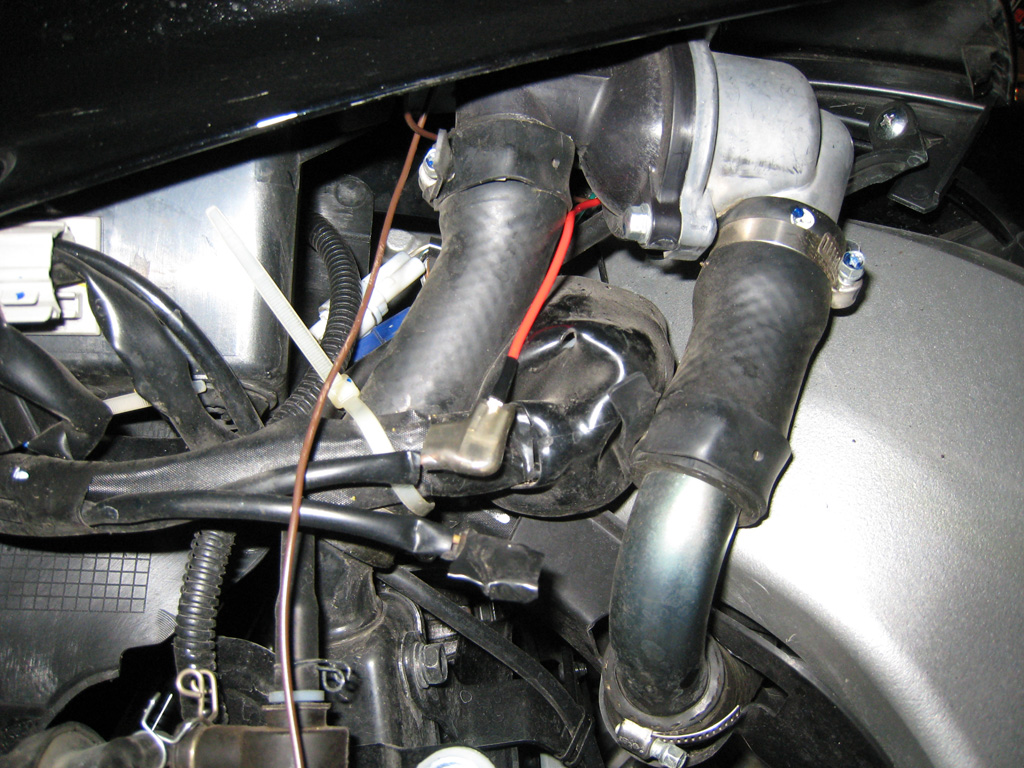
I still need to route the one wire back to the Motty, probably with a connector or two along the way for ease of disassembly/maintenance in the future. Or maybe I'll be lazy and add a connector in the future if I ever need to cut the wire to get to something. After that, I just need to put the bike back together and setup my "economy mode" map on the Motty.

Here's some wiring details for anyone that's interested...

The button has the following terminal arrangement:

Code:
    {NC}

{+} {NO}  {-}

    {C}
+: LED positive terminal

-: LED ground terminal

C: "Common" terminal

NC: "Normally Closed"; Connected to {C} when the button is up; Connected to nothing when button is down

NO: "Normally Open"; Connected to {C} when button is down; Connected to nothing when the button is up

The Motty's digital input is controlled by simply connecting it to ground. It is configurable (via software on a computer) to interpret "grounded" as either "on" or "off". This feature made the wiring very simple to get the effect I want: when the button is down, I wasnt the LED to be on and the Motty to read "on" from the digital input. When the button is up, I want the LED to be off and the Motty to read "off" from the digital input.

Here's how I wired it:

Code:
[Motty]------{NC}

[+12V]---{+} {NO}--[1000 ohm resistor]--{-}

[Ground]-----{C}
When the button is up, the Motty digital input is grounded (configured this to mean "off" to the Motty).

When the button is down, the circuit for the LED is completed (including a resistor to limit amperage and control brightness).

The minimum required for the LED to not explode is a 470 ohm resistor. I tried 500, 750 and 1000 ohms and found that 1000 ohms mad the LED about the same brightness as the FJR's dash, so it should be visible during the day, but not irritating at night.

I'll get some pictures in the daylight after everything's put back together.

 
Cool idea.

No hijack intended, but if I were installing the Motty, I would buy a pair of ECU connectors and make an interface cable. This would allow for plug and play operation in case it needed to be easily removed. Downside besides additional effort and cost is slightly lower reliability of more connection points. Jus' thinkin' out loud here for this considering this cool toy.

-BD

 
If I were installing the Motty, I would buy a pair of ECU connectors and make an interface cable.
Someone on the Gixxer forum did this for his Motty installation. His final conclusion was that it's not really worth the cost and effort to find the connectors, because you can't buy the connectors directly. You have to buy a main wiring harness to get the male side and an ECU to get the female side. Just have to hope you get lucky and find good deals on parts from a wrecked bike (I think he was lucky enough to have a fried ECU donated to him by another member). The other downside was that it was difficult to cram the extra wiring and connector on the bike.

The Motty does come with a pass-through connector that plugs into the Motty connector to pass the fuel injector signals through unaltered, so you can uninstall the Motty and return the bike to stock functionality even though you have an extra wiring harness spliced into the the ECU wiring.

 
I finished up all the physical work tonight, and verified that the button is switching between maps on the Motty! Now I just need to spend some time riding the bike and tweaking my "economy" map until I'm happy, then I'll finally find out if my economy mode gives any significant improvement. I suppose I can also richen up the cruising areas of my "power" map where I had previously leaned it out in attempt to strike a balance between fuel economy and power/smoothness.

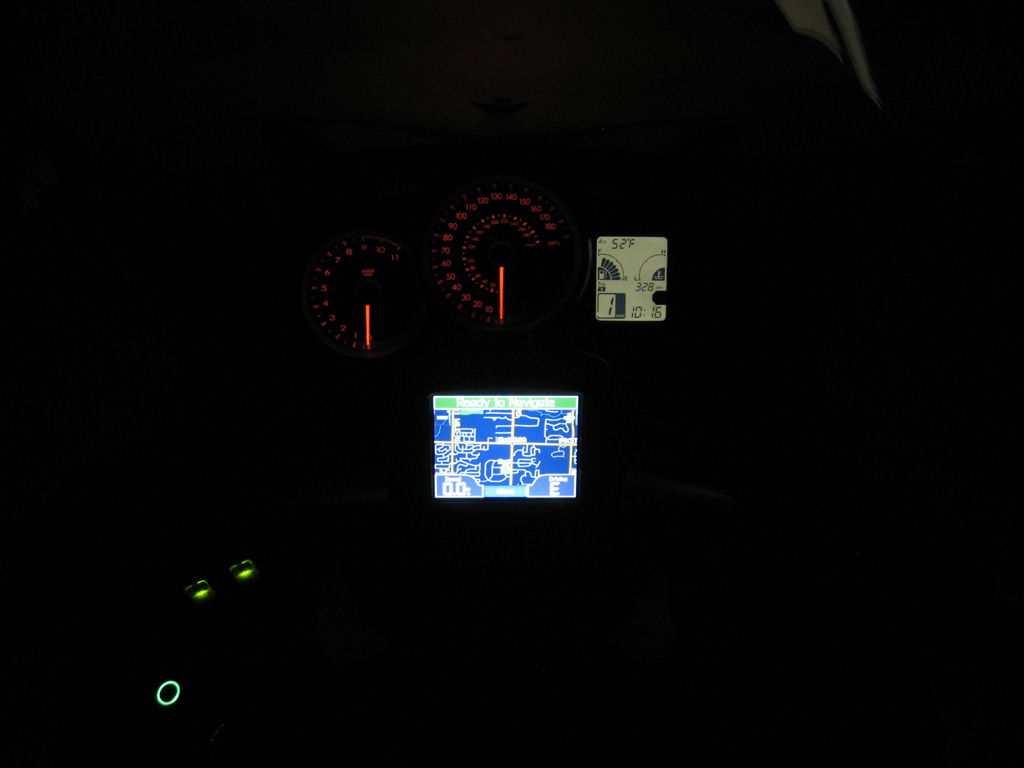
Here's what it looks like to ride my bike at night with the new economy mode activated:

cockpit_view_night.jpg


I'll get daytime pics this weekend.

 
I finished up all the physical work tonight, and verified that the button is switching between maps on the Motty! Now I just need to spend some time riding the bike and tweaking my "economy" map until I'm happy, then I'll finally find out if my economy mode gives any significant improvement. I suppose I can also richen up the cruising areas of my "power" map where I had previously leaned it out in attempt to strike a balance between fuel economy and power/smoothness.
Here's what it looks like to ride my bike at night with the new economy mode activated:

cockpit_view_night.jpg


I'll get daytime pics this weekend.
I would like to see your AFR maps, is it like the PCV? I would like to see what areas you are changeing and compare it to mine.

 
I would like to see your AFR maps, is it like the PCV? I would like to see what areas you are changeing and compare it to mine.
Just like the PCV + AutoTune, except that the Motty has more cells in the map. I copied my current AFR maps into a Google spreadsheet: https://spreadsheets.google.com/ccc?key=0Ao...JwVVE&hl=en

Notice that there are tabs at the bottom of the page for "Economy", "Power", and a "Mix" of both. The "Mix" map is what I've been running up until now. I still need to spend some more time fiddling around with the very low throttle/RPM area to get perfect smoothness when initially engaging the clutch and accelerating from a stop. It's actually pretty good already, but I can never leave things alone.

The "Economy" and "Power" maps are brand new and not fully tested. I imagine the "Power" map will be great as is, but the "Economy" map needs a lot of work to reduce hesitation/surging to only the areas that are most critical to saving fuel. I went for a quick ride on the new "Economy" map tonight and nothing exploded and the bike never tried to stall. Power delivery is definitely not nearly as smooth and precise as the "Power" map, but for sedate commuting/cruising style riding, it won't be a problem. If I want to have some fun with smooth power delivery, it's always just a button-press away.

All 3 maps are the same from about 36% throttle to 100% throttle, and from about 5400 RPMs on up. These are the areas that if you ever visit them, you definitely want power and smoothness. All of the tweaking for fuel mileage is below 36% throttle and below 5400 RPMs. The toughest part to get just right is smooth acceleration from a stop (or low speeds) while also getting good cruising fuel economy. There's some overlap in the sections of the map that are used for both reasons, so you get hesitation while accelerating if you try to lean out the cruising area too much. This is the main reason I gave up and installed the switch.

Another solution that would be the best of both worlds would be if the PCV (or Motty) was improved to support a "cruising mode" option where, within given RPM and throttle limits, it would consider you to be "cruising" if you maintained a fairly steady throttle/speed and would temporarily use a configurable cruising AFR as the target instead of the AFR map.

FYI: I found that it was best to leave most of the cells around 1500 RPMs and lower zeroed out so that stock fueling is used. I had problems in the past with way too much fuel being removed right at the point where you're opening the throttle and slipping the clutch to take off, so the bike would stall. Either the stock fueling in that area is much richer than I was targeting, or something about the low RPMs caused a false rich reading of the exhaust gases.

 
Last edited by a moderator:
Yes, yes, yes. Way cool.

Thanks for the excellent info. Maybe more manufacturers will follow Kawasaki's lead with the 2010 Councours and provide and handlebar mounted button to toggle between various maps. Although I don't know as they would be able to be modified.

Glad to hear the the Motty and PCV both offer that option. Too bad they are so $$$.


Latest posts

Top