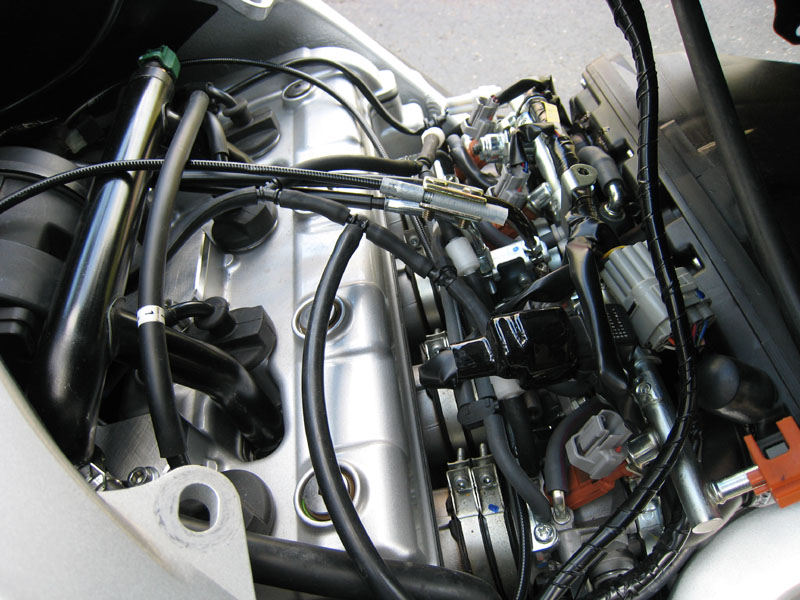
PAIR block-off plates installed

Yamaha FJR Motorcycle Forum

Help Support Yamaha FJR Motorcycle Forum:

This site may earn a commission from merchant affiliate links, including eBay, Amazon, and others.

UselessPickles

Making Grand Canyon replicas from air boxes...
Joined
Sep 2, 2006
Messages
951
Reaction score
20
Location
Michigan
I received my PAIR block-off plates from 08FJR4ME just in time for the weekend, so I had time to install them. There must be some special allen wrench that'll allow you to remove the bolts with that coolant pipe partially in the way, but I gave up and decided to just drain some coolant and get that pipe out of the way. I had done it before to install my cruise control, so it wasn't nearly as scary the second time. It made it so much more pleasant to install the block-off plates with direct access to the bolts.

Here's the results:
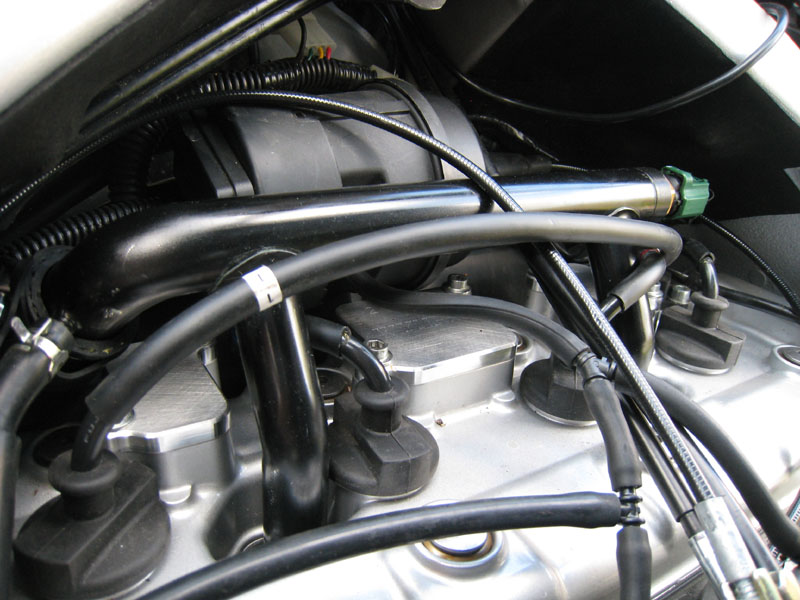
wynpro_pair_plates01.jpg


wynpro_pair_plates02.jpg


Thanks again to 08FJR4ME for making a batch of these!

If anyone is interested, my less expensive solution is now for sale: https://www.fjrforum.com/forum//index.php?showtopic=117073

 
Thanks for the info I will do this when I relocate my CC servo so I only drain the coolant once.

 
Looks very good. Can you supply some tips for removing the coolant pipe?

Removal:

  • Let the engine cool down completely if you've ridden it recently.
  • Drain about 1 quart of coolant. The drain bolt is at the lowest bolt on the water pump. The water pump is on the right side of the bike, down at the bottom (there's a big rubber hose connected to it. The thin part of the lower fairing at the bottom of the bike is in the way. You can be lazy and just remove that one fairing bolt and pull that part of the fairing away (I made a bit of a mess while draining the coolant this way). Before draining the coolant, you must remove the black panel next to the glove box so you can remove the coolant filler cap, allowing air to replace the coolant that you are trying to drain.
  • Try to clean out the deep pits where the coolant pipe is mounted to avoid dropping junk in the engine.
  • Remove the coolant pipe mounting bolts, then jiggle the pipe back and forth while pulling up a bit. It takes a little work, but it eventually comes free. Do this befor removing the hoses from the pipe to avoid spilling coolant out of the hoses.
  • Try to keep the pipe up high while working the hoses off. Loosen the clamps, then use a large flat-blade screwdriver to push the hoses off; you'll have no luck pulling them off.
  • The big hose will be full of coolant. Use something to suck some coolant out of it so you don't spill it while working.
  • Don't let anything fall into the coolant pipe holes on the engine. Maybe cover them with a rag.
  • It will take a few tries to get the pipe rotated so that you can actually remove it from under the tank.

Installation:

  • Make sure the pipe ends, O-rings and the area where the O-ring seats are clean. It would suck to get it all together and have a leak.
  • Get the pipe lined up, but not inserted into the holes yet. It's easier to get the big hose back on if you can still move the pipe around a bit.
  • Use a bit of soapy water on the pipe to help the hoses slide on.
  • Gently wiggle the pipe into place and make sure it is fully seated before tightening the bolts.
  • Pour coolant back into the filler hole until it's full. Put the filler cap on (and tighten). Run the bike until it warms up to about half-way on the temperature display so that you know the thermostat has opened (good time to do a throttle body sync while the tank is still up). Check for leaks on the coolant pipe. Let the bike cool down. Repeat until all coolant is back in the bike. You may have to pour the last little bit into the overflow tank.

 
:bad: Next time dip your finger into grease and wipe it on the valve cover, add some dead bugs and dirt, let's at least pretend we've been riding heh? :lol:
 
Pickles,

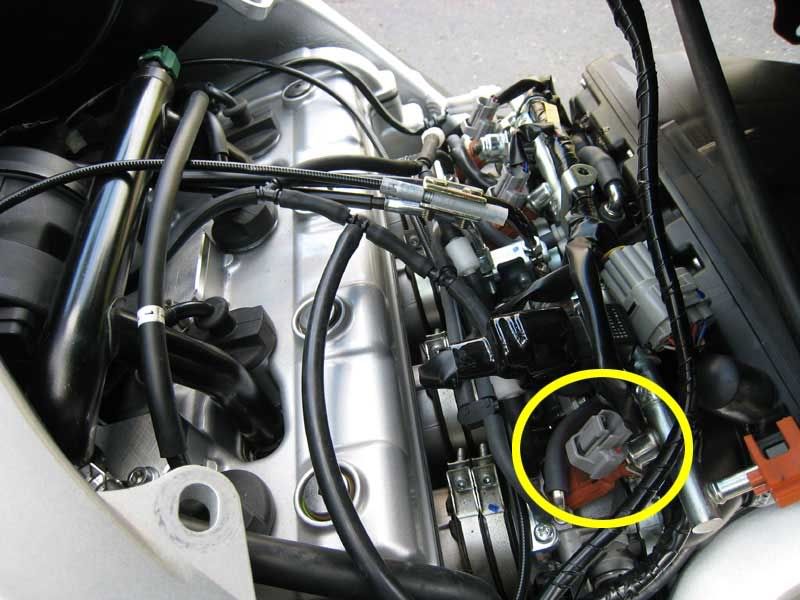
Y'know, your dyno runs would look LOTS better, and you might get that barge under 11 seconds in the quarter, if you bothered to plug in Injector #1. :p

injector-1.jpg


'splains why it's runnin' so lean!

 
I received my PAIR block-off plates from 08FJR4ME just in time for the weekend, so I had time to install them. There must be some special allen wrench that'll allow you to remove the bolts with that coolant pipe partially in the way, but I gave up and decided to just drain some coolant and get that pipe out of the way. I had done it before to install my cruise control, so it wasn't nearly as scary the second time. It made it so much more pleasant to install the block-off plates with direct access to the bolts.
wynpro_pair_plates02.jpg


Thanks again to 08FJR4ME for making a batch of these!
Your welcome! Now if you could only pay in beers :drinks:

Nice job done.

Yeh, those two bolts on both ends were a ***** to get out. I ended up grinding about a 1/4 inch off of my 5MM allen wrench to get to them.

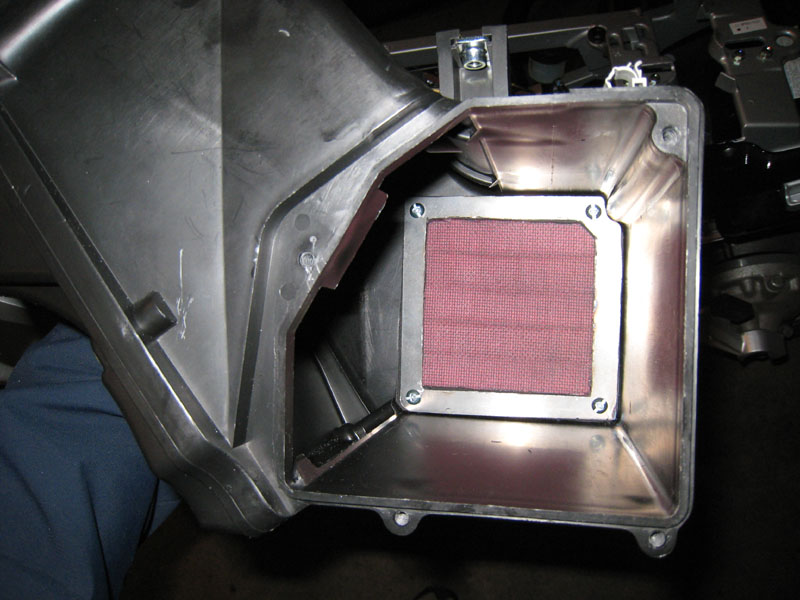
You may want to get some more air in there with this mod.

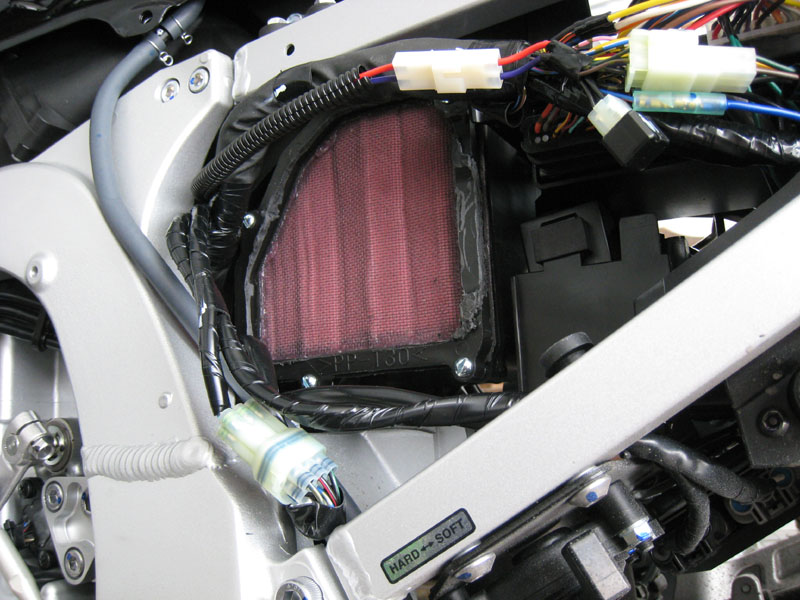
Here is my fix I just finished for the air box inlet. I didn't want to loose the modest gain in acceleration.

I started with the original that came off of the inlet but it turned out to be to long.


I then put one of the shorter hoses which was slightly bent. (Much Better Fit)


Installed in the Feeej.


I sprung for the Stainless filter ($11.95) @ autoZone. they also had others for ($9.95) regular screen different colors.

the Hose barb I allready had. $0.0. Pretty cheap mod. JMO


Pickles,
Y'know, your dyno runs would look LOTS better, and you might get that barge under 11 seconds in the quarter, if you bothered to plug in Injector #1. :p

injector-1.jpg


'splains why it's runnin' so lean!
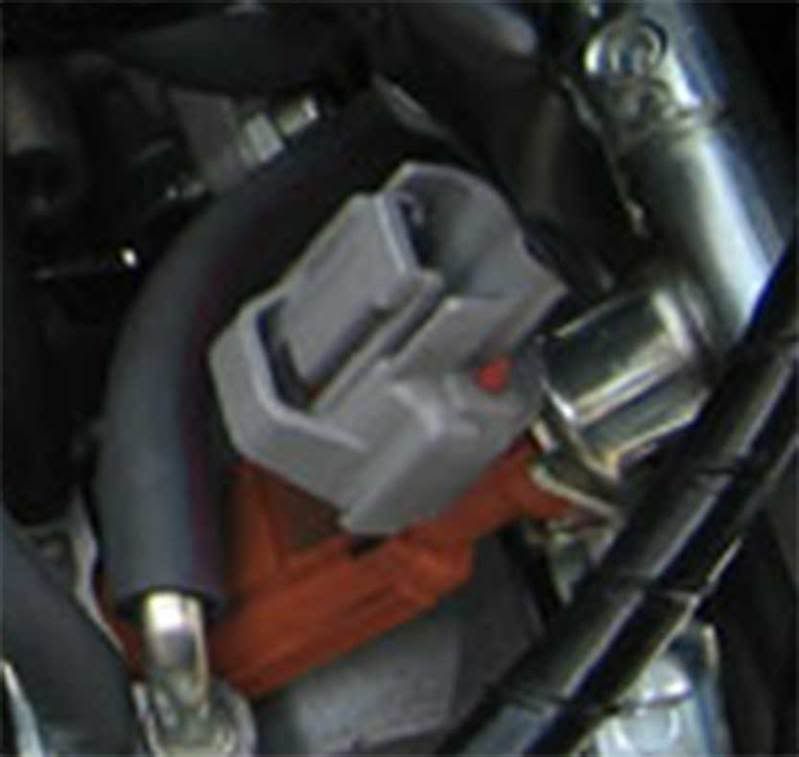
LOL... you actually got me worried for a second there. The gray part that you circled is the connector for the injector, so it is plugged in (the injector is the orange part just below that, for those following along; I'm quite certain that Howie knows this already). Due to the angle of the photo and shadows, it appears that there are no wires attached to the connector. Look at the injector for #4 (top of picture) for reference.

 
Due to the angle of the photo and shadows, it appears that there are no wires attached to the connector.
Perzakly what I was kidding about. Looking at that photo, I see NO wires comin' outta that connector! :dribble:

Edit:

I just HAD to look again....MUCH closer....

injector-2.jpg


Where the HELL are the wires???

 
Last edited by a moderator:
Where the HELL are the wires???
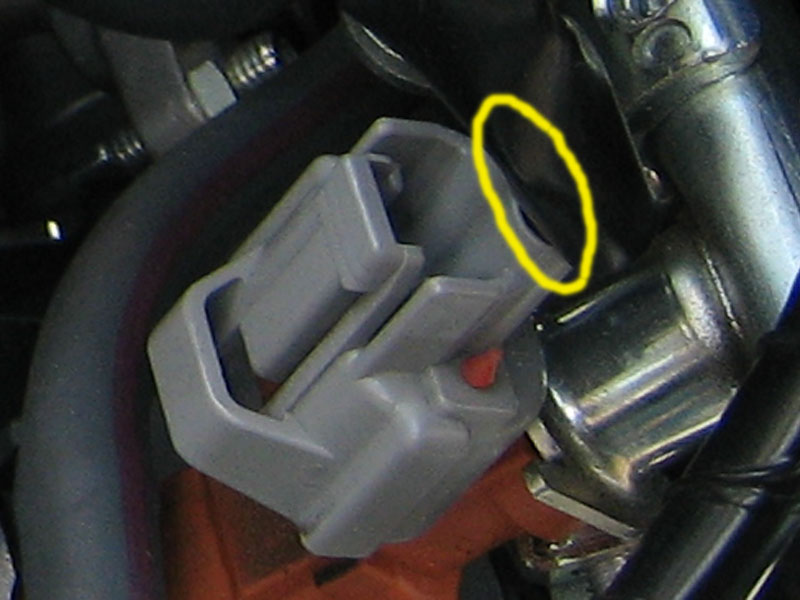
Hidden by the black plastic sheath/conduit/loom/whatever. Here's a closeup from the original photo. I circled the openings in the connector where the wires enter. It's mostly obscured, but you can see the edge of one opening.

injector_connector_closeup.jpg


Top