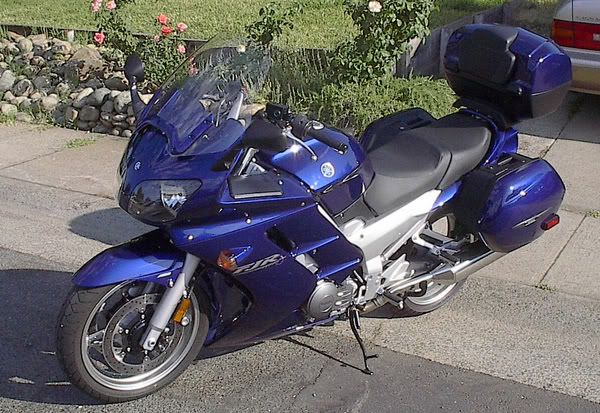
OrangevaleFJR
R.I.P. Our FJR Riding Friend
I was really happy yesterday:
The Yamaha dealership called and my topcase arrived.
I was able to get my buddy get his tap and die kit available for me.
I received my Starcom1 communication system (3 days after I ordered it).
Step one:
Installed Starcom1 communications device. Simple procedure. I have not yet got enough electronic gadgets to undergo the power strip procedure on FJRtech. Someday...so I just wired the power soure to the battery terminals via fused lead. The unit is mounted on the bottom of my seat. This way I could avoid some size issues and to me this was a economical way of saving space.
To the punch line: Sherri and I were a little scared after our lame chatterbox experience. The Starcom1 was around $300 and worth it. 100+ mph tests with the windshield all the way down and we could still hear each other very clearly. Awesome!!! We then also tested listening to the IPod and the VOX funcitonality. Again...works like a charm. We can set the vox so that singing along with the song doesn't mute the stereo, but a loud introductory word does so you can mute the stereo to talk, hands free. The stereo comes back on with a few seconds of silence.
My recommendation: Worth every penny, good customer service, very capable product. For those in need of communication, this is a buy!
The kit came with some nice things that show that someone at Starcom rides...nice cable connector storage devices for when it isn't in use (water proof )
Step 2:
Vista Cruise install using the method of tapping a hole into the right fluid resevoir thing where you would usually see the mirror attachment hole. This is written up in other locations...just search and you'll find it...otherwise I'll post it here later.
vista install thread
I am satisfied that this will meet my needs. I just want to rest my right hand sometimes and this allows me to do it without shelling out a few hundred bucks for electronic cruise.
The install does benefit from modifying the tapped area to allow a better fit of the bar....I find that it is not exretemely solid and am about 78% satisfied...but again, for 30 bucks vs. 250ish I'll survive.
Step 3:
Went to Cisco's house and watched him install my topcase. When you are in Cisco's bike shed, he does the work
The wife is really happy with it. Also let Cisco and his wife ride it. Both women (without conspiring with ea. other) mentioned they wanted to add some kind of round cushion for lower support as well. A rolled up sweat shirt, a tube pillow...something.

Last edited by a moderator:


