Aux. Light Wiring

Yamaha FJR Motorcycle Forum

Help Support Yamaha FJR Motorcycle Forum:

This site may earn a commission from merchant affiliate links, including eBay, Amazon, and others.

BigOgre

Well-known member
Joined
Sep 6, 2007
Messages
1,407
Reaction score
680
Location
Pinehurst, NC
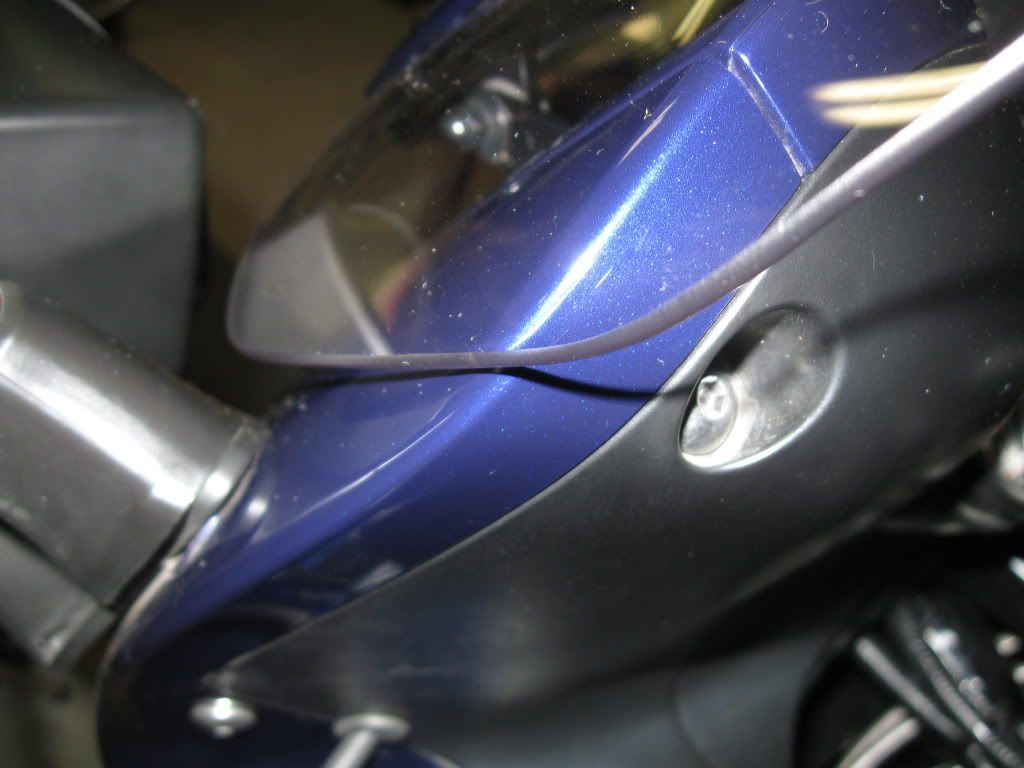
Wanted to get in on the fun and ordered a set of aux. lights. For those of you who mounted the lights up around the mirrors on the more streamlined and aerodynamically superior Gen I's (i.e. those without the vents), how did you route the wires into the cowling? My first thought was to go through the B & C panels but that seems like it would be a PITA at every removal. Although maybe slotting the panels might work? Or just suck it up and drill into the fairings?

 
Although maybe slotting the panels might work? Or just suck it up and drill into the fairings?
I drilled and slotted my B & C panels many moons ago...never thought about the fairing itself. Not much of a pain in the times you have to take things back apart. Either let the panels hang or take them off through the slots.

 
Drill a small hole in each of the inner black fairings and then use a dremel to cut a slot into each one. You can then use a rubber grommet to make a nice clean job. I'll see if I can find some pics.

Canadian FJR

 
Mine are the same as Iggy's, slotted the B,C panels and used grommets to prevent chafing.

Pic below (used for showing windshield clearance) gives you an idea of where I routed my wiring for my Solteks. Down at the lower LH corner of the picture shows a somewhat out of focus (second thought, really out of focus) grommet and wire.

Tuningblock012.jpg


Also, you may already have your wiring planned out, but just in case, here's a schematic I put together to help jog my memory if I ever need to do any troubleshooting.

FJRSoltekWiringSchematic.jpg


Last edited by a moderator:
I used the WynPro mounting brackets, very beefy and well made. I mounted them up and marked the outline of the mirror on the bracket. I then removed the mirror and drilled a hole through the bracket and the fairing about 1/2 inch inside area covered by the mirror. Be careful to place the hole to miss the mirror mount. Then I used a dremel to angle the hole in the bracket back to the outside edge of the mirror.

The wire makes a small loop around and slips snugly through the passage and disappears under the mirror. If the lights and brackets are removed (selling off farkles) the small hole in the fairing is covered by the mirror. No modded panels, no dealing with wiring when removing panels.

I'd attempt to provide a photo, but I've removed all the plastic including the nose to facillitate numerous projects - CC, valve check, CCT replacement.

 
One caution: not a good idea for the wires to go directly up from the back of the lights. Water may follow the wire down and drip into the back of the light during wet weather riding.

 
Here is a thread for a pretty clean installation of a pair of Hella FF50 driving lights on a Gen II. https://www.fjrforum.com/forum/index.php?showtopic=108894

I followed it generally for installing the same lights on my '09. I think the general principles would be the same. I've seen a similar thread for a Gen I installation on the forum also.

 
Last edited by a moderator:
FJR Commander, maybe I'm missing something, but why do you have a 30A fuse protecting the control side of the circuit when all its running is the relay that should draw around 1 amp I would think.

 
Last edited by a moderator:
Mike,

This is probably already a fait accompli, but...

I posted a fuzzy photo of how and where I notched the B and C panels in the post I put in Dave's "Self-Buy" thread. It makes it still relatively easy to remove the panels without messing with the light wires.

I just made my notch snug and when reinstalling the panels it sort of clamps the cable in place without need for a rubber grommet.

 
Thanks Fred, I saw that. Will probably go in that direction. Sadly though between shoveling out what seems like every third day and everything else going on here nothing much is getting done. Got the heaters going in the garage now though.

 
Top