Final Drive Fluid Change

Yamaha FJR Motorcycle Forum

Help Support Yamaha FJR Motorcycle Forum:

This site may earn a commission from merchant affiliate links, including eBay, Amazon, and others.

Nice Rumble

Well-known member
Joined
Oct 20, 2005
Messages
319
Reaction score
0
Location
New London, NH
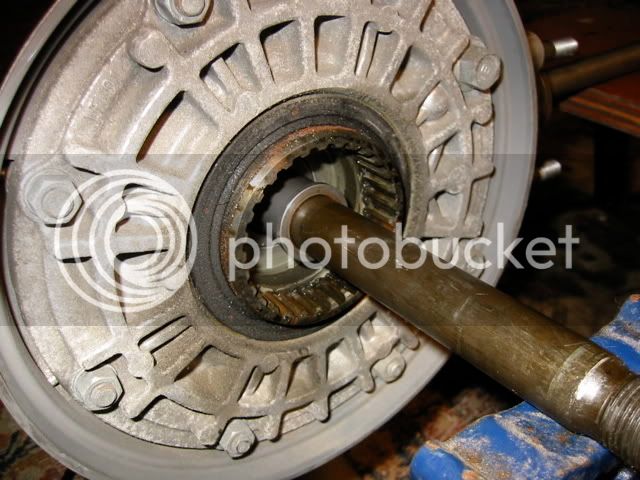
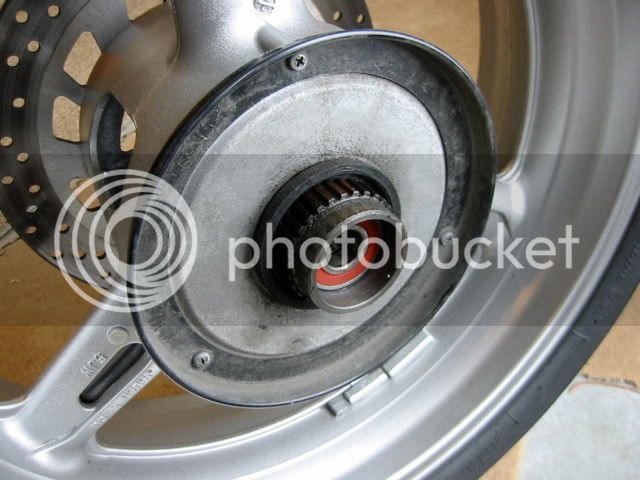
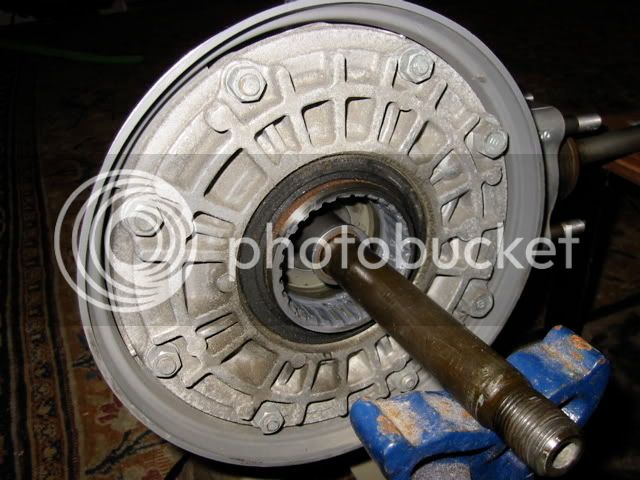
I looked for some tutorials on this presumably simple procedure but found nothing. Is that because it needs no explanation?

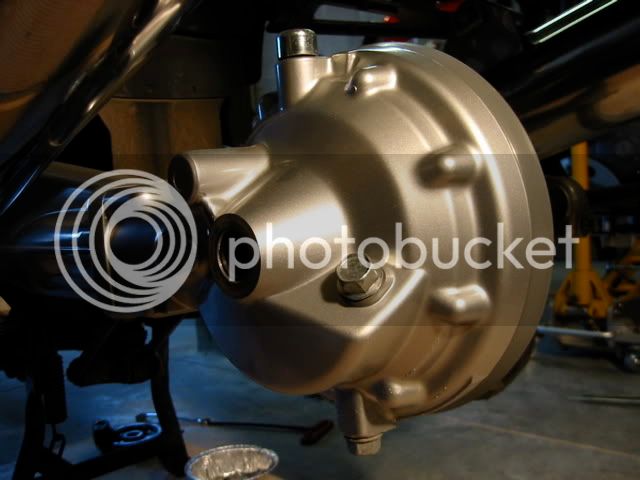
Just pull the drain bolt, empty, replace plug and pour in fresh fluid? What is the cylindrical cap on the top, vent?

IMG_1618.jpg


You've got it all correct, it's that simple. Normally I would suggest riding the bike first to heat up the thick oil, but I see that may be a bit awkward based on the picture. Plan to let it drain a long time. There is some assembly grease in the pumpkin adding to the slow draining as well as giving it an, uhh, shall we say an aroma.

Drain, fill to the top of the hole. Replace the bolt, use a new crush washer or not, as your conscience guides you.

The silver cap is the vent cover. When my V-Max was ridden on a closed course by a professional rider with the engine at redline in top gear for an extended length of time I would get a lot of oil coming out the vent. Haven't seen that with the FJR so far.

And, my, what a shiny clean FJR you have! How did you like Friday's snow storm? :angry:

 
Last edited by a moderator:
Nice Rumble;

DANG!! That thing looks brand spanking new! Can I bring my bike over for you to detail?

Good luck on your lube change. I haven't done mine yet, but it looks pretty simple.

 
Last edited by a moderator:
As easy and cheap as it is to drain and fill, some do it as often as their oil change. While the motor oil is draining, drain the final drive. Mobil 1, Amsoil,or even Redline make excellent final drive oil. I have used both Mobil 1 and Amsoil. I change my final drive every other oil change.

 
Last edited by a moderator:
Nice Rumble;DANG!! That thing looks brand spanking new! Can I bring my bike over for you to detail?

Good luck on your lube change. I haven't done mine yet, but it looks pretty simple.
We can do yours on the 12th along with everyone else's.......

R

Nice Rumble;DANG!! That thing looks brand spanking new! Can I bring my bike over for you to detail?

Good luck on your lube change. I haven't done mine yet, but it looks pretty simple.
We can do yours on the 12th along with everyone else's.......

R

 
You've got it all correct, it's that simple. Normally I would suggest riding the bike first to heat up the thick oil, but I see that may be a bit awkward based on the picture. Plan to let it drain a long time. There is some assembly grease in the pumpkin adding to the slow draining as well as giving it an, uhh, shall we say an aroma.
Drain, fill to the top of the hole. Replace the bolt, use a new crush washer or not, as your conscience guides you.

The silver cap is the vent cover. When my V-Max was ridden on a closed course by a professional rider with the engine at redline in top gear for an extended length of time I would get a lot of oil coming out the vent. Haven't seen that with the FJR so far.

And, my, what a shiny clean FJR you have! How did you like Friday's snow storm? :angry:

Snow, snow and more snow. The winter that won't quit. Thanks guys.

 
I did mine today, easy-peasey. Used a new crush-washer, oriented per THIS. FWIW, all my crush-washers on the oil drain plug, final drive drain plug, and final drive fill plug that I took off were all on wrong.

Don't forget to lube up the drive splines while you have that rear wheel off. How-to HERE. I also went ahead and pulled off the u-joint and cleaned it up while I had the drive shaft off. Instructions at Mark Johnson's FJR site HERE. Note that I found on the Gen II's it's easier to go ahead and pull of the foot-peg assembly to get the dust-covers off and get to everything. But again, mostly easy-peasey.

 
The manuals etc seem to say 200 ml. Is that the same as "fill to the top"? I measured the 200 last time and I think it was not right up to the hole.

 
The manuals etc seem to say 200 ml. Is that the same as "fill to the top"? I measured the 200 last time and I think it was not right up to the hole.
The service manual shows the level to be right to the top of the threads- like one more drop and it runs out. A little more than 0.20L.

That stuff that was in there sure had a funky smell.

 
Snow, snow and more snow. The winter that won't quit. Thanks guys.
You aren't kidding, Skip. Personally, I'm fed up with it. But I see that you are making good use of the down time catching up on the maintenance. To add insult to injury, when I fired up my Pegaso yesterday in prep for a ride today (hey, it's going above 40!!) wouldn't you know it? The carbs are all gummed up. It wouldn't run off choke even after warming all the way up.

Oh joy. I get to pull the carbs and clean them. Blech!! Maybe she's trying to tell me to order a jet kit and get her running even better than new.

I did mine today, easy-peasey. Used a new crush-washer, oriented per THIS. FWIW, all my crush-washers on the oil drain plug, final drive drain plug, and final drive fill plug that I took off were all on wrong.
While I have seen the "correct orientation" info, my take is; if the damn things aren't dripping they're just fine. FWIW, they seem to seal just fine in either direction. They also seem to seal just as well after more than one use. Y crush washer use MV ;)

The manuals etc seem to say 200 ml. Is that the same as "fill to the top"? I measured the 200 last time and I think it was not right up to the hole.
The manual says what the capacity is (for convenience of knowing how much you'll need), but it also says to fill it until it starts coming out the bottom edge of the fill hole.

One other very minor detail: Ion mentioned that he would have recommended "warming up" the final drive by riding it before draining. It has been argued (elsewhere) that you may be better off draining a differential after the unit has sat for a while, allowing the oil to settle and any metal particles to gravitate to the bottom and then be flushed out with the first oil. Probably an insignificant detail, but that is how I always do it now. It just means you need to find something else to do for a while, waiting for the gear oil to drain. 'specially in my 35 degree garage right now. :rolleyes: I suppose you could aim a hair dryer at the pumpkin and heat the whole shebang up for a while if'n you wanted to.

 
Last edited by a moderator:
Good thing I took of the wheel off to check hub lubrication. Very little lubrication in the driven splines or the hub. I also pulled the pumpkin to check the splines. Even less in there. Man, I'm glad I checked. If I ran it all summer in the heat without much lubrication would not have been good.

IMG_1660.jpg


IMG_1665.jpg


The splines look dry from the factory.

IMG_1661.jpg


Used Honda Pro Moly and lubed the splines up. Should be good to go now. Just need to replace the rear fluid.

IMG_1666.jpg


IMG_1667.jpg


IMG_1669.jpg


Last edited by a moderator:
Yikes!! That drive shaft was as dry as a bone (what the heck is the etymology of that phrase anyway).

At least the hub splines look like they had a little grease on them along with the rust.

Luckily for us, there isn't a lot of motion along those splines or we'd be having a lot more frequent failures

Guess I know what I'll be doing next, since I finished the Peg's pilot jet angioplasty on Sunday.

 
Last edited by a moderator:
Fred- do you know the proper torque for the acorn nuts that hold the drive shaft in place? I can't find it in the tutorials.

 
I ain't Fred (and he's glad), but the answer is 30 lb/ft.

 
Last edited by a moderator:
Top