Thug
A shy retiring flower in a Thug's exterior
Howdy Gang
Well I finally did it…put in a permanent GDO. Originally I was going to hard wire it to the battery but the more I though about it the less I liked the fact that there was a constant power feed to the GDO circuit board, and not having any fuse block to work with, changed the idea to the one I have finished up with.
Previously I gutted a remote and soldered two wires in the appropriate places (Fiddly ****) and then wired up a momentary switch (constant open) I had quickly reached my limit on electronics 101, so I had a mate affix a reducer (he used a mobile phone charger lead and gutted that for the right amount of 12V down to 6V (being my GDO’s voltage).
Came home and just about ready to install it but something happened to the “lead guts” and when I hooked up to a 12v battery it went POP! And a funny smell came out of it… yep fried!
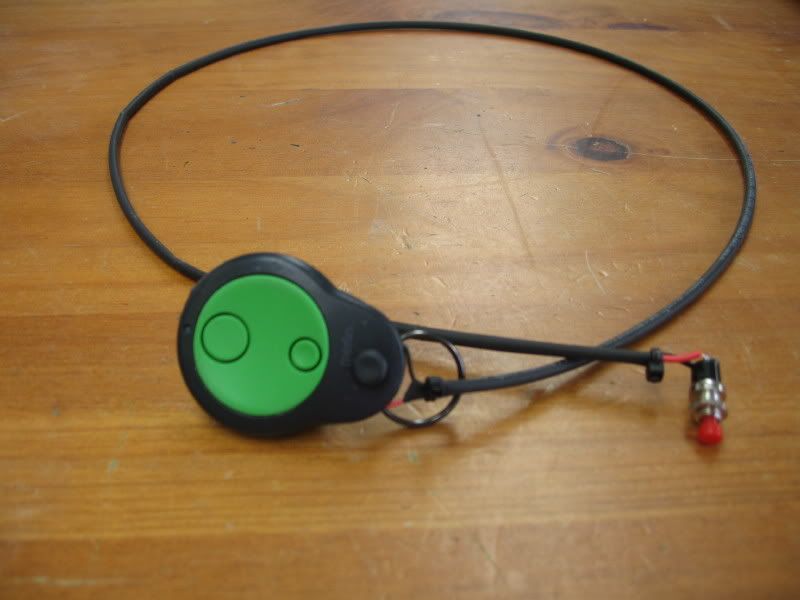
So back to the drawing board. I pulled apart (gently as you go) and soldered the appropriate wires (again) on the CB and resealed the unit so I could have it operate via its own power source (2 x 3V batteries).
As the picks will attest:
The unit:
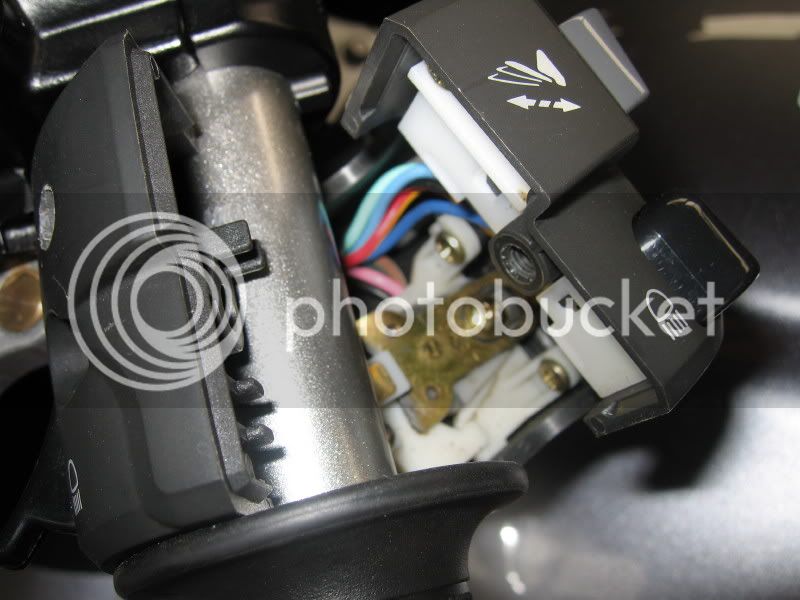
If anyone tells you there is plenty of room in this left-hand electrical cluster they have never pulled one apart:
Switch placement (be careful not to scratch the plastic it is very sensitive to little scrapes):
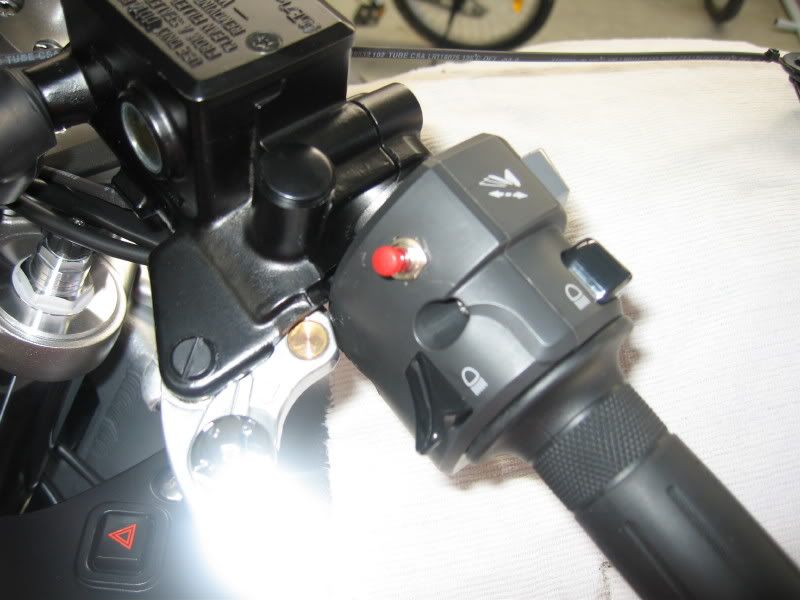
Fix switch:
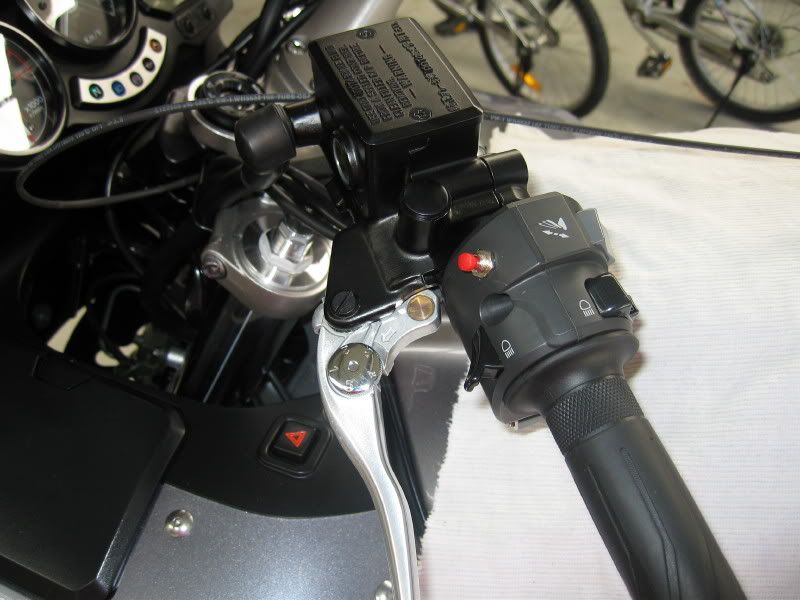
After a little testing where to put the cable and where to zip tie it so it didn’t interfere with the steering or issues with future rubbing etc, I settled on the next pic’s placement:
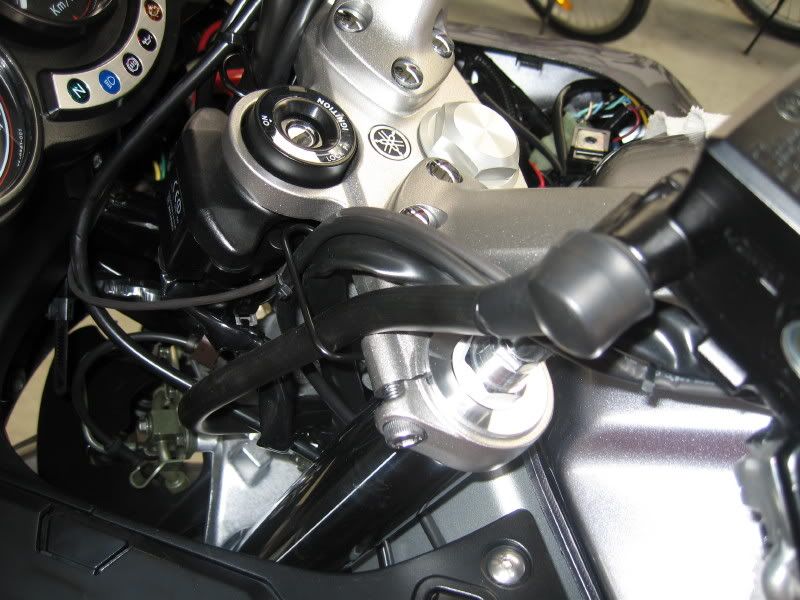
Works like a treat and looks pretty good. And I can change the batteries without too much of a fuss.
Cheers
Well I finally did it…put in a permanent GDO. Originally I was going to hard wire it to the battery but the more I though about it the less I liked the fact that there was a constant power feed to the GDO circuit board, and not having any fuse block to work with, changed the idea to the one I have finished up with.
Previously I gutted a remote and soldered two wires in the appropriate places (Fiddly ****) and then wired up a momentary switch (constant open) I had quickly reached my limit on electronics 101, so I had a mate affix a reducer (he used a mobile phone charger lead and gutted that for the right amount of 12V down to 6V (being my GDO’s voltage).
Came home and just about ready to install it but something happened to the “lead guts” and when I hooked up to a 12v battery it went POP! And a funny smell came out of it… yep fried!
So back to the drawing board. I pulled apart (gently as you go) and soldered the appropriate wires (again) on the CB and resealed the unit so I could have it operate via its own power source (2 x 3V batteries).
As the picks will attest:
The unit:

If anyone tells you there is plenty of room in this left-hand electrical cluster they have never pulled one apart:

Switch placement (be careful not to scratch the plastic it is very sensitive to little scrapes):

Fix switch:

After a little testing where to put the cable and where to zip tie it so it didn’t interfere with the steering or issues with future rubbing etc, I settled on the next pic’s placement:

Works like a treat and looks pretty good. And I can change the batteries without too much of a fuss.
Cheers
Last edited by a moderator:


![fjackets Real Lambskin Leather Biker Jacket — Quilted Cafe Racer Zip Up Moto Leather Jackets For Men | [1100085] Johnson Brown, XL](https://m.media-amazon.com/images/I/41I7Pm1f+vL._SL500_.jpg)


