Rostra is now fitted and working ... a few notes for anyone following (or searching) for info:
I didn't take pictures because fitting these things has been well covered elsewhere. Mechanically the fitting is the same for the Gen 2, the differences are all electrical.
Speed input has to be taken from the VSS signal mentioned above. This is made very straightforward with a Posi-Tap. Indeed, Posi-Tap and Posi-Lock connectors are excellent, get a decent supply
")
The complication with the VSS is that the signal is too much, at 80000 ppm, for the Vostra to handle. A frequency divider helps here and Rostra sells one. Get the "Divide by 4". It's $40 if you shop around, $70 if you don't. It's tiny and will fit right there in the tool tray.
Set the dip switch at the nearest value above 20000.
The Rostra comes with enough wiring to overhaul an aircraft carrier. Also, it demands about three grounds and at least two switched power sources. Join them all together and wire them to your Fuzeblock ... you have a Fuzeblock, right?
Brake positive .... There is one really handy, within about an inch of the servo. It's a brown wire right there by the flasher unit. You have to disconnect the rear brake switch to pull the harness through far enough to get the Posi-Tap on, but it takes just minutes.
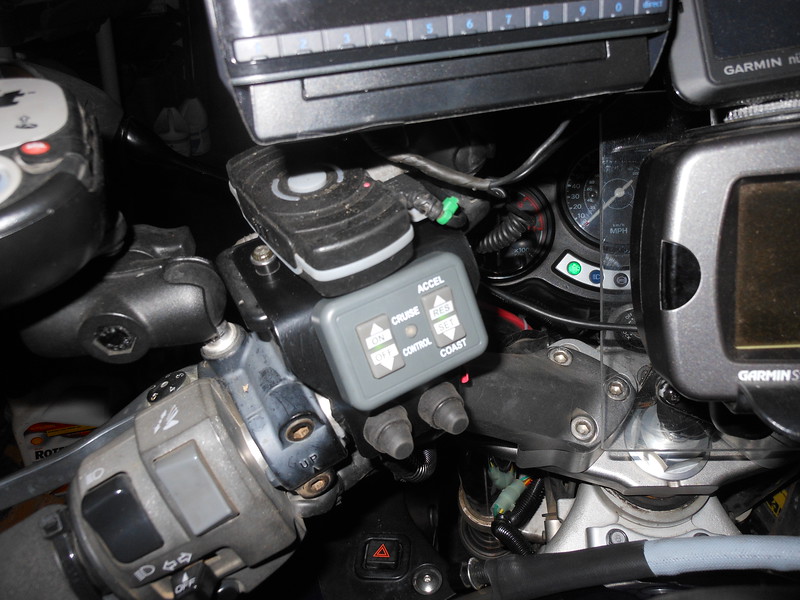
If you have the lighted switch with the CC ON LED, then six wires go forwards. Wrapping and protecting them is the easy bit. I made a bracket to mount the controller, there are commercial brackets available, but I'm a fully paid-up member of the CBMMA*
If you have LED brakelights (I do because I'm not THAT cheap), then you will need a five terminal relay to allow the purple wire to sense ground through the braking system. If you have regular bulbs you do not need this. It's more wiring, but not hard and there is plenty of room back there to hide yet another relay.
Finally, I reached point nine of the self-diagnostics. Point nine simply says
"Your Global Cruise 2 has successfully passed all the diagnostic checks"
Time for a road test but before you do you need to set the dip-switches.
The following settings work:
Gain .... Extra Low
Pulse ... Square
Setup Timer .... 8 Cylinder, Low
Transmission ... Automatic
Now for the road test ....
A quick ten miles let me test all the functions. Got the bike onto the highway at 60 mph before daring to hit "Set" .... Woah .... That was a bit fierce. Also, it's "hunting" a bit. Rapid throttle responses as it tries to maintain speed. This is worse at 50 mph and not so bad at 70 mph.
Pull over, flick the dip-switch from Low to Extra Low and bingo.
Smooth and immediate control. Ran it up to 90mph just to see. Set and held perfectly .... Take that you 2013 owners
Front brake and rear brake disengage but the Tach signal doesn't. I'll check that later because it should although with the brake and the Off button, I'm relaxed about it.
Got back to neighborhood and wondered about low speed control. At 25mph it engages smoothly and controls the speed perfectly ... Job Done!
*CBMMA ... Cheap B@stards Mortorcycle Mechanics Association.
A picture, because posts are worthless without pictures