Luggage Plate

Yamaha FJR Motorcycle Forum

Help Support Yamaha FJR Motorcycle Forum:

This site may earn a commission from merchant affiliate links, including eBay, Amazon, and others.

frito1

Well-known member
Joined
Sep 6, 2009
Messages
182
Reaction score
3
Location
NE Arkansas
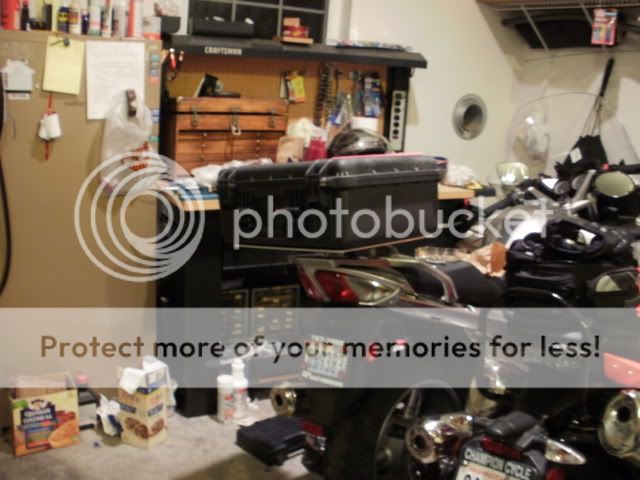
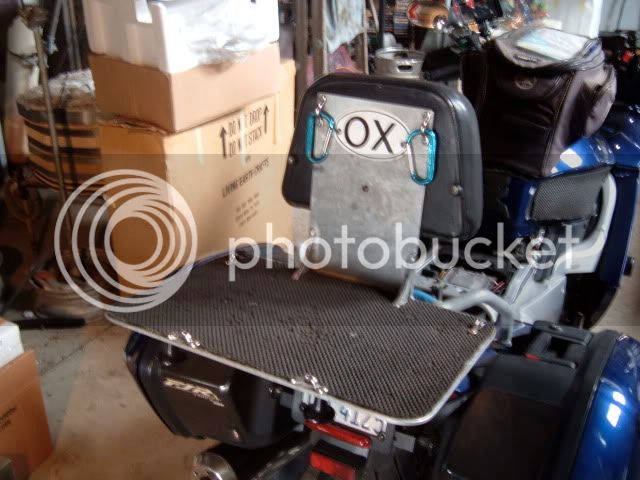
With a little help from a machinist at work and a couple of hours puttering around the grudge, I now have a place to strap on a little excess baggage. 10.5 x 14 x .25 diamond tread aluminum perched on stainless steel stand offs and secured with studs. Total cost less than $10.

01-04-11_2109.jpg


01-04-11_2108.jpg


Last edited by a moderator:
Nice looking job! Are you going to drill any holes on the perimeter for attaching bungies? I just gathered up the raw stock and ordered my Pelican to do the Rick C. version. I'm thinking I'll put in holes on the perimeter for tie down points when the Pelican isn't mounted.

 
Nice looking job! Are you going to drill any holes on the perimeter for attaching bungies?
Yes, This is just the final test fit. I was suffering from premature-photography syndrome. I'm gonna drill all around for bunge/net attachment, then give it a coat of paint. I was wanting a larger tail rack, but couldn't see paying $100+ for something I could make using the same attachment points. Later on I may get some aluminum to re-make the stand offs. That way I could weld them to the plate and countersink the attachment nuts. We just didn't have any aluminum stock so we used the stainless.
Can you get it anodized instead of paint? THat would look sweet.
I don't have access to many tech resources in BFE Arkansas and the home brew method looks too much like work. It'll probably get a coat of rattle can, that will make for easy touchups.
You need a good primer for painting aluminum. I can't remember what it's called off the top of my head, but you should be able to find it here with a search.

 
"You need a good primer for painting aluminum. I can't remember what it's called off the top of my head, but you should be able to find it here with a search."

I think we used zinc chromate on al when I was in the service. It's probably a banned substance like lead now.

You can never take too many pics! My project's hardware is at $25 for the raw stock with just nuts, bolts and washers to buy. I'm thinking of just leaving my aluminum unpainted and see how it weathers in. I can always sand and paint it later if it gets to looking too rough.

 
That looks very nice but a word of caution. If you load that plate up too much you will break your rear sub-frame. Just be cautious of how much you try to pile back there.

Canadian FJR

 
That looks very nice but a word of caution. If you load that plate up too much you will break your rear sub-frame. Just be cautious of how much you try to pile back there.

Canadian FJR
As much as I like the 48 quart cooler idea, that's not likely to happen. My plan was for a place to carry a folding chair and/or a small duffel. I'd guess that will be comparatively less stress on the bike than my +sized self. The pictures are a bit deceiving. The diamond plate is just 10.5" front to rear, it goes about .5" past the end of the OE rack. I purposely kept it short to keep the levered stress to a minimum.

 
Last edited by a moderator:
I began the project on Monday buying the hardware and ordering a Pelican box. The job completed and the bike returned to storage Saturday. Cost was only $20 in metals, $6 for hardware and $120 for the Pelican box. It'll be a good place to stuff the cold weather riding gear when the temps heat up.

P1070022.jpg

That looks familiar, nice job!

 
That looks familiar, nice job!

It's modeled after RickC's, with some invisible variations which I hope don't bite me later.

 
Last edited by a moderator:
Yo, did almost the same thing! It has worked "great" for 5 years on the FJR.

DSCF3883.jpg


It's now on the "new to me" K2 Vee/Manstrom

 
Last edited by a moderator:
Top