


SacramentoMike
Not Safe For Work
I noticed a while back how well the flashing turn indicators show up on vehicle outside mirrors--usually big pickups and SUVs. I was thinking they'd be great on a bike where the more people can see your intentions the better. There are some on the market, I found, but they all had disadvantages for me. I wanted to be able to use my own mirrors; why buy a whole new set to get this extra feature? And many were brand and model specific. I couldn't find any made for the FJR. The ones I saw were expensive. I'm cheap. What to do?
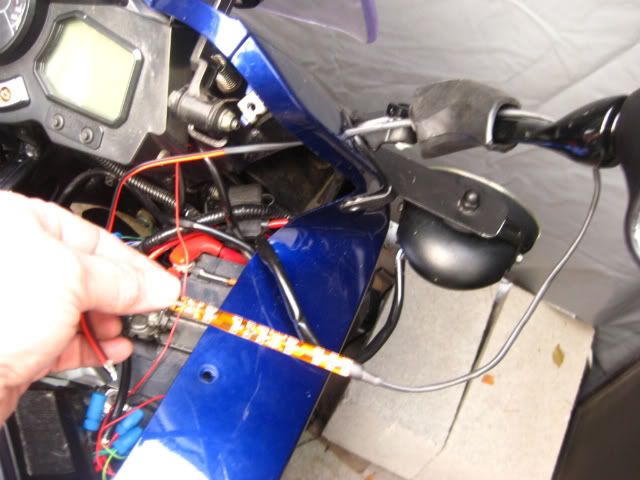
So I went to the bike show in San Mateo last month, and I found some LED strips from these folks. (They cater to the "Cruise Night" set with the colored lights illuminating all the chrome.) But they're very bright and came in several lengths and colors. They're wired on both ends, so if you want to, you can cut a strip in two and connect each one separately. They mount with peel-off adhesive strips. They looked like just what I wanted for the outside edges of my mirrors. I bought a single 10" strip of yellow lights for $20, cut them into two 5" pieces, and finished mounting them today. I think they're great; just what I wanted.
The worst of it was, I had to take off ALL the fairings to access the wire leading to the front turn signals. A real PITA, but still doable. Here's the plug to those lights--an easy disconnect so the fairing can be moved out of the way once removed.
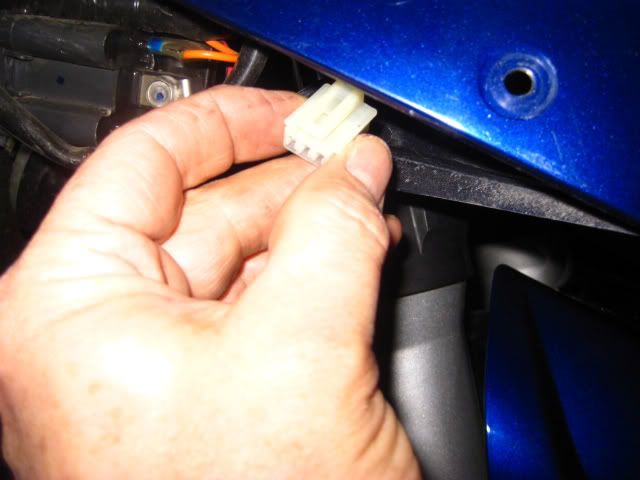
Just poke the two leads into the three holes in the plug while the blinker's on to tell you which wire the red lead connects to. Black to black--that's the easy one. Then connect up under the four dash panels. You could do what I did, and connect them twice, or just put the heat shrink tubing on first and thread it through the hole you'll have to (gasp!) drill in the plastic by your mirror, unless you think of a better way to mount it.
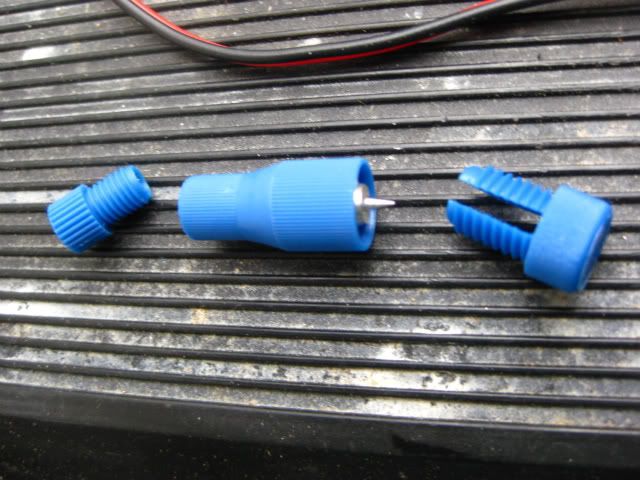
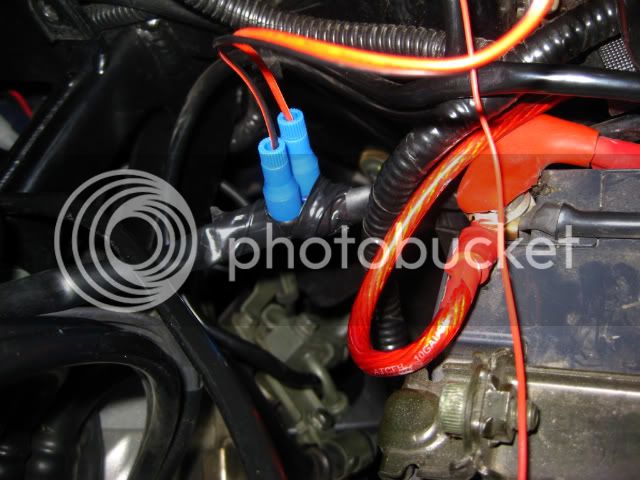
By the way, I used these "Posi-Tap" connectors. Best way to tap into a wire I've ever seen.
It looked like this when I got the right side hooked up.
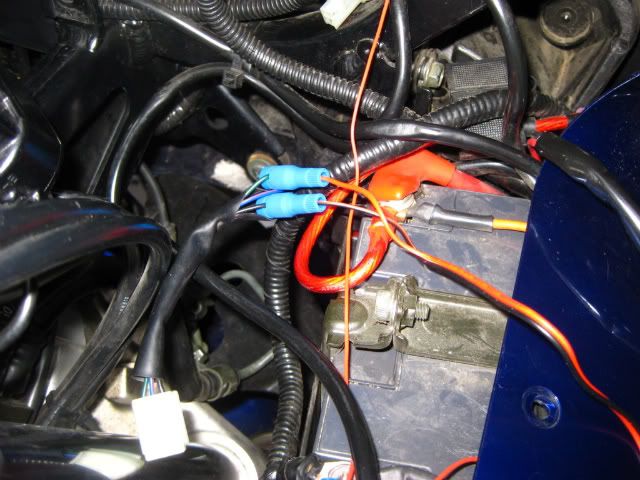
A little electrical tape to make it look nice:
The left side was just the same, only harder. (WHY is the left side so damn hard to get off?) I couldn't access the wiring harness on the left side from above to save my life, so I wired in some extensions from the bottom--just below the left side connector itself, and ran it up to within easy reach from above and wired the left LED wire to it the easy way.
After that, and all the buttoning up, I just cleaned the outside edges of the mirrors with acetone, peeled off the backing for the sticky tape on the light strips, and ran a heat gun over everything for a while to warm up the mirrors and the glue strips (recommended to make the bond stronger and more permanent). Stuck the lights to the edge of the mirrors and ran some zip ties around the mirror stems. I'm pretty sure Paul Teutel couldn't have done any better. Junior OR Senior. Or even Mikey!
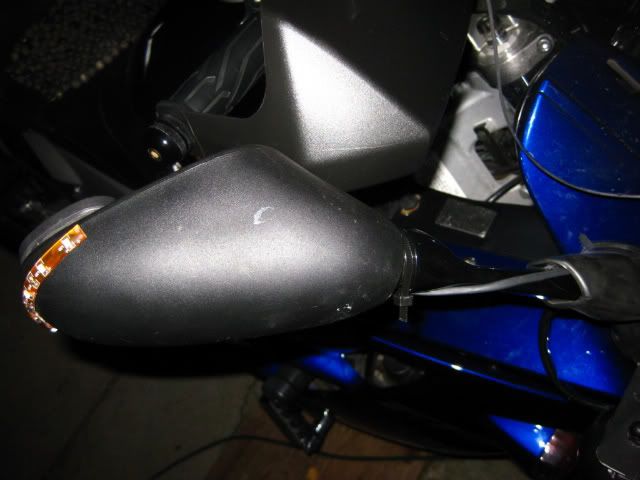
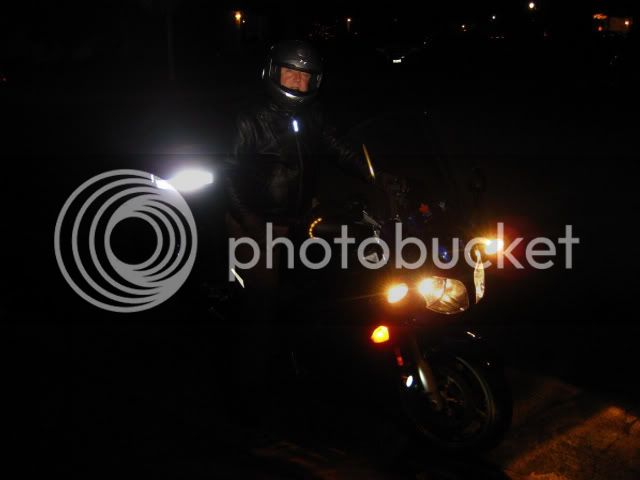
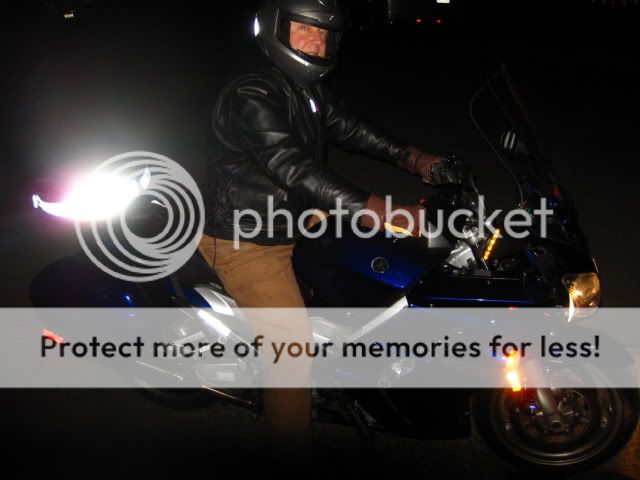
My limited photographic skills do NOT do justice to the brightness of these lights (Hell, the brightest thing in either picture is the camera flash in the reflectors). From the side, or from just ahead or behind in the next lane especially, they show up MUCH better than the stock turn signal lights. They're also noticeable from dead ahead or directly behind, so I'm sure they give me at least a little better chance of being seen than without. I've noticed that they also are much more in my own line of sight than the green indicators on the dash, so I'm going to spend lots less time riding down the road signalling phantom turns.
Walt--Flying Junior--and I each bought multiple strips of these in the red color that we're both planning to stick on the back end for extra visibility. We'll each put one 5" strip connected to the running light, and two 5" strips connected to the brake light. That should wake somebody up. Maybe we'll be posting about that one of these days.
So I went to the bike show in San Mateo last month, and I found some LED strips from these folks. (They cater to the "Cruise Night" set with the colored lights illuminating all the chrome.) But they're very bright and came in several lengths and colors. They're wired on both ends, so if you want to, you can cut a strip in two and connect each one separately. They mount with peel-off adhesive strips. They looked like just what I wanted for the outside edges of my mirrors. I bought a single 10" strip of yellow lights for $20, cut them into two 5" pieces, and finished mounting them today. I think they're great; just what I wanted.
The worst of it was, I had to take off ALL the fairings to access the wire leading to the front turn signals. A real PITA, but still doable. Here's the plug to those lights--an easy disconnect so the fairing can be moved out of the way once removed.
Just poke the two leads into the three holes in the plug while the blinker's on to tell you which wire the red lead connects to. Black to black--that's the easy one. Then connect up under the four dash panels. You could do what I did, and connect them twice, or just put the heat shrink tubing on first and thread it through the hole you'll have to (gasp!) drill in the plastic by your mirror, unless you think of a better way to mount it.
By the way, I used these "Posi-Tap" connectors. Best way to tap into a wire I've ever seen.
It looked like this when I got the right side hooked up.
A little electrical tape to make it look nice:
The left side was just the same, only harder. (WHY is the left side so damn hard to get off?) I couldn't access the wiring harness on the left side from above to save my life, so I wired in some extensions from the bottom--just below the left side connector itself, and ran it up to within easy reach from above and wired the left LED wire to it the easy way.
After that, and all the buttoning up, I just cleaned the outside edges of the mirrors with acetone, peeled off the backing for the sticky tape on the light strips, and ran a heat gun over everything for a while to warm up the mirrors and the glue strips (recommended to make the bond stronger and more permanent). Stuck the lights to the edge of the mirrors and ran some zip ties around the mirror stems. I'm pretty sure Paul Teutel couldn't have done any better. Junior OR Senior. Or even Mikey!
My limited photographic skills do NOT do justice to the brightness of these lights (Hell, the brightest thing in either picture is the camera flash in the reflectors). From the side, or from just ahead or behind in the next lane especially, they show up MUCH better than the stock turn signal lights. They're also noticeable from dead ahead or directly behind, so I'm sure they give me at least a little better chance of being seen than without. I've noticed that they also are much more in my own line of sight than the green indicators on the dash, so I'm going to spend lots less time riding down the road signalling phantom turns.
Walt--Flying Junior--and I each bought multiple strips of these in the red color that we're both planning to stick on the back end for extra visibility. We'll each put one 5" strip connected to the running light, and two 5" strips connected to the brake light. That should wake somebody up. Maybe we'll be posting about that one of these days.
Last edited by a moderator:

