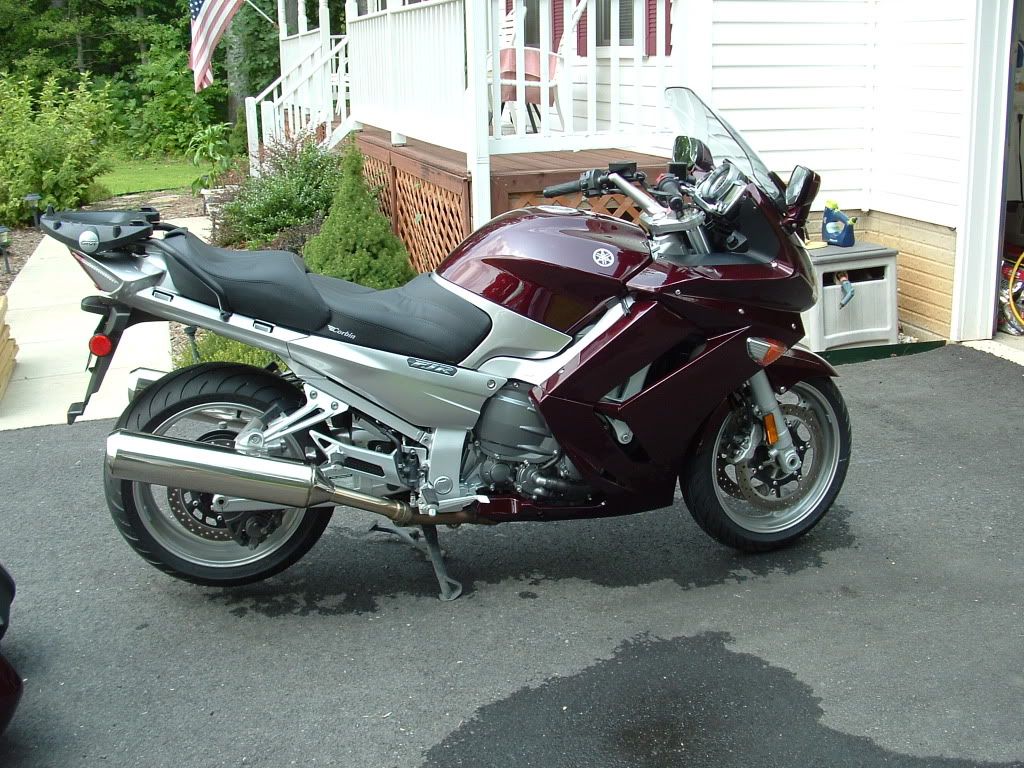
My probably stupid idea...

Yamaha FJR Motorcycle Forum

Help Support Yamaha FJR Motorcycle Forum:

This site may earn a commission from merchant affiliate links, including eBay, Amazon, and others.
AHHHHH...that poor caliper hose.....And you call that a B.F.H.?...you're gonna need a bigger hammer for that job!

(that's exactly how my bike sat overnight Except a cinder block and a piece of wood replaced the floor jack.) Hardest part was getting the real wheel out.

Also, I'm not sure your bike likes the axle placement....I think that's illegal in some states.....(How would you like it?)

Putting the center stand on the piece of wood raises it up enough so getting the rear tire out was really easy. the axle placement idea actually came from the FJRTech website. Keeps it off the dirty floor.

 
The salt bags work fine, but I found that (3) 40-lb bags were required.

I now use a 2x4 assembly under the oilpan with a floor jack. I brace it up with bricks because my floor jack leaks down overnight.

 
A tie-down strap to a rafter/truss (or eye bolt in same) provides a great deal of safety / peace of mind as well.

 
Last edited by a moderator:
(that's exactly how my bike sat overnight Except a cinder block and a piece of wood replaced the floor jack.) Hardest part was getting the real wheel out.
It's important to note that you need to remove the rear wheel first when doing both. Once you jack up the front, it makes the rear lower since it pivots on the center stand and that can make the rear more difficult to remove, even with the board under the center stand.

We each have our own desired tools for the job. I see lots of scary things in that pic, but I'm sure it worked just fine for rablanch.

 
I see lots of scary things in that pic, but I'm sure it worked just fine for rablanch.
What is scary?? How does this one look?

DSCF0004.jpg


It's important to note that you need to remove the rear wheel first when doing both. Once you jack up the front, it makes the rear lower since it pivots on the center stand and that can make the rear more difficult to remove, even with the board under the center stand.

BTW - It is correct that the board only helps you if you take the back tire off first. Once that is off you still have to tilt the bike back even further than it is on the jack in order to take the front tire off without removing the fender. My wife did it by grabbing the rack on the top case. with it on it rocked back with ease.

 
Last edited by a moderator:
1) Grab the rear section firmly in left hand. Lift motorcycle.

2) Tear tire off with teeth.

3) Put new tire on with right hand.

Done, three minutes.

 
I see lots of scary things in that pic, but I'm sure it worked just fine for rablanch.
What is scary?? How does this one look?
You washed the bike?! Do you know how corrosive water is? The bike was not designed to be washed. Rain moves over the fairing and away, washing water drips and runs down to many places it shouldn't be. The horror!

;)

Psst - get some sliders on that poor naked girl too. Before the scratches.

As to the first pic with scary things - I was somewhat in jest, however:

Adjustable spanner wrench on floor - Should be a 27mm socket on a 1/2" drive breaker bar, (or at least a 27mm box wrench)

Red allen wrench set - Err, usually red is SAE and blue is Metric. Hopefully those are metric.

Axle looks suspiciously clean - should have a light layer of grease on it to avoid corrosion.

Scariest of all, the bottle of hand lotion in the cup holder of the chair in front of the bike. :eek:mg2: It's ok to love your bike, but please close the garage door when you love your bike. :unsure:

[SIZE=8pt](other than the part about the sliders & spanner, this is all in jest.)[/SIZE]

 
Adjustable spanner wrench on floor - Should be a 27mm socket on a 1/2" drive breaker bar, (or at least a 27mm box wrench)
Red allen wrench set - Err, usually red is SAE and blue is Metric. Hopefully those are metric.

Axle looks suspiciously clean - should have a light layer of grease on it to avoid corrosion.

Scariest of all, the bottle of hand lotion in the cup holder of the chair in front of the bike. :eek:mg2: It's ok to love your bike, but please close the garage door when you love your bike. :unsure:

[SIZE=8pt](other than the part about the sliders & spanner, this is all in jest.)[/SIZE]
Too funny. Yes I did this change with some impromptu tools. I don't have the 27mm socket or a 1/2" drive 19mm hex for the front, but I wasn't going to stop me. I did get my hands on a 19mm allen wrench, though.

I guess you really need to look at what is in the background when you take pictures to post. It is bug spray BTW. :p

 
Toecutter helped me change my front tire on Sunday aftternoon (what a guy), and he had a slick system for raising the bike.

He has one of those big rubber chocks like a firetruck or PG&E (utility) truck has for chocking the wheels when parked. We set that on a block of wood under the header pipes, pushed down on the luggage rack, then set the bike back down on the (softish) rubber chock - slick deal.

Toe has a buddy with a tire changing machine in Clovis and presto! Francisco has a new rubber (watch the comments).

FJR brothers helping each other out, that's a great thing.

Got 8K out of the Z6 Roadtec Metzler.

Keep the rubber down brother.

biknflyfisher

 
Too funny. Yes I did this change with some impromptu tools. I don't have the 27mm socket or a 1/2" drive 19mm hex for the front, but I wasn't going to stop me. I did get my hands on a 19mm allen wrench, though.
Since I was too cheap to spring for a real front axle tool or 19mm allen socket (rare as hen's teeth around here) and think that the sparkplug socket (which will do the job - flip it around backwards) looked a little cheesy, I got a grade 8, 3/4" bolt about and 4 or so matching nuts and spent a few minutes jamming them together with the largest wrenches I could come up with. What I ended up with is a hex-shaped, hardened-steel shaft that's as close to 19mm as you're going to get for about $2.50.

As for the BFS (big f-ing socket), well, that I just had to break down and buy, but I go to the autoparts store and just borrow the one for the steering stem nut since I pull the rear wheel a lot more often than I muck around with the steering stem.

 
Only a masochist would use a C-clamp to break loose a tire bead.
Actually, I have used a C-clamp when installing a stubborn rear tire. After the first side of the tire is on the rim, I work the other side on as far as possible by hand and use the C-clamp to pinch the two sidewalls together. It helps keep the tire in the center of the rim. Gotta be careful not to damage the sidewall, but it works for me.

 
Since I was too cheap to spring for a real front axle tool or 19mm allen socket (rare as hen's teeth around here) and think that the sparkplug socket (which will do the job - flip it around backwards) looked a little cheesy, I got a grade 8, 3/4" bolt about and 4 or so matching nuts and spent a few minutes jamming them together with the largest wrenches I could come up with. What I ended up with is a hex-shaped, hardened-steel shaft that's as close to 19mm as you're going to get for about $2.50.
Yabbut, can you pull out a spark plug with it too? :unsure: :rolleyes:

Hey, my spark plug socket doesn't look cheesy!! And anyone that sees you do it will think you are one smaht fothermucker. ;)

 
A tie-down strap to a rafter/truss (or eye bolt in same) provides a great deal of safety / peace of mind as well.
Yes! Actually, I recently used a tie down and come-along tied to a roof truss to lift and suspend the front end when both wheels were off the V-Strom. I DID check for appropriate sturdiness of said truss prior to the hoisting.

 
Top