UselessPickles
Making Grand Canyon replicas from air boxes...
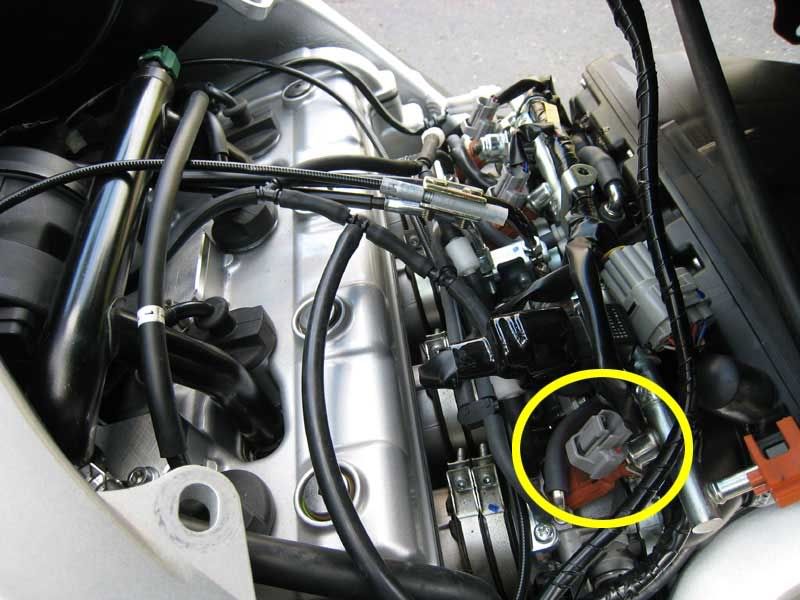
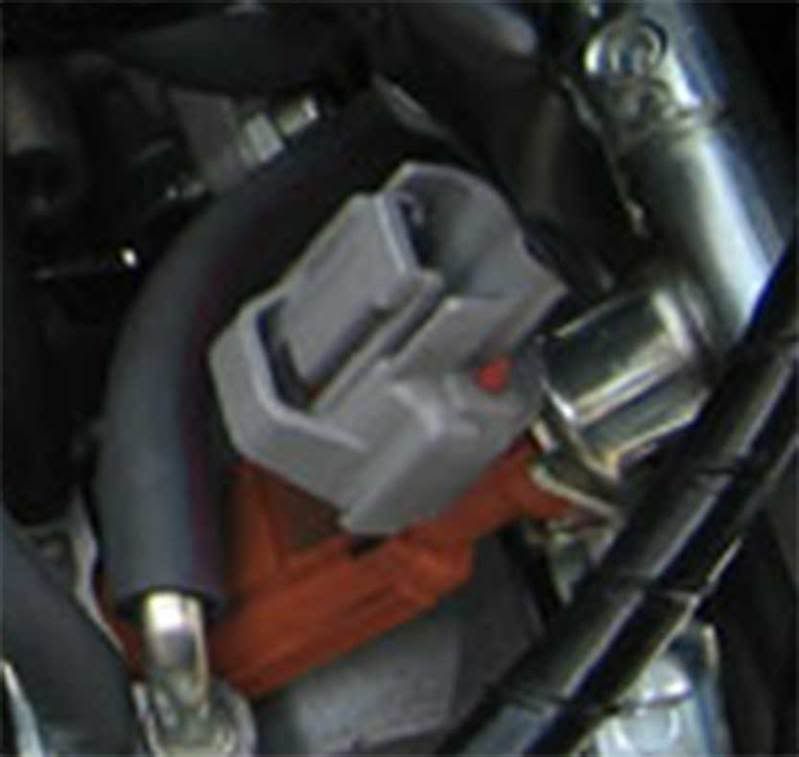
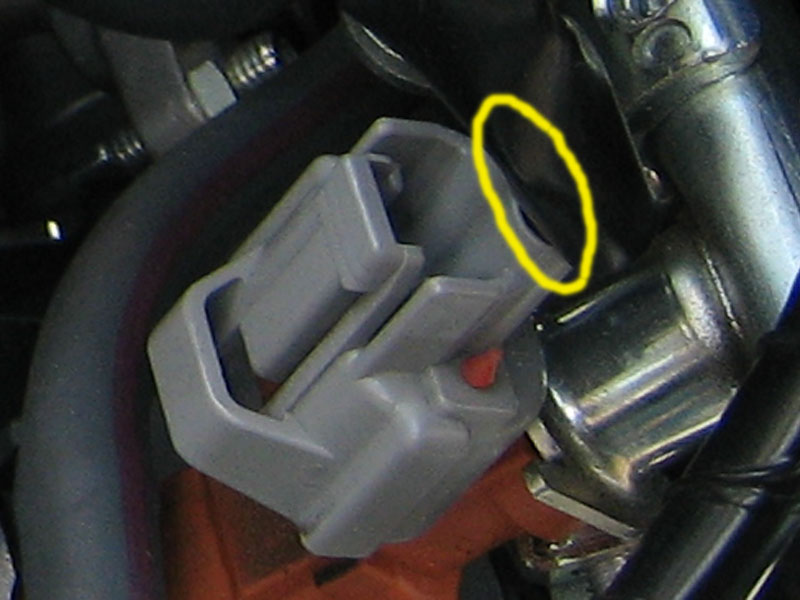
I received my PAIR block-off plates from 08FJR4ME just in time for the weekend, so I had time to install them. There must be some special allen wrench that'll allow you to remove the bolts with that coolant pipe partially in the way, but I gave up and decided to just drain some coolant and get that pipe out of the way. I had done it before to install my cruise control, so it wasn't nearly as scary the second time. It made it so much more pleasant to install the block-off plates with direct access to the bolts.
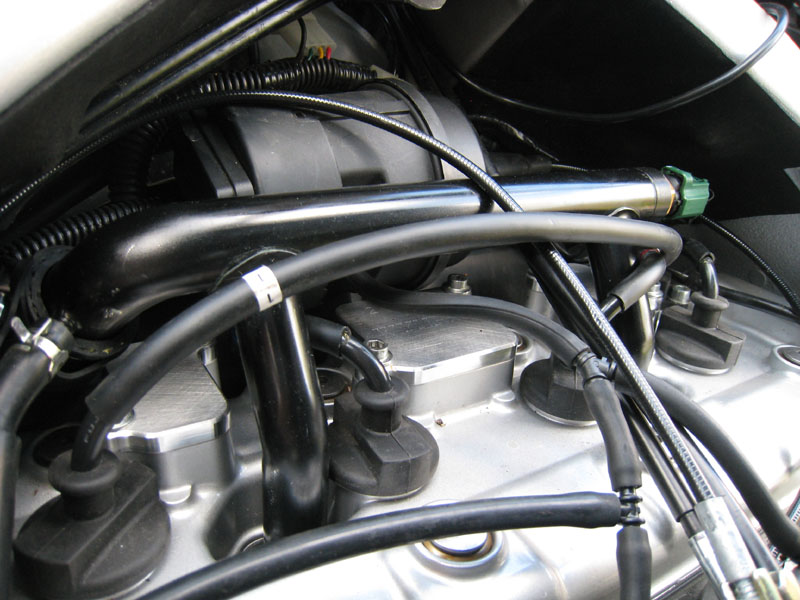
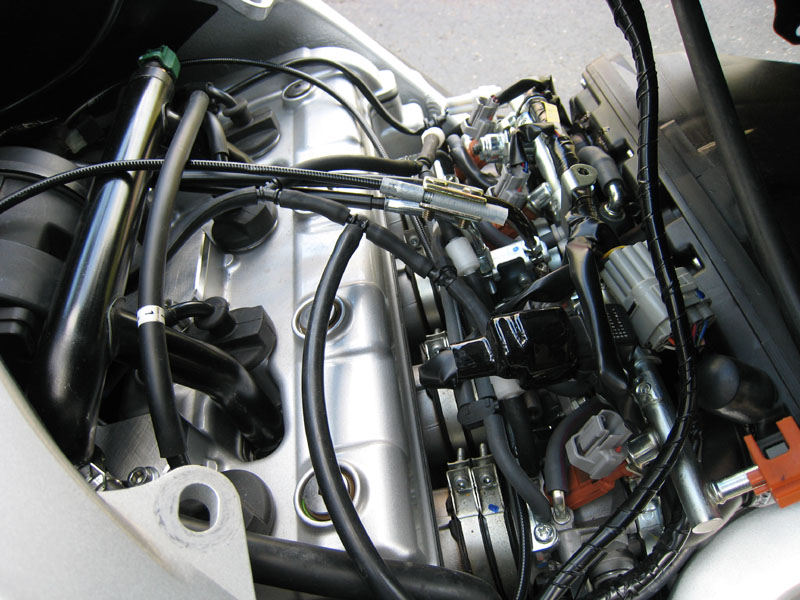
Here's the results:
Thanks again to 08FJR4ME for making a batch of these!
If anyone is interested, my less expensive solution is now for sale: https://www.fjrforum.com/forum//index.php?showtopic=117073
Here's the results:
Thanks again to 08FJR4ME for making a batch of these!
If anyone is interested, my less expensive solution is now for sale: https://www.fjrforum.com/forum//index.php?showtopic=117073