Reflective Decal Pictures

Yamaha FJR Motorcycle Forum

Help Support Yamaha FJR Motorcycle Forum:

This site may earn a commission from merchant affiliate links, including eBay, Amazon, and others.

Josh

Active member
Joined
Apr 7, 2010
Messages
41
Reaction score
0
Location
Cincinnati, OH
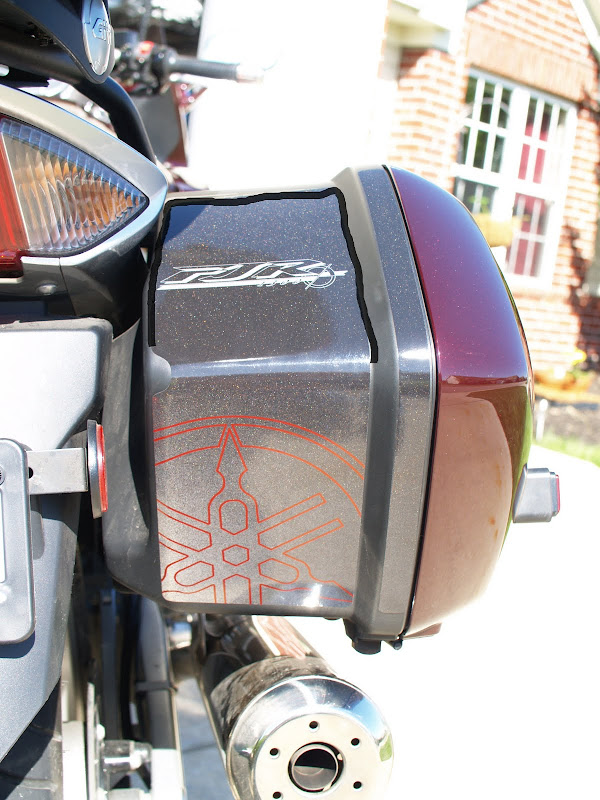
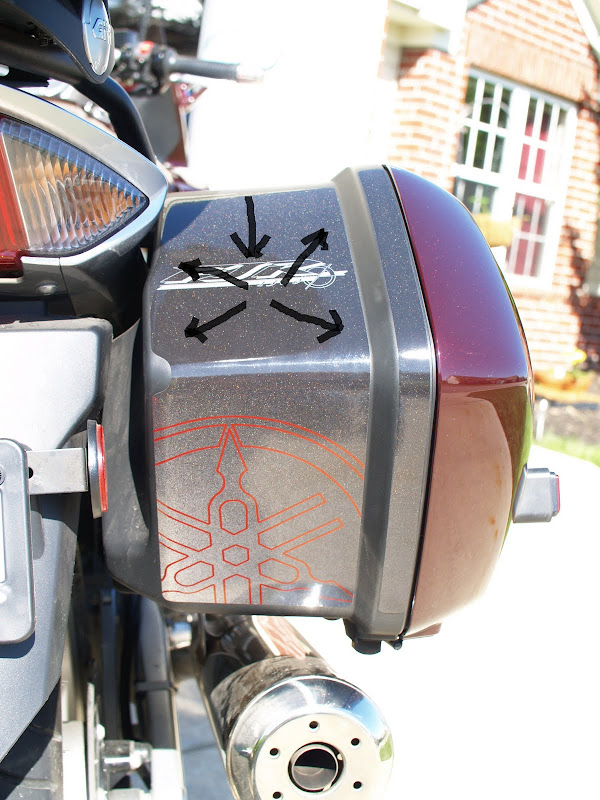
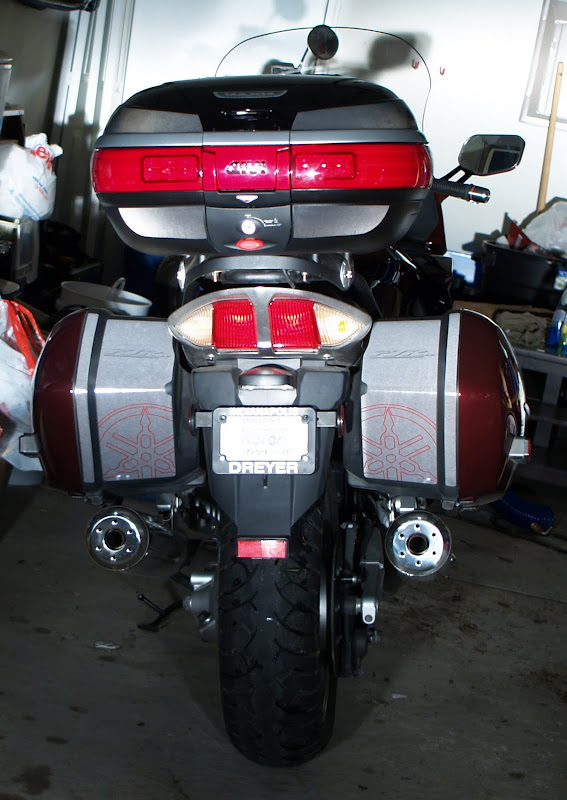
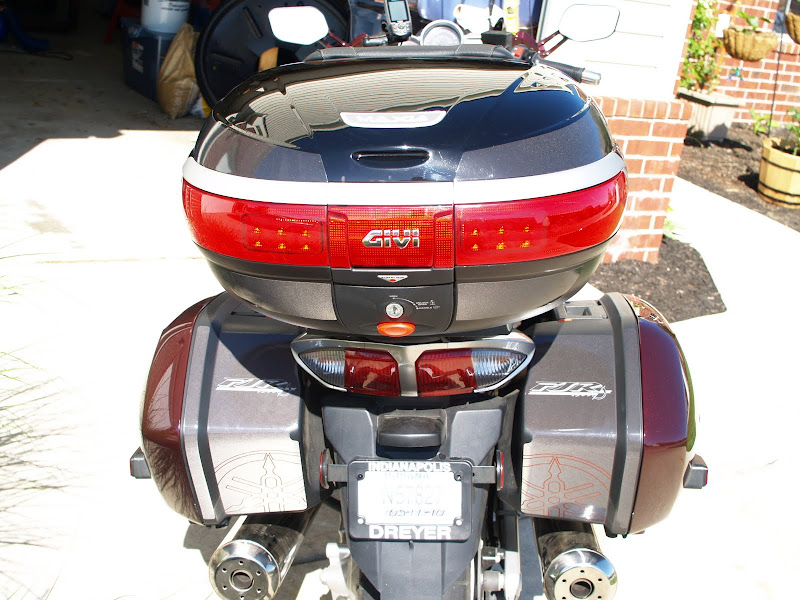
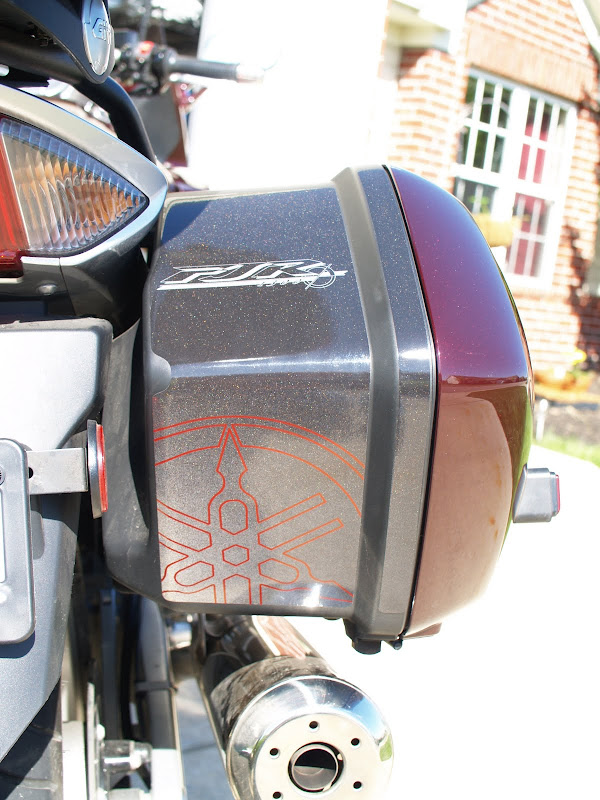
Here are my reflective decals installed on my 2007. They were very easy to install and really make the rear of the bike stand out. I was very impressed with the fit and finish of these decals! I'm going to get some pictures after dark with a pair of headlights shining on them.

Josh

P5060787.JPG


P5060788.JPG


P5060789.JPG


P5060790.JPG


I have them on my 07 as well, I have the silver print, same graphic as you. Looks awesome with the silver stripe kit on my bike too!

 
I had a forum member PM me asking how I installed the decals and what I used so I figured I would just post it up for everyone to read.

I started by using soapy water (dish soap) to remove any dirt/wax build up that was on the bags. After rinsing and drying the bags, I peeled the top half of the backing off the larger side bag decals and centered the top half of the decal with the three lines on the top half of the bag. I would also like to mention that your hands should be clean as well so you aren’t transferring any dirt/dust to the adhesive backing when you touch it. Anything that reduces the adhesion will definitely affect the life of the decals.

P5060789-1.jpg


I ran my finger across the top edge of the decal to secure it to the bag once I felt it was lined up. By not putting pressure on the rest of the decal, I could still peel it up and adjust it without affecting the overall adhesion to the bag.

The next step was to use a credit card to smooth out the top half of the decal by starting at the top in the middle and working my way down and out to the edges. This smoothed out the decal and got rid of the air bubbles.

P5060789-2.jpg


I repeated this process for the bottom half of the decal as well as the rest of the decals I ordered. One recommendation is to start with the smallest decal to practice as it will be much easier and less intimidating.

Hope this helps a few people out. The install was very easy for me as I have some experience in this line of work, but it really isn’t difficult if you are patient and take it slow.

Josh

 
Here is a night shot with my truck lights shining on the decals. I wish I would have taken a "before" picture, but as you can see it really increases the visibility of the bike at night. Plus, the decals just look cool! :yahoo:

P5070795-1.JPG


Josh

 
Thank you for the pics but it seems like you spent more money than you should have. Your stickers have those big black arrows all over them!! :lol:

 
I've got these too, and also think they're great.

I did a little bit of research on this specific 3M film (just because I was curious), and found out that the adhesive is pressure activated. So, as Josh said, if you're careful and "light touched" while lining it up, you'll be fine.

oh, and make sure the ambient air temperature isn't too cold...I made that mistake and ended up getting a few small air bubbles which became larger as the weather has warmed up.

 
Last edited by a moderator:
If you do happen to get an air bubble or two, a small pin prick in the center of it and then you smooth the bubble from the outside and towards the pin prick should allow the air to escape.

Josh

 
Just ordered a set of Black with Silver FJR for my '09. Thanks for the installation tips. I wonder if using the same mixture of water & dishwashing detergent used to install protective film works for this material.

 
I have a friend that was in the sign business. He told me to make a 10:1 solution of water to dish soap. Spray the area liberally, position your sticker, and use the palm of your hand like a squeegee to remove excess liquid. Before squeegeeing you can move the stickers around and get them just where you want them. Worked like a charm!

 
I used Glass plus in a spray bottle, available at home depot. Sprayed it on move everything wear I wanted it to be a smoothed out the bubbles with a credit card. Be carefull with the credit card because you can scratch the surface of the decal if to upright. I bought mine from a different vendor and am happy with them.

Dave

 
Top