Suggestions for Oxford Heaterz controller placement and grip spacer?

Yamaha FJR Motorcycle Forum

Help Support Yamaha FJR Motorcycle Forum:

This site may earn a commission from merchant affiliate links, including eBay, Amazon, and others.

SullyCuse

Well-known member
Joined
Jun 18, 2011
Messages
86
Reaction score
7
Location
Sugar Hill, GA
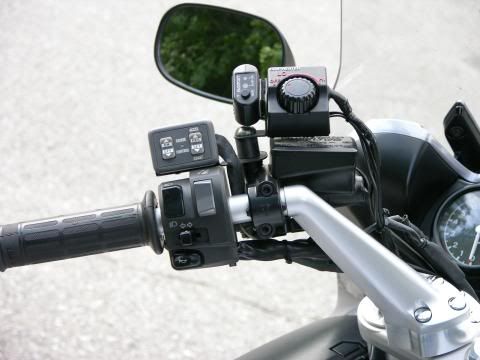
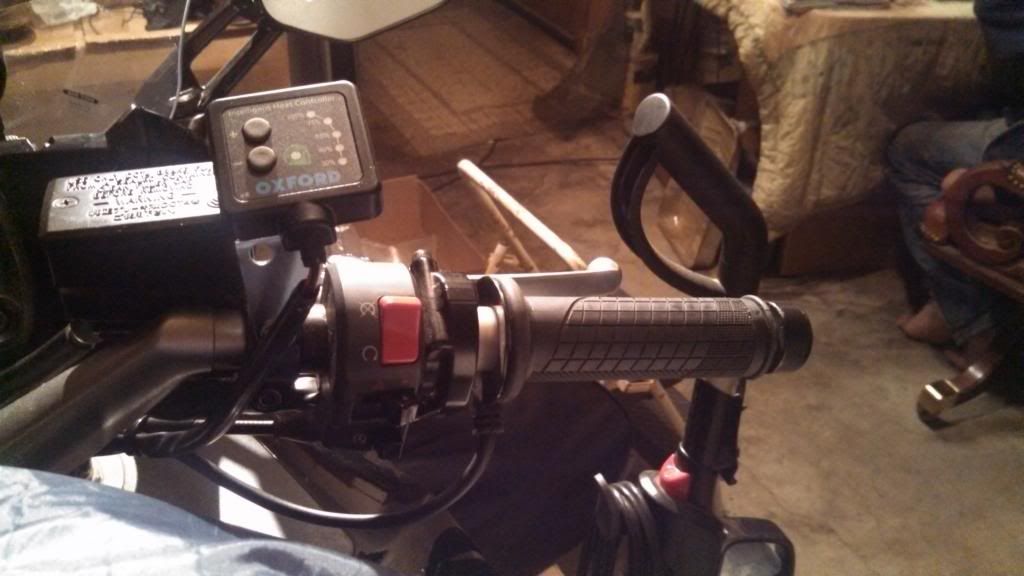
I am in the process of putting on a set of Oxford Heaterz aftermarket grip heaters, but I am at a loss as to where to put the controller. Anyone have any pictures. The one I did see, put it where the OEM controller would go, but I already have a Genius Charger dashmount battery indicator already on that panel. https://www.geniuschargers.com/shop/GC016

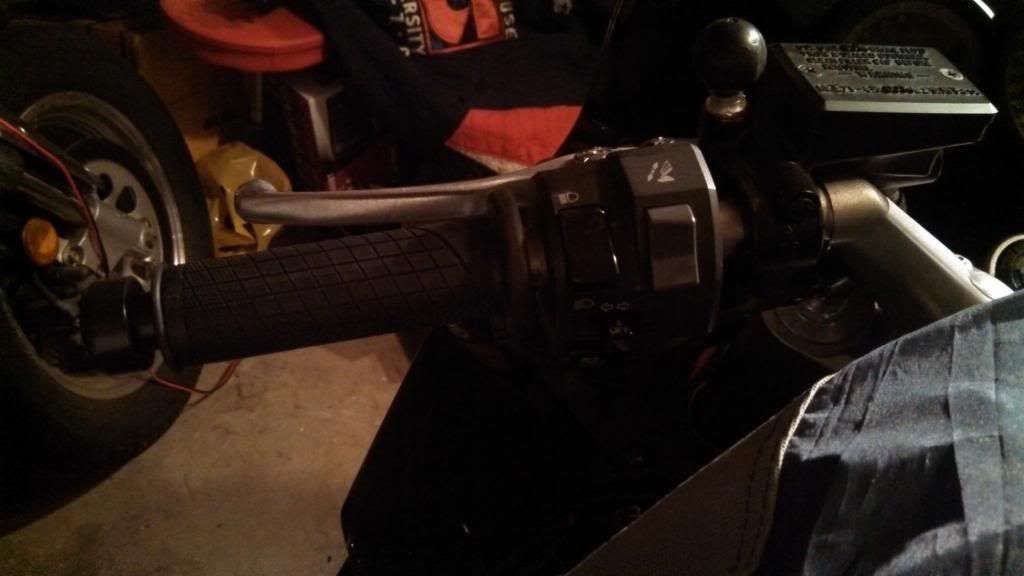
I have looked to place on my handle bar, but not sure of exactly where or how.

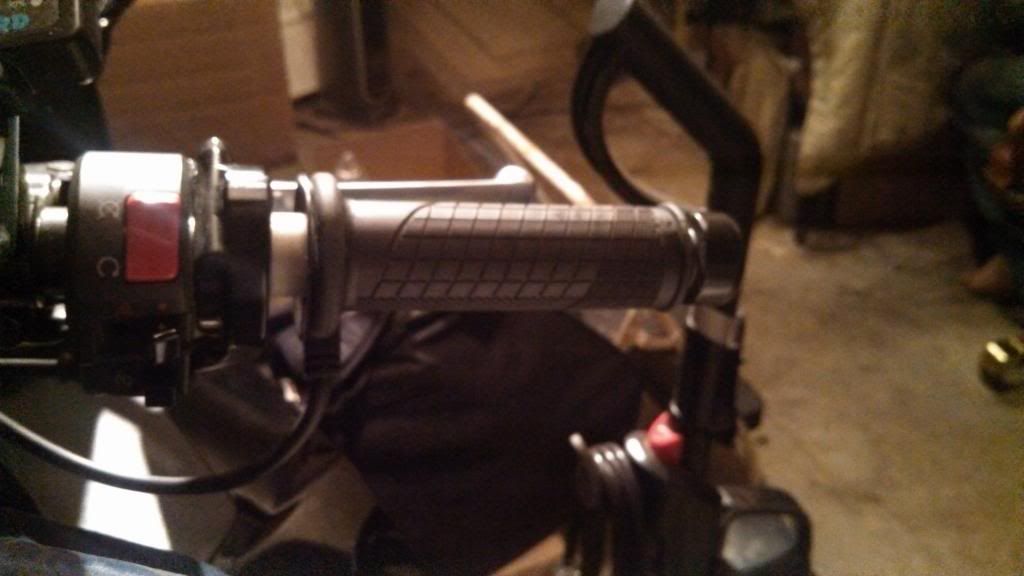
Also, the grips are a bit shorter than the grips I took off. Any suggestions on what to use for a spacer for the grips?

Thanks in advance for any advise.

 
I removed the Yamaha dial heat controller and replaced it with the Oxford push button heat controller on the same bracket. The good: it is easy to reach. The bad: the angle is shallow enough that it makes the LEDs difficult to see in daylight. At one point I used black foam disks to fill the gap left by the shorter grips but removed the disks at some point and never bothered to replace them and just left the gap.

pad1.jpg


Mounted mine where the stock controller is normally mounted. The indicator lights are difficult to see but I generally turn the grips on and set the level before I start out. The gap bothered me a little when I first installed the grips but after a couple of weeks I no longer notice it. I have a rocker switch that I wanted to mount in the gap area but it is just wide enough that I can't make it fit so I am looking for a different solution. Pashnit makes some neat switch mounts that I looked at for controlling my driving lights but I haven't decided yet. https://www.pashnit.com/product/pmr/bar_switches.html

 
Not sure if this was a good ider or not... but it seems to work for me:

IMAG0053.jpg


I installed them with a velcro backing after the original double sided tape gave up the ghost:

IMAG0055.jpg


I love them. They work great keeping my hands warm during these wonderful PNW winters. Good luck!

-Brian

 
Well, finally got them installed. Not happy w/ the throttle side, but will figure out a solution one of these days.

Clutch Side

IMG_20140330_010050_761.jpg


Throttle Side Grip

IMG_20140330_010031_814.jpg


Throttle side and showing the mounting for the controller. Not sure it will stay there, but works fine there for now.

IMG_20140330_010040_330.jpg


Sorry no pictures but I also put mine on the throttle side. Put velcro on the top of the master brake . With my gloves on I can't change the setting . What I do is stop and change it then. With the different heat ranges you aren't really playing a lot with the settings. Never have put it on high. There is usually some other part of my body gets colder.

 
Talk me through the old grip removal process an the installation on the new ones. Grip adhesive? I was think golf club grip tape - that stuff you wet down and slide on.

 
My old grips were easy to take off. They were aftermarket heated grips that had been installed. I was able to give a real good twist with my hands, and they broke lose. Once I got them off, I used Acetone to remove and super glue residue. I have seen where others have used air to help remove the grips. If you do a search on "grips", you will find few posts where people described what they did with air to remove their grips.

I tried the 'ol hair spray method. The clutch side stuck, but the throttle side did not. Once I turned on the heated grips, it loosened the clutch side as well. After my ride, I got home, removed the grips, cleaned them off and used superglue. I will know this evening if that method has held.

Hope that helps some.

 
Top