Jastek (BMW) Powerlet Location

Yamaha FJR Motorcycle Forum

Help Support Yamaha FJR Motorcycle Forum:

This site may earn a commission from merchant affiliate links, including eBay, Amazon, and others.

FJR1300A

Well-known member
Joined
Jan 18, 2008
Messages
163
Reaction score
0
Location
Pittsburgh, PA
Well after spending about 8 hours today reading the forum and looking for a good place to put a powerlet outlet for my heated jacket I came up with what may be a new location. I originally wanted to mount it on the left side of the tank down by my knee with a heat-troller in order to keep it from flapping in the wind so much, similar to this install.

https://www.fjr1300.info/mods/roger.html

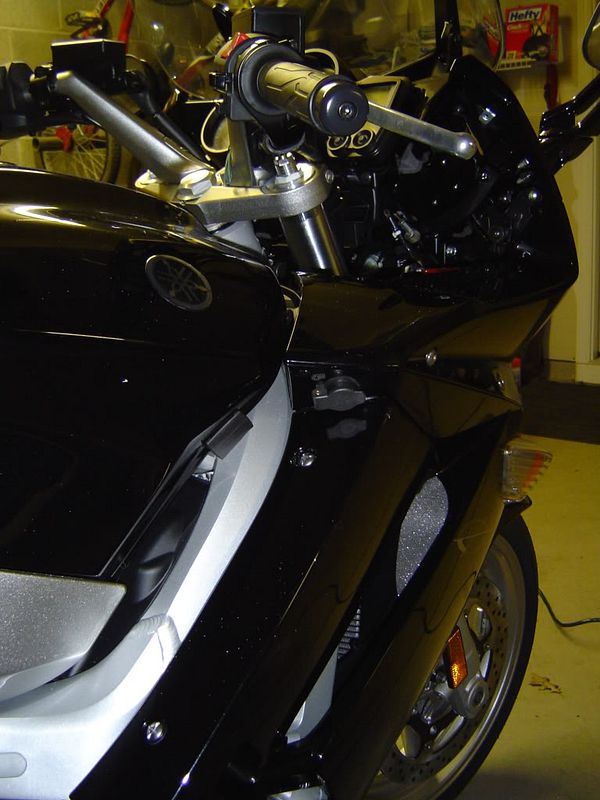
But, since I have a 2008 and the Gen II bikes have the adjustable vents there (whether they actually work or not) I didn't want to compromise them. So I decided to place it just above these vents, but below to surface with the accessory box. See my pics for some more details.

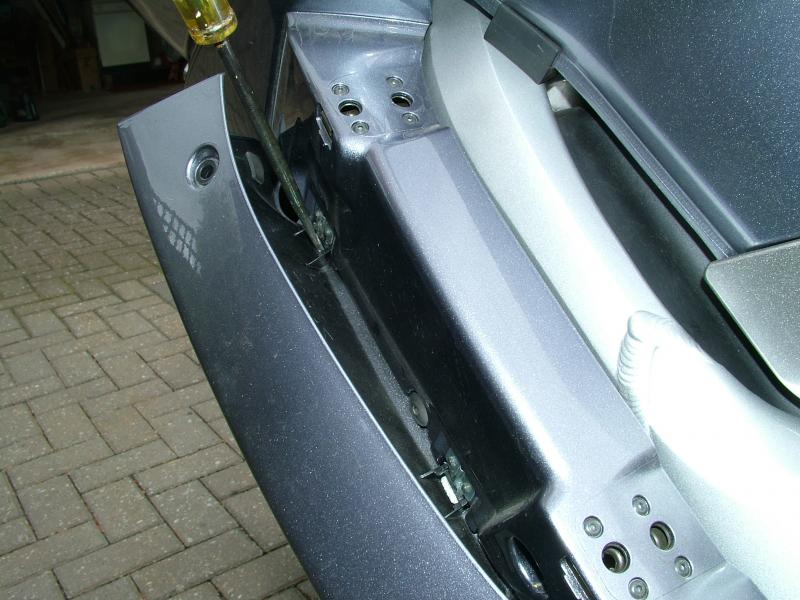
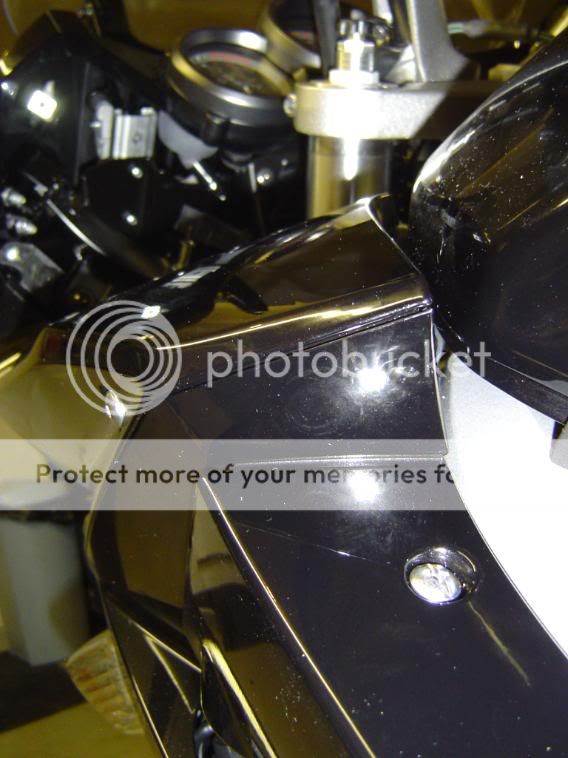
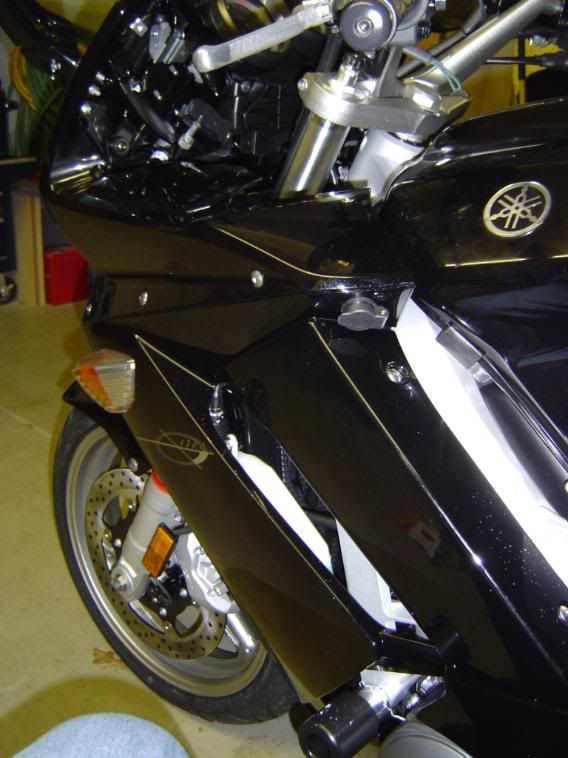
The left side before I took the drill to her...

PL_1.jpg


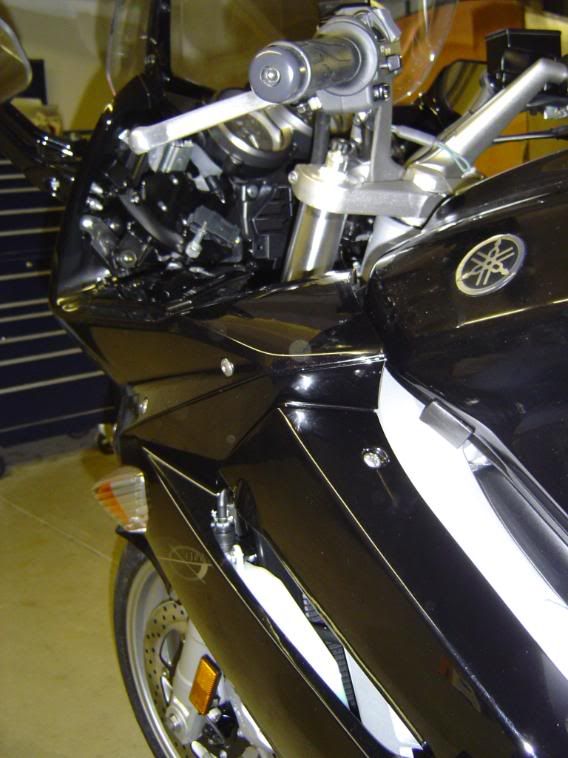
Close up of left side

PL_2.jpg


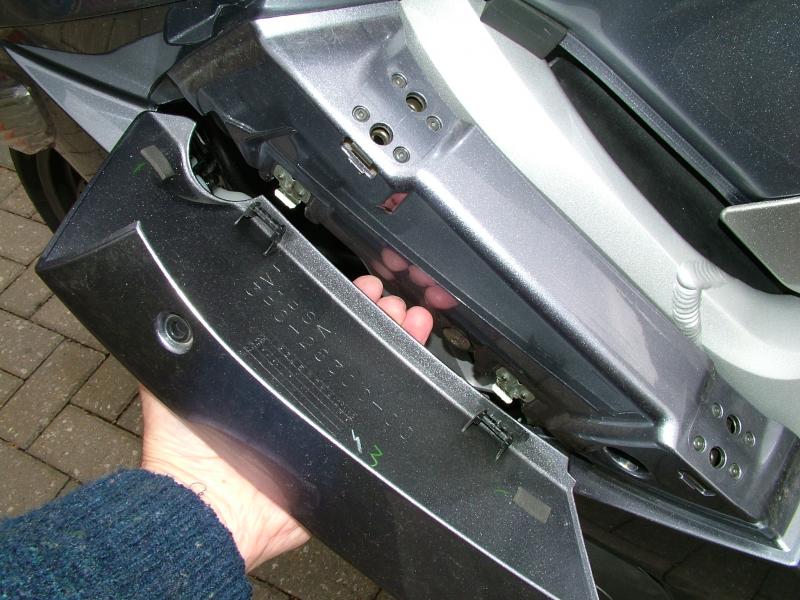
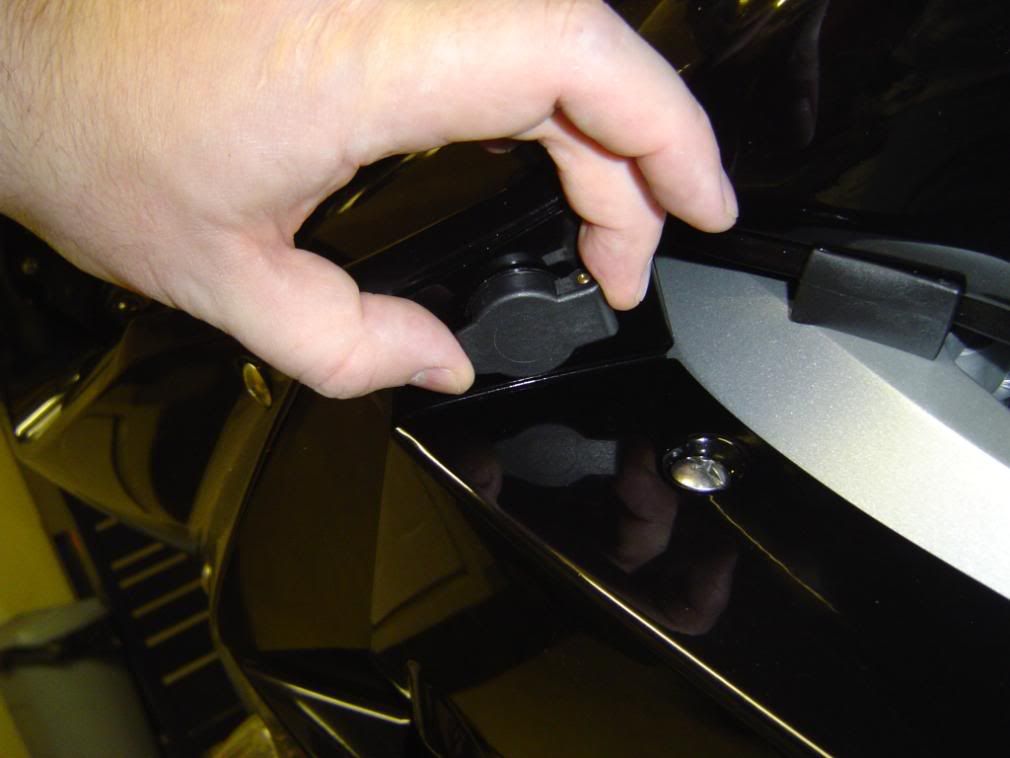
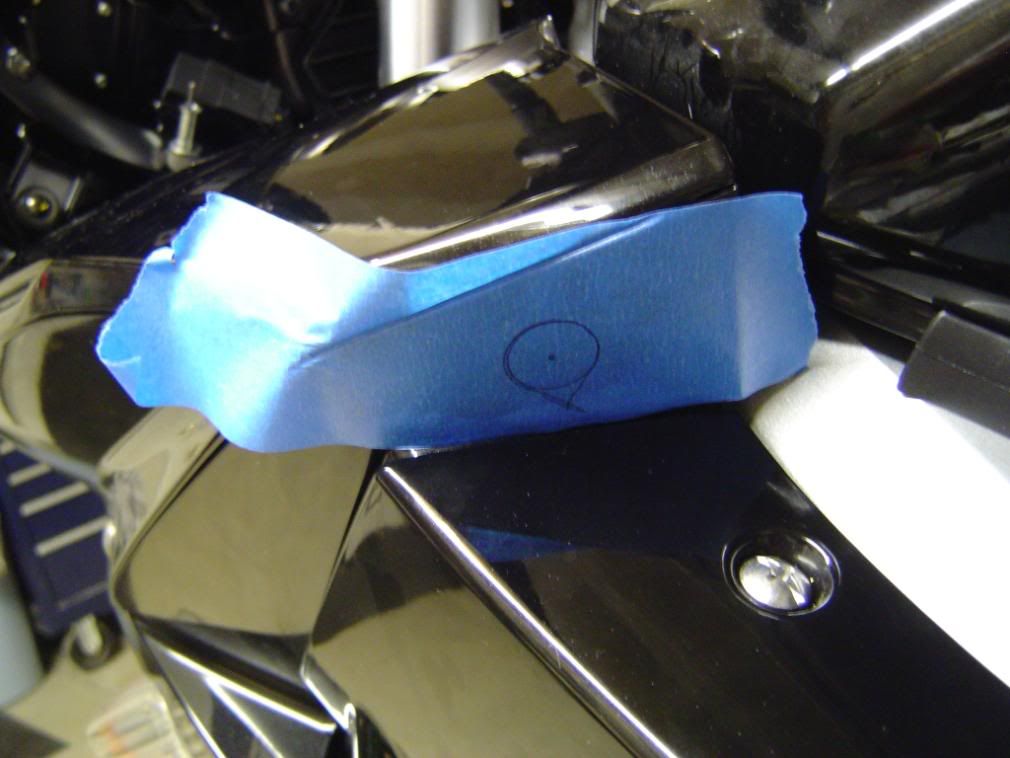
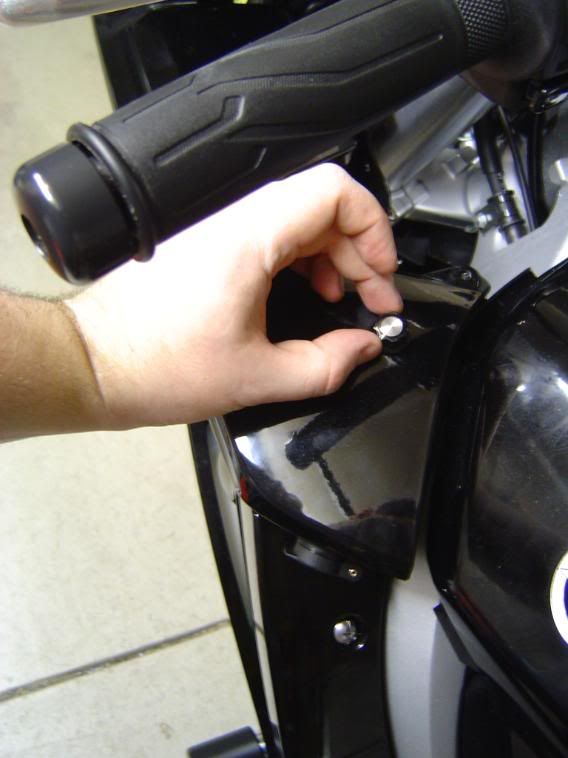
Holding the cap to the powerlet adapter to check for space.

PL_3.jpg


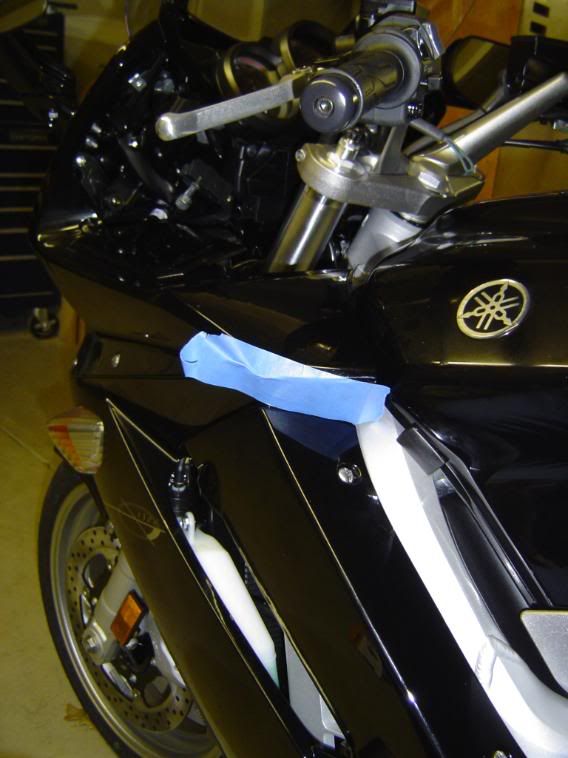
Taped off so I dont' slip with the drill and scratch anything else.

PL_4.jpg


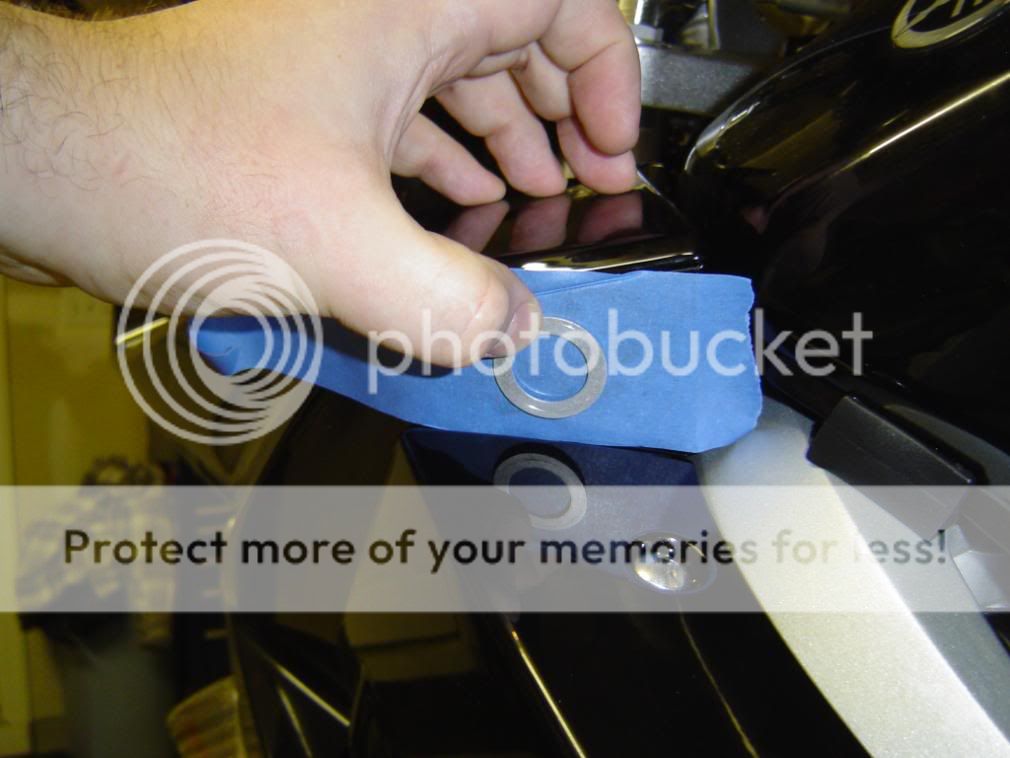
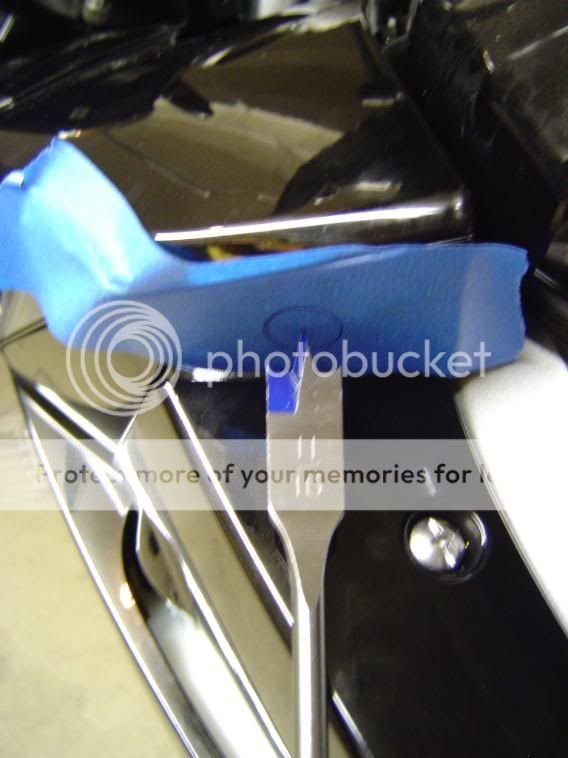
Holding the aluminum washer that goes behind the plastic to check for size again.

PL_5.jpg


Traced the inside of the washer (I slipped with the pen, that worried me about doing it with the drill!! :blink: )

PL_6.jpg


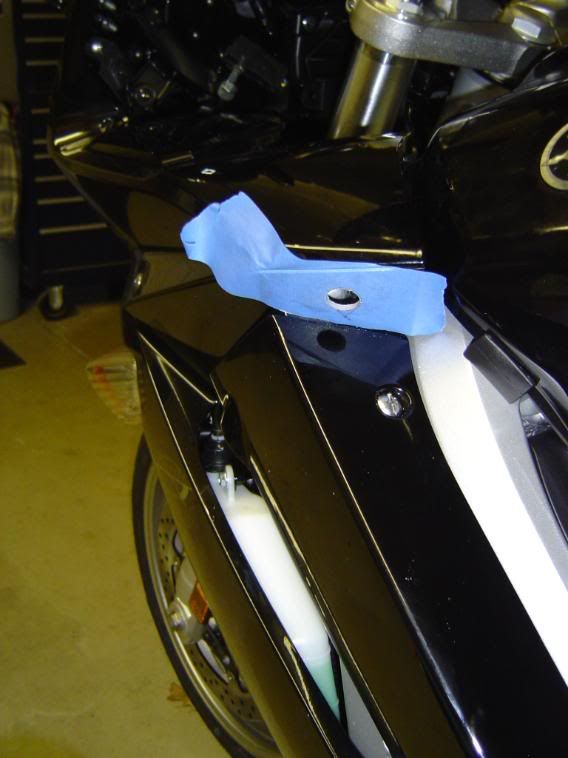
The moment of truth... (I'm shaking so bad the picture is blurry! Well it's the first hole so cut me some slack!)

PL_7.jpg


Not bad, just go slow!

PL_8.jpg


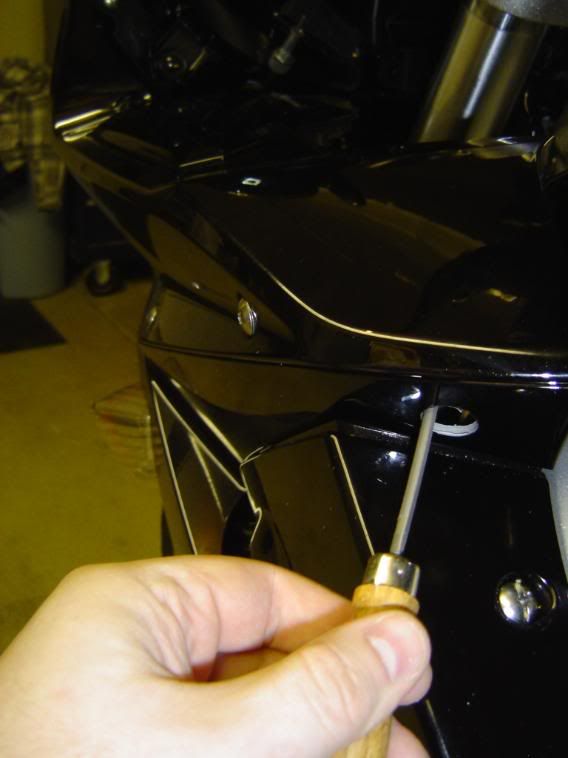
Even with the 11/16th bit, it was still a tight fit (maybe because it was a spade bit) but the file helped.

PL_9.jpg


Get someone with small hands to help you put the washer and nut on the back, I had to recruit some help.

PL_10.jpg


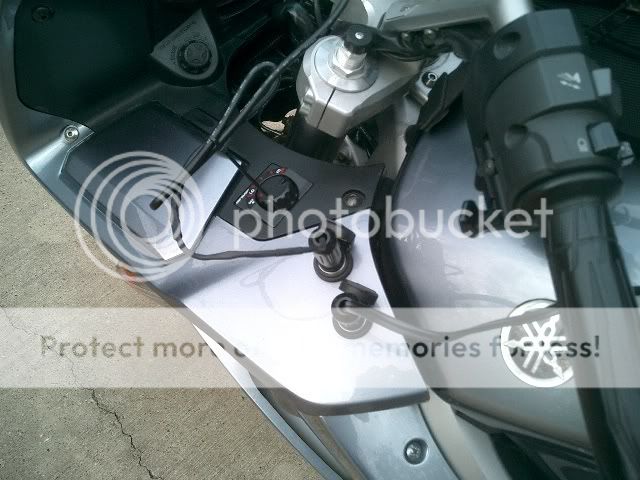
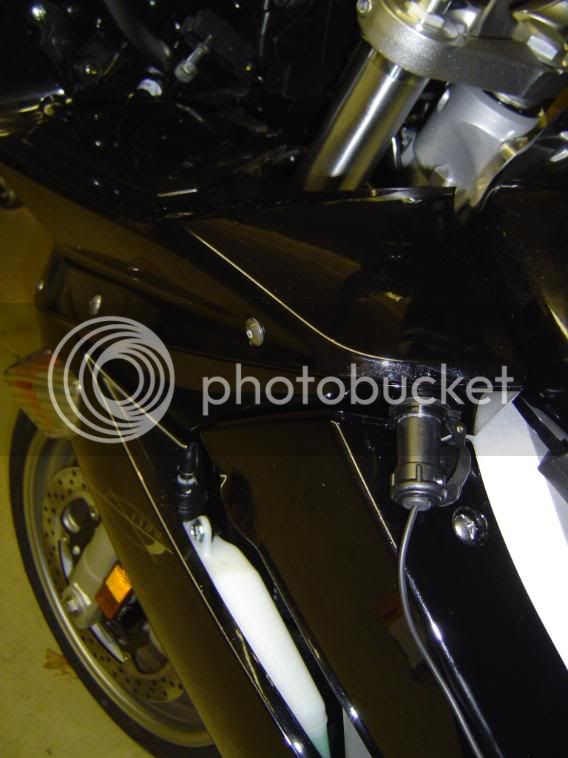
A powerlet plug inserted.

PL_11.jpg


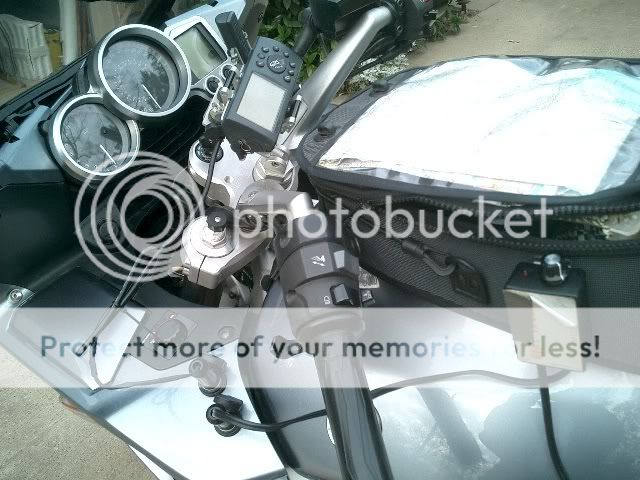
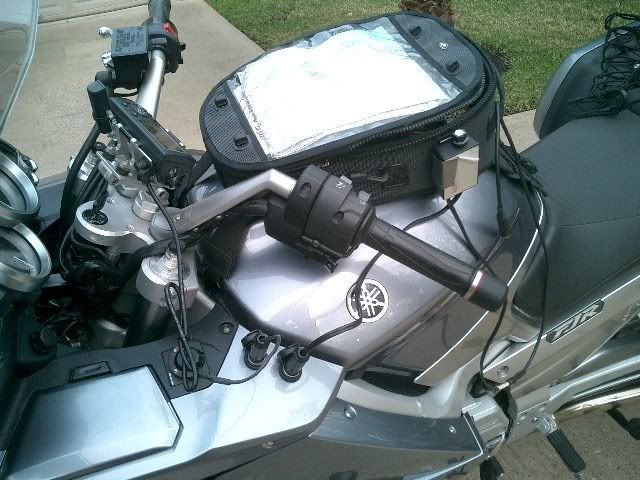
Possible location for heat-troller to control the jacket that I'll be plugging into this.

PL_12.jpg


Well that's it for now. I hope this helps someone else looking for a good place to put a powerlet for a jacket. I still need to make up the wiring harnes, but I already checked and there is enough room behind it for everything to fit easily.

 
First, nice job and a thumbs up. I haven't had the guts to cut into my fairing, so props to you.

One question. If I remember correctly, the panel below the powerlet (the one that swings out if you have a mind to). Doesn't that panel come off straight up after removing the two screws? I haven't taken it off in a while, but if it does come straight up, does it clear the powerlet cover in that position?

 
First, nice job and a thumbs up. I haven't had the guts to cut into my fairing, so props to you.
One question. If I remember correctly, the panel below the powerlet (the one that swings out if you have a mind to). Doesn't that panel come off straight up after removing the two screws? I haven't taken it off in a while, but if it does come straight up, does it clear the powerlet cover in that position?

I haven't actually tried to take it off, but if that's the way it comes off, I'll probably be able to squeeze it by with a little persuasion. I guess I'll find out the hard way.

Oh well, I still like the location for plugging in my aerostich. If there is enough room on the other side by the battery, I may put one in there too since there is no way I can put one in panel D due to the 10 pounds of crap that yamaha packed into that 5 pound sack!

 
One question. If I remember correctly, the panel below the powerlet (the one that swings out if you have a mind to). Doesn't that panel come off straight up after removing the two screws? I haven't taken it off in a while, but if it does come straight up, does it clear the powerlet cover in that position?

If it's like the 06 (have to think it is) once you remove the screws, the panel will drop either left or right (depending on the side of course) and you can pop it off by removing it from the "snap in hinges".

 
QUOTE (Capt. Bob @ Tuesday, 19 February 2008) <{POST_SNAPBACK}>

QUOTE (ShinyPartsUp @ Tuesday, 19 February 2008) <{POST_SNAPBACK}>

One question. If I remember correctly, the panel below the powerlet (the one that swings out if you have a mind to). Doesn't that panel come off straight up after removing the two screws? I haven't taken it off in a while, but if it does come straight up, does it clear the powerlet cover in that position?

If it's like the 06 (have to think it is) once you remove the screws, the panel will drop either left or right (depending on the side of course) and you can pop it off by removing it from the "snap in hinges".

Confirm the 06, pictured below is how I used a screwdriver to ease open the retaining clip of one of the "hinges":

1_DSCF5808.JPG


And this one shows the panel removed:

1_DSCF5809.JPG


Last edited by a moderator:
Well then it looks like I'll be OK. I should have checked first, but I actually thought that this was the way it works and never considered that it might be a problem. Anyway, thanks for setting my mind at ease.

 
Just a note for future drilling of plastic. Uni bits are great. Graduated steps in size with little or no vibration when drilling. The bit of choice when drilling plastic.

 
I used the same location for my socket.

I would advise using something to protect the fairing below the socket.

The plugs are tough on the the easily scratched paint.

 
This is what I did. The thermostat is mounted on my tank bag with the "super Velcro" you can get from Radio Shack. If I add more farkles, I'm thinking about putting the power block in the tank bag and just running off one plug. BTW, this is a genuine BMW tank bag, the front clips just hook over the seam in the front of the tank. The rear clip was modified slightly from the stock BMW configuration.

Plugs01.jpg


Plugs02.jpg


Plugs04.jpg


Should be obvious, but don't forget to put a disconnect in the wiring to the socket. Those panels will have to come off some day, for something. . . .

That panel is where I put my Audovox CC control buttons on my 2003 (click image for full-size):


Last edited by a moderator:
Should be obvious, but don't forget to put a disconnect in the wiring to the socket. Those panels will have to come off some day, for something. . . .
That panel is where I put my Audovox CC control buttons on my 2003 (click image for full-size):


Yeah, I actually bought the connectors that Powerlet sells which plug directly onto the back of the socket. As much as I would like to think that I'll never have to remove the plastic in the future, I'm a realist and I know that I'm not that lucky!

 
[SIZE=14pt]And now for the right side...[/SIZE]

There is just enough room behind the plastic to add one in exactly the same place on the right side. However I had to remove the three screws that run horizontally down the side from this point to the headlight. That allowed me to lift up the plastic just enough for me to squeeze my fat hand in between the tank and the plastic so I could get the washer and nut on the back of the powerlet. Again, it's tight, but it does fit. I was a little worried about doing this considering how cold it is in my garage now. I didn't want the brittle plastic to break. I may have pushed my luck a little, but it held out and nothing cracked.

I plan to wire this one directly to the battery so that I can use it as an unswitched power source for my tank bag as well as a convenient plug for charging the battery during these seemingly endless winter months!

Here is a pic of the outlet installed. The procedure for drilling the hole was the same as on the left side: tape, mark, pray then drill!

PL_R_1.jpg


Closeup (This also shows two of the three screws above the turn signal that I had to remove. Of course they've been put back in for this shot)

PL_R_2.jpg


Here is a pic of both the powerlets from the seat. I'm leaning way back in this picture. It's the only way I could actually see them, which is nice because I want this to be as clean looking as possible when I'm done.

PL_R_5.jpg


Well, I haven't wired any of this yet. I'm still waiting for a few things that I ordered to arrive. In the mean time I hope someone finds this useful.

To be continued...

 
Top