Wicked Webby's Recipe for Great HP and Torque!

Yamaha FJR Motorcycle Forum

Help Support Yamaha FJR Motorcycle Forum:

This site may earn a commission from merchant affiliate links, including eBay, Amazon, and others.

Wicked Webby

Right is Harder than Wrong.
Joined
Apr 24, 2007
Messages
1,632
Reaction score
0
Location
Anoka, MN
Here it is my FJR Friends,

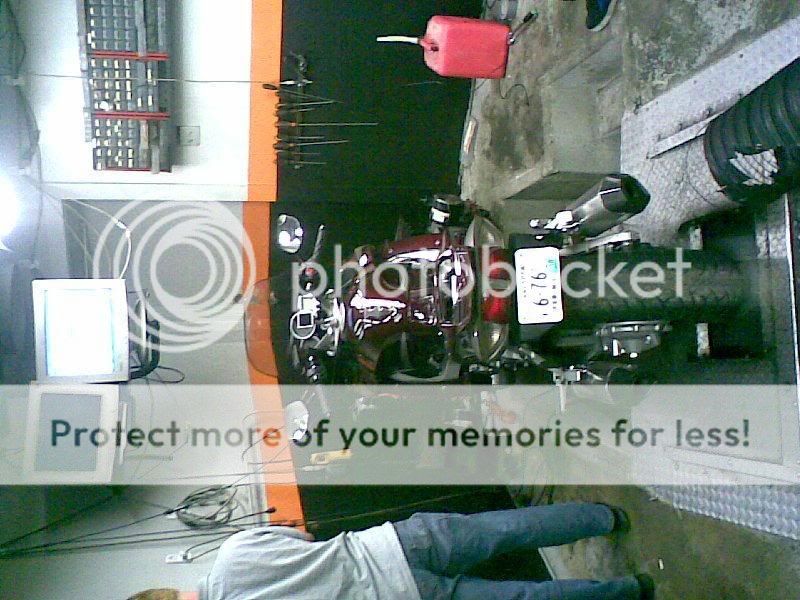
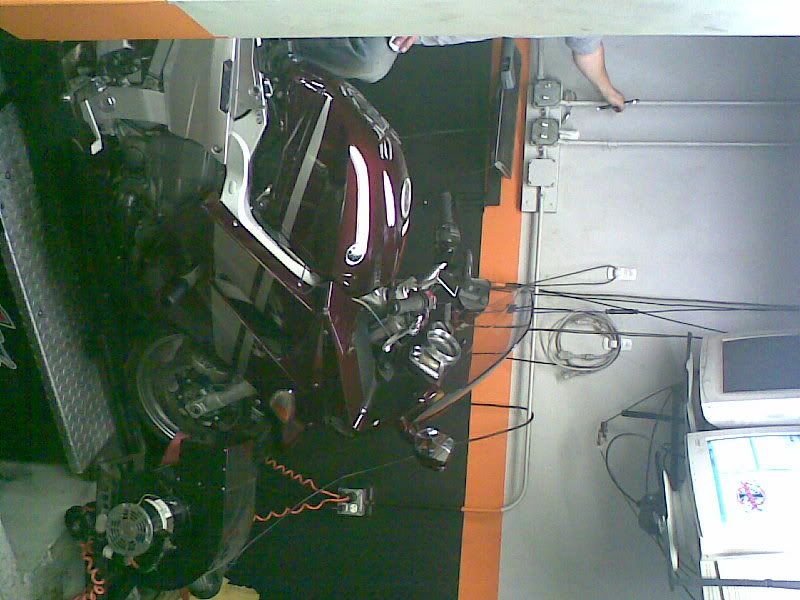
First here are some pics form my day at the dyno yesterday. Please excuse the quality as all I had was my cell phone(but it is a 1.5 megapix camera).
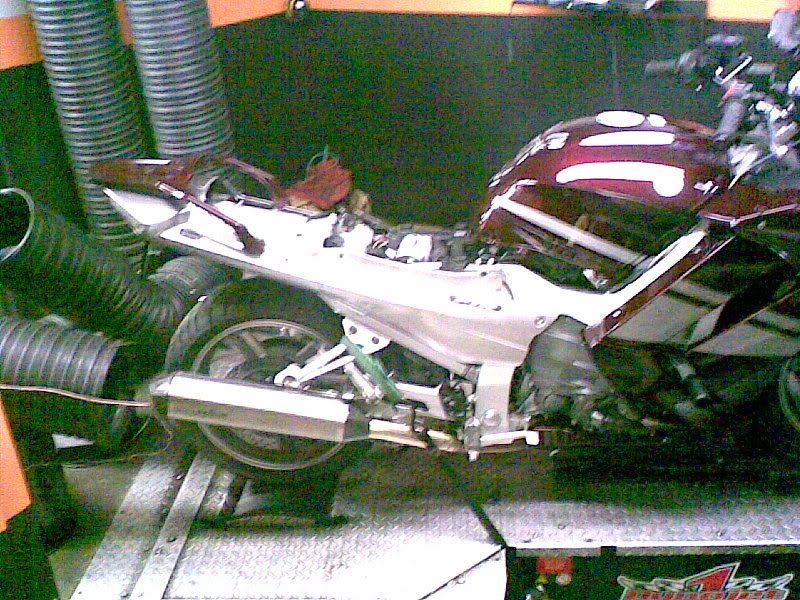
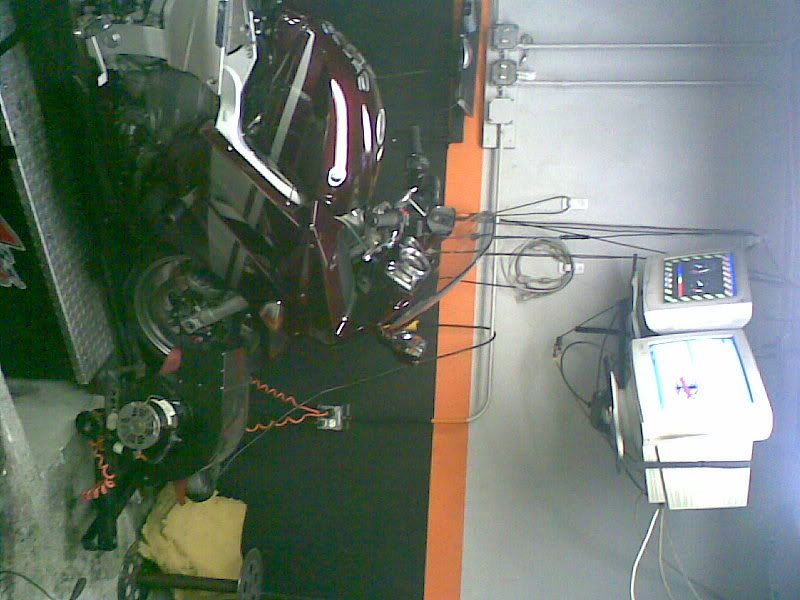
Image072.jpg


Image071.jpg


Image69edit.jpg


Image068.jpg


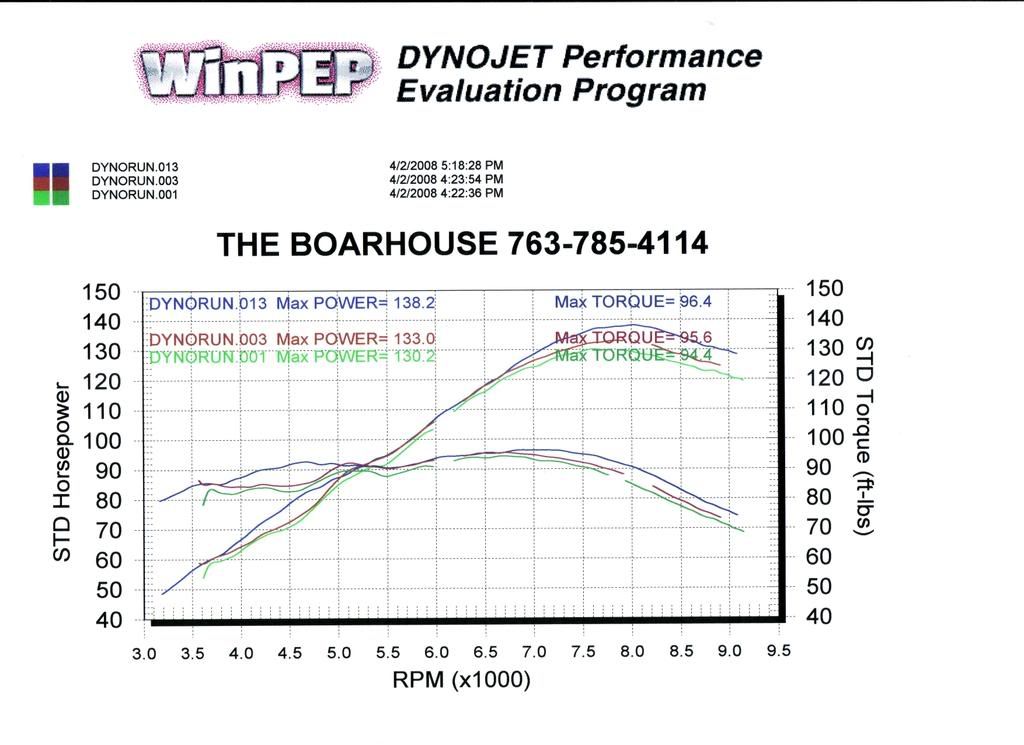
Well here is my dyno sheet. I spent a lot of time figuring out what is the best recipe for power and torque on my 07 FJR1300A. Burnt the **** out of my F'N tire!!

The 130.2 HP/ 94.4 FT-LBS run was my baseline with my Remus Hexacone slip ons only, with muffler baffles out, stock CO levels, completely stock air box.

The 133 HP/ 95.6 FT-LBS run was with putting in my super duper surgery reduced funnel Air box cover (air box still stock) everything else the same!!

The final tuned 138.2 HP/ 96.4 FT-LBS run was with the stock air box chopped and very modified and a lot more CO values tuned in!!!

And Yes, Yes, all you INTERNET tuners and doubting Toms... I did 16 total runs and various levels of CO values, air box changes, baffles ins and baffles out. Burnt my tire up!! I am no novice to the dyno or tuning bikes and I found the sweet setup for the 07FJR1300A with only slip ons, the barbarian mod tuning and a very much customized BUT cheap air box set up!! My pocket book is empty but I love the results.

BTW, If some of you remember... After I did the funnel reduction on the air box horn. I did a TBS and cylinders #1 and #2 both needed a lot of adjustment to even out the extra air they were now getting.

Also, I don't think this matters much but I am running the iridium plugs. Just for those who are interested in knowing exactly what I have done to my bike. I am not claiming iridium plugs give you HP gains, even though some claim they do.
FJR1300DYNORuns.jpg


It should be noted.. The Boarhouse's dyno is notorious around these parts for reading lower than other guys around here (Hypersports, Silverback ect ect ect). When I rolled my FJR in, the owner and my very helpful dyno helper asked me what do the magazines usually say this bike has at the tire. I told them It is usually around 124 to 128 depending on the magazine and their dyno. They laughed and the my helper predicted 116 at the tire on this dyno. The owner said that he thought my slip ons looked pretty free flowing and he predicted 119. HaHAHAHAHAHAHAHAHA!!!!

More to come fellas. I am waiting for another member (here on this forum) to pitch in for his half of this endeavor!! Then I will be sharing my recipe for this with whoever wants to benefit from my research, time, and money spent. This forum has been really AWESOME about sharing quality info and I do not intend to do anything but!!!

:yahoo: :yahoo: :yahoo: :yahoo: :yahoo:

WW

 
Last edited by a moderator:
WW,

Wow what impressive results! Thanks for sharing your successful experiment. You may be contacted by 2500 Shingai, Iwata, Shizuoka, Japan for some input.

Keep up the good work and look forward to the rest of the Big Test.

 
Thanks guys!!

03HiYoSilver,

I doubt that.. Just a bit of a tuner.. Remember, I am not doing mods to comply with noise and emission standards. Unlike the manufactures!!

WW

 
Last edited by a moderator:
To me as a non-drag racing rider, the biggest improvement in the first to last runs was the big gain in power you managed at ~4500 rpm. Looks like 9HP and ~10 ft.lb right where a street rider wants it the most.

You going to provide the full details and show some pictures of what you did?

 
To me as a non-drag racing rider, the biggest improvement in the first to last runs was the big gain in power you managed at ~4500 rpm. Looks like 9HP and ~10 ft.lb right where a street rider wants it the most.
You going to provide the full details and show some pictures of what you did?
Yes,

I sure will as soon as my fellow forum member here comes through with his part of the dough. Then my recipe is out for all here to see!!

WW

 
I sure will as soon as my fellow forum member here comes through with his part of the dough. Then my recipe is out for all here to see!!
WW
:angry: :angry: :angry: :angry: :angry:

How much did you pay to register at this forum? what did it cost read the bin-o-facts?, and what did you pay for learning the barbarian jumper mod? What did you pay to learn what others CO settings are?

I have spent lots of time and money on farkles and have freely shared all information.

I have never asked for or been paid -- not even 1 thin dime for information exchanged on this forum.

I thought the intent of the forum was to give back to others on the forum that gave so much to you.
Hey Rickster!!

Pipe it down a notch... I have done likewise!! If you would of taken the time to read my previous posts, you would get that I have a fellow forum member here who is going in on all my efforts and dyno time regarding this. Unfortunately(this ain't a perfect World), I don't think he will pony up if he already has the recipe. No tricks here.. If he doesn't take care of me on this(fairly quickly), deal we made, I plan to still share my findings. RELAX... Read my previous posts before you go off half bent!!

WW

:(

 
Last edited by a moderator:
If I misread the intent of the post -- my apologies to WW.

BTW how do you "pipe down" without the baffles installed? :rolleyes: :rolleyes:

 
If I misread the intent of the post -- my apologies to WW.

BTW how do you "pipe down" without the baffles installed? :rolleyes: :rolleyes:
Rick,

Hahahaha... Thats pretty good!!

Thanks for understanding this temporary situation.

PM sent.

WW

 
Those are some great numbers. So much for the naysayers who felt your airbox mod was going to hurt performance. Your results showed a much greater increase then I thought was possible by fine tuning your fuel delivery. Air box mod and tuning 8 HP with some large midrange numbers also.

Thanks for taking the time to write this up and share your data. Now you have me looking for a dyno in my area.

Drew

 
Eight horse power? 8 ******* HP? ******* what have we become? :rolleyes:

edit:The road goes on forever and the party never ends.............

 
Last edited by a moderator:
It should be noted.. The Boarhouse's dyno is notorious around these parts for reading lower than other guys around here (Hypersports, Silverback ect ect ect). When I rolled my FJR in, the owner and my very helpful dyno helper asked me what do the magazines usually say this bike has at the tire. I told them It is usually around 124 to 128 depending on the magazine and their dyno. They laughed and the my helper predicted 116 at the tire on this dyno. The owner said that he thought my slip ons looked pretty free flowing and he predicted 119. HaHAHAHAHAHAHAHAHA!!!!
Very impressive mods. Regarding the numbers, it's not so much the actual numbers as it is the relative percentages of increase/decrease. Unless you're working with the same bike on the exact same dyno in the exact same location, chances are that you wont get the same dyno readings as anyone else.

btw - I think I may have been one of the naysayers. If so, I admit I was wrong.

 
Also impressive (not just peak numbers) is the bulge in torque, and horsepower, in that (very useable) 4K to 5K rpm range. Would really be noticeable on the road, I think? Altho, even more destructive to rear tires.... :huh: :(

Now... the trade-off for "gettin' sumptin fer nuttin" -- how's the noise? Intake roar from the airbox? Exhaust roar/drone from the open pipes? If it's your 'hot-rod', it might be okay? If it's a tourer, I'm not so sure? :unsure:

 
thanks for the report - impressive gains for such relatively minor modifications.

BTW - how many miles do you have on your bike?

I have Leo Vince cans and took the airbox outer "horn" off and my '05 is DEFINTELY stronger and more responsive in the mid range than it is with the stock cans on.

 
Last edited by a moderator:
Nice work WW. I thought maybe one or two HP was possible but 8 is quite a bit (as much as a pipe.) I run a full Muzzy pipe on my bike, K&N and DFO so I look forward to seeing your airbox mod.

 
THE WICKED WEBBY RECIPE FOR WICKED POWER IS IN!!!!!!!

First of all, our FJR's are screaming that they are suffocating!!! They need way, way more AIR(along with the right amount of extra fuel, freed up exhaust, to make good power gains)!! So..... I thought long, hard and researched on what would be the best way to get more air in and still have a good air filtration system. Our air boxes are not designed to allow for maximum air intake(too many emission concerns here from Yamaha, I suspect). HOWEVER... the throttle body air stacks coming out of the air box(to the throttle bodies) are designed to flow air very efficiently.. and they do a very good job at it.. So they must stay in place. The stock air box cover has that very restrictive funnel(that I trimmed at first)as most of you know. Also, the stock air box only has only a small oval opening(to allow air in) approx. 1 inch by 2 inches.

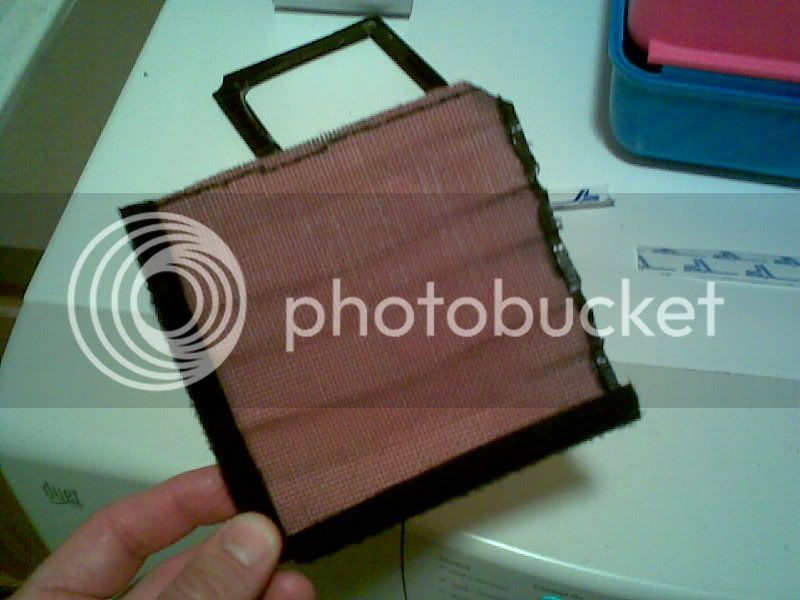
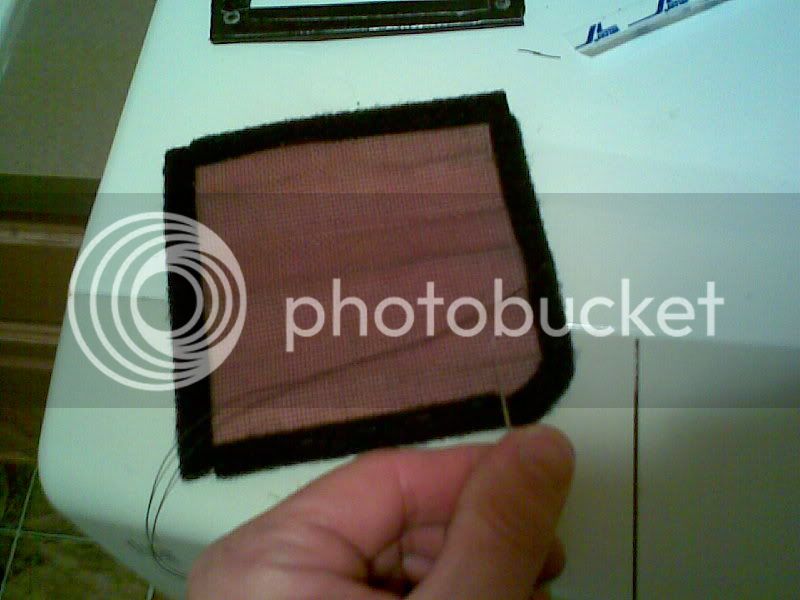
So, Basically you open up BOTH sides of the stock air box with a dremel/router bit and put in place panel style (flattened) K an N filter. You have to order one that is larger than 5 inches by 5 inches and trim it to fit. Remember to finish off your newly sized filters with some type of weather stripping around the edges(I sewn in the soft side of some velcro)!! To seal up those itsy bitsy gaps(where needed).

So you went from around 2 something square inches of air inlet to close to close to 40 square inches of air inlet(about 4x5 on left sides, misusing for the left sides cover angle and the right actually being 4 1/4 x 4 1/4.). REMEMBER....THE AIR BOX ISN'T TUNED FOR SUCTION... THE AIR STACKS ARE!!! Give it as much air as you can!! With the correct amount of fuel and opened up exhaust of course!!

YES, the air intake is gonna be a bit louder now... But only under heavy throttle inputs. Not as loud as you would think though. Sounds very cool!!

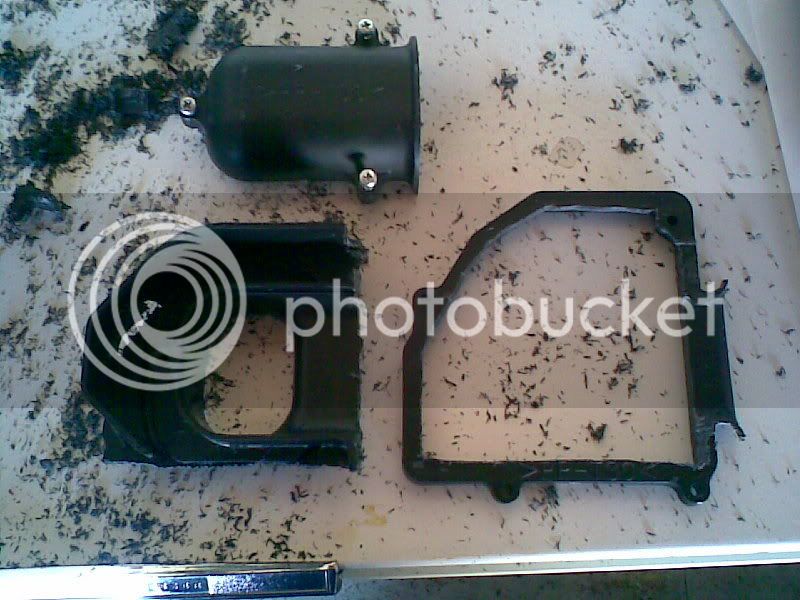
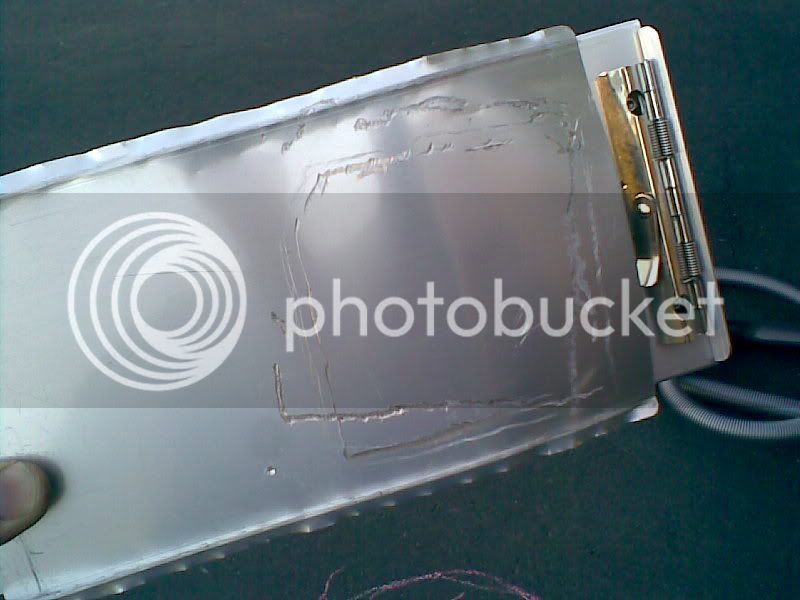
Below is a pic of how I modified the stock air box cover plate to act as a air filter frame to pinch/squeeze the K n N filter in place over the left side air box opening. The left overs to the left are no longer used with this application. I decided to use the K n N filters mainly because of the fact that I needed to trim them up (to fit correctly). Because I can clean them when they get dirty.... Thus, I only needed to custom fit these filters once!!

Image022.jpg


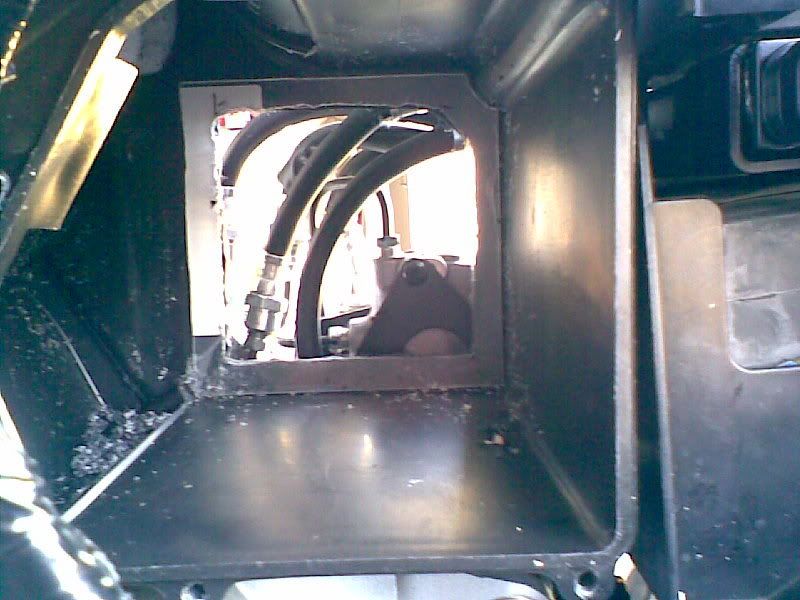
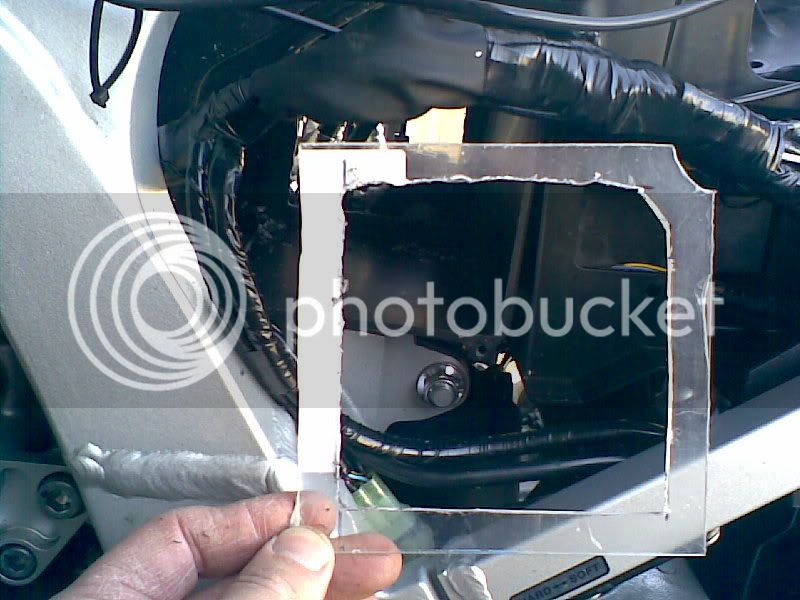
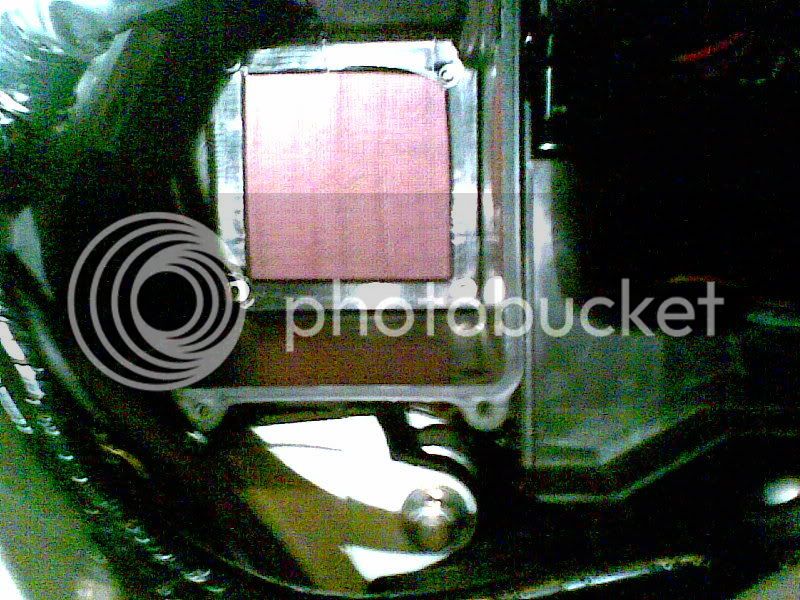
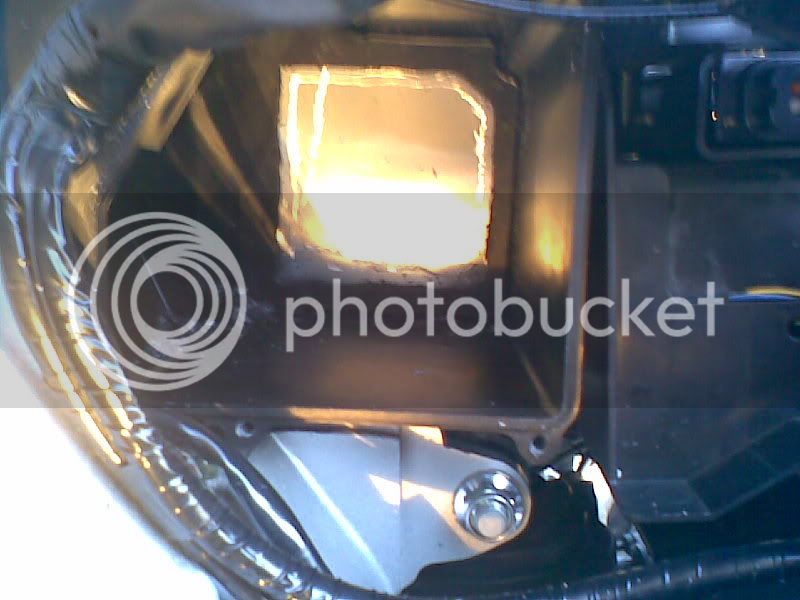
For the right side of the air box, I cut out a square opening about 4 1/4 inches by 4 1/4 inches on the inside. The right side of the air box allows you to actually make the opening square. I made the cut a tad bit smaller(than the filter) to have a built in frame that holds the other K n N filter in place, inside the right side of the box. I simply secured it in place with 4 nuts, bolts and washers. Basically drilling 4 holes(for the bolts) through this frame/lip and bolting it up through the air box. It should be noted: I used the Plexi glass frame (that I made below), as my routing guide for cutting this part of the air box out. SEE WARNING BELOW ABOUT THE BRAKE LINES BEFORE DOING THIS!!

LOOK AT ALL THE AIR COMING IN THIS BOX NOW!!

plexiglassframeinbox.jpg


I made a plexi glass frame to sit in between the air filter and air box on the right side(bolted in place). It was 4 3/4 x 4 3/4 with the top right corner cut to match the interior of the air box. Then I cut the interior portion of this frame a 1/2 inch smaller. Thus, the frame is a 1/2 inch wide.

plexiglassframe.jpg


I later put heavy duty (gorilla) duct tape on it to help strengthen it, when bolted through the air box.

insiderightbox.jpg


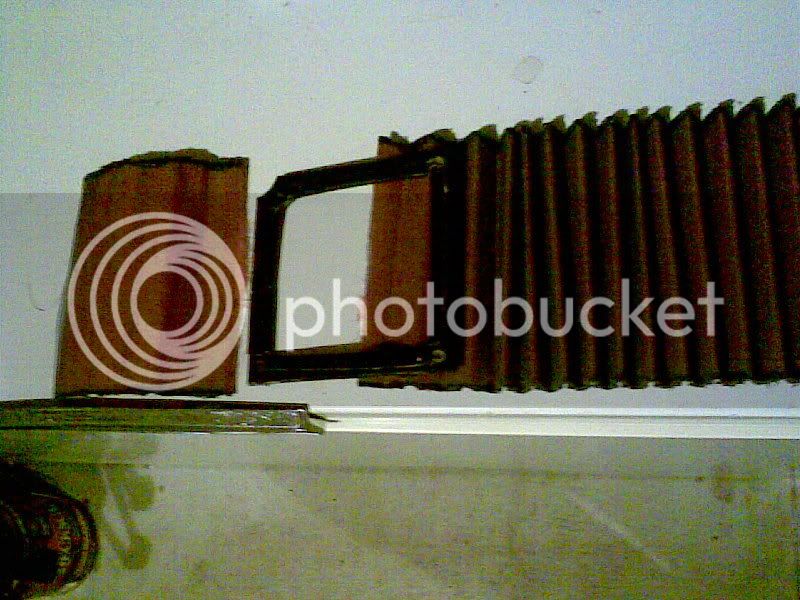
BTW, my K n N filter of choice was the 33-2084.. Dissected, flattened out (screen on both sides) Trimmed up to my specs!

https://www.knfilters.com/search/product.aspx?Prod=33-2084

knN3.jpg


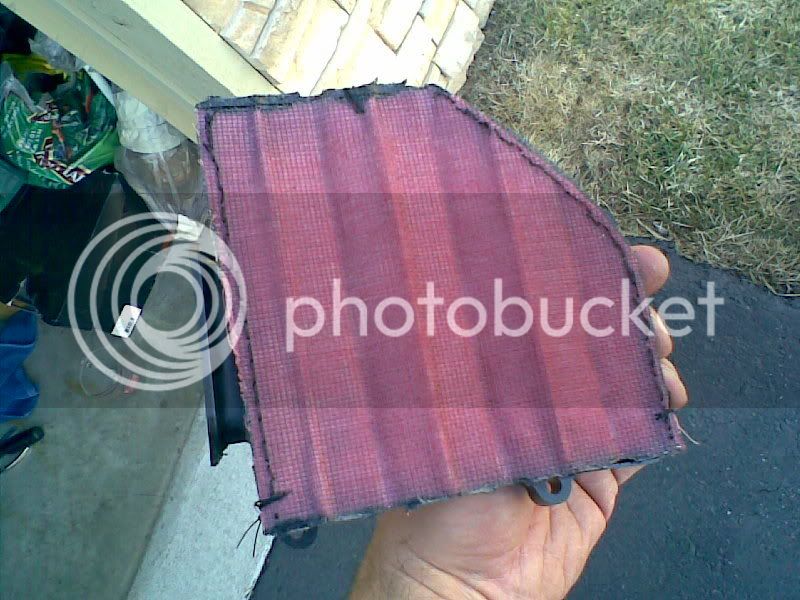
I sewed around the screen with a nylon thread to hold the oil element and screens together. I then folded over some velcro(soft side) around the edges and sewed that in place too! Here are some pics of my filters:

leftfilterback.jpg


knN1.jpg


KnN2.jpg


leftfilterinstsalled.jpg


**REMEMBER!!! If you are going to dremel out the right side of your air box with the box on the bike. Be very extra careful to place some type of metal barrier between the outside of air box and all those brake lines there for the linked system so you don't cut into one/any/all. I had to remove the silver trim/skirt around the gas tank and loosen up the tray under the seat to get a metal barrier between the right side of the air box and the ABS/linked brake lines.

routeringbox.jpg


This is why you need a metal barrier between your router bit and those brake lines!!!

metalbarrier.jpg


Also, duct tape the Four air intake tubes inside the air box and vacuum it our really well before running your bike and removing the duct tape. Dremel's and plastics make a lot of mess!! With my tubes taped up tight... I also sprayed out the inside of my air box with a garden hose and then sprayed it dry with compressed air. I let my bike sit in the garage over night to let the inside of the air box dry out good(before running).

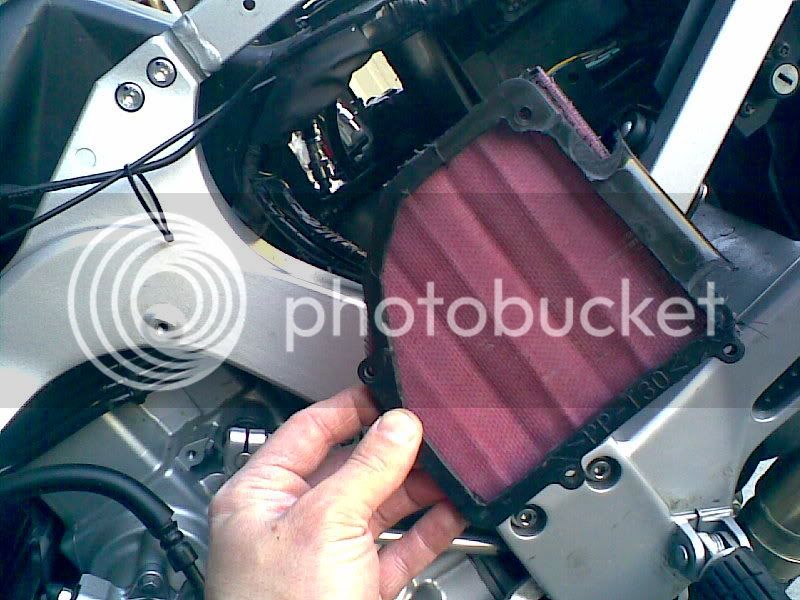
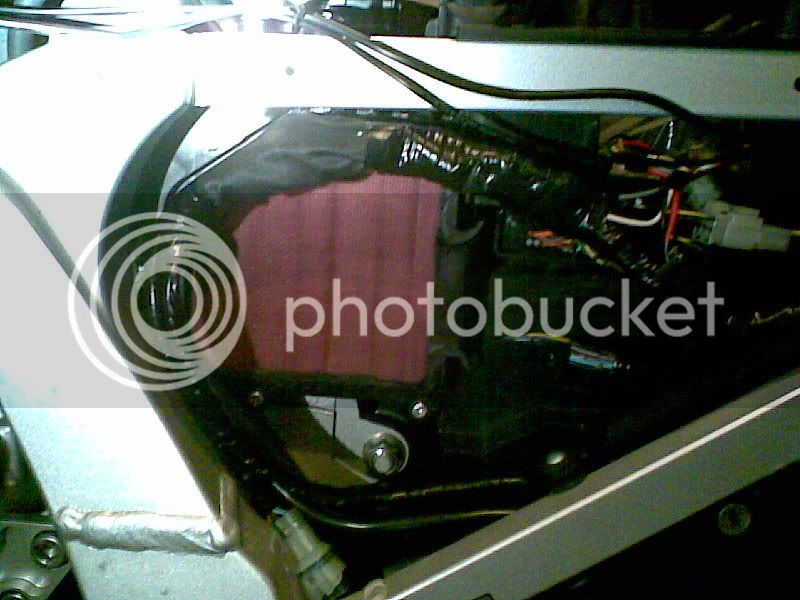
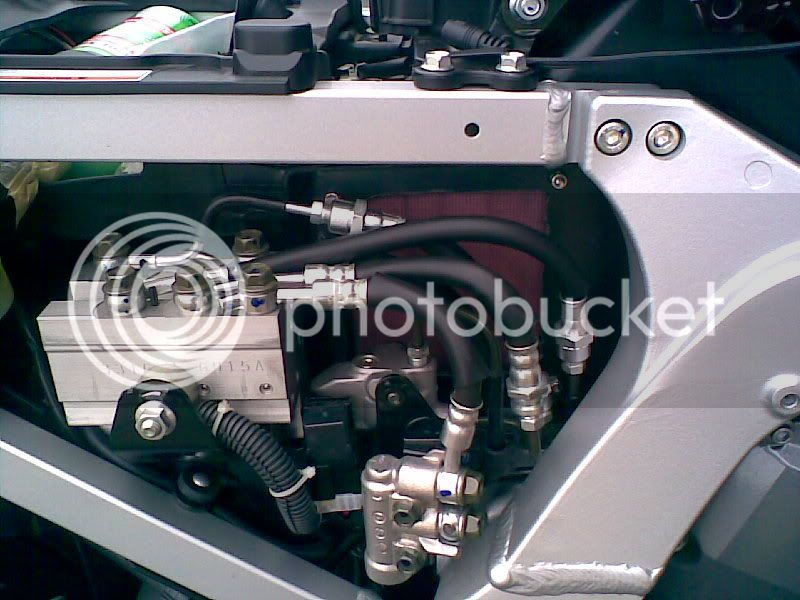
Here are a couple pics of how the filters looked mounted on the bike.

leftbox.jpg


Rightbikeframe.jpg


As you can see... Even though the right side of the GenII has all the ABS/linked brake stuff... The air box is still getting tons of air from the right filter. The down size to flattening the K n N filters is that you have half the filter element (no more ripples!). It filters and breaths just as good except now it will get dirty faster. BUT.. they can easily be cleaned and re-charged with oil. I plan to clean and re-charge these filters every other oil change... 6000 miles.

THATS IT!! MY VERY VERY GOOD BREATHING AIR BOX!!

Now, after too many dyno runs. I discovered the sweet spot for extra fuel for this much extra air set up. This was done via the barbarian mod. The best CO levels for this much air was +14 on all four of my cylinders. So for my 07A.. My final CO values were set at 19, 32, 32, 35. The AFR on the dyno here was back into the 13's. Note, I still have both CATs still intact, the 02 sensor and the air box sensor all still in place and functioning. It should be noted that when I added more fuel than the +14, I started to lose HP.. Got too FAT!!

DISCLAIMER: THIS SET UP WORKED AWESOME ON MY RIDE FOR HP AND TQ. EVERYTHING WENT UP!! AS YOU CAN SEE. I AM UNSURE IF (DOWN THE ROAD) I MAY NEED TO PUNCH THE CATS OUT IF THEY CANNOT KEEP UP WITH THE EXTRA FUEL DELIVERY. TIME WILL TELL. THOUGH, I THINK IT IS BURNING FUEL EFFICIENTLY BECAUSE I BACKED OFF THE FUEL ONCE I BEGAN TO LOSE HP WITH THIS SETUP.

(EDIT): IT DOESN'T SOUND LIKE THE CATS WILL EVER BE AN ISSUE!! SEE POSTS 68 AND 69 FOR MORE INFO.

******** MOD YOUR MACHINE AT YOUR OWN RISK *********

BUT I LOVE MY SETUP!!!!

Thats what I did.. My bike hauls *** now!! The power is AWESOME(as the dyno shows) and it revs up so fast now. Before these mods, the power delivery was very linear even under WOT... Now it has a distinct "kick" wherever and whenever you go WOT and between 7k-9k the tach needle looks like a turbo boost just kicked in!!!

^_^ ;) :p :D :lol: B) :derisive: :exhappysmiley: :coolsmiley: :coolsmiley02: :coolsmiley03: :cowboy: :dance: :dirol: :aarambo: :Lkingsmiley: :aacool: :Rkingsmiley: :competitivesmiley: :cap:

Wicked Webby

 
Last edited by a moderator:
Top