[Pre-Edit -- FU Photobucket, to view the photos you will need to install one of these addons Firefox fix Chrome fix ]
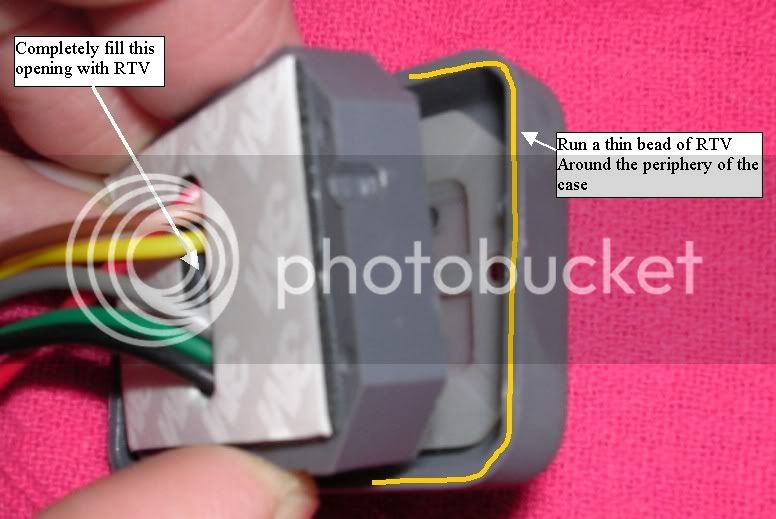
This is an alternate and less involved way to seal the switch pad. All pictures have been ripped off from kaitsdad, to which I've added the white text boxes. K’dad, let me know where to send the royalties. The following text is excerpted from one of my previous posts, repackaged (none too smoothly) here with k’dad’s pixs.
Split case. I ran a very small bead of RTV around the lip of the case so that it would make a sealing ring when snapped back together.
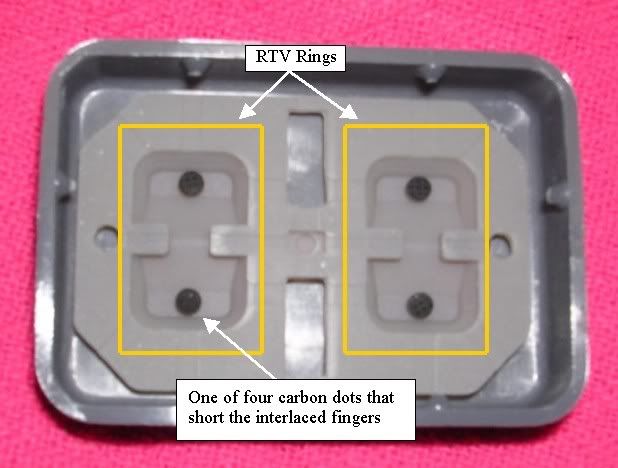
Sealing the opening on back of the pad is necessary but it is also very necessary (IMO) to seal around the edge of the case and the 'switches' on the front panel. Remove this rubber membrane, then using something like a toothpick draw rings of RTV as depicted. This isn’t structural; it only takes a very small amount of RTV to make a solid seal. Replace the rubber membrane, making sure it is right side up in the case!
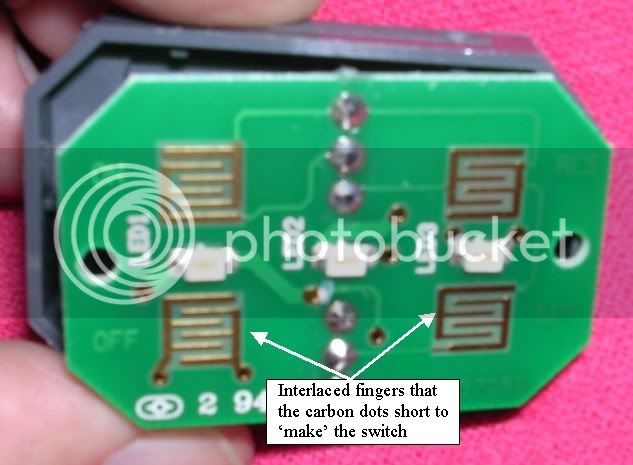
The ‘switches’ are actually the little carbon dots on the back side of the membrane that short together the interlaced conductors completing the switch.
A water drop will do the same thing as the carbon dots, especially if it isn't clean water such as wash water. If water gets on the ON button, the CC will turn on and you won't be able to turn it off. If the CC is on and you are going around a corner and water unexpectedly makes the ACCELERATE circuit turn on, your life could become an adventure PDQ
Thanks for the great pictures kaitsdad!


