DailyCommuter
Illegitimi Non Carborundum
Ok, I leave my house this morning Like most other days on the way to work, and ride down my street, turn on to the next one, and .......... NOTHING. Bike dies! "AWWW CRAP!
But the good thing was since I read this forum all the time, I kinda had a feeling what it was, The old ignition switch bad wire thing that seems to happen alot. So push push push all the way home, uphill most of the way, Thought I was going to die. But anyway, After testing a couple things I figured I would call some of the local Stealers to see who ,if anyone, had one in stock,..
No Luck, No one had one, But but but, I need my bike, I will figure something out, thought about the toggle switch fix, suggested by IonBeam in his PM to me this Morning, Thanks by the way Alan.
But I decided I was going to fix the existing ignition switch If I coud so I didn't have to deal with the whole re-keying issue, on the hardcases.
No-one has ever accused me of being overly patient ,If you know what I mean so I did this today because I am not going to wait for a switch, or fight about warrantee coverage, My dad always told me when he fixed something that people said couldn't be fixed, He would wink at me and say "country boy can survive boy!"
  So this was for both of us today, me and dad,.... Hug you dad's everyone next time you get the chance. You will miss them dearly when they are gone, I promise you! My dad taught me everything I know that's of any true importance in life, So I carry on.....as he would.
I snapped some pictures so others could benefit if needed.
So first I removed the triple clamp using the conventional methods, so I could see what I was dealing with.
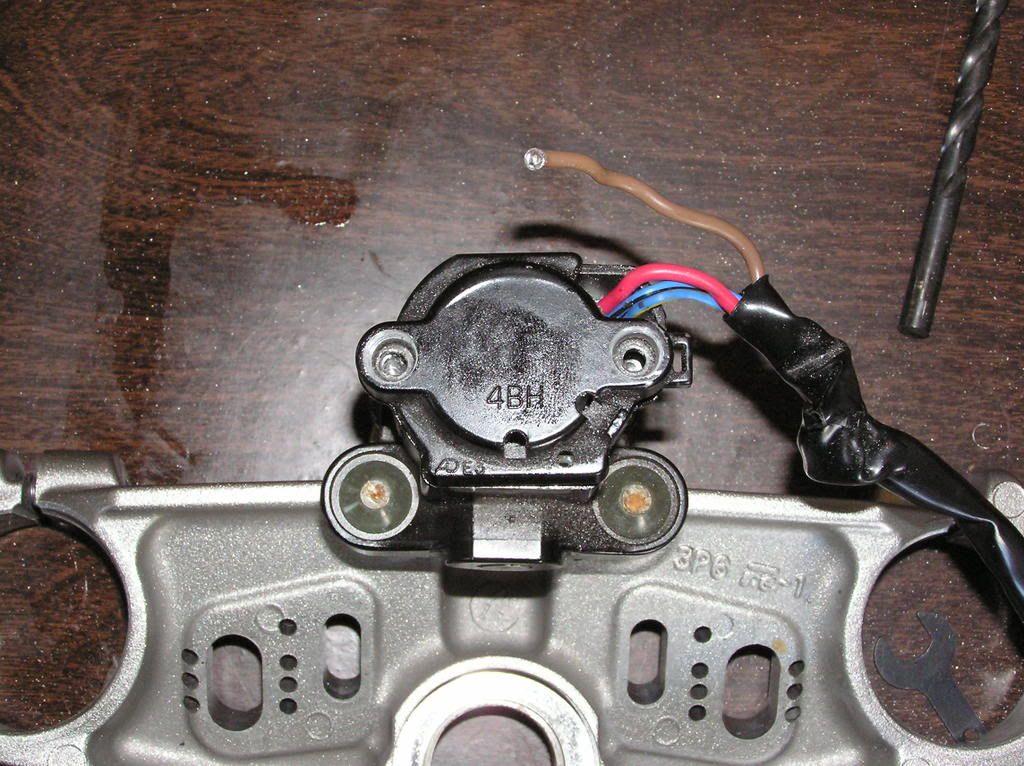
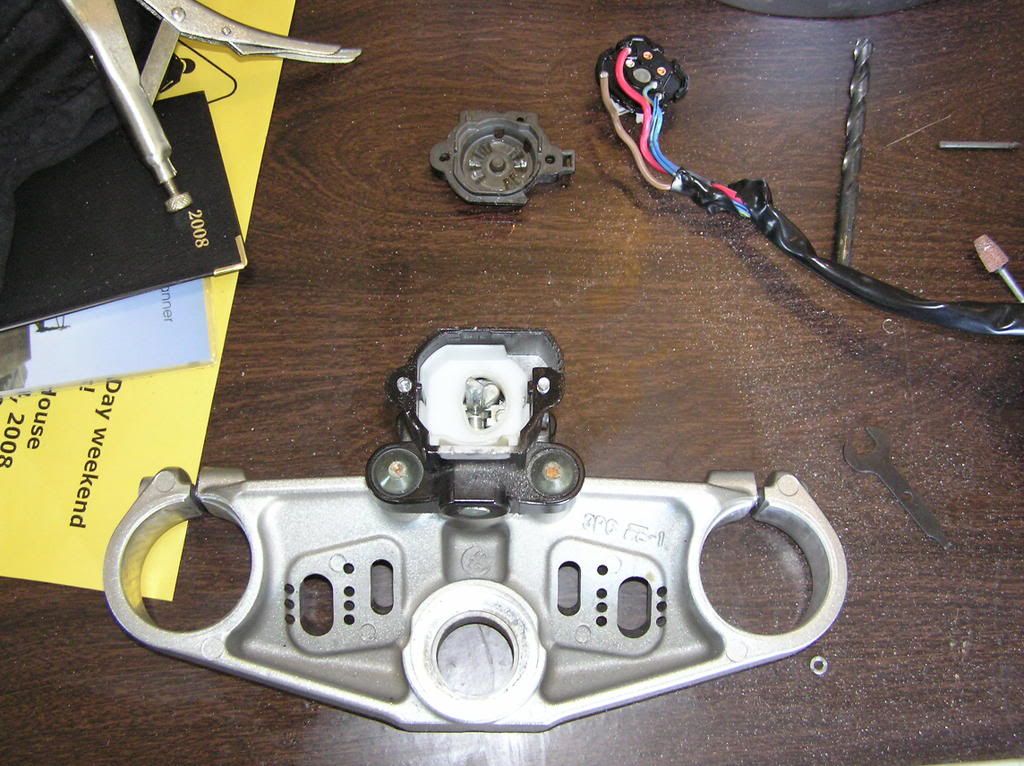
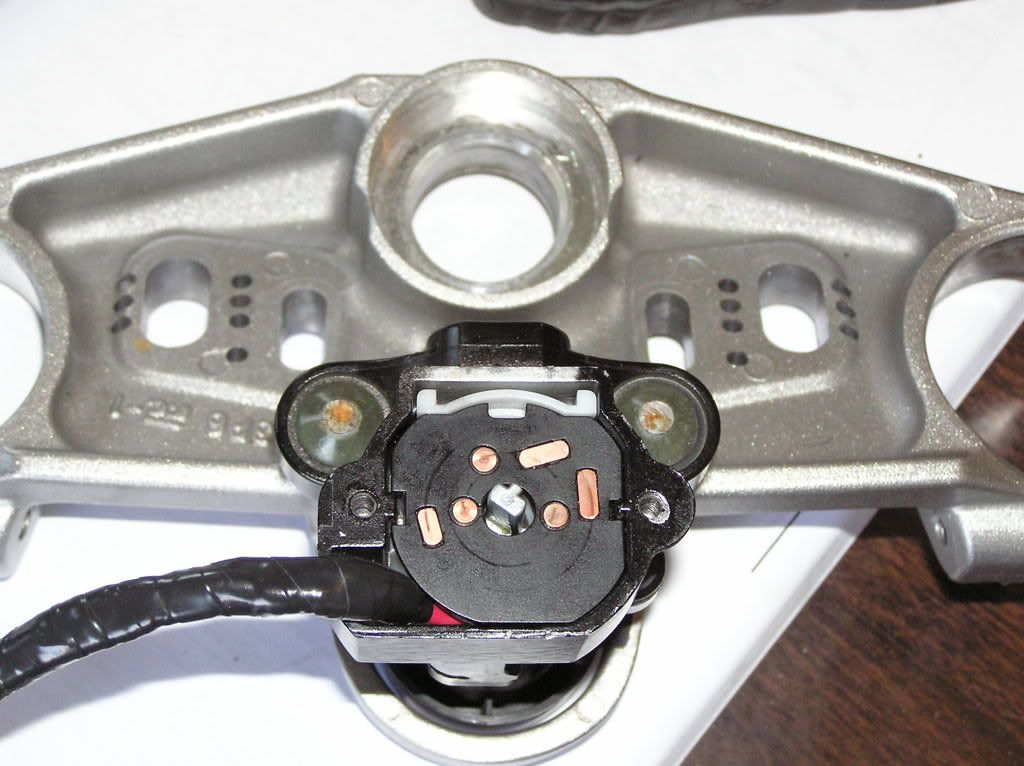
So it was obvious at this point that the brown wire had broken from it's solder connection and that was the problem. The next step I took was rather than drilling out the tamperproof bolts that held the switch to the triple clamp, I drilled the two that held the bottom cover of the switch on. This took a little doing, because of the dome like shape to them. I used my Dremmel with a small grinder to flatten the head out before I centerpunched and drilled them. Below is a picture of the switch with the bottom cover removed. Pay attention to the orientation of the switch body when you remove it, it needs to go back the same way.
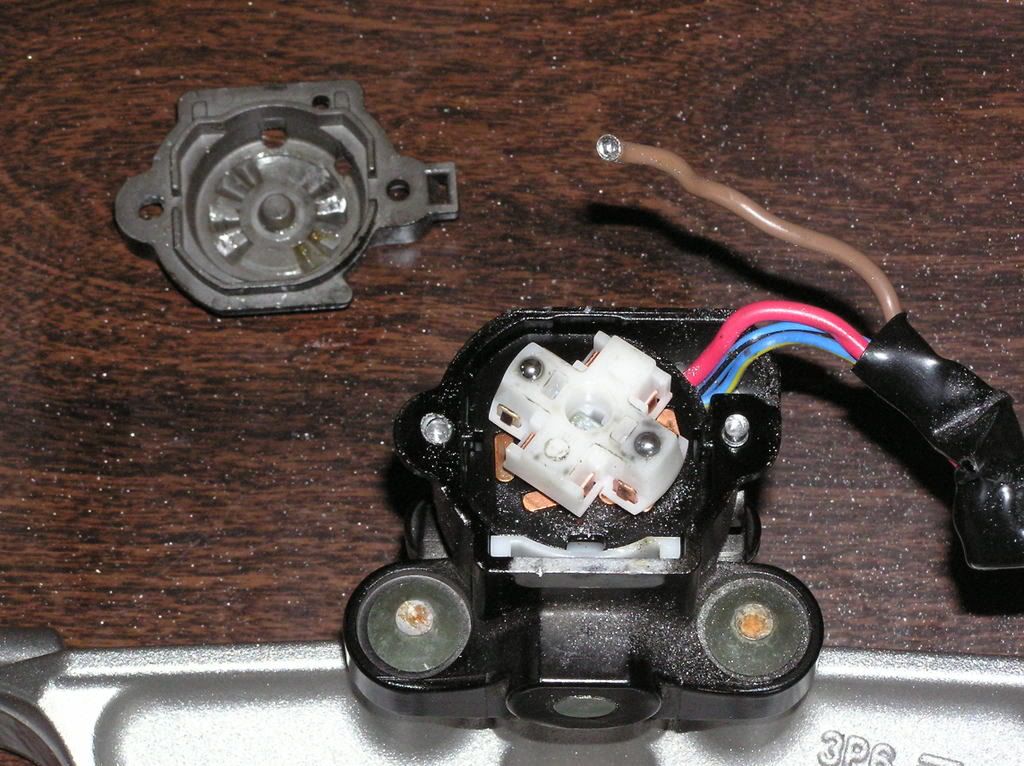
Once I was inside the switch it doesn't look to be that bad. Just need to re-solder that pesky brown wire.
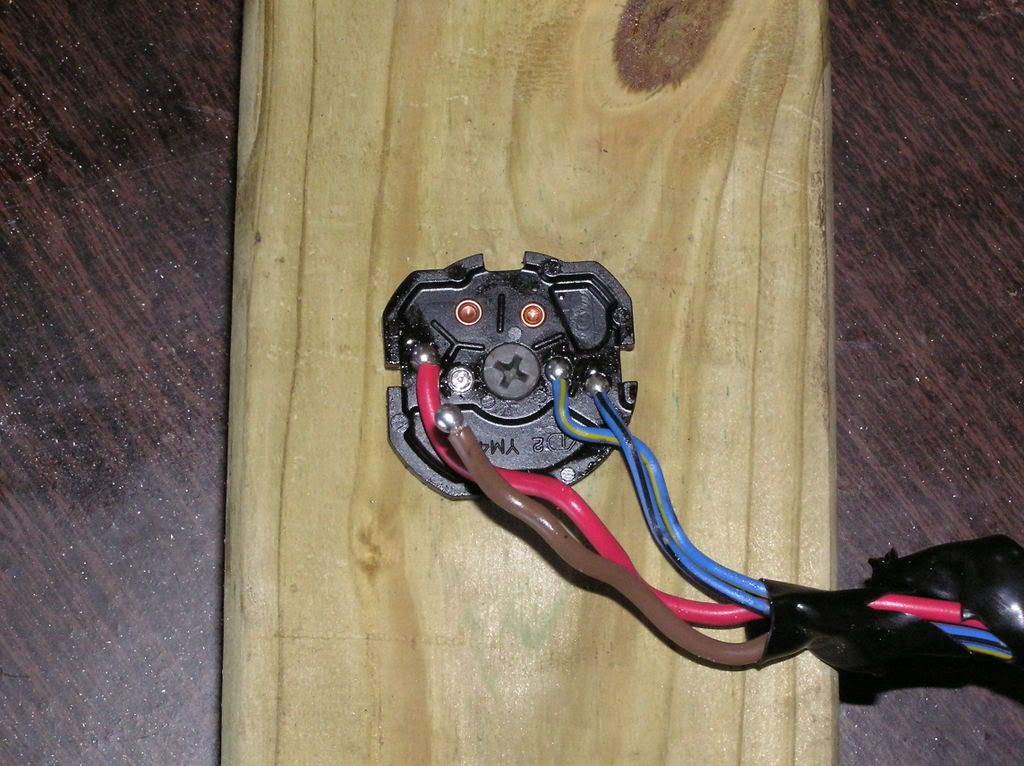
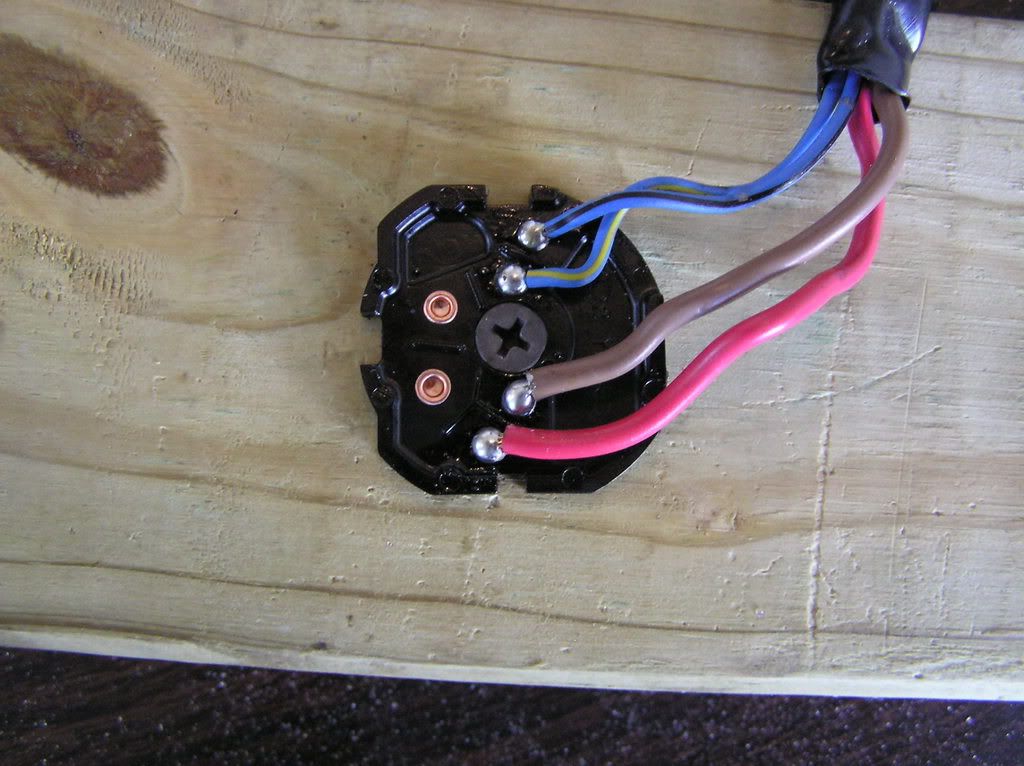
I needed a way to hold the switchplate down so I could use the soldering iron, and hold the wire where I wanted it, so I just screwed it down to a 2x4 for the operation. an ordinary drywall screw did nicely. That shiny silver dot left of the screw head and right of the red wire is where it belongs. Those 2 at the top that are still bronze color are unused.
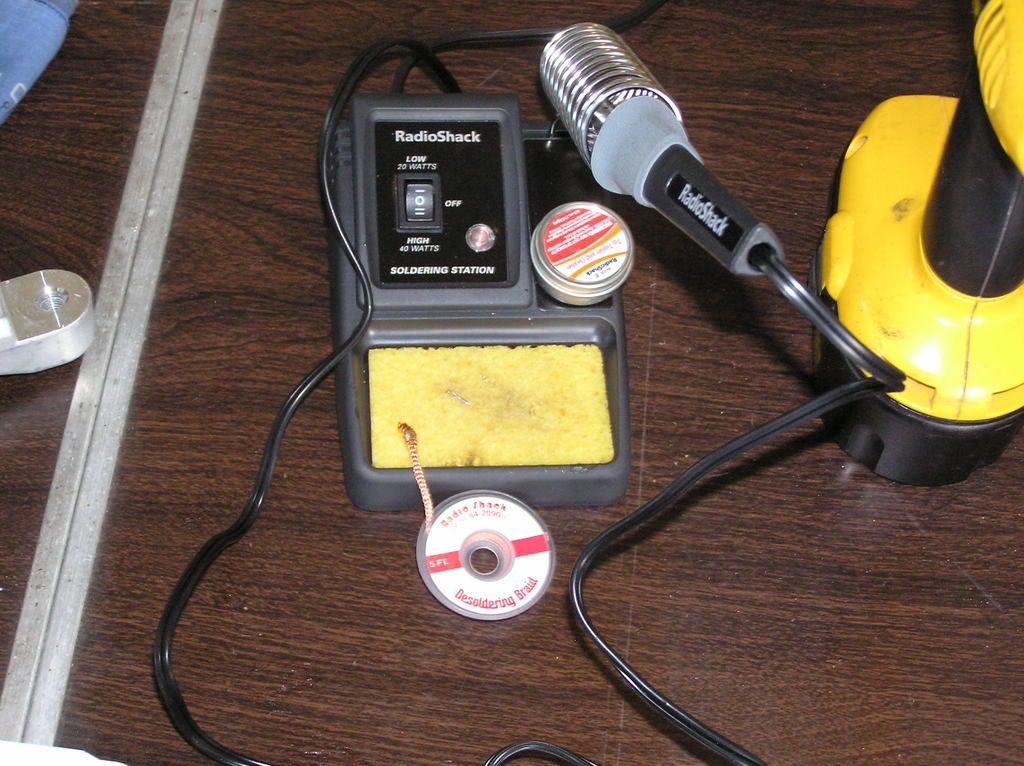
Nothing fancy in the soldering tools department here either
After I soldered it back together it was good and strong.
At that point I snipped off the protective jacket that I cut durring the removal of the triple clamp. Turns out I didn't need to either. It just slid down the wires away from the switch when I tried. So I needed to wrap mine again to protect them before re-assembly. I just used a good wrap of black vinal electrical tape.
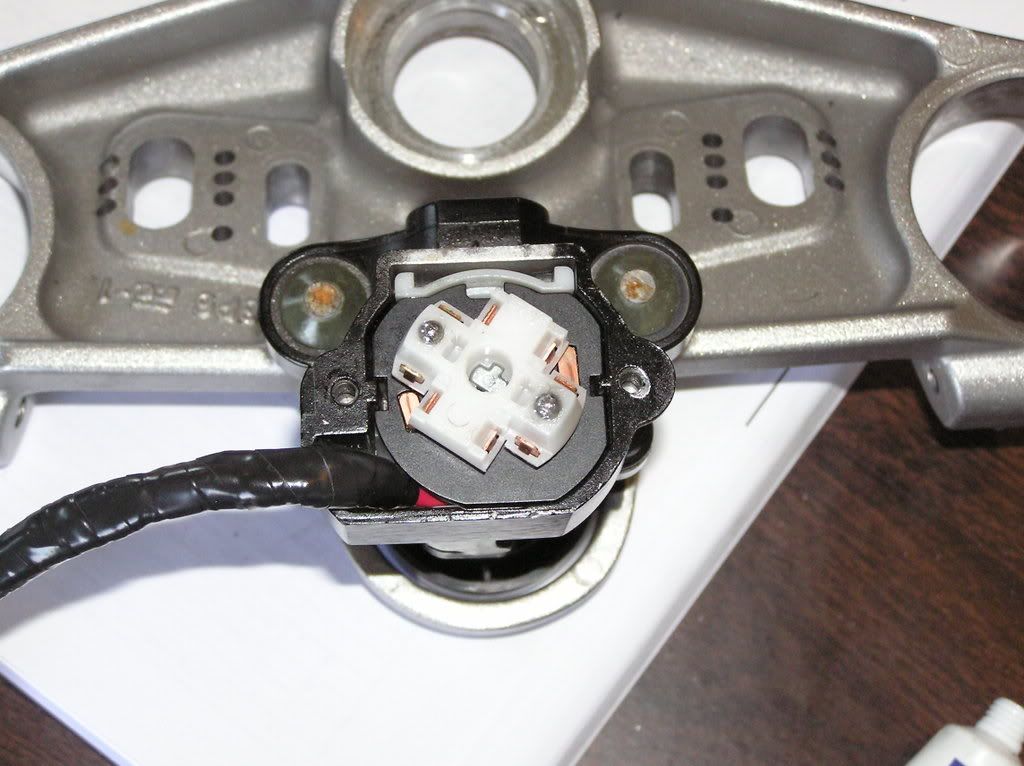
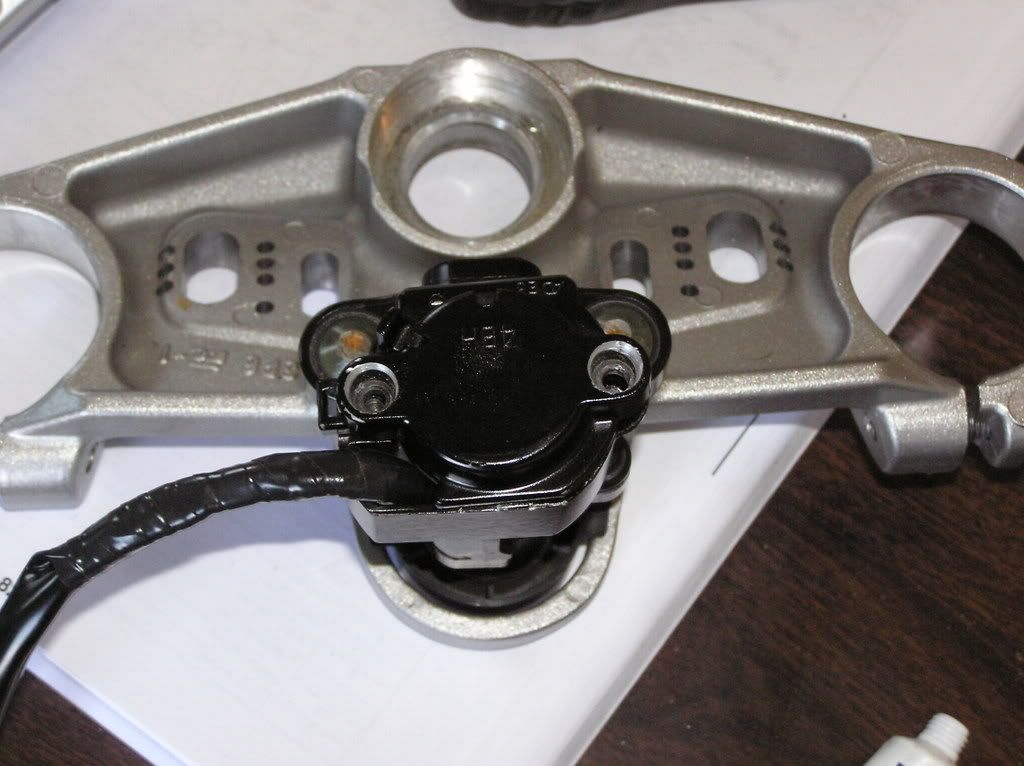
to replace the tamper free bolts, I went to home depot and got som 4mmx16mm hex head screws, I needed to trim them down because they were to long,(out comes the dremmel again) ,so I would have been ok if I had bought the 4mmx12mm screws.
The main reason to get the hex cap screws is that there isn't room for a socket in that opening where the screw goes. So the hex wrench was the only answer I could come up with.
after I got the guts put back together it wasn't a big deal.
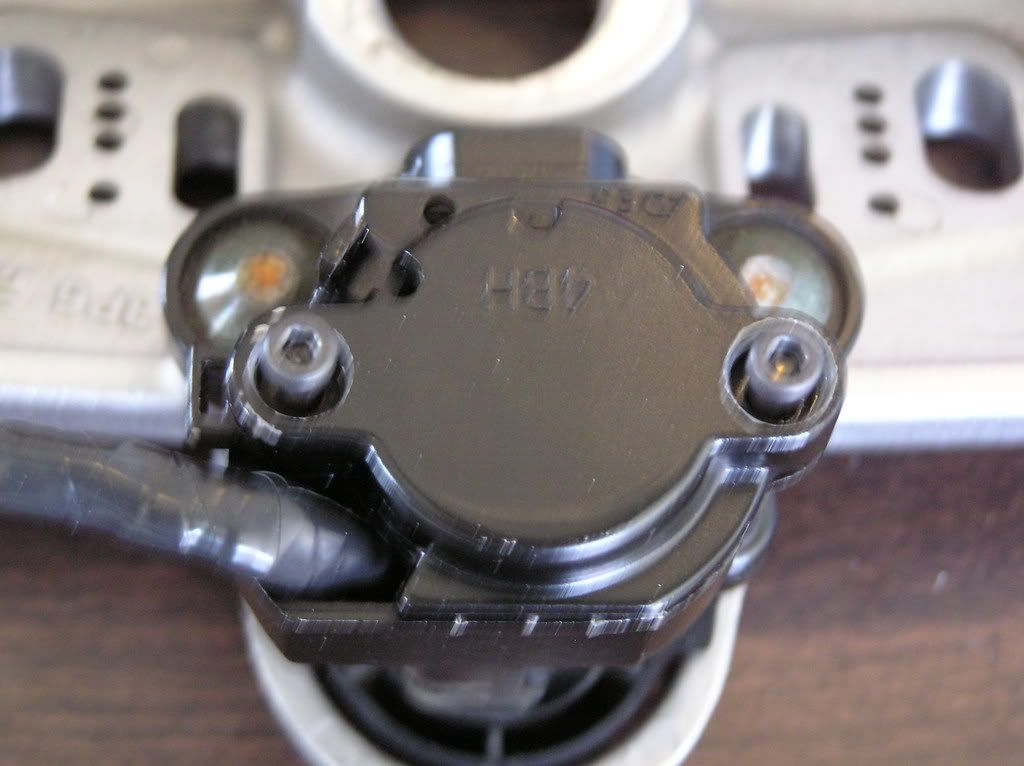
Almost done now..
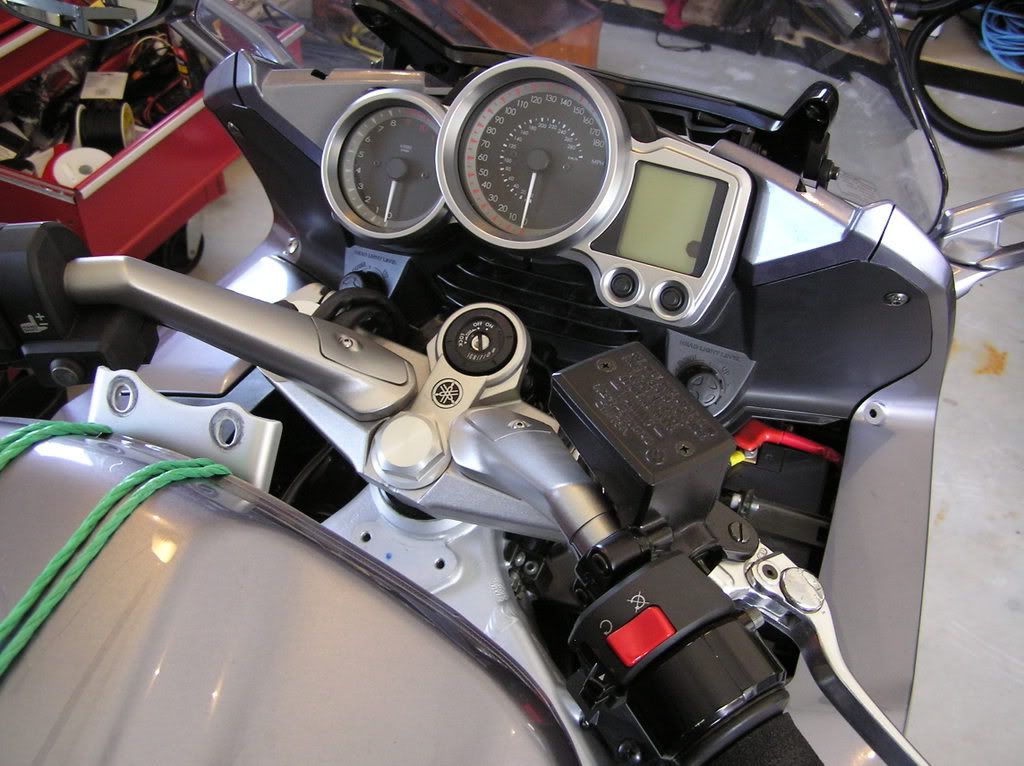
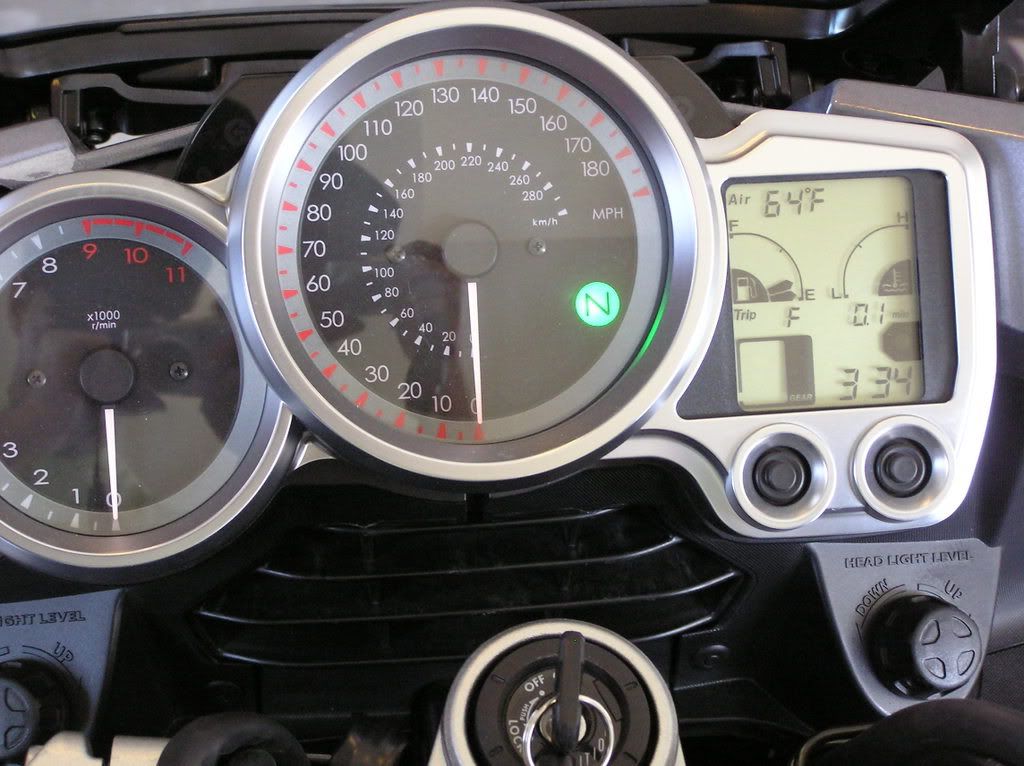
........ANNNNND BRRROoooMMMMM IGNITION !!!!
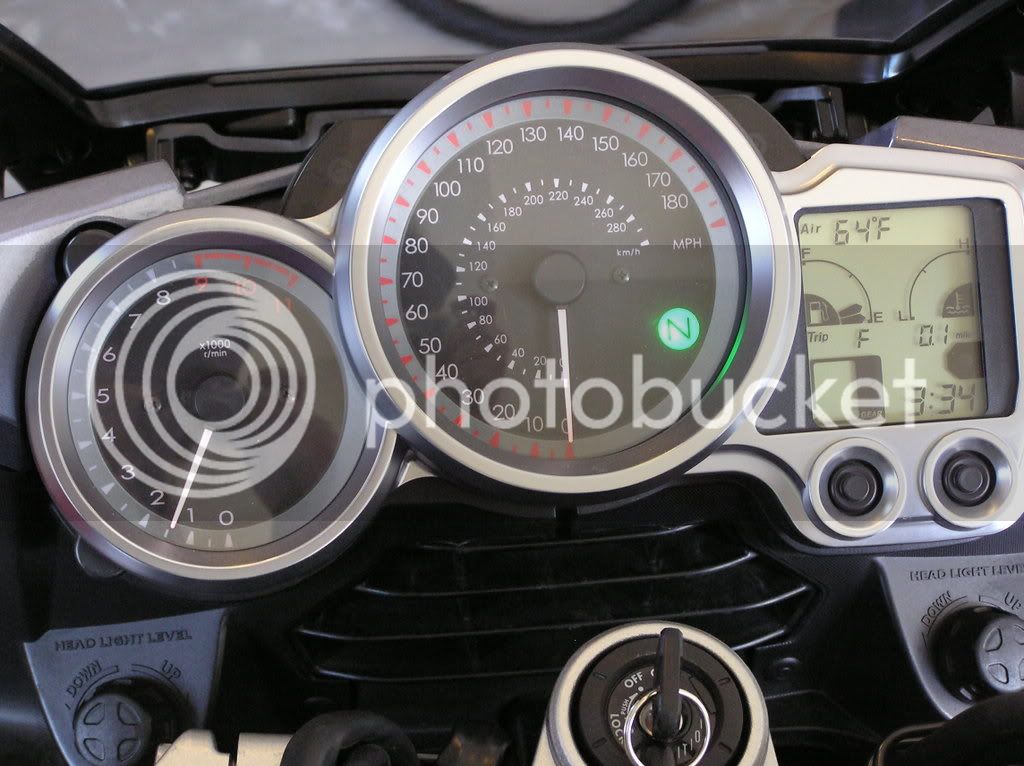
I want to thank Ionbeam, Griff, And Keithaba who all responded to my calls for help this morning. Thanks guys. It's great to know that help is always around in one way shape or form!
But the good thing was since I read this forum all the time, I kinda had a feeling what it was, The old ignition switch bad wire thing that seems to happen alot. So push push push all the way home, uphill most of the way, Thought I was going to die. But anyway, After testing a couple things I figured I would call some of the local Stealers to see who ,if anyone, had one in stock,..
No Luck, No one had one, But but but, I need my bike, I will figure something out, thought about the toggle switch fix, suggested by IonBeam in his PM to me this Morning, Thanks by the way Alan.
But I decided I was going to fix the existing ignition switch If I coud so I didn't have to deal with the whole re-keying issue, on the hardcases.
No-one has ever accused me of being overly patient ,If you know what I mean
I snapped some pictures so others could benefit if needed.
So first I removed the triple clamp using the conventional methods, so I could see what I was dealing with.

So it was obvious at this point that the brown wire had broken from it's solder connection and that was the problem. The next step I took was rather than drilling out the tamperproof bolts that held the switch to the triple clamp, I drilled the two that held the bottom cover of the switch on. This took a little doing, because of the dome like shape to them. I used my Dremmel with a small grinder to flatten the head out before I centerpunched and drilled them. Below is a picture of the switch with the bottom cover removed. Pay attention to the orientation of the switch body when you remove it, it needs to go back the same way.

Once I was inside the switch it doesn't look to be that bad. Just need to re-solder that pesky brown wire.

I needed a way to hold the switchplate down so I could use the soldering iron, and hold the wire where I wanted it, so I just screwed it down to a 2x4 for the operation. an ordinary drywall screw did nicely. That shiny silver dot left of the screw head and right of the red wire is where it belongs. Those 2 at the top that are still bronze color are unused.

Nothing fancy in the soldering tools department here either

After I soldered it back together it was good and strong.

At that point I snipped off the protective jacket that I cut durring the removal of the triple clamp. Turns out I didn't need to either. It just slid down the wires away from the switch when I tried. So I needed to wrap mine again to protect them before re-assembly. I just used a good wrap of black vinal electrical tape.


to replace the tamper free bolts, I went to home depot and got som 4mmx16mm hex head screws, I needed to trim them down because they were to long,(out comes the dremmel again)
The main reason to get the hex cap screws is that there isn't room for a socket in that opening where the screw goes. So the hex wrench was the only answer I could come up with.
after I got the guts put back together it wasn't a big deal.

Almost done now..

........ANNNNND BRRROoooMMMMM IGNITION !!!!


I want to thank Ionbeam, Griff, And Keithaba who all responded to my calls for help this morning. Thanks guys. It's great to know that help is always around in one way shape or form!
Last edited by a moderator:


