Front End Maintenance for KrZy8

Yamaha FJR Motorcycle Forum

Help Support Yamaha FJR Motorcycle Forum:

This site may earn a commission from merchant affiliate links, including eBay, Amazon, and others.

dcarver

Well-known member
Joined
Sep 5, 2005
Messages
13,825
Reaction score
3,484
Location
Creston, CA
Front End Maintenance for KrZy8

Bearings, fork oil, brake pads and more

Doing some front end work on an 06 with approx 70k and 3+ years on the clock.

Planned maintenance includes:

* Replace upper triple tree with Heli

* Replace steering head ball bearings and races with Timken rollers

* Replace brake pads

* Replace fork oil

* Reroute wiring - gps, xm radio, cc, etc

* Whatever else I think of..

Some of you have already been there, done that.

For others, you might enjoy the photo essay and see parts of your Feejer you've not yet seen... :lol:

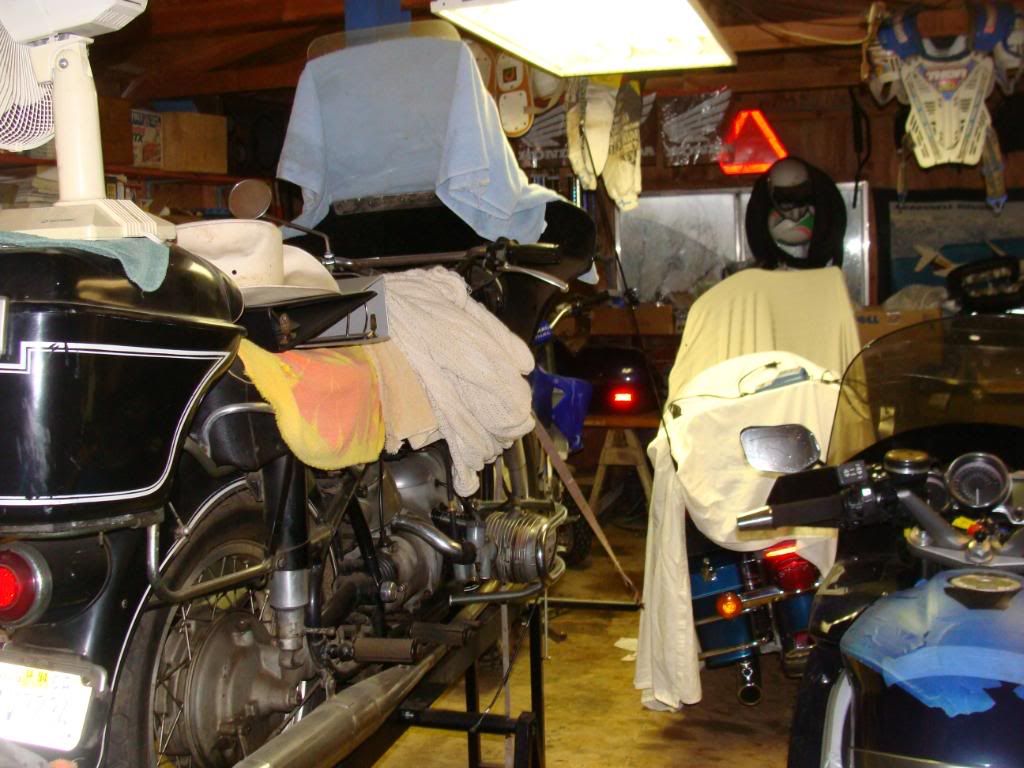
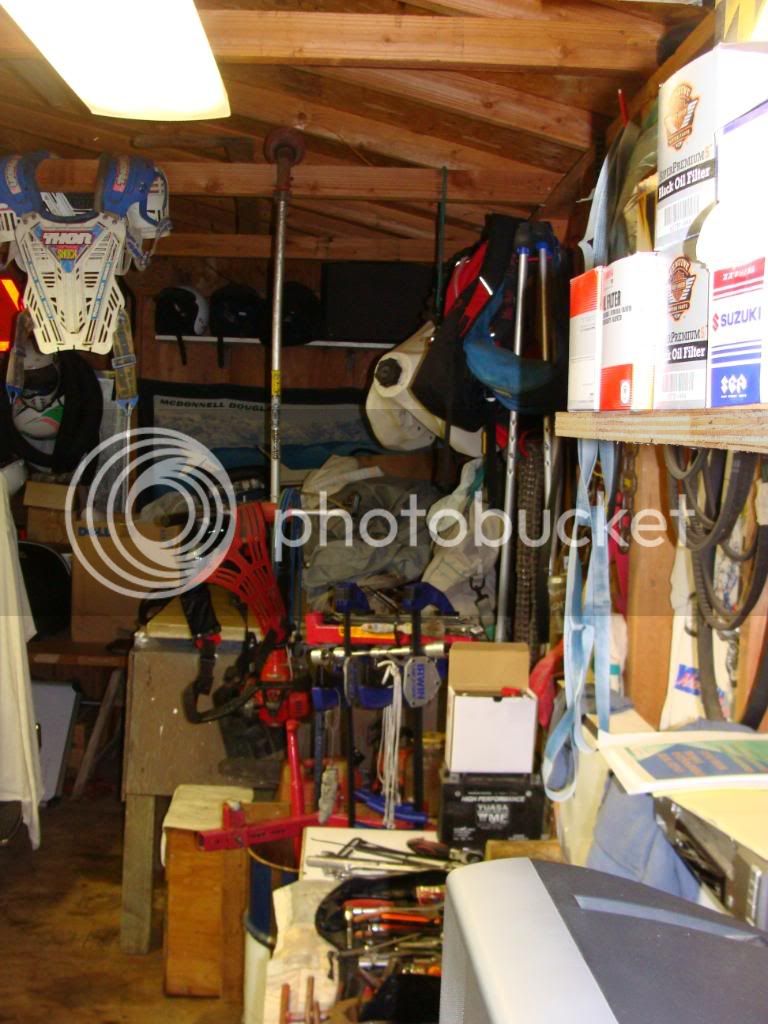
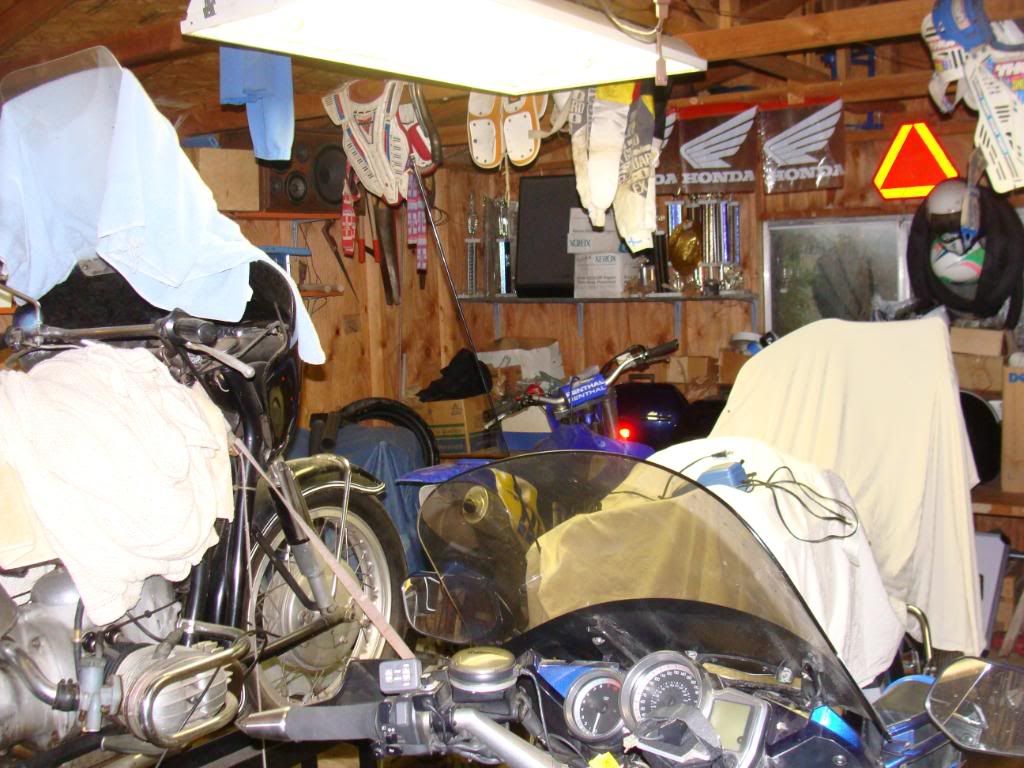
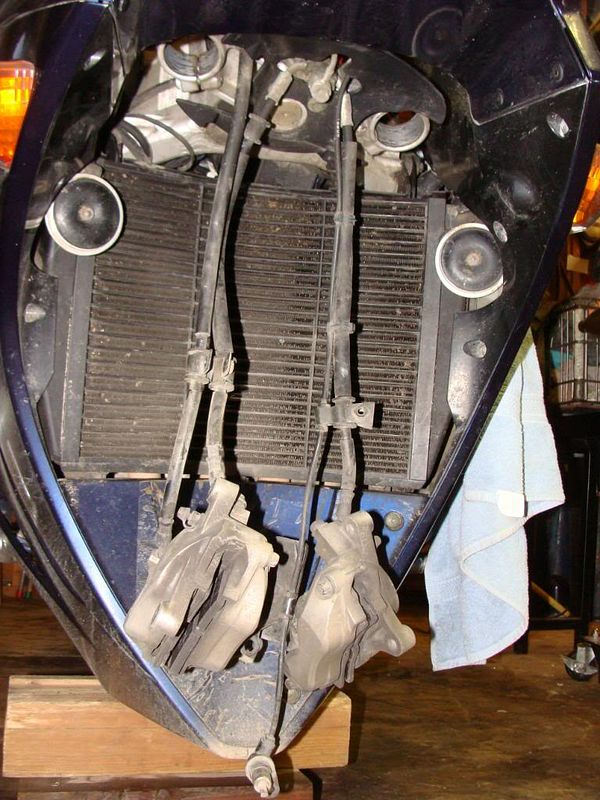
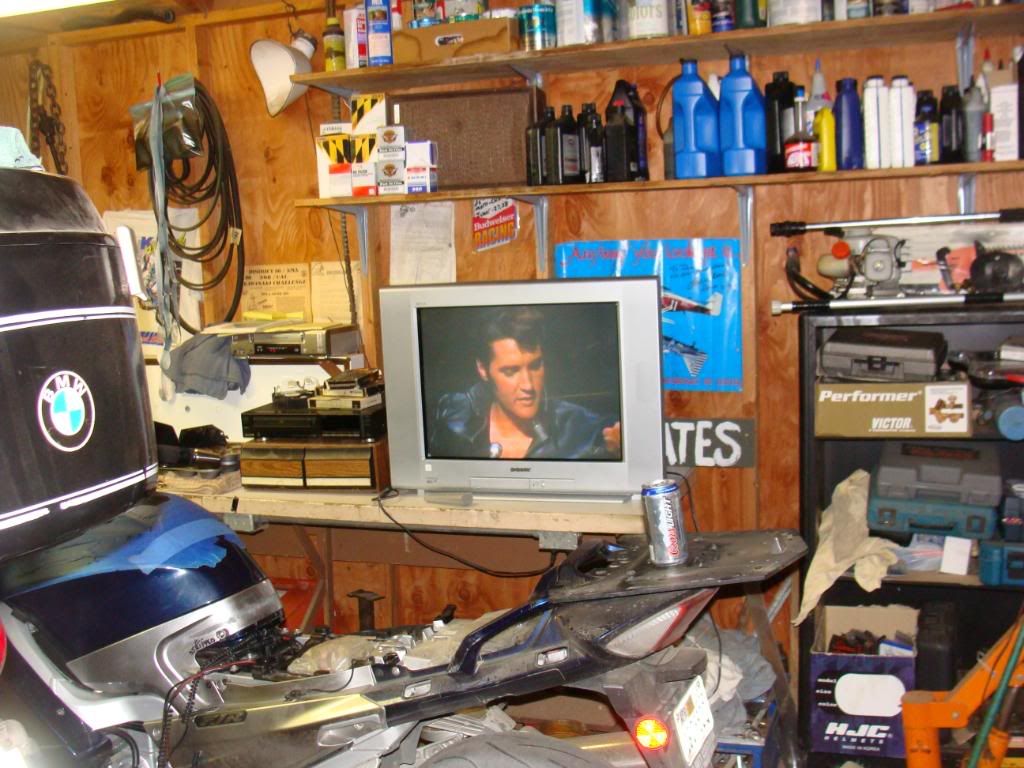
My working environment. Not the best, crowded, hand tools only, but I got Elvis on the TV..
DSC03862.jpg


DSC03863.jpg


DSC03864.jpg


DSC03865.jpg


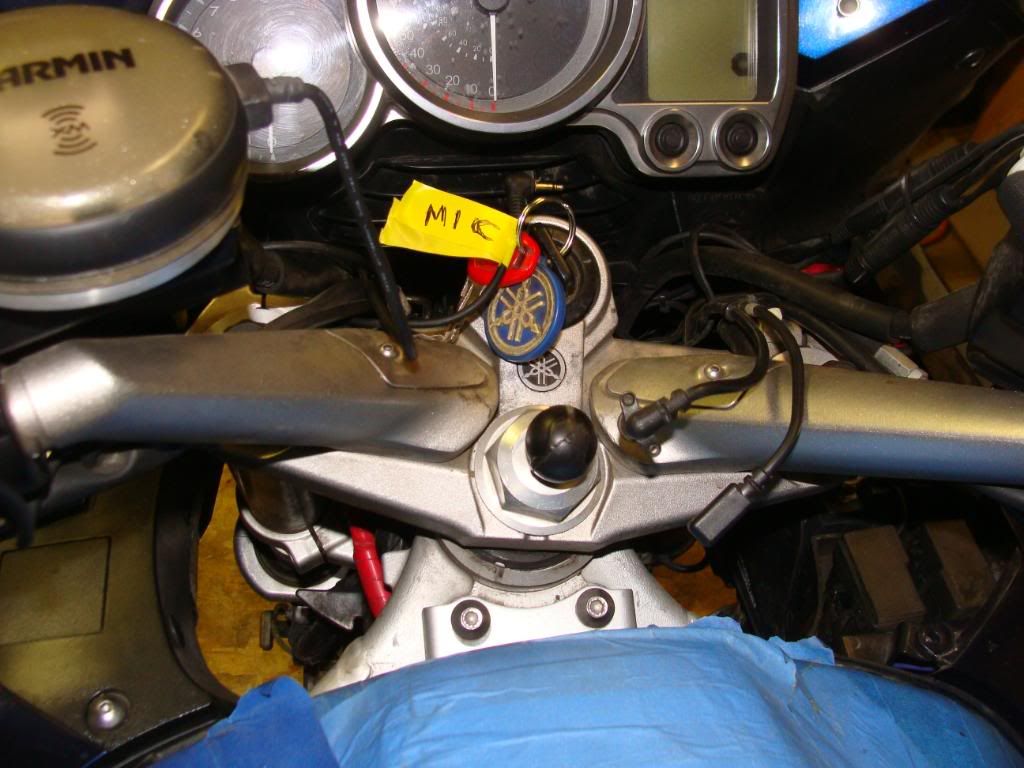
Getting started, removal of GPS mount.The ram mount has been deformed by constant pressure, it's more than 3mm out of round.
DSC03860.jpg


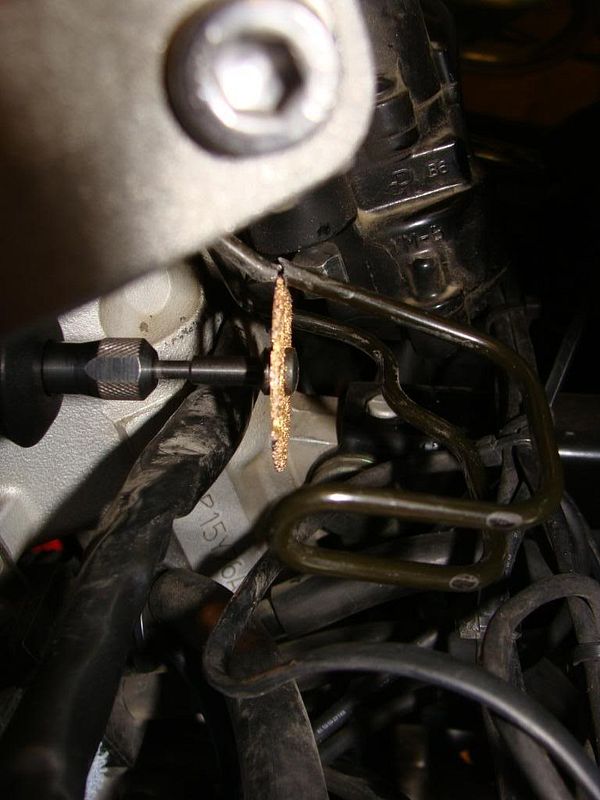
Cutting the cable stays. I used a Dremel.
DSC03878.jpg


Removing the tank. Some use fancy wood blocks, some use ropes, I use Napa oil filter for a Dodge truck!
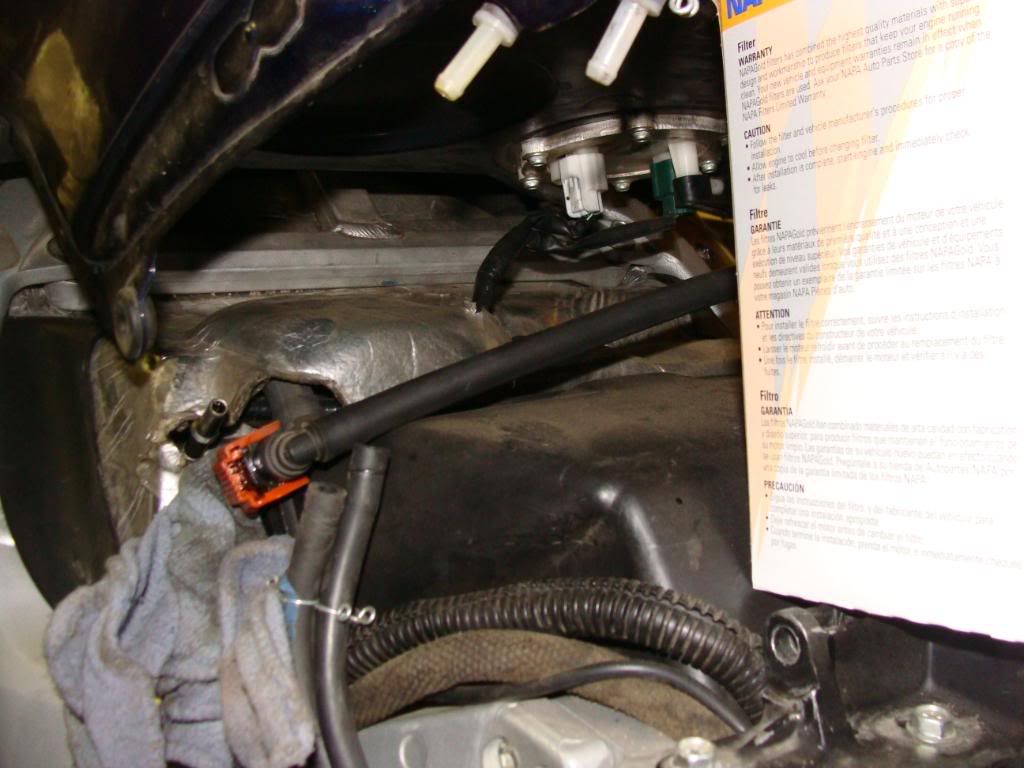
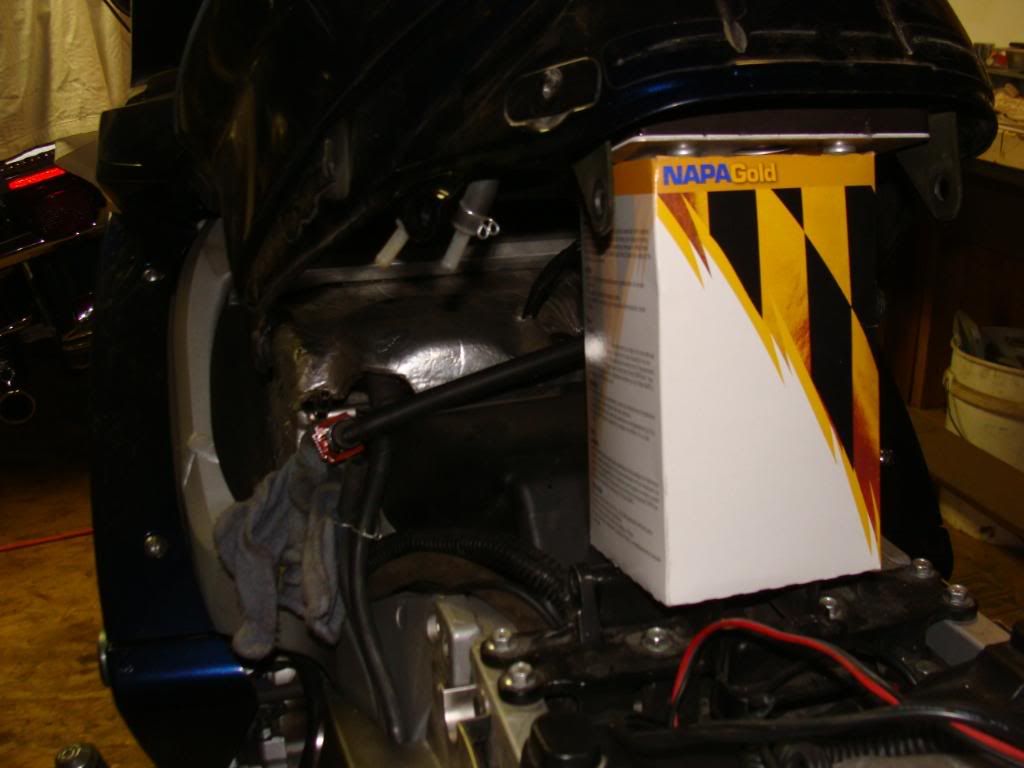
DSC03868.jpg


DSC03869.jpg


Still pretty clean under there, for my bike.
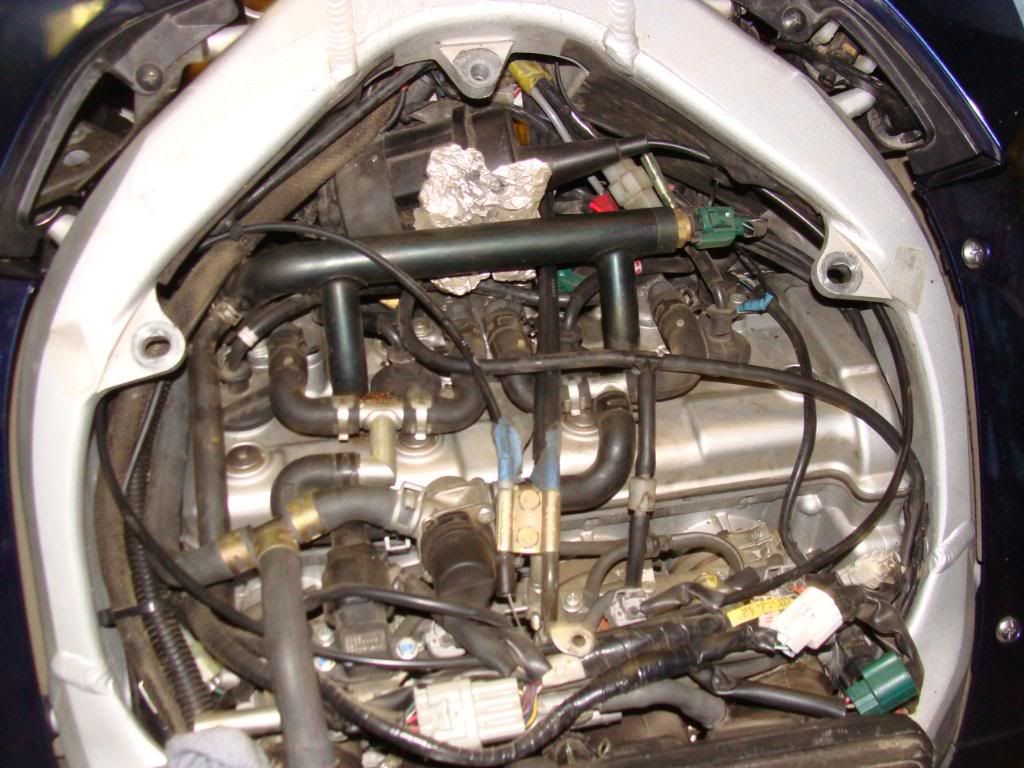
DSC03874.jpg


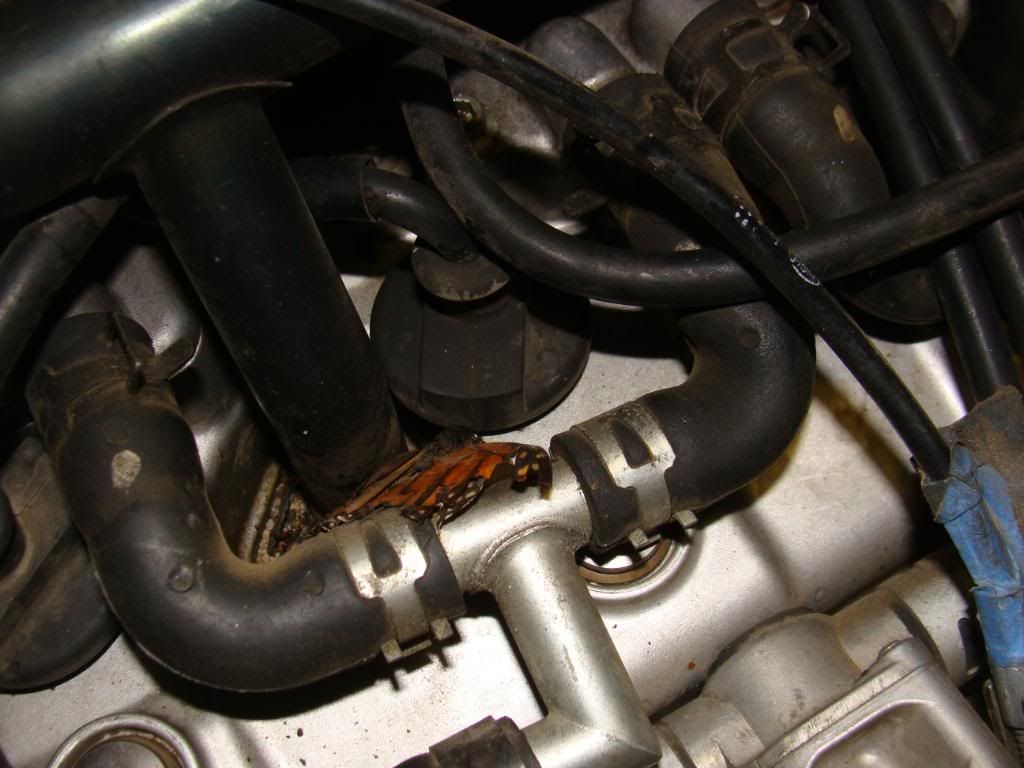
I had this wad of adhesive backed foil to protect the Audiovox CC from excessive heat generated by the water pipe. It didn't last too well.
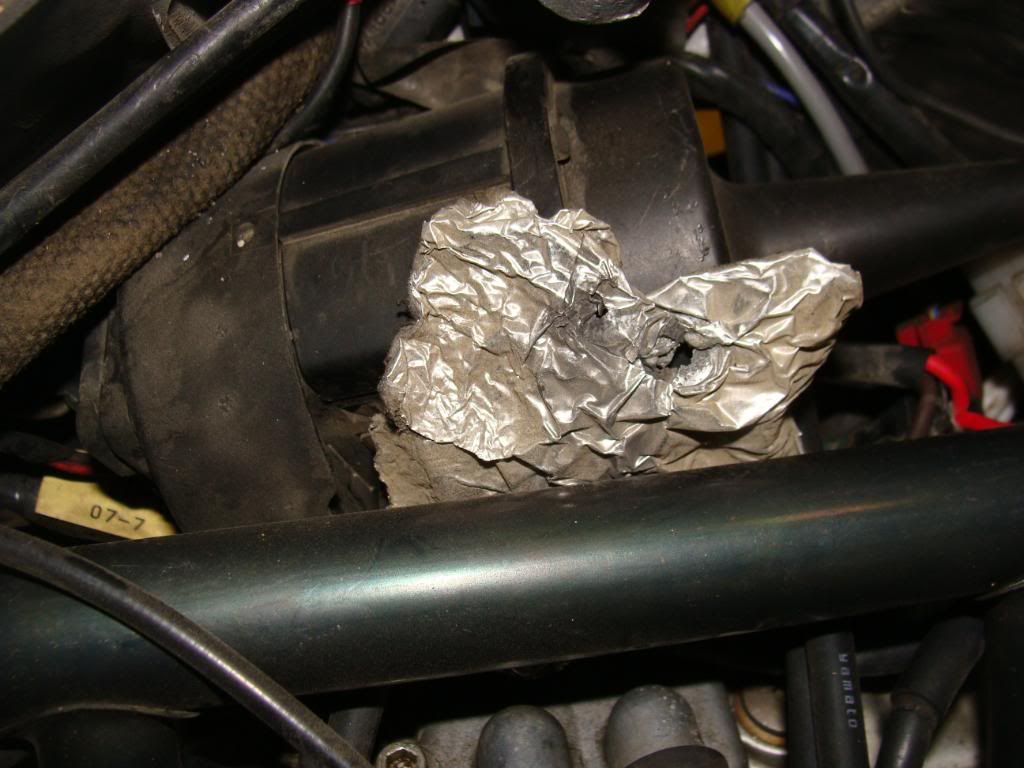
DSC03876.jpg


The blob you see is actually a butterfly, poor guy
DSC03875.jpg


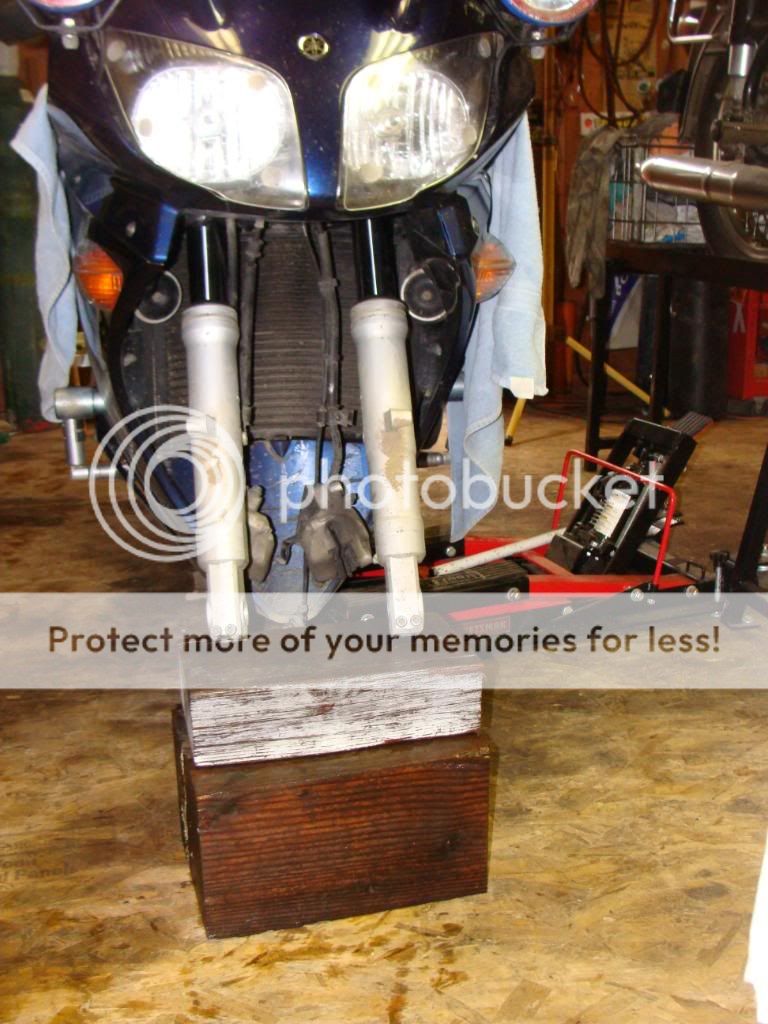
Tire and fender removed, time to block the headers with wood cribbing in order to get the floor jack outta the way.
DSC03870.jpg


View from bottom up -

DSC03872.jpg


DSC03873.jpg


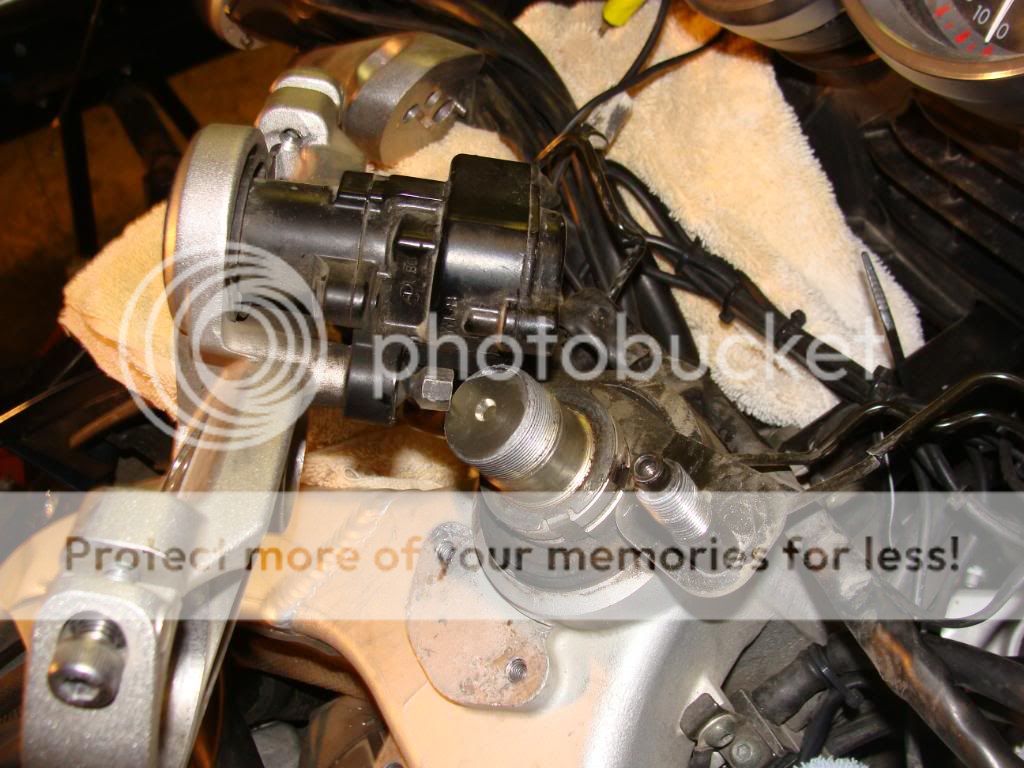
Removing upper triple clamp nuts and key ignition -
DSC03881.jpg


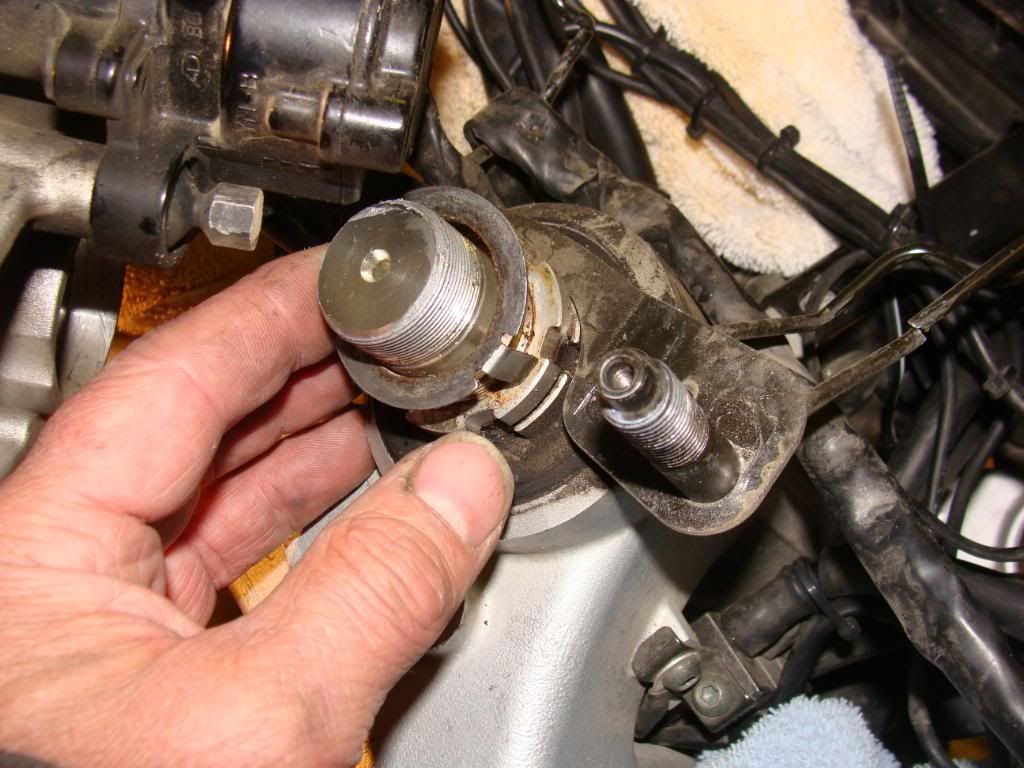
My upper nut was loose, hand tight...
DSC03885.jpg


Retaining washer - took a pix so I remember to put it back in place..
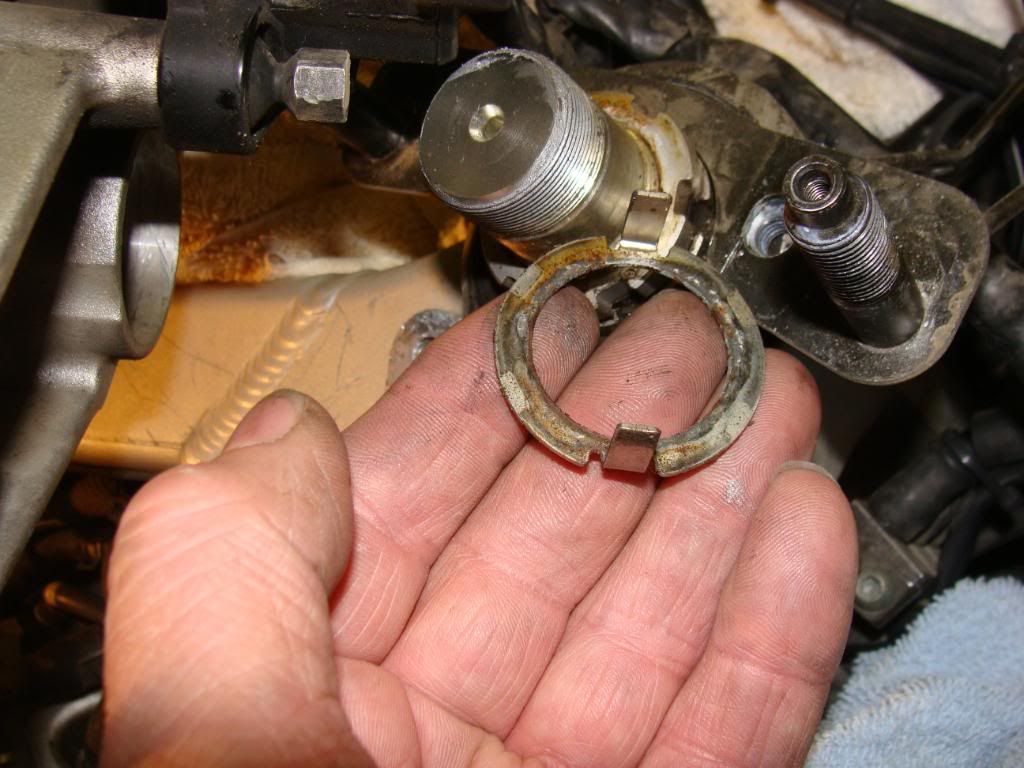
DSC03886.jpg


A bakery appliance works well to keep hardware organized.
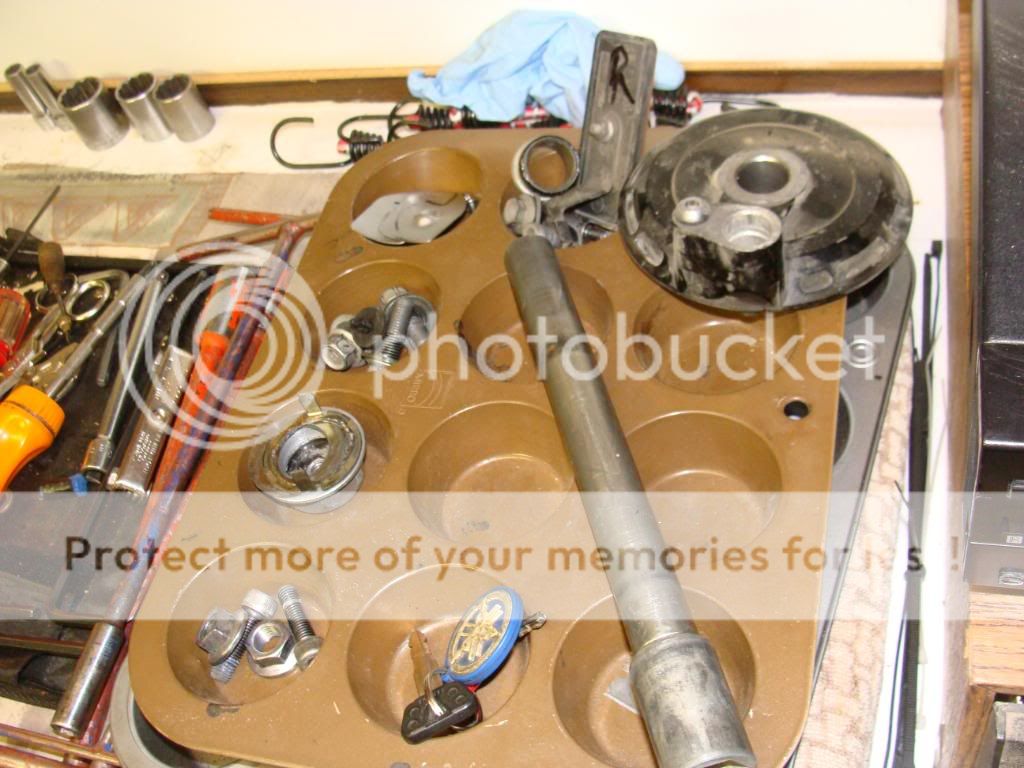
DSC03887.jpg


More upper clamp and ignition switch pix. My switch had been recalled and replaced. I requested the tech to NOT shear the security bolts, making removal a real breeze.
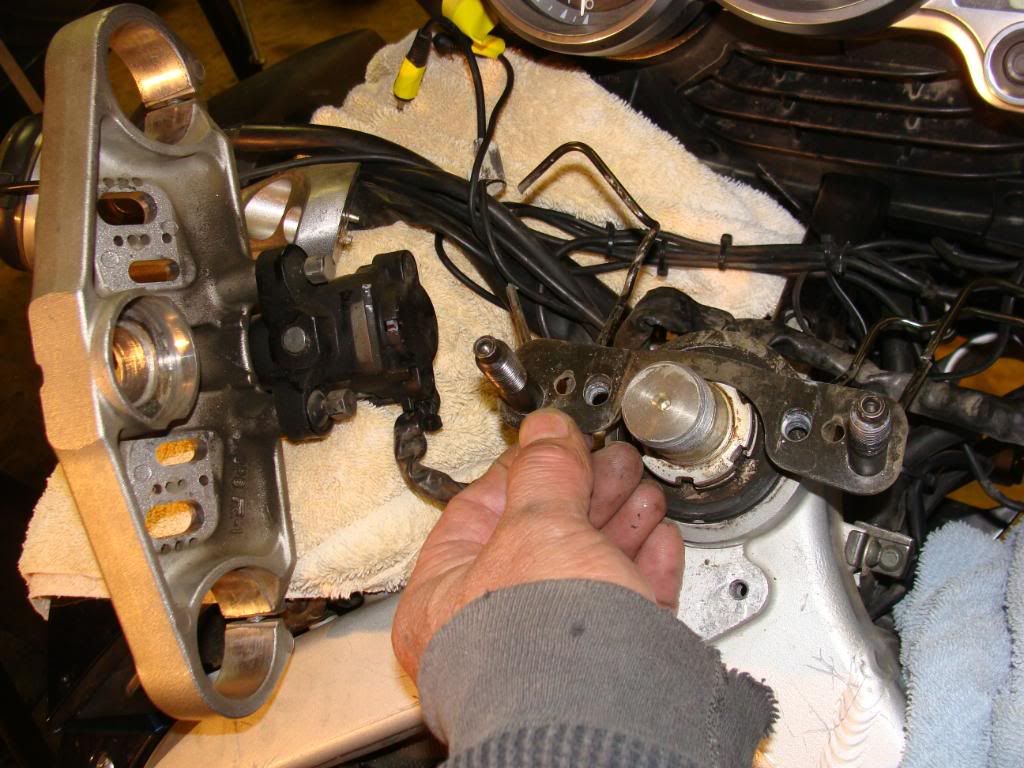
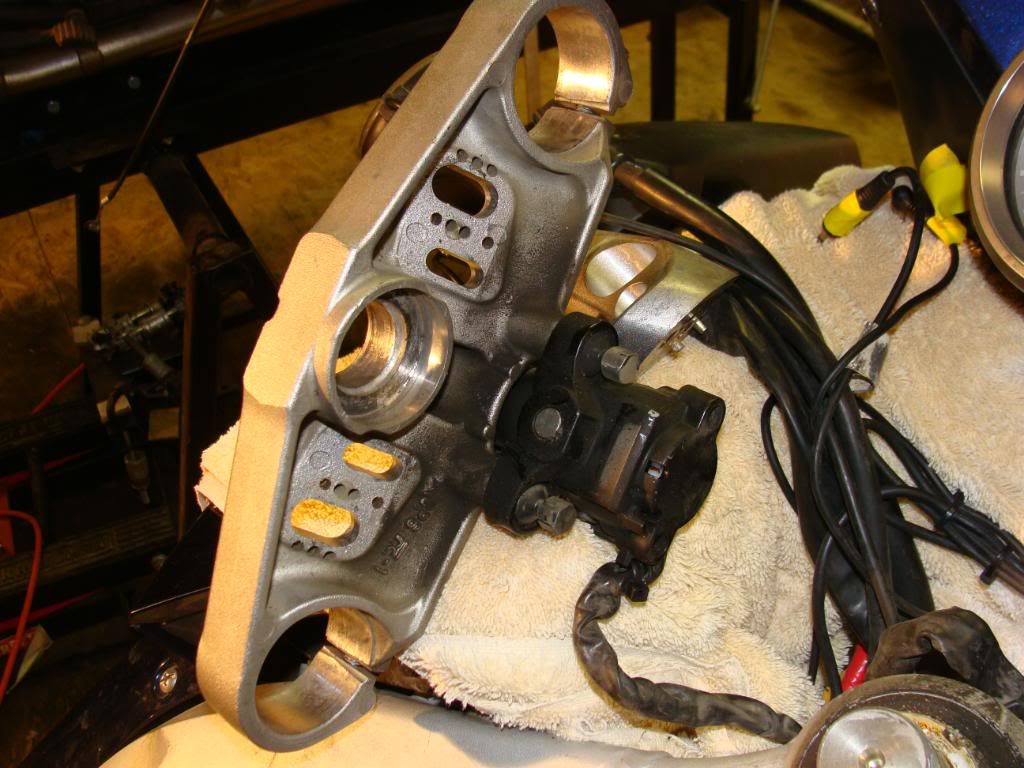
DSC03888.jpg


DSC03889.jpg


DSC03890.jpg


This dirt after less than a year; I had a deer strike, new lower clamp, stem, and bearings at that time.
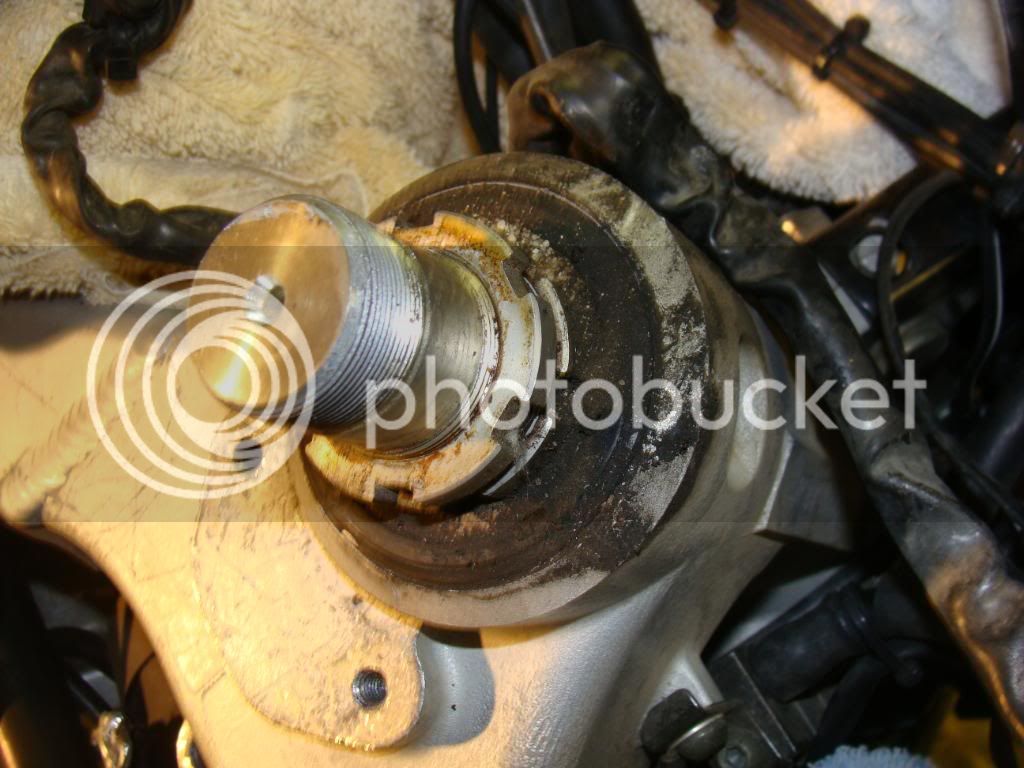
DSC03891.jpg


Removing loose top nut, no tools required.
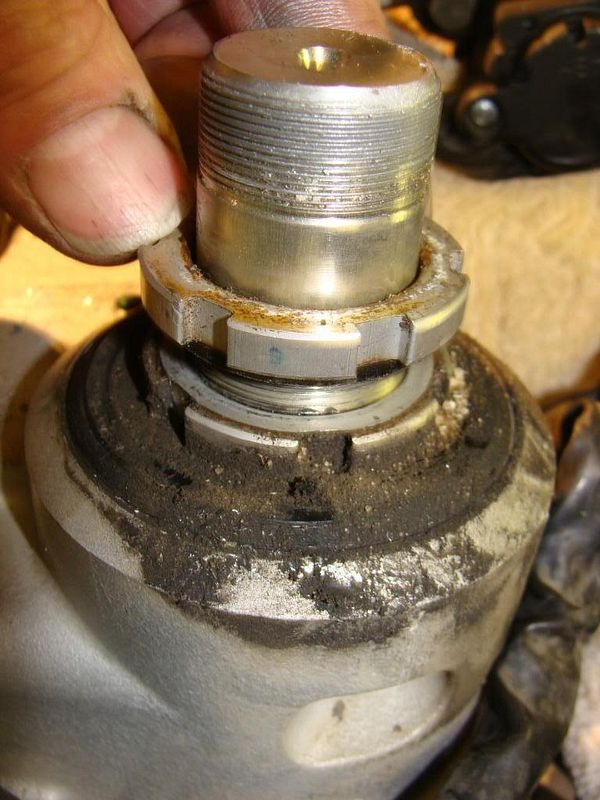
DSC03894.jpg


Seating OldRoy's custom made steering head nut tool into the flanges of the nut. Never use a screwdriver to tighten your nuts unless of course you're in the middle of a long road trip and have no choice.
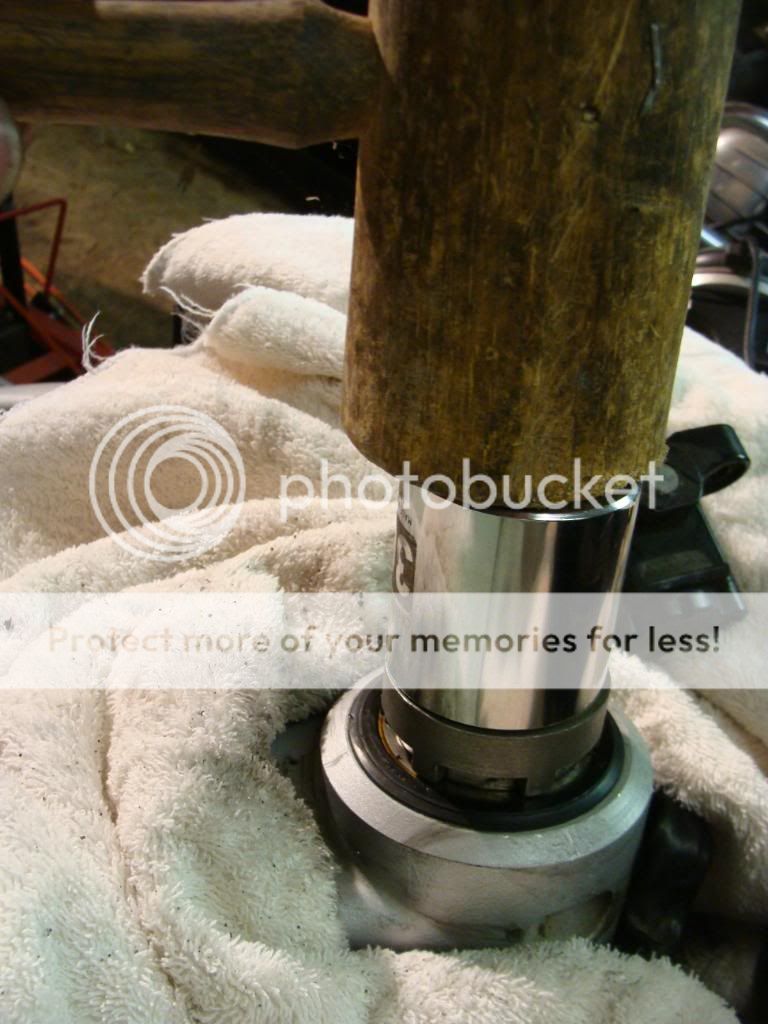
DSC03899.jpg


Removing hardware from the lower clamp. This was a PITA, it should be real fun come reassembly time..
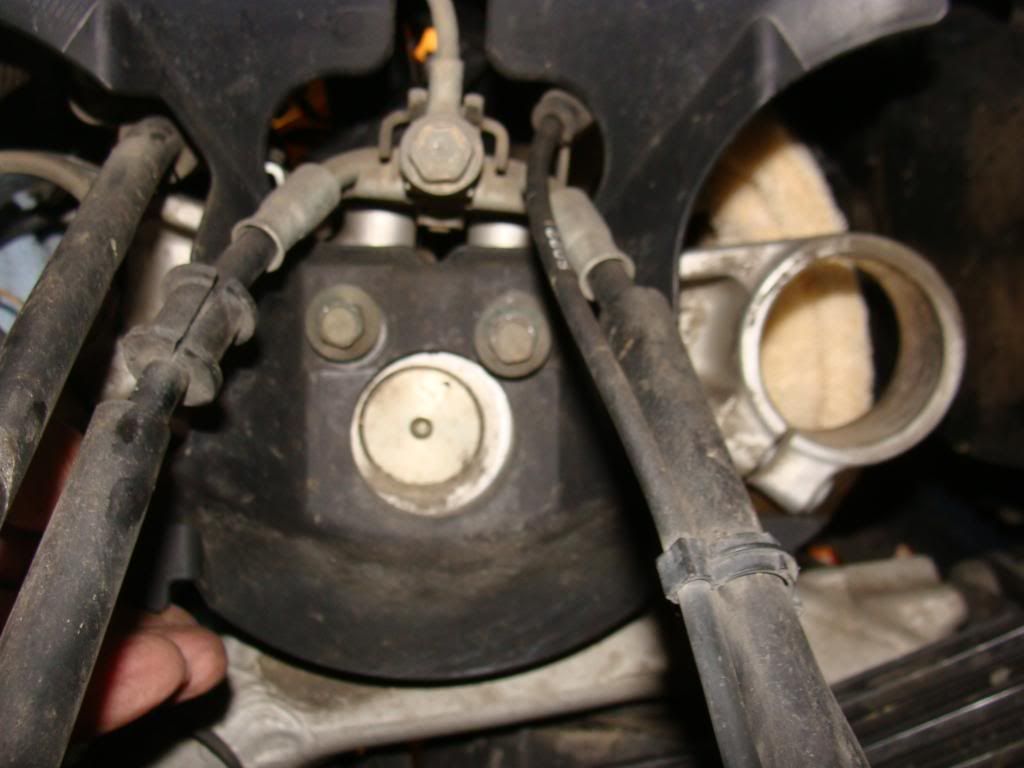
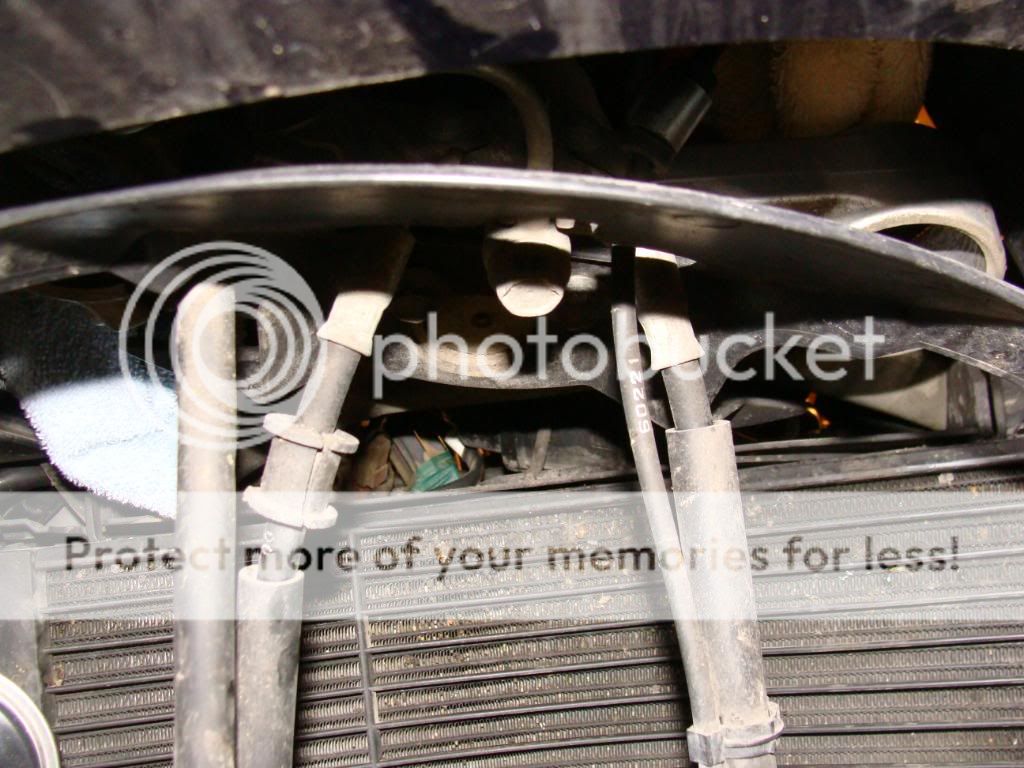
DSC03901.jpg


DSC03902.jpg


DSC03903.jpg


DSC03907.jpg


Success is mine!

DSC03904.jpg


DSC03905.jpg


DSC03906.jpg


Differences between the Heli and stock clamp. The Heli is much heavier than stock, no releif area on the back side like the OEM piece.
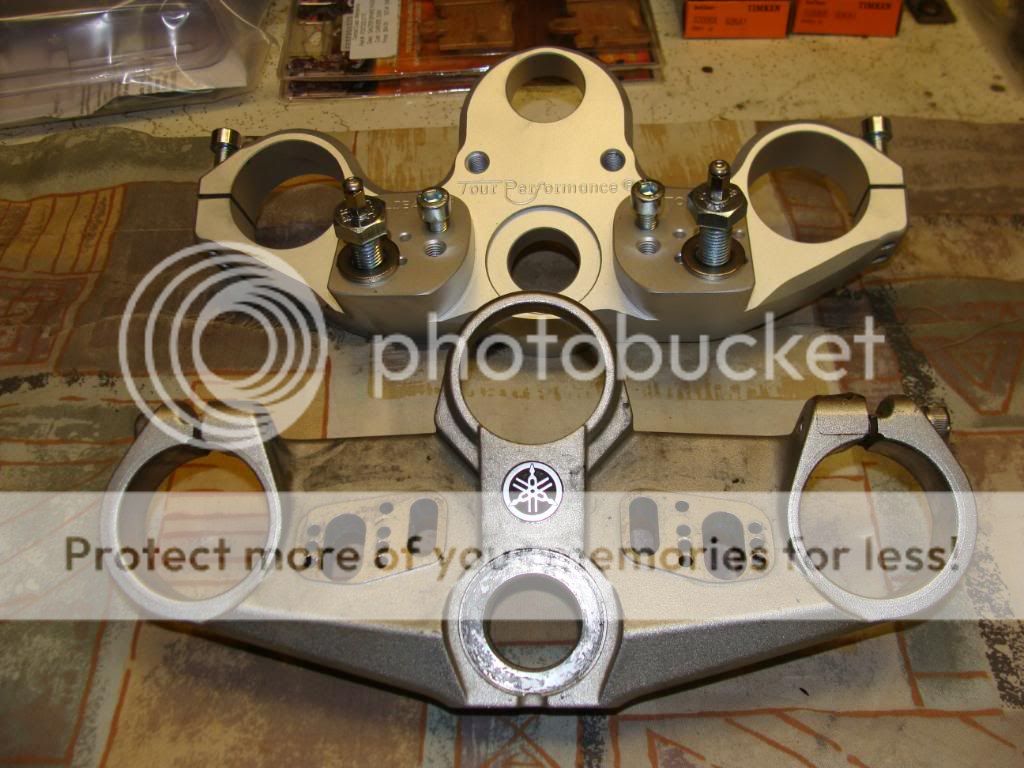
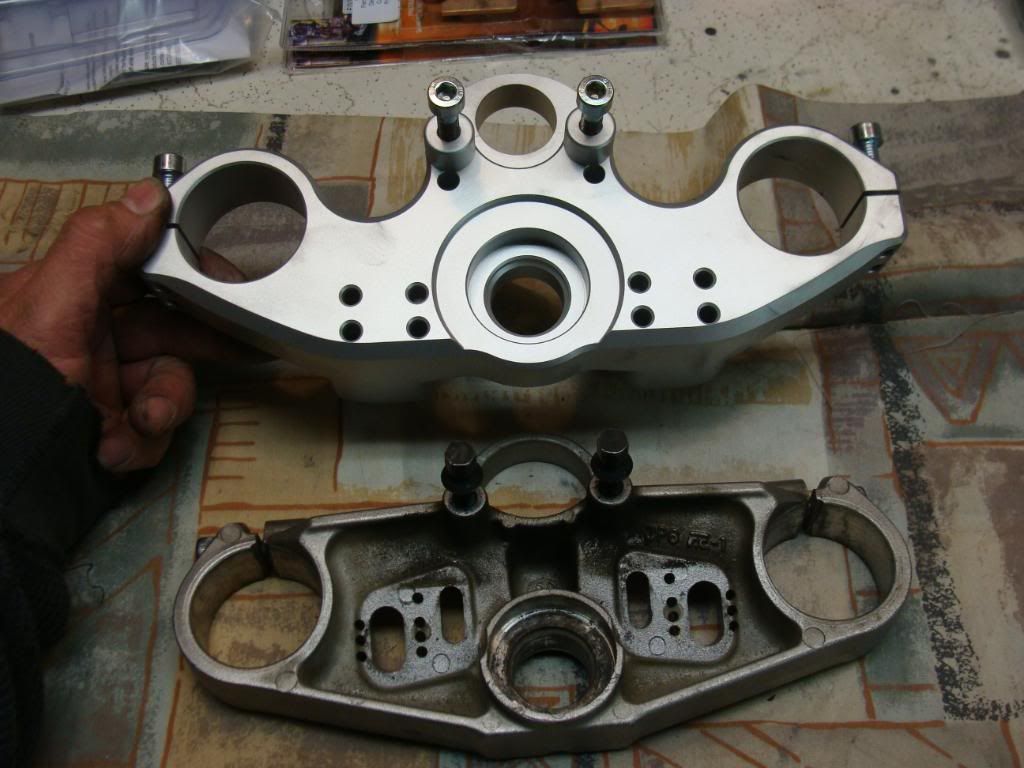
DSC03895.jpg


DSC03897.jpg


As she sits tonight. Tommorrow will start on fork oil change and pad replacement.
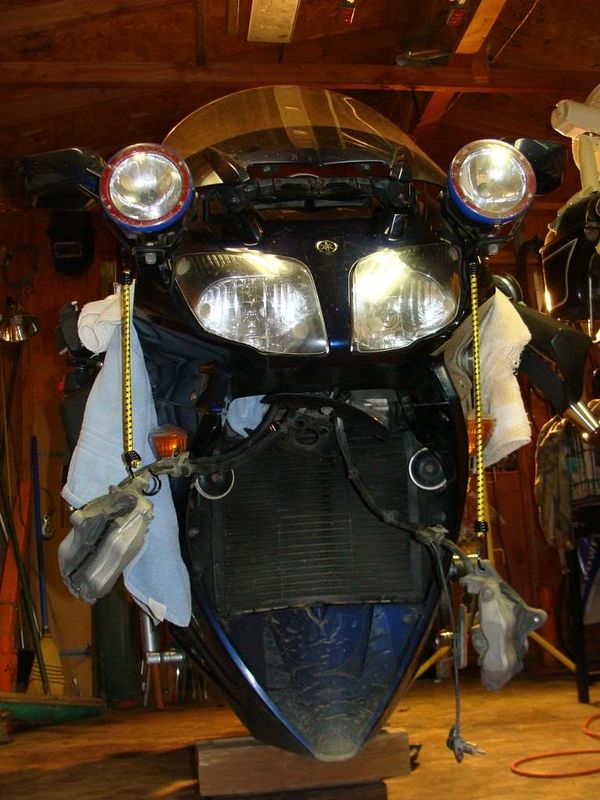
DSC03908.jpg


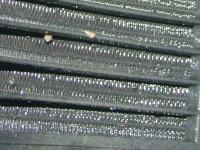
As I review the pix/text before posting, I see the radiator is impacted. What's the best way to clean it without removing the damn thing?

DSC03902.jpg


Great write-up. Even I could understand it (it's the pictures, you know
rolleyes.gif
).

QUOTE (dcarver @ Dec 13 2009, 05:56 AM) <{POST_SNAPBACK}>

......What's the best way to clean it without removing the damn thing?

...

High pressure water hose. (Don't get it neer dem nuw seels. Or even the old ones..)

[edit] Pictures from my "Playing Santa" post:

Before . . . . . . . . . . . . . . . . . . . . After


(Click on image for larger view)

 
Last edited by a moderator:
woohoo excellent docu... :yahoo:

are you thinking of replacing the wimpy tweeters while you have all the stuff off the bike?

The way your bike is farkled i'd think some Magnum Blasters would be in order.

Alfred

 
You would have more room to work if you ship that ratty old BMW up here for me to babysit for you. At some point I will have another Airhead beemer.

 
Fantastic Instruction Maintenance Article, dcarver! FJRay beat me to the punch on your /2, it should reside in Chandler, AZ.

 
Last edited by a moderator:
dcarver,

Thanks for sharing this process with us...what a job. It is surprising how much dirt you picked up after you redone the front end. I like your shop setup.

All the Best in getting KrZy8 back to running order.

 
You would have more room to work if you ship that ratty old BMW up here for me to babysit for you. At some point I will have another Airhead beemer.
Do you have spare time? Is it winter up there yet? Does your shop have heat? Hmm, maybe a PM is in order...
 
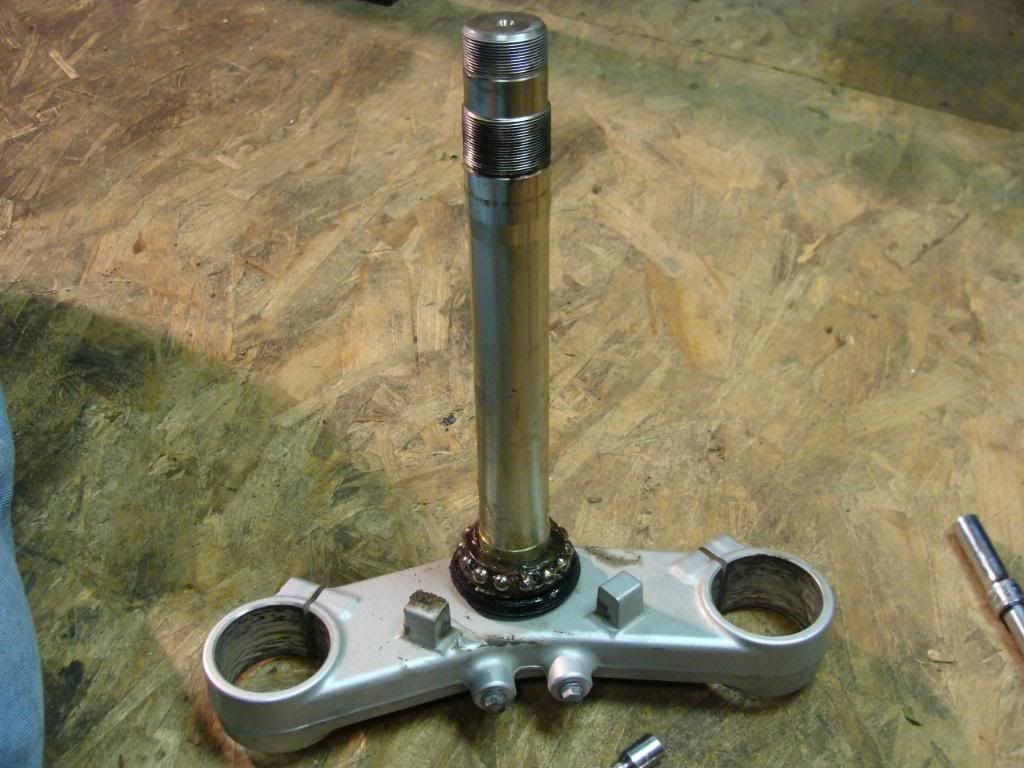
Upper and lower steering head races out. Installing the lower race looks like it's going to be difficult. :unsure:

 
Great photo essay. Very much appreciated. Some comments:

Radiator - beware high pressure water cleaners, and use with caution. Easy to flatten the fins if the pressure is too high, but if you get it right, +1. It's slow, but an appropriate flat-bladed screwdriver is useful for straighteneing some fin flattening.

Horns - swap those out now while you have the workspace cleared. You may only use them once a year, but when you do you want people to take real notice.

I wouldn't use that can of hydraulic fluid (in your first piccie, on the rack) when doing the brakes. It looks like it's been opened :rolleyes:

As I said, thanks again :D

 
Day 2

Goals:

*Remove ball bearing steering head races

*Install roller bearing races

*Install new brake pads

*Install speed bleeders

Removing steering head races..

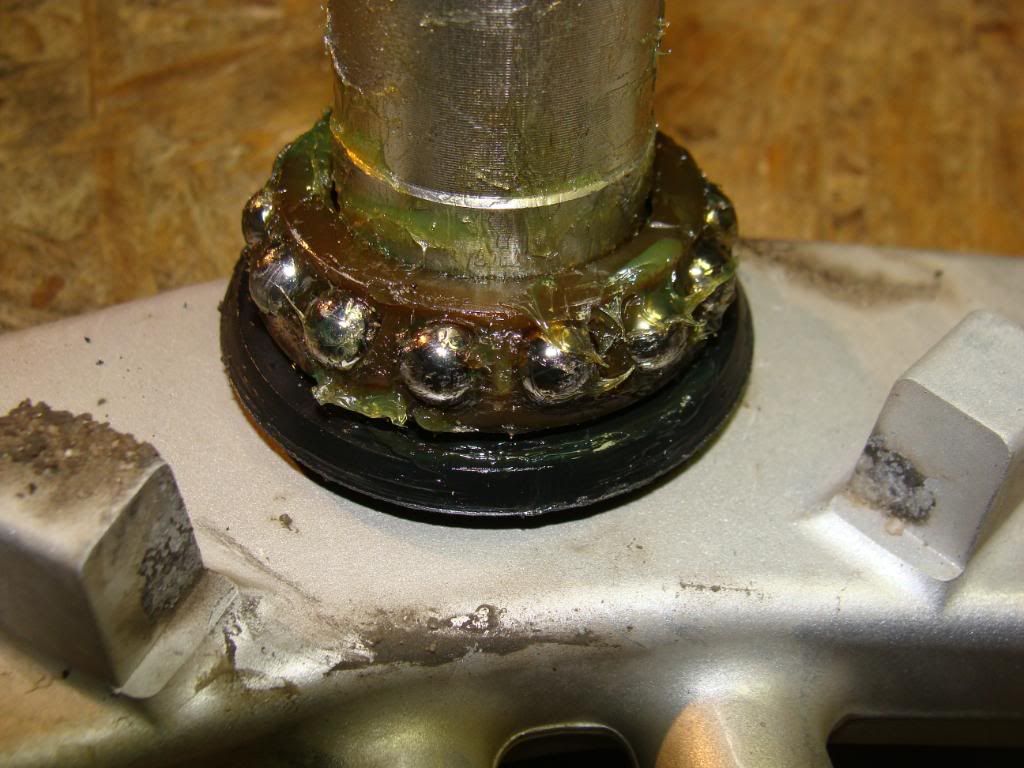
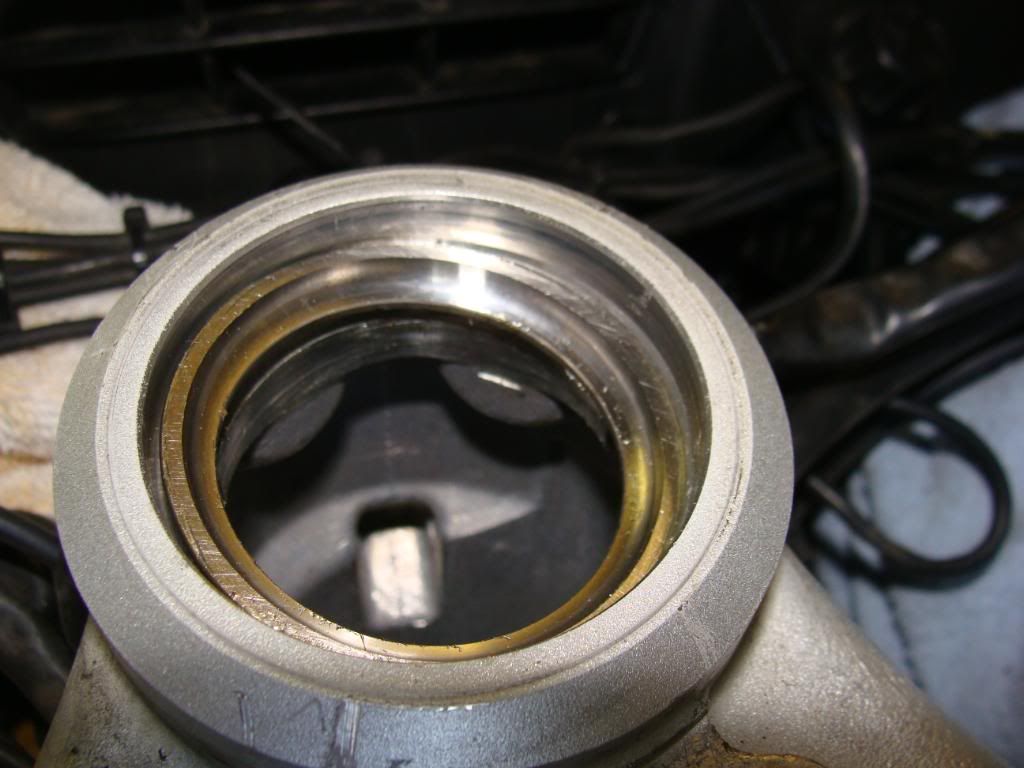
Ball bearing (OEM) race -

Lower

DSC03910.jpg
]

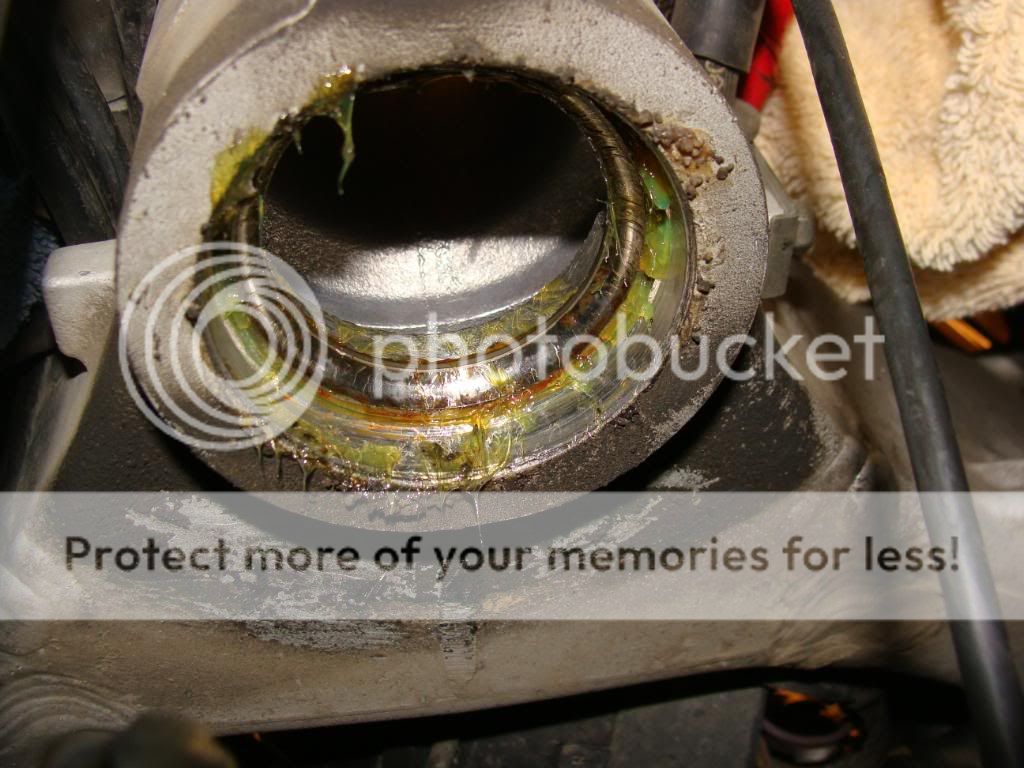
Upper

DSC03911.jpg


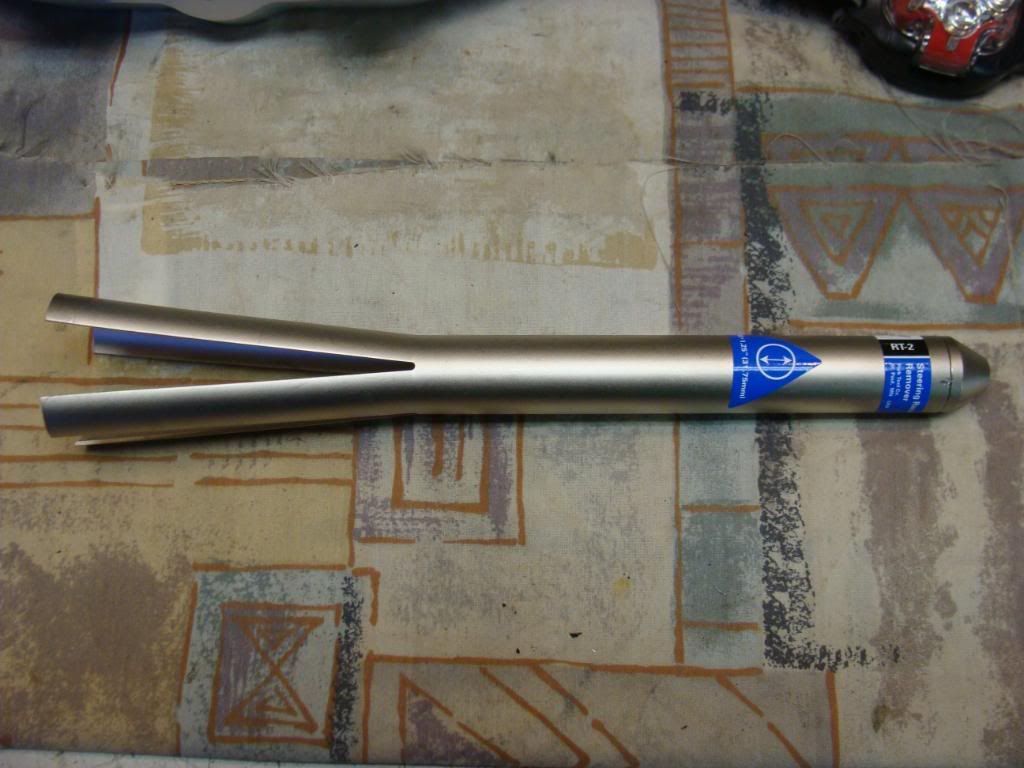
The whammy-dyne tool I bought which proved to be worthless, I could not get the 'fingers' to hit the race. Oh well...

DSC03913.jpg


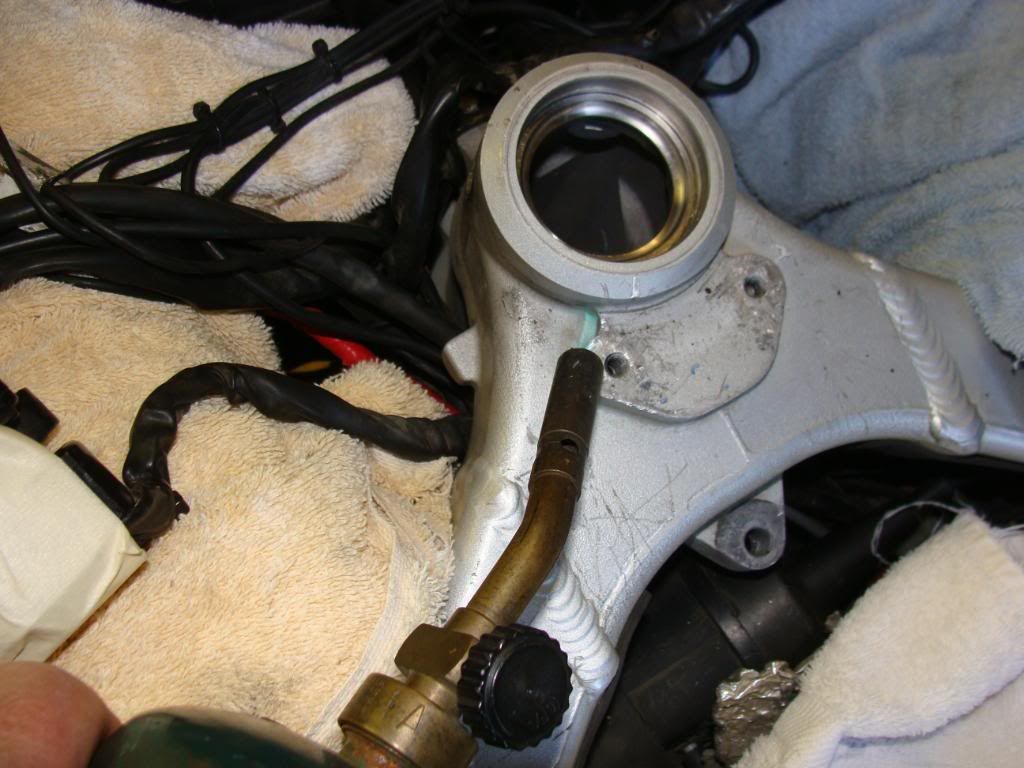
Using heat to expand the hole diameter. Be careful where you place the flame. I had a fire extinguisher at the ready..

DSC03918.jpg


This is the upper race, and exactly what you do NOT want to do.. I've driven it out crooked, and now it's bound up. Applied more heat, noted where I needed to move the race, then back on the floor again with nothing but sophisticated tools at the ready..

DSC03919.jpg


Son of a gun, I win! The lower race was a piece of cake. The upper race was a PITA to remove. You are on your back, can't see squat, brake lines and other paraphernalia are in the way. I used bungee cords to move the lines outta the way, took several deep breaths...

DSC03921.jpg


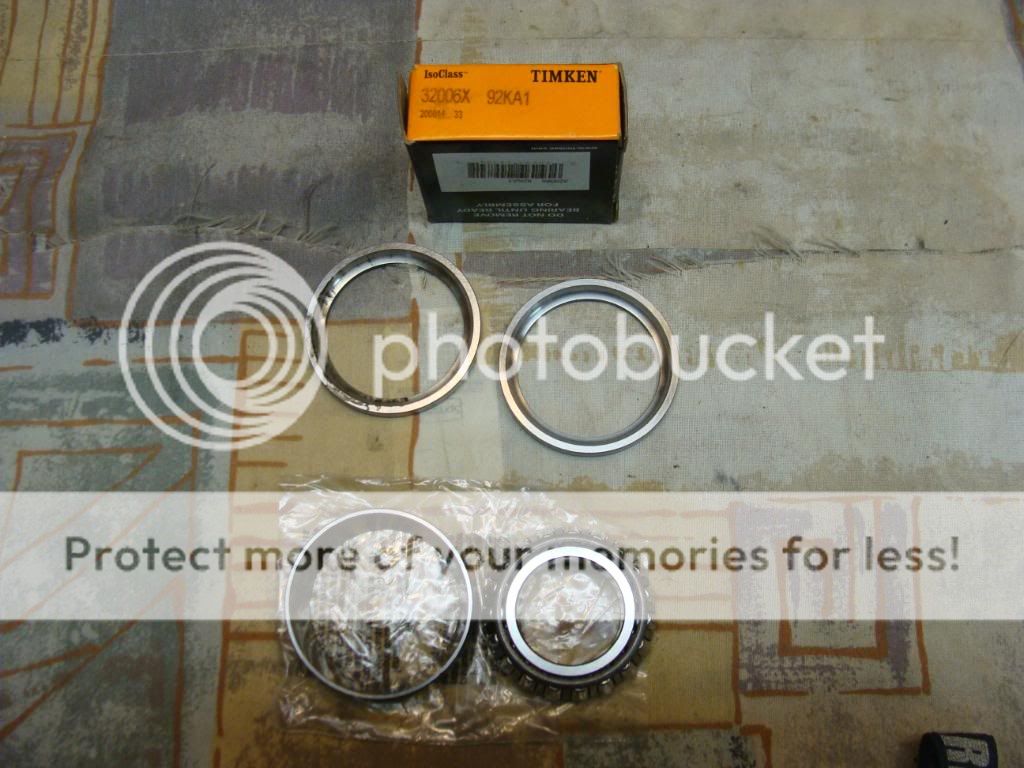
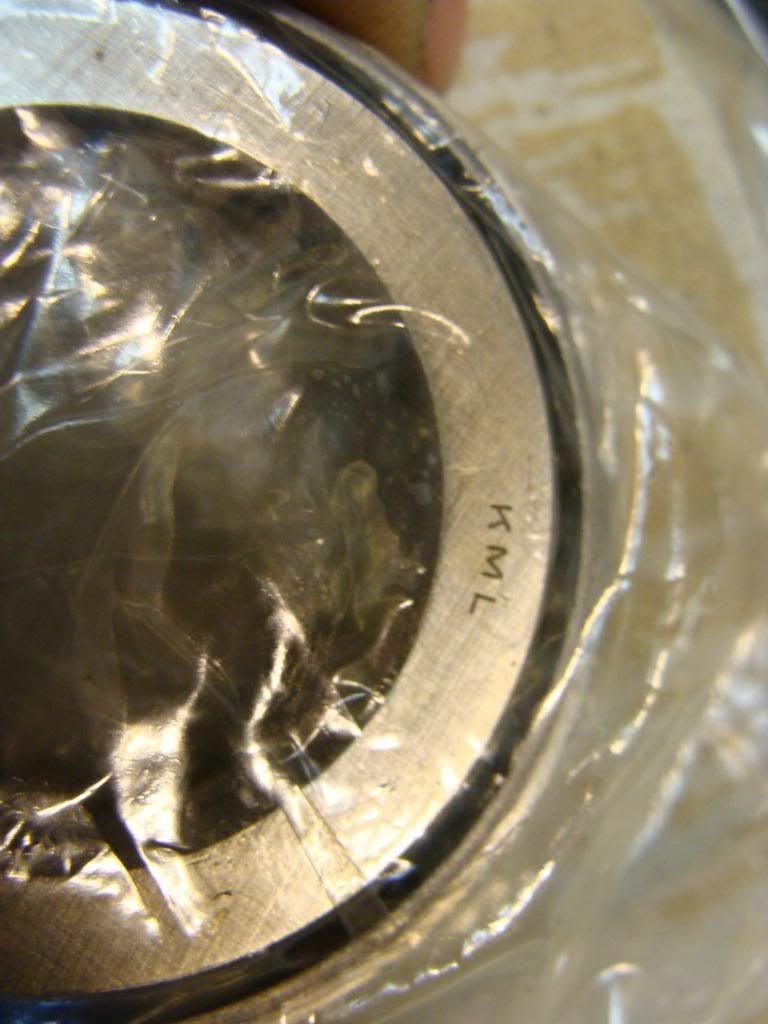
The new bearings - roller, at bottom. Sure hope all this effort is worth it..

DSC03922.jpg


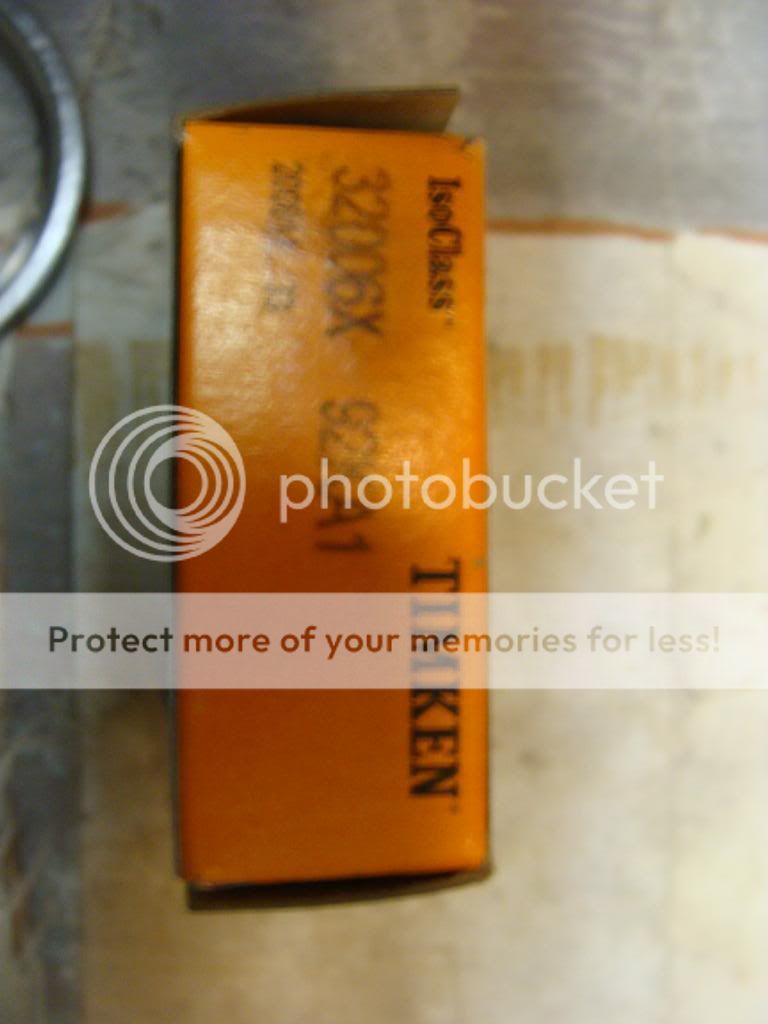
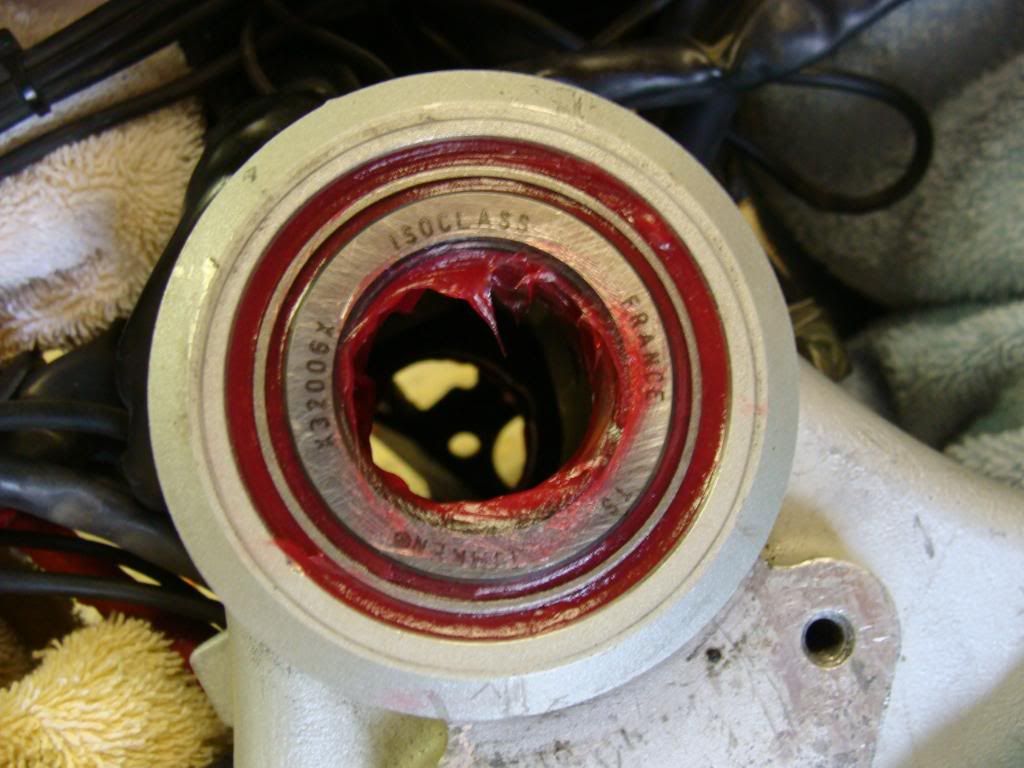
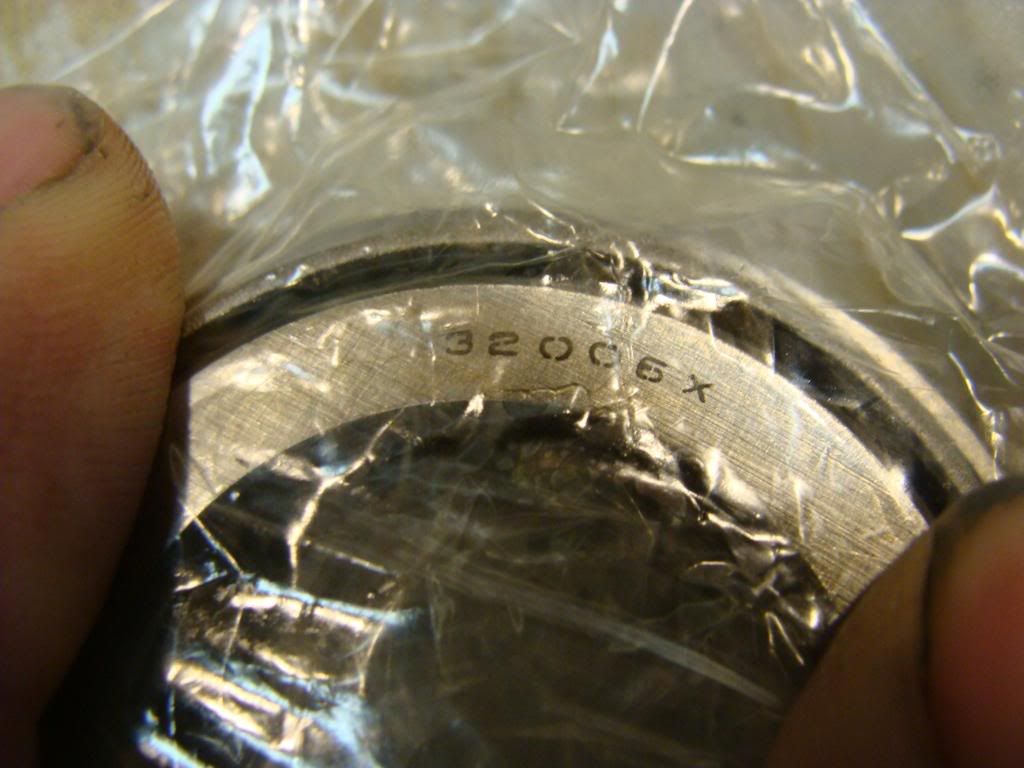
Timken part number, for future reference..

DSC03923.jpg


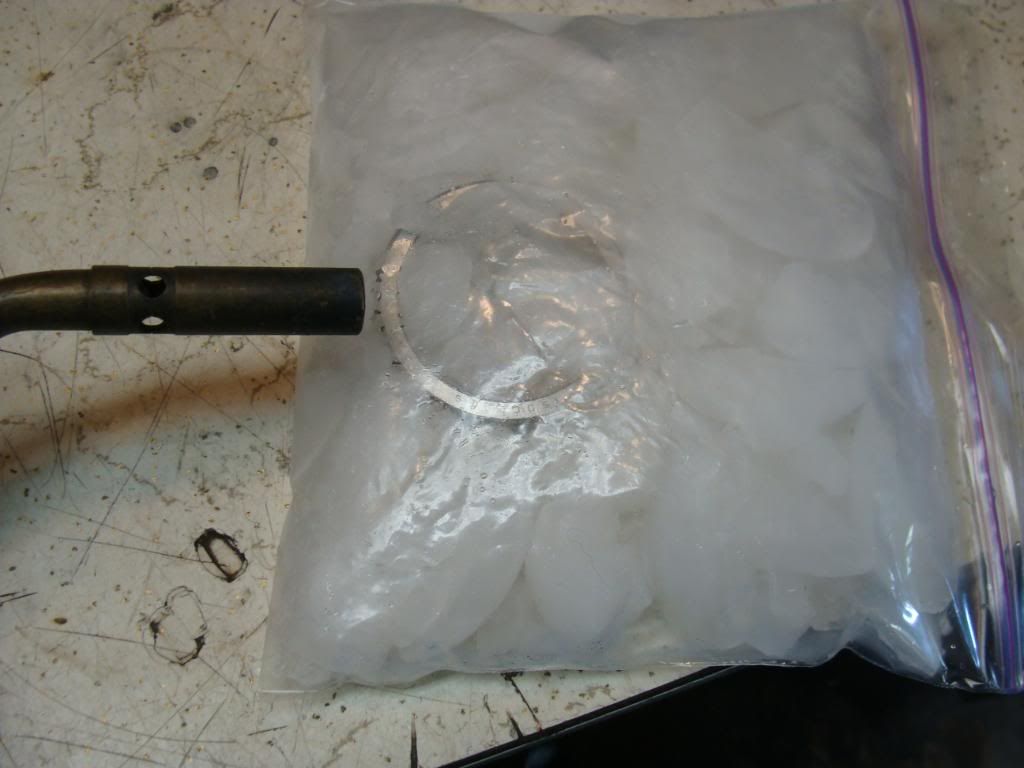
Now the game is to install the new roller races. First clean everything up. Then I put the races in the freezer for 30 minutes to contract the diameter. Heat will be applied to the frame to make it expand. Hopefully it will go together easy.

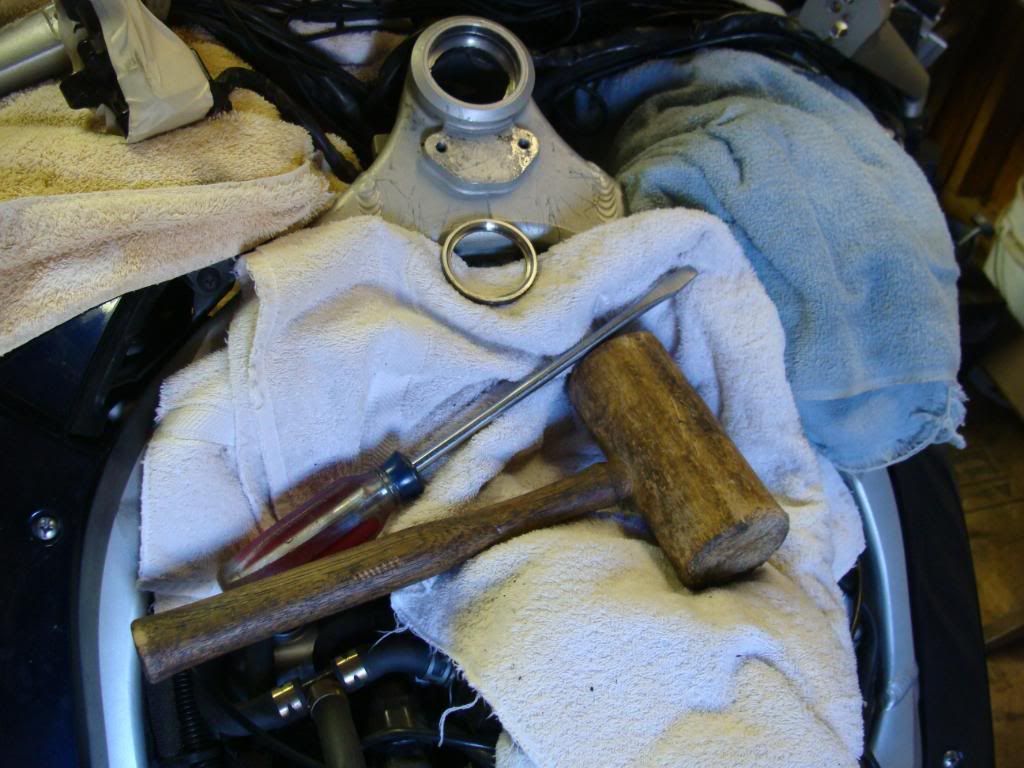
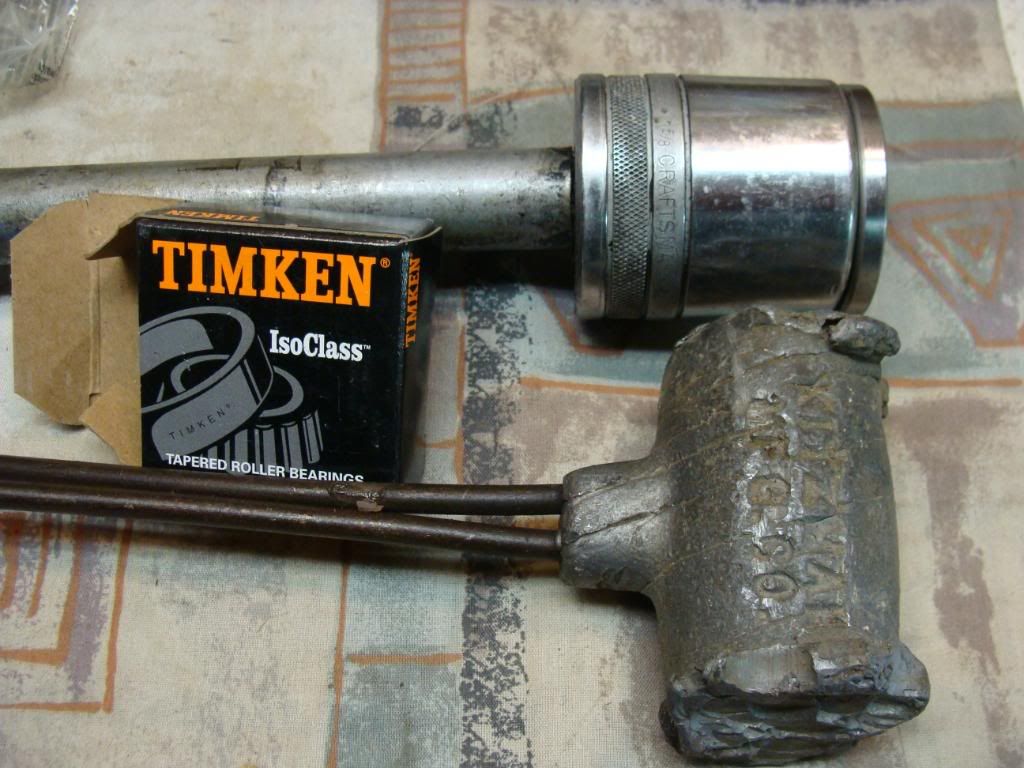
I don't have proper tools, so I jury rig it. I find that a 1.5" socket is almost the perfect size to drive the race in. But I don't want to bugger up my nice 1/2" drive set so I use a lead mallet to horrifyingly hit my drive set with.

DSC03924.jpg


Fire and Ice. I kept the races on 'chill' mode while I heated the frame.

DSC03925.jpg


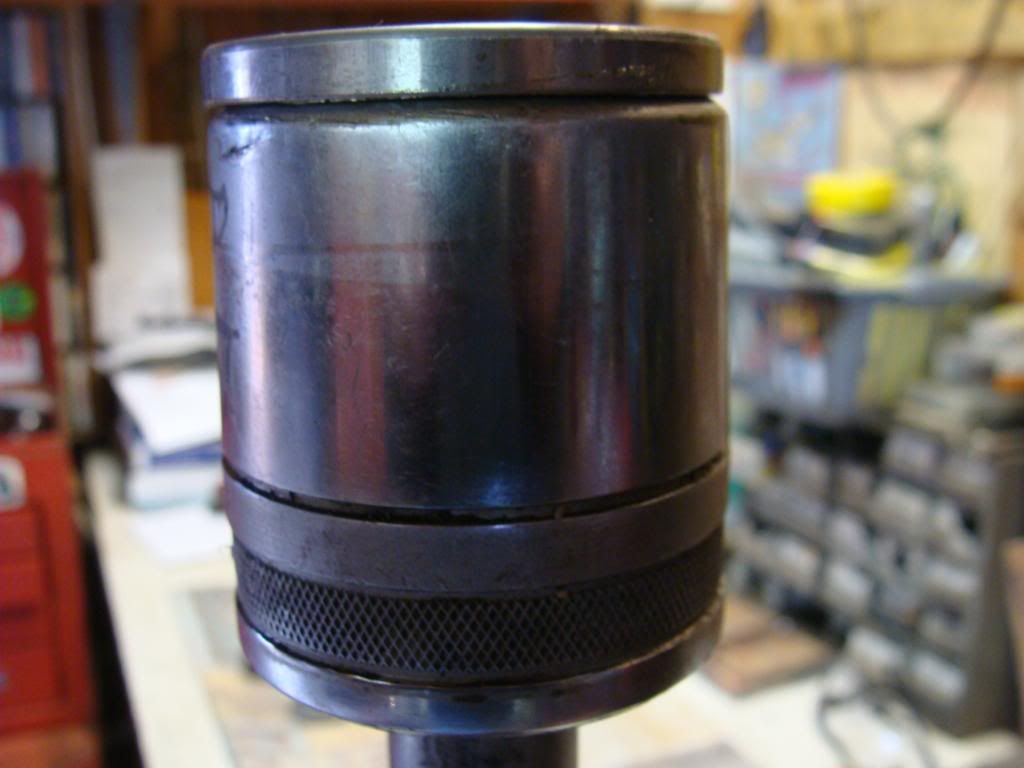
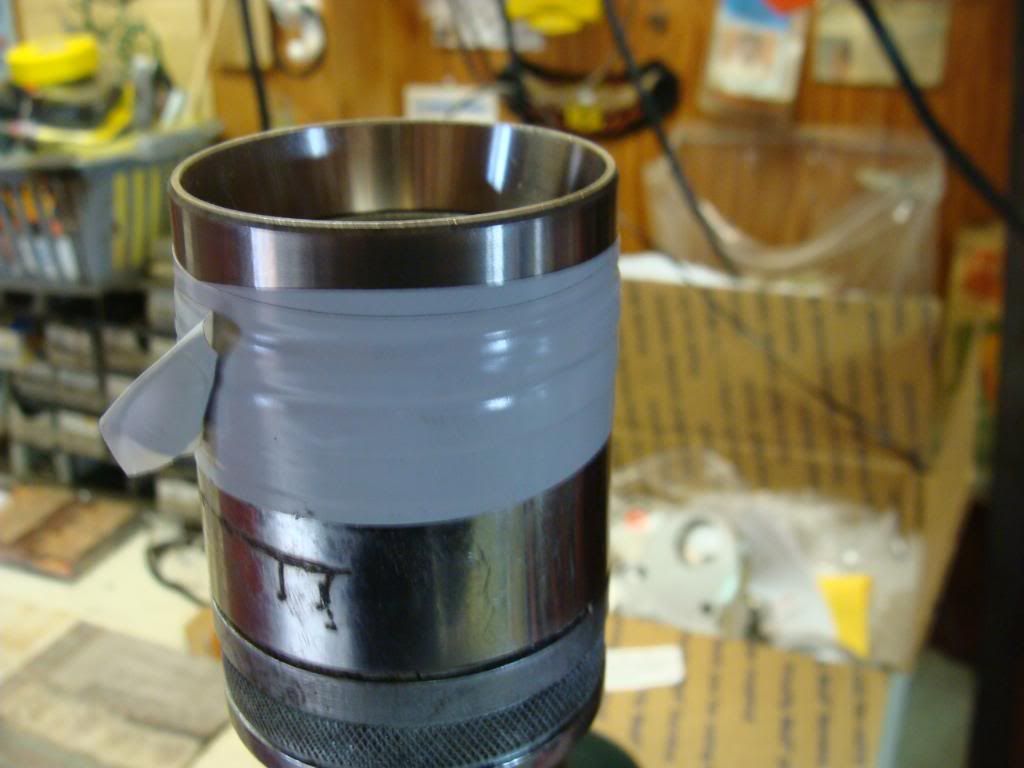
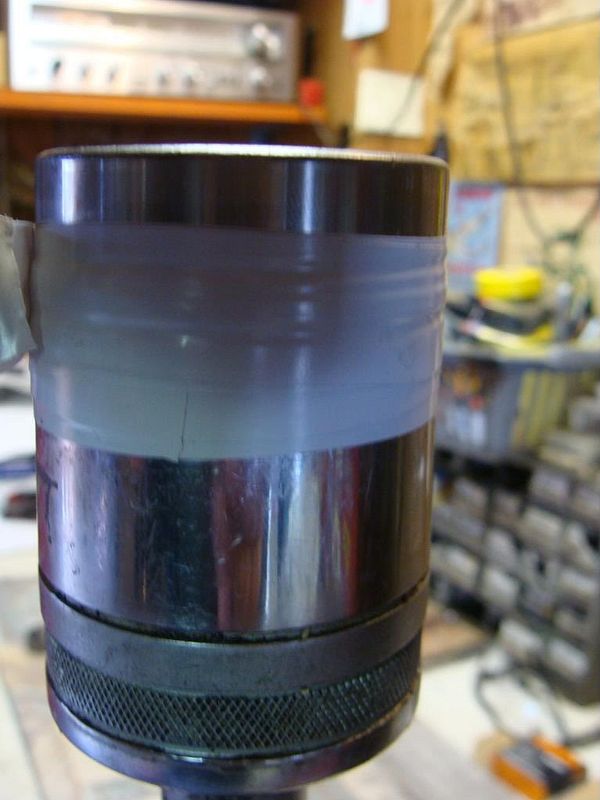
I came up with this brilliant idea - to save the socket, use the old ball bearing race.

DSC03926.jpg


But how to secure it? Welding is out of the question - I have little skills and only Oxy-Act. So tape it is! :rofl:

DSC03928.jpg


What's wrong with this setup?

DSC03931.jpg


Yep, the race is upside down. doh!

Well, none of this nonsense worked. The 1/2" drive extension and socket were to heavy to manipulate to get the correct 'seat' on the race to drive it in squarely. So resorted to the old try and true.

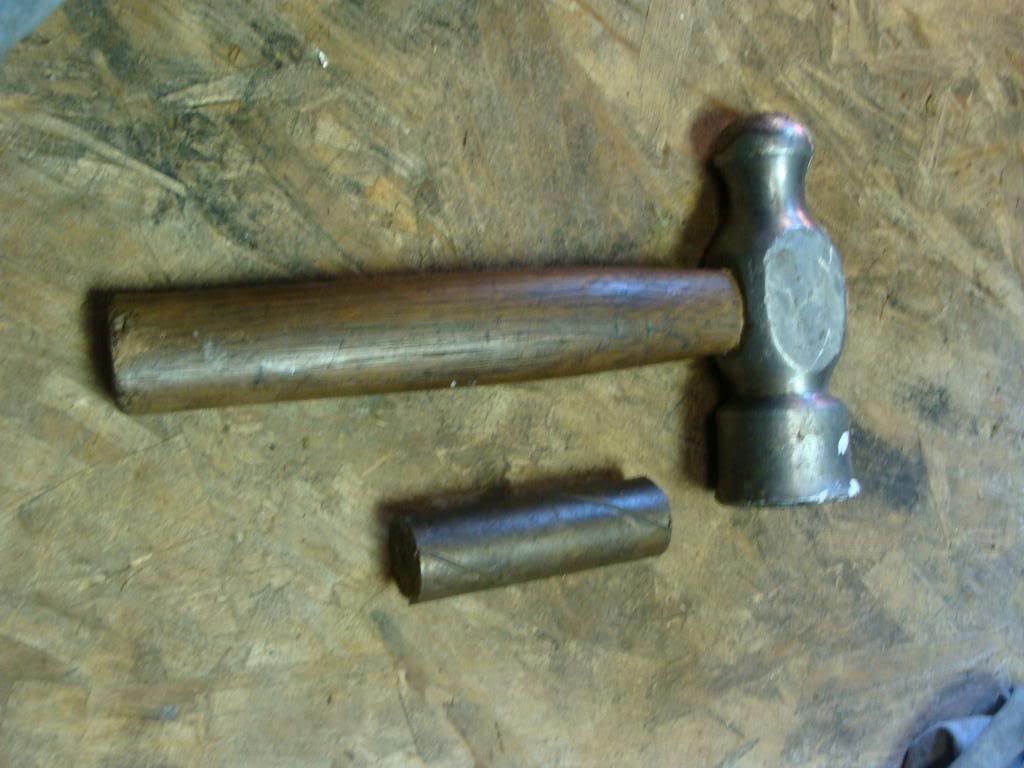
To a man with a hammer, the entire world looks like a nail... get my 'drift'? :lol:

BTW, this brass drift is the small end of a piston from a big Caterpillar. I picked it up from the desert floor near Pearblossom Ca back around 1973...

DSC03934.jpg


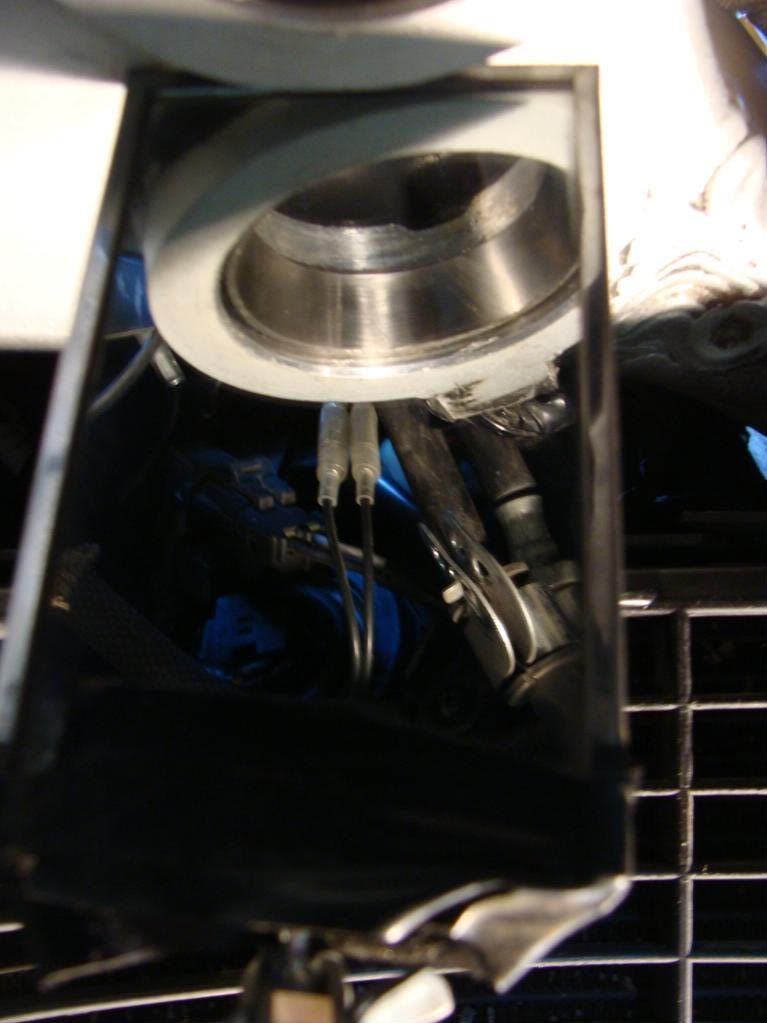
I used an inspection mirror to see if the race was fully seated on the side I couldn't eyeball. It wasn't, I was damn glad I got my phat *** off the ground to fetch the mirror to look. This is how it should look.

DSC03933.jpg


Pix of my big brass drift.

DSC03935.jpg


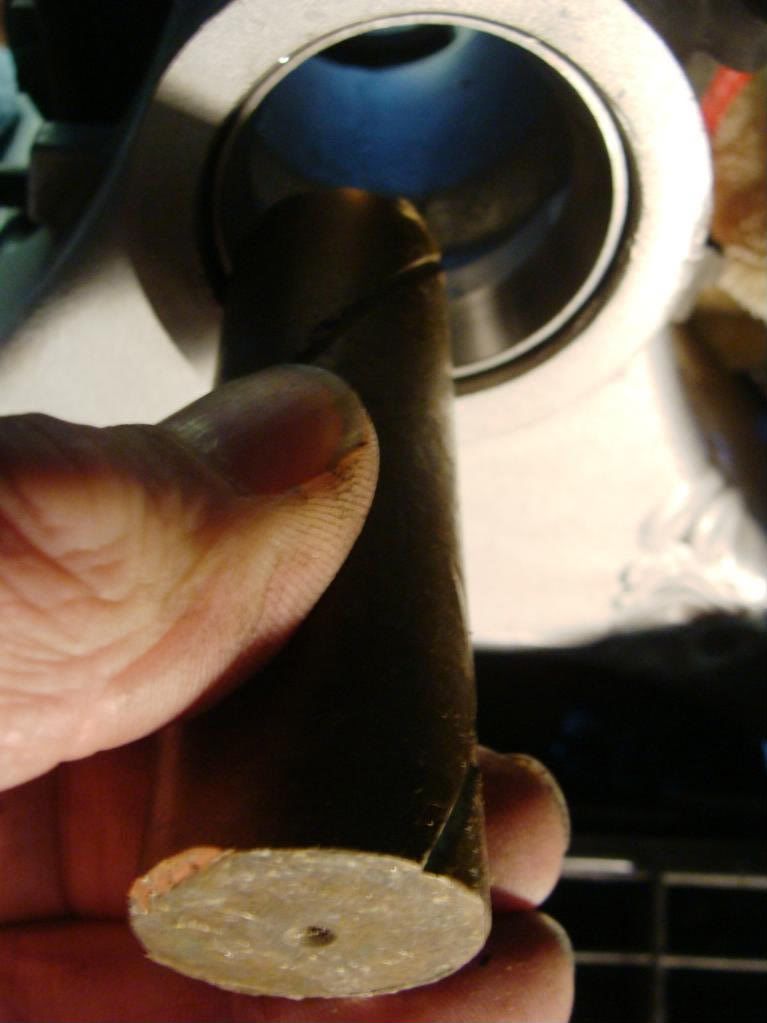
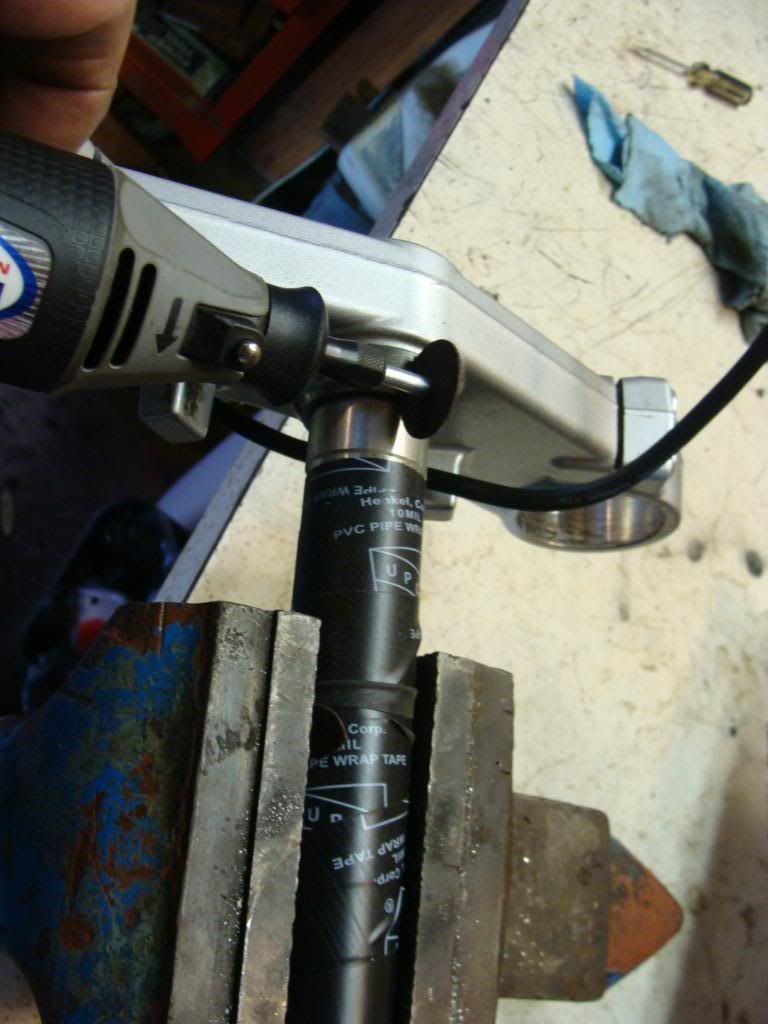
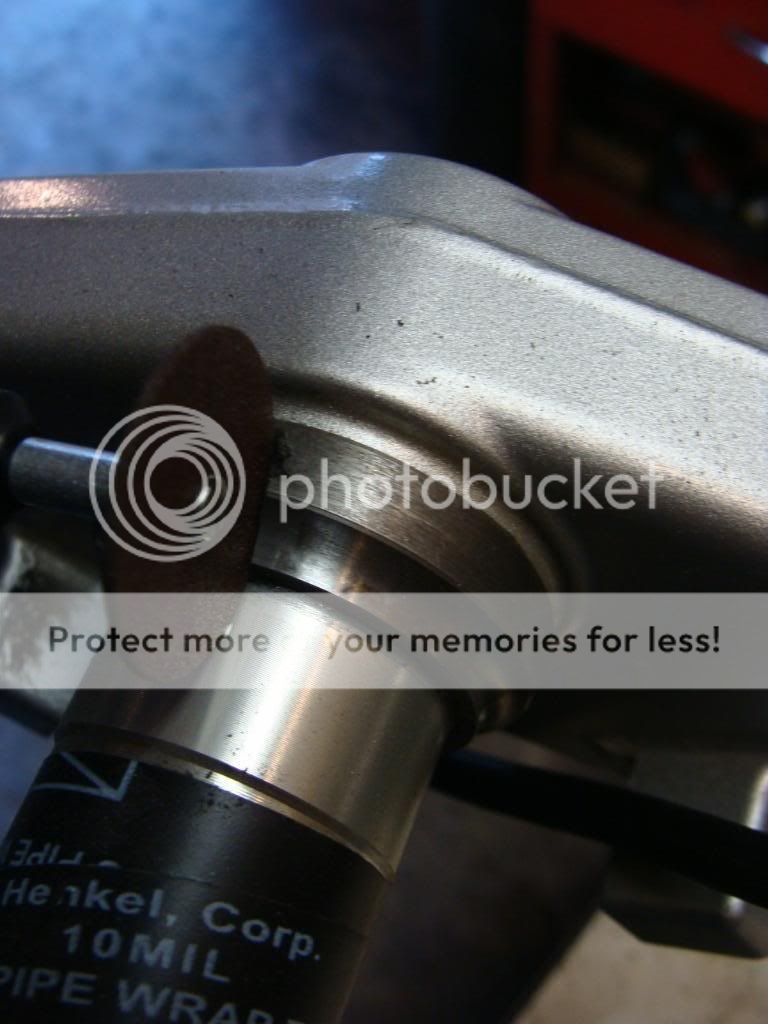
The next step - remove the lower ball bearing race. I used Dremel tool to cut into race, hoping I could weaken it enough to use a punch to split it. I did NOT want to bugger up the steering stem or lower clamp, just 'cause. I know it doesn't matter, but jeesh..

DSC03937.jpg


DSC03938.jpg


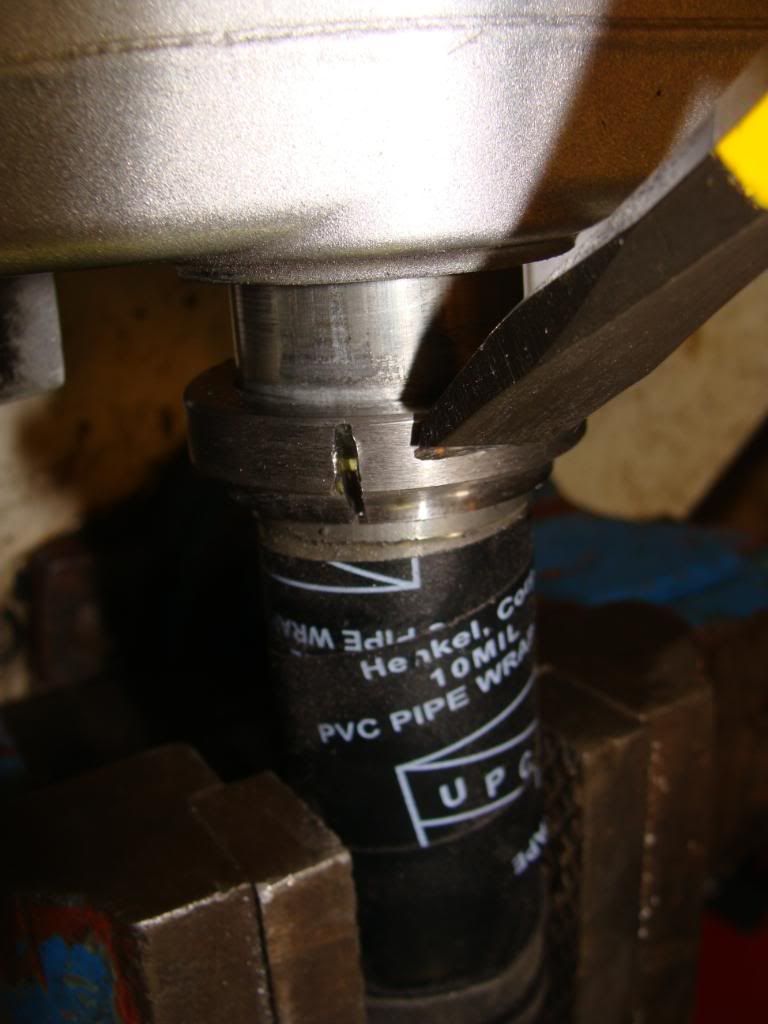
I beat on this thing using a drift punch, and it simply wasn't splitting. I don't know, it seems like it should have worked, but being a rookie and all I did not want to use excessive force then end up buying a new lower clamp and stem.

So, plan B.

I cut a 'horizontal' groove using the Dremel, then used a drift punch to slide it up, and it worked! :yahoo:

DSC03941.jpg


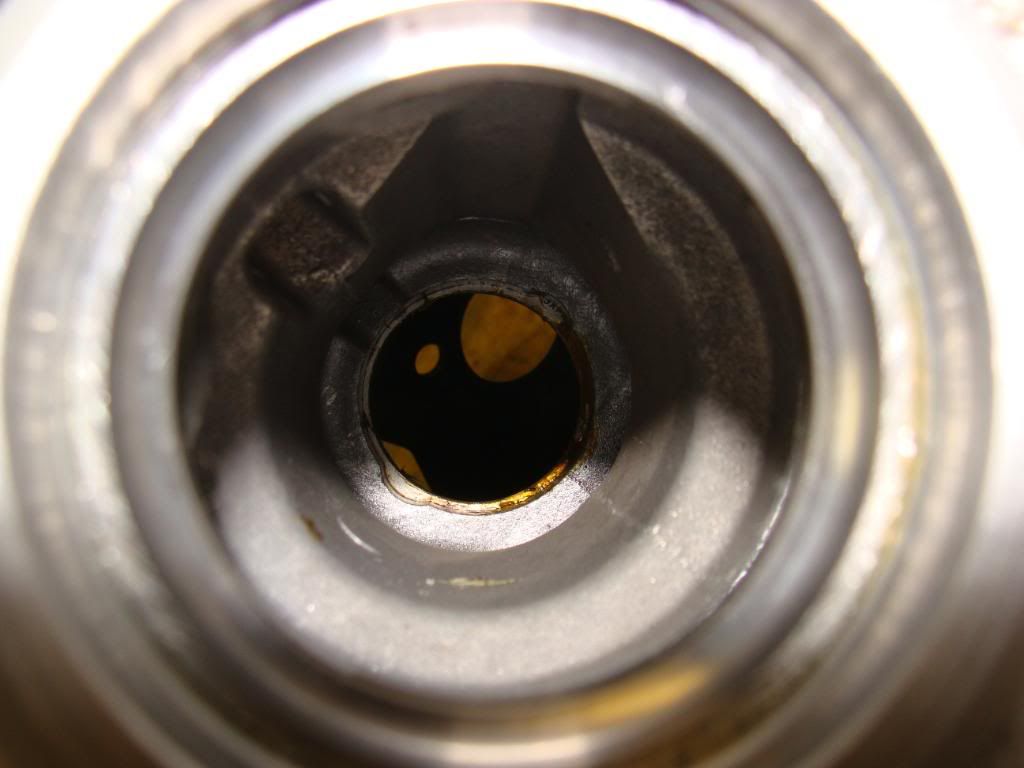
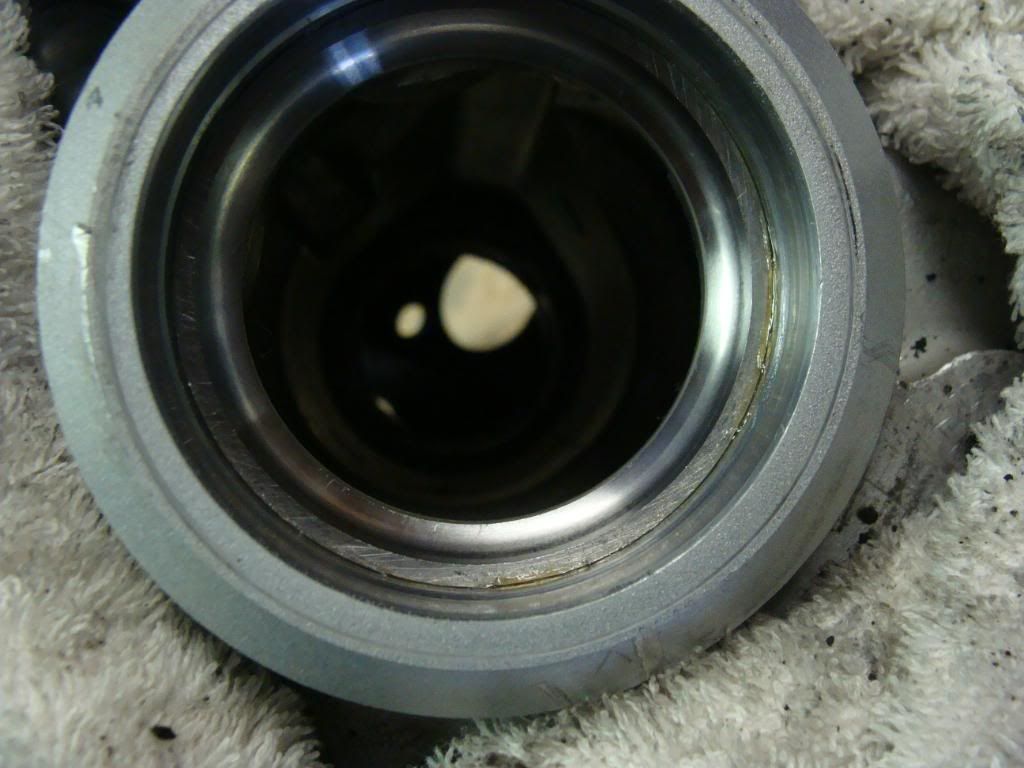
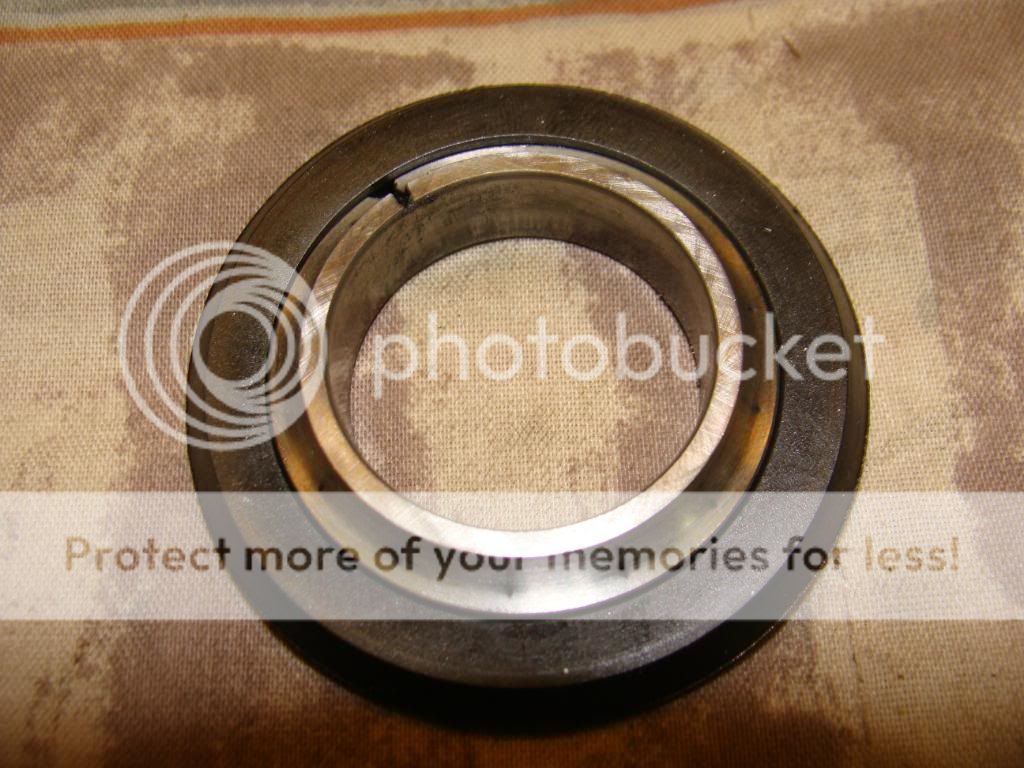
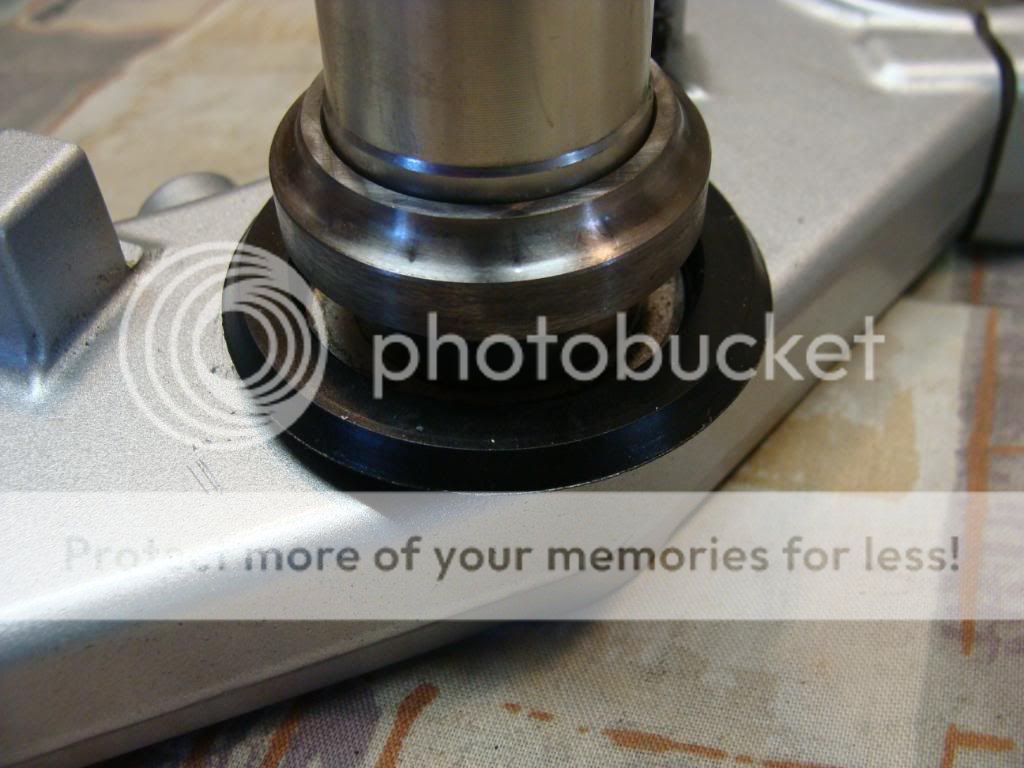
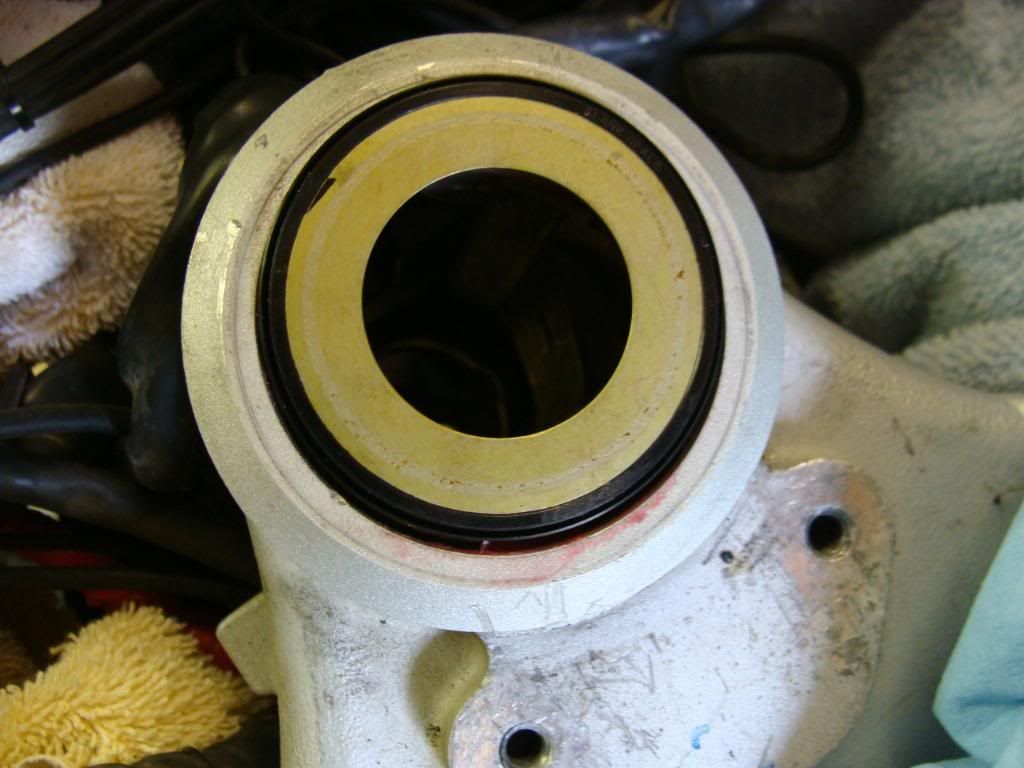
Now then, about the lower seal; I'm not sure it will work with the new roller bearing. I posted a new thread asking others for help.. Here is the OEM configuration, the roller bearing is taller, I just don't think it will work.

DSC03942.jpg


DSC03943.jpg


Of to Brake-Pad land we go..

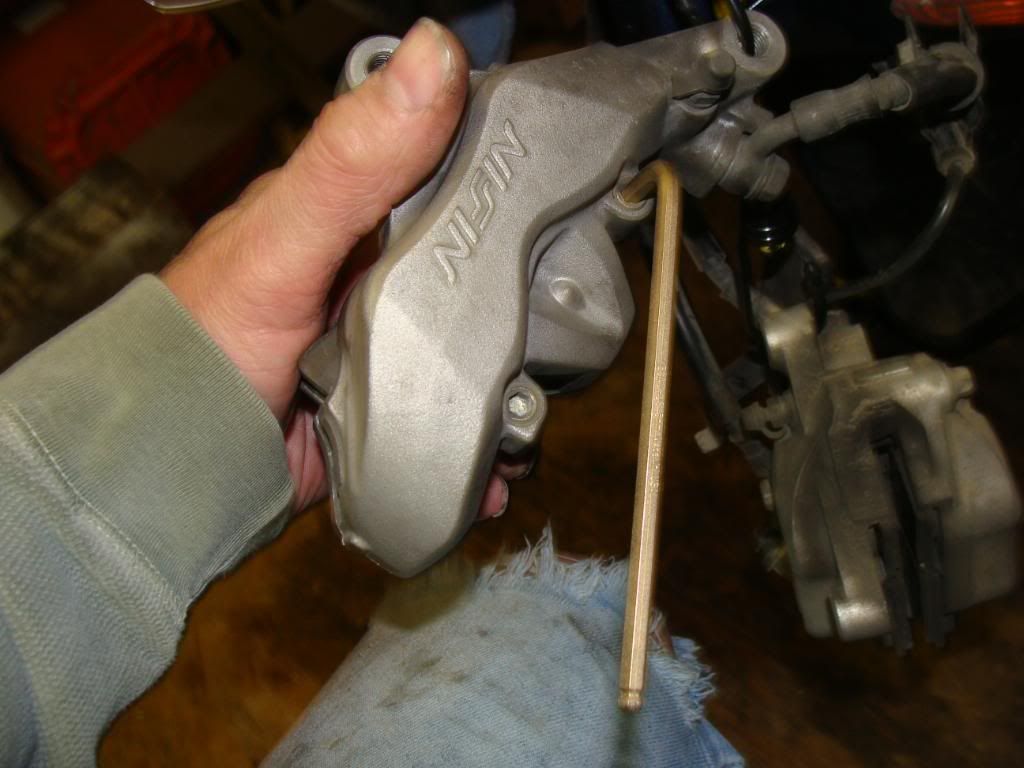
Removing the pad securing pin -

DSC03944.jpg


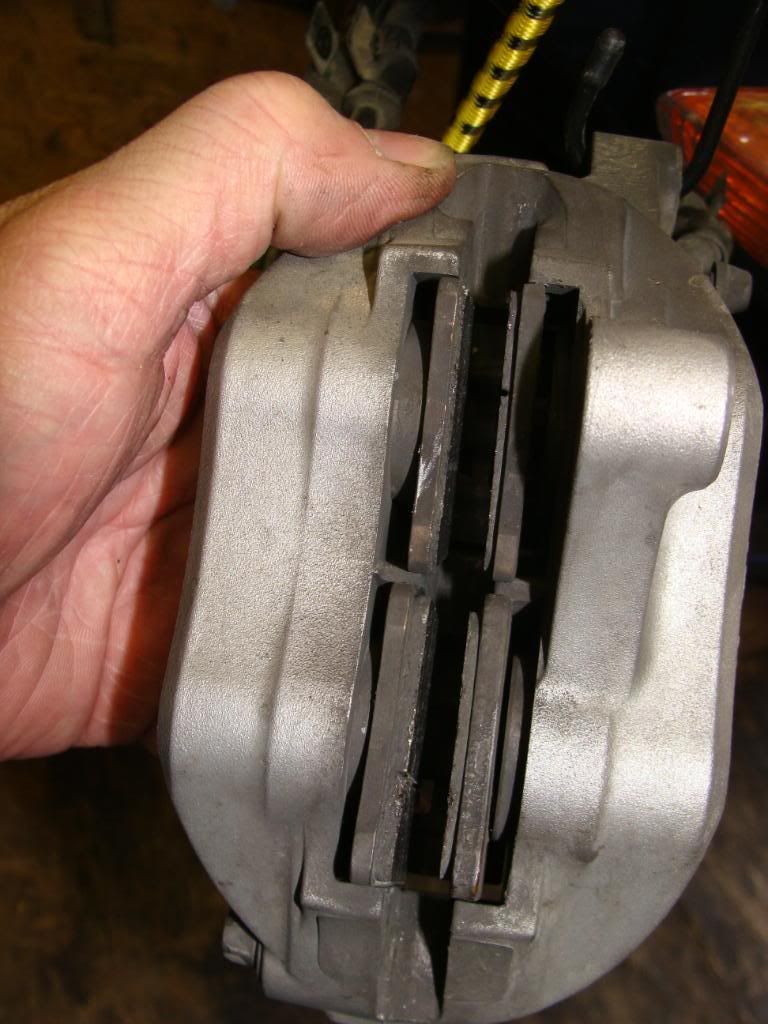
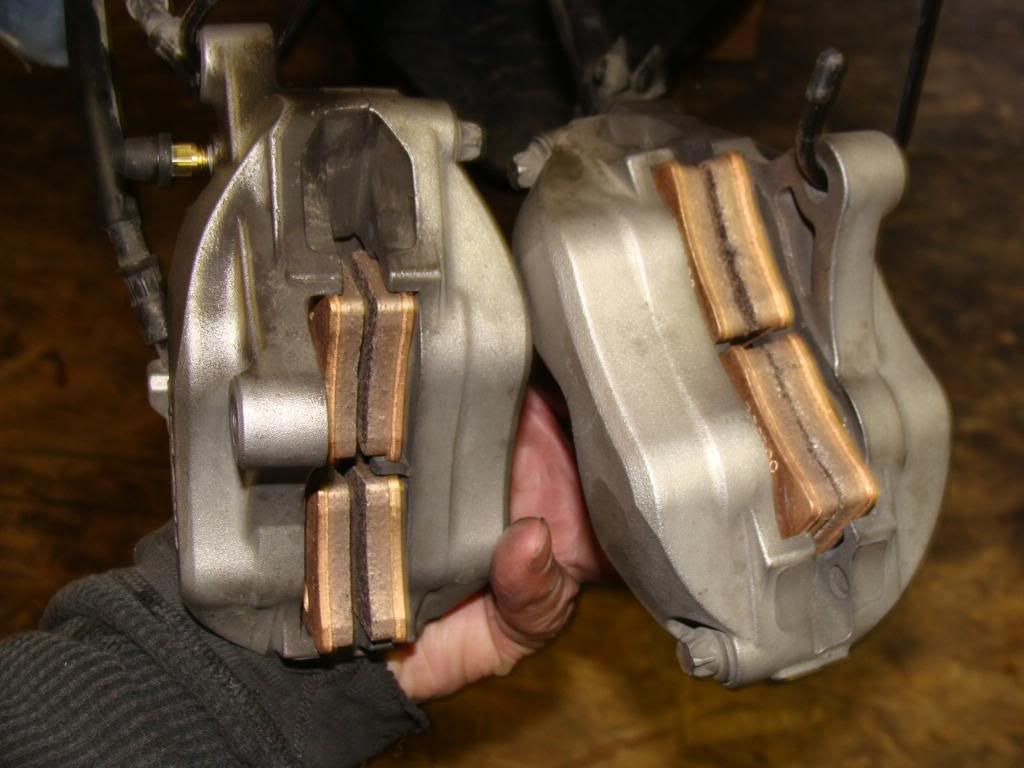
Yeah, they are due for new ones..

DSC03945.jpg


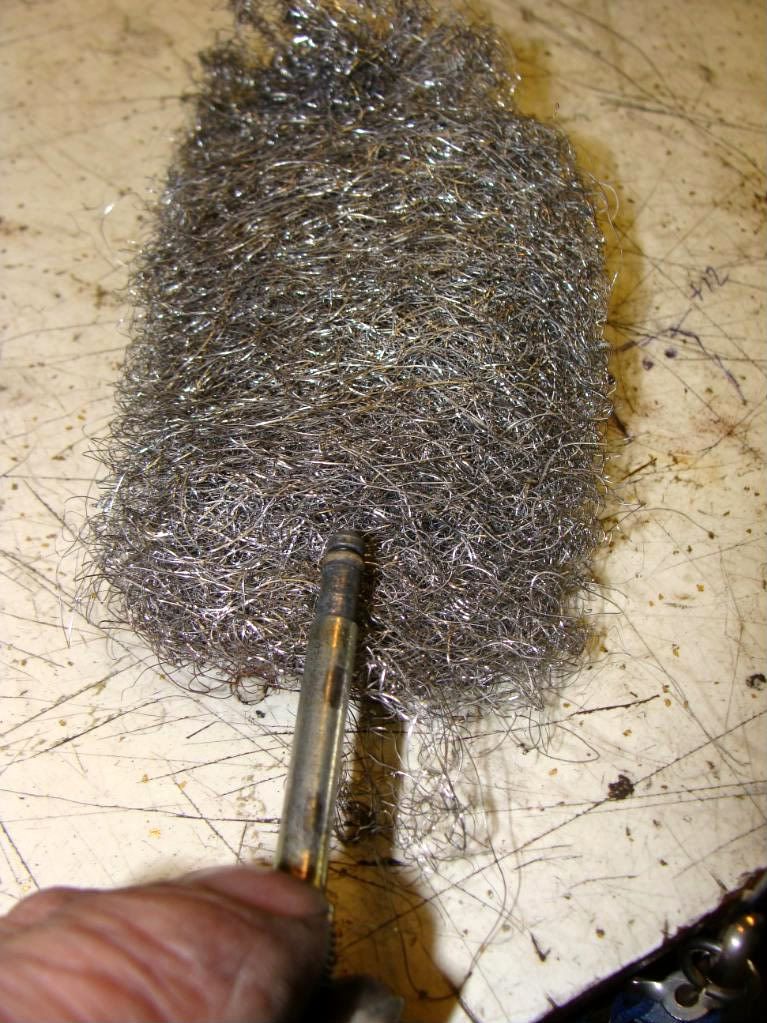
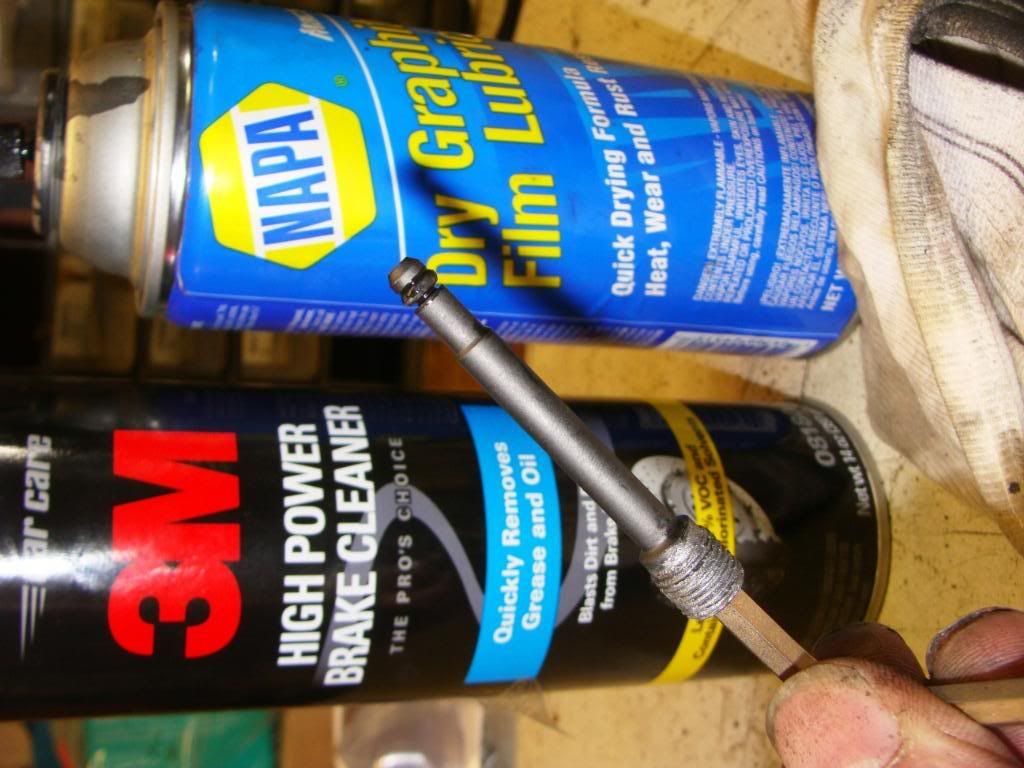
For the pins, I clean them up using steel wool and Brakleen. After they are nice and smooth, I coat them with a Moly dry lube that does not attract dust or dirt. This keeps the pads moving freely, helping to reduce drag, even after running in adverse conditions (like the 6 miles of dirt roads I ride everyday).

DSC03947.jpg


DSC03946.jpg


The newly installed pads..

DSC03952.jpg


Well, getting tired now, the back is starting to squawk..

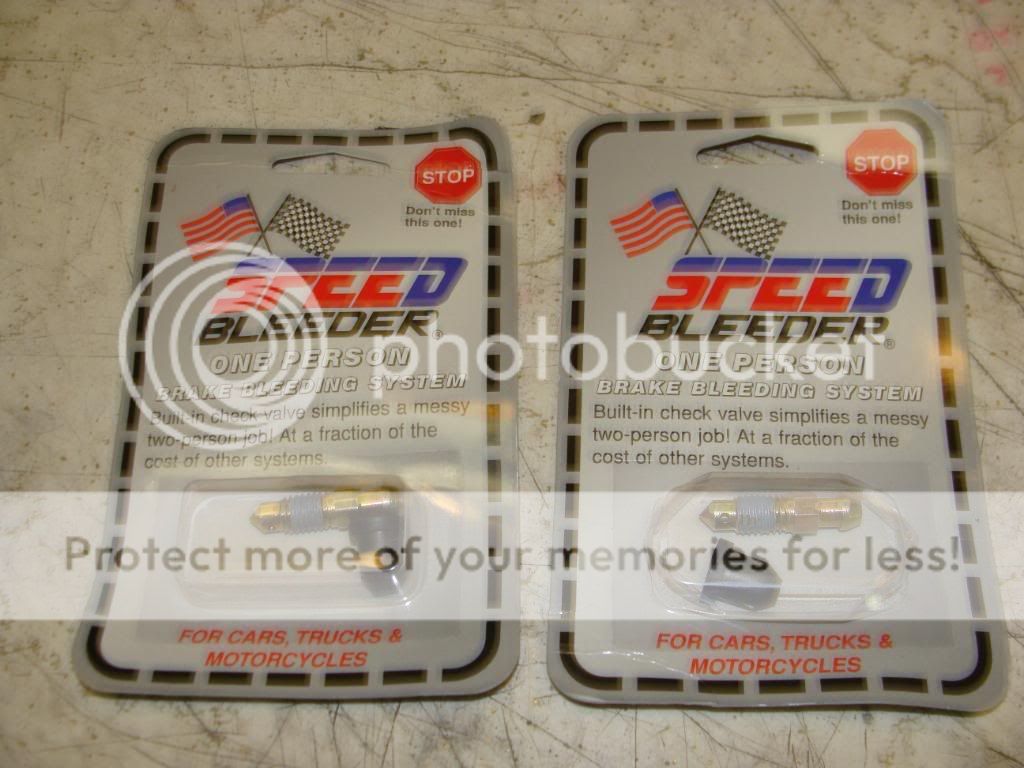
But the Speed Bleeders are calling my name, so here we go..

DSC03951.jpg


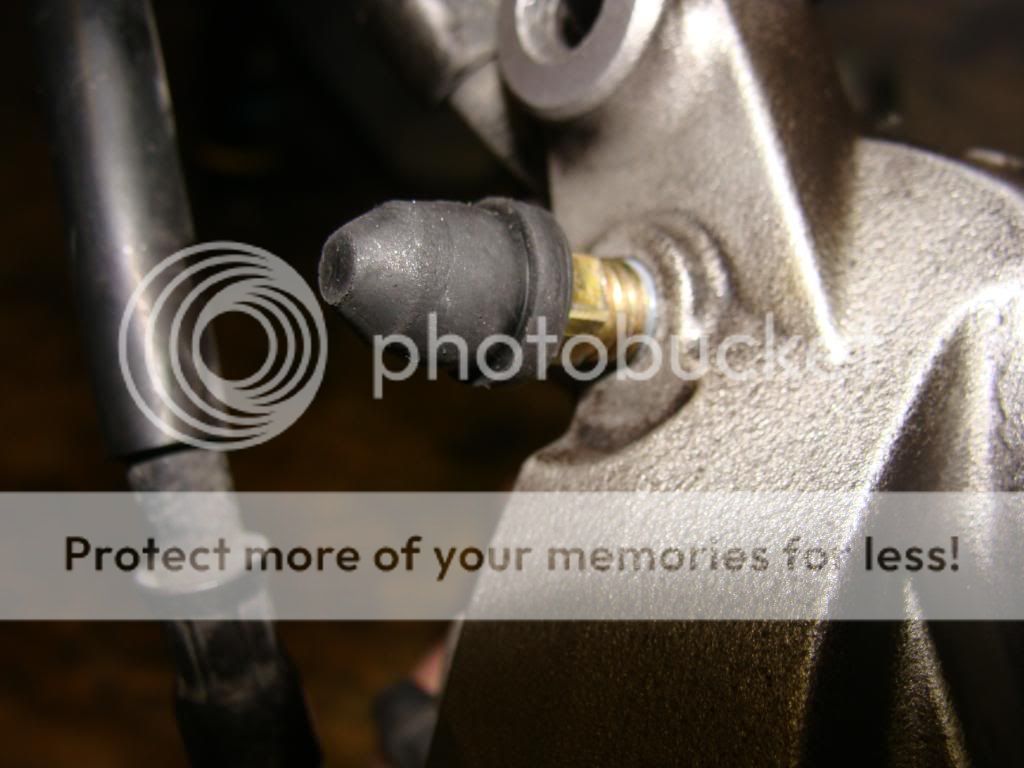
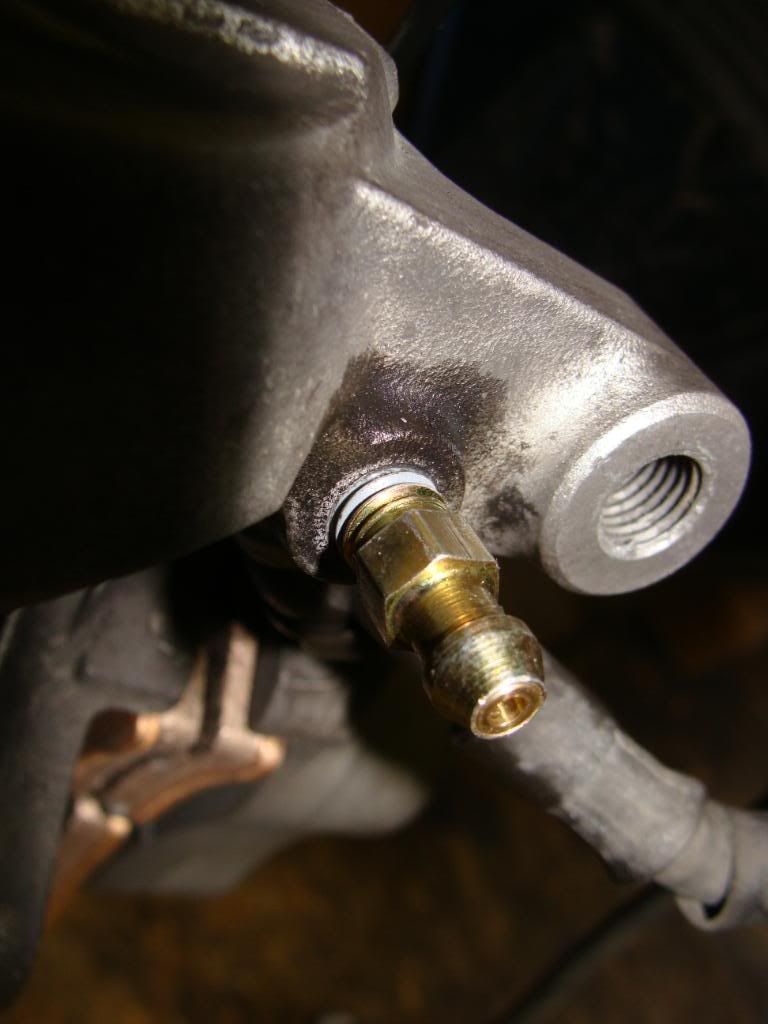
They are pretty simple to install, just remove the stock bleeders, be sure to have a rag handy as it will leak a bit of fluid, clean up the threads a touch, then install the new Speed Bleeders. Oh, of course, if you're smart, you'll do this before installing new brake pads, just sayin'... :****:

DSC03953.jpg


OH, and don't loose the rubber booty like I did. When I discovered I'd lost the booty, it was time to quit. I've made good progress, tomorrow is a work day and I have other chores to attend to!

DSC03954.jpg


I hope this helps other folks later on, if not, oh well, I've had fun doing this.

TBC -

:****:

Hugs n Kisses Tim Bates, aka TwoWheelNut, today is your birthday!

 
PIAA dual tone horns are my favs. That there looks like to big a job for my delicate hands. I'll have to talk someone else into helping. But I will need to know which truck filter to buy though :lol: . I don't even have a truck, but I gotta do it just like the master.

doctorj

 
Don -

Ambitious project with your limited shop resources! Just a quick note on your removal of the lower bearing race.

> You Wrote; "The next step - remove the lower ball bearing race. I used Dremel tool to cut into race, hoping I could weaken it enough to use a punch to split it. I did NOT want to bugger up the steering stem or lower clamp, just 'cause. I know it doesn't matter, but jeesh.."

"If" you had had an arc welder, putting a bead on the side of that race would expand it enough, so it would have just fallen off. HTH

Those new Galfers look very pretty!

 
> You Wrote; "The next step - remove the lower ball bearing race. I used Dremel tool to cut into race, hoping I could weaken it enough to use a punch to split it. I did NOT want to bugger up the steering stem or lower clamp, just 'cause. I know it doesn't matter, but jeesh.."
"If" you had had an arc welder, putting a bead on the side of that race would expand it enough, so it would have just fallen off. HTH
I've heard of the technique before, but not from a reliable source. So that really DOES work? I gotta try it someday. LOL, right after I get real power and a TIG welder.. :lol: Thanks for the words of encouragement. So far, so good!

 
So then, finally back in the shop to finish the job..

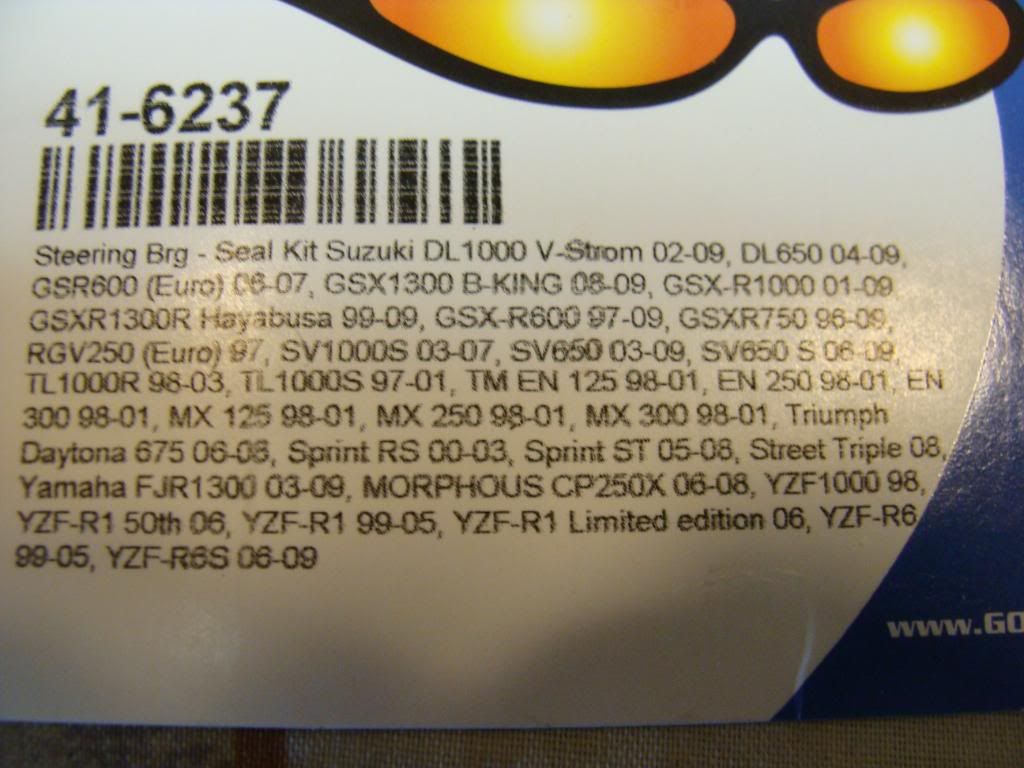
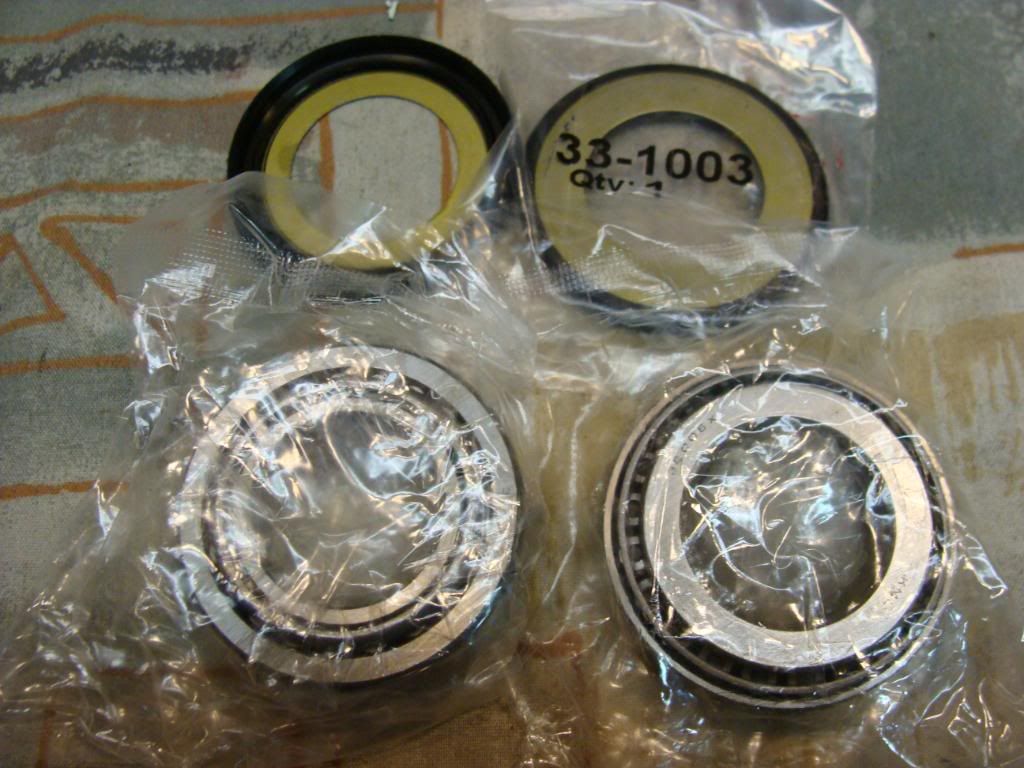
I had bought some Timken bearings, but they didn't come with any dust seals. Went to local bearing house, they are not made. The stock lower rubber seal would not be a clean fit. So I bought an All-Balls kit that had both upper and lower seals.

All-Balls part number.

DSC03961.jpg


All-Balls contents

DSC03962.jpg


All-Balls stamped part numbers

DSC03963.jpg


DSC03964.jpg


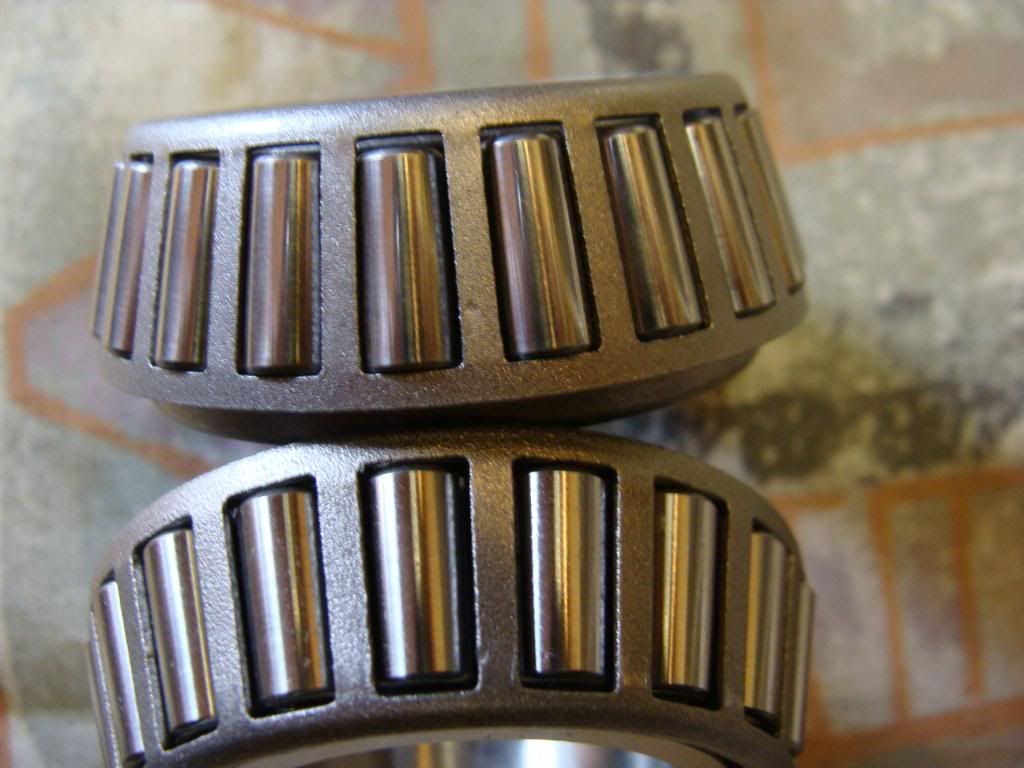
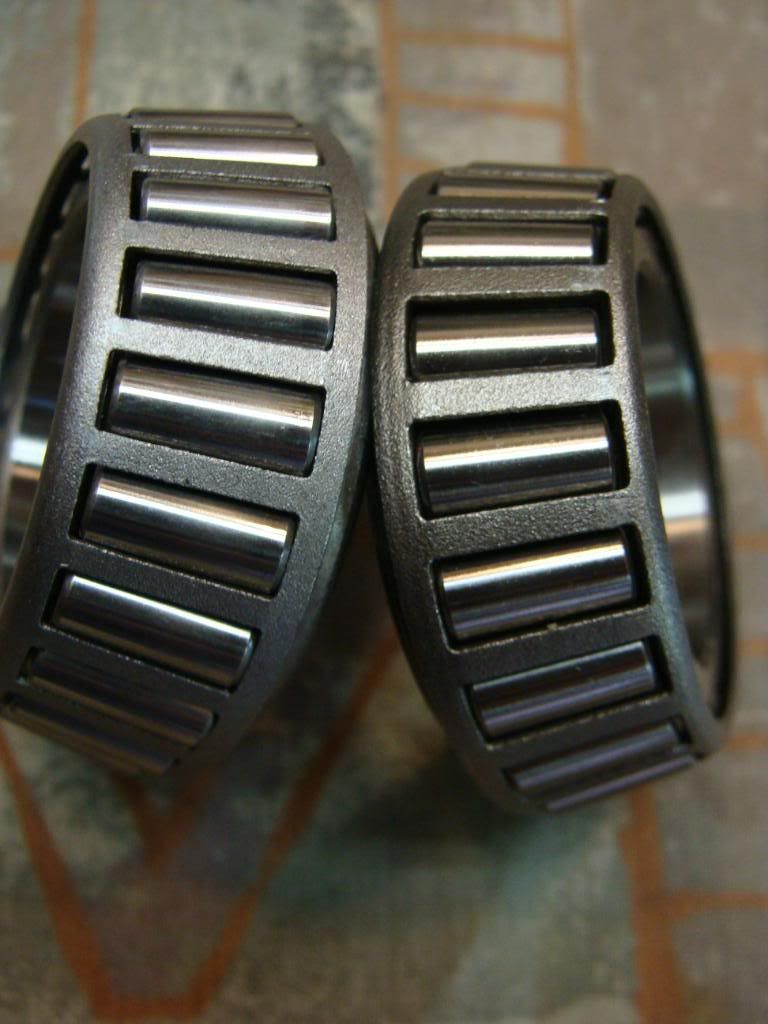
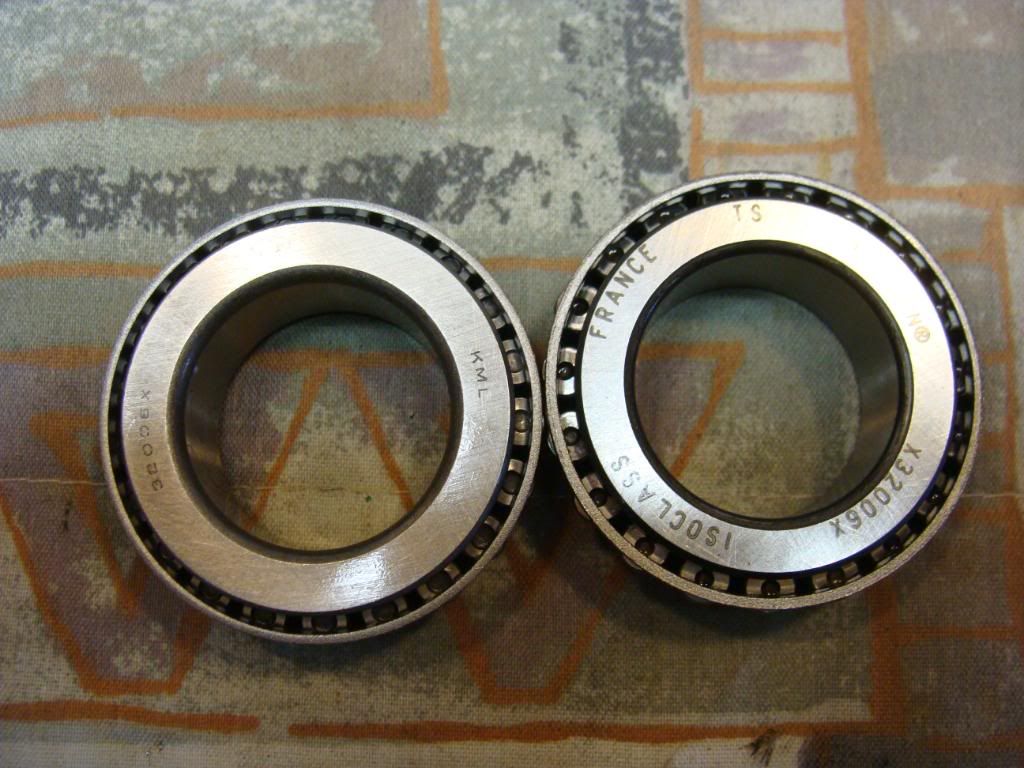
Timken and All-Balls comparison. Long of short, I think the Timkens are better, they have visually better construction, with especially in the inner bearing faces. Take a look and decide for yourself.

DSC03973.jpg


DSC03974.jpg


DSC03977.jpg


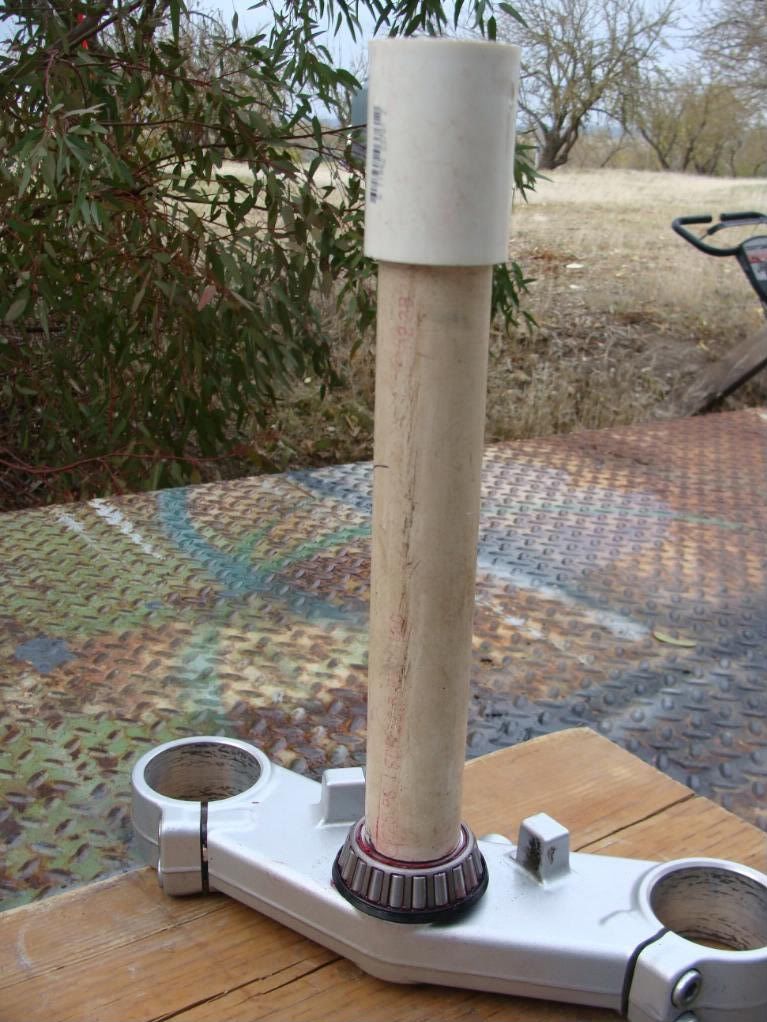
The next step - install Timken's on steering head. I fashioned a section of PVC pipe that was just the exact correct diameter needed, cut it flush on one end, put a coupler on the other end to bang on, and the entire cost was $0.00! Be sure to clean the inside of the PVC out first though.. :lol:

DSC03980.jpg


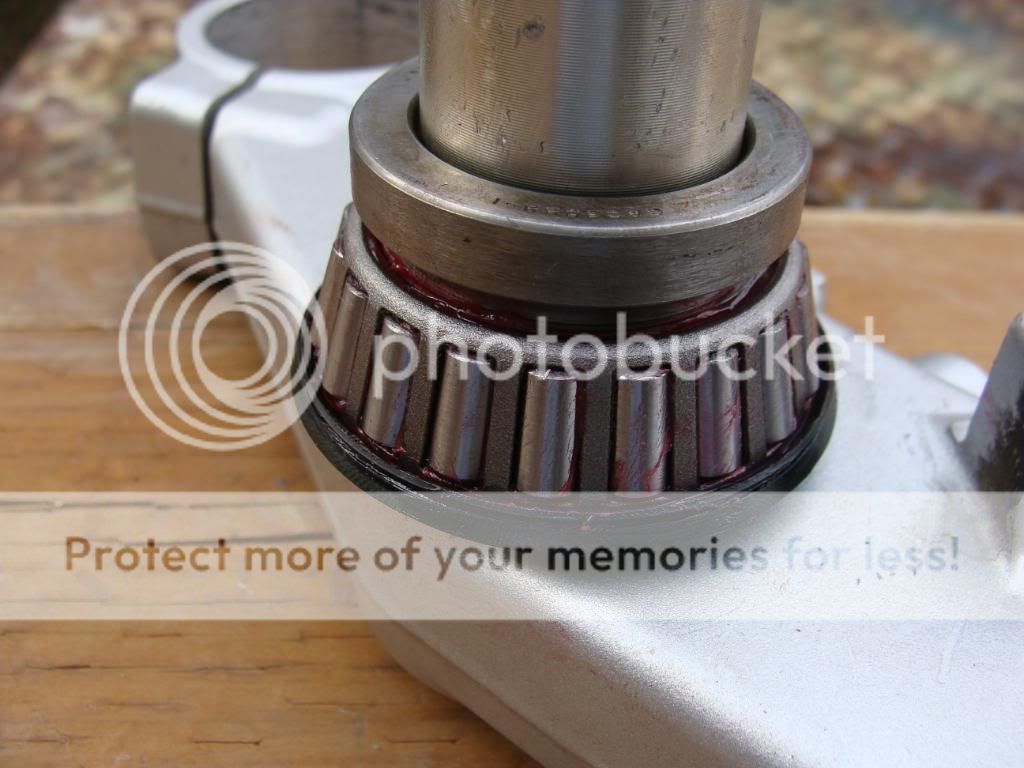
It took some time, and careful persuasion, but eventually I won. Obviously, a press would be nice right about now, but I did get it seated. The piece on top of the new roller bearing is from the old roller bearing, I used it to strike against.

DSC03981.jpg


New top bearing, all greased and ready for action.

DSC03983.jpg


Here is the upper All-Balls dust cap, the bottom was similar.

DSC03965.jpg


Off to the Fork Land..

Here's my old oil, after about 20k, only. Yuuck.

DSC03970.jpg


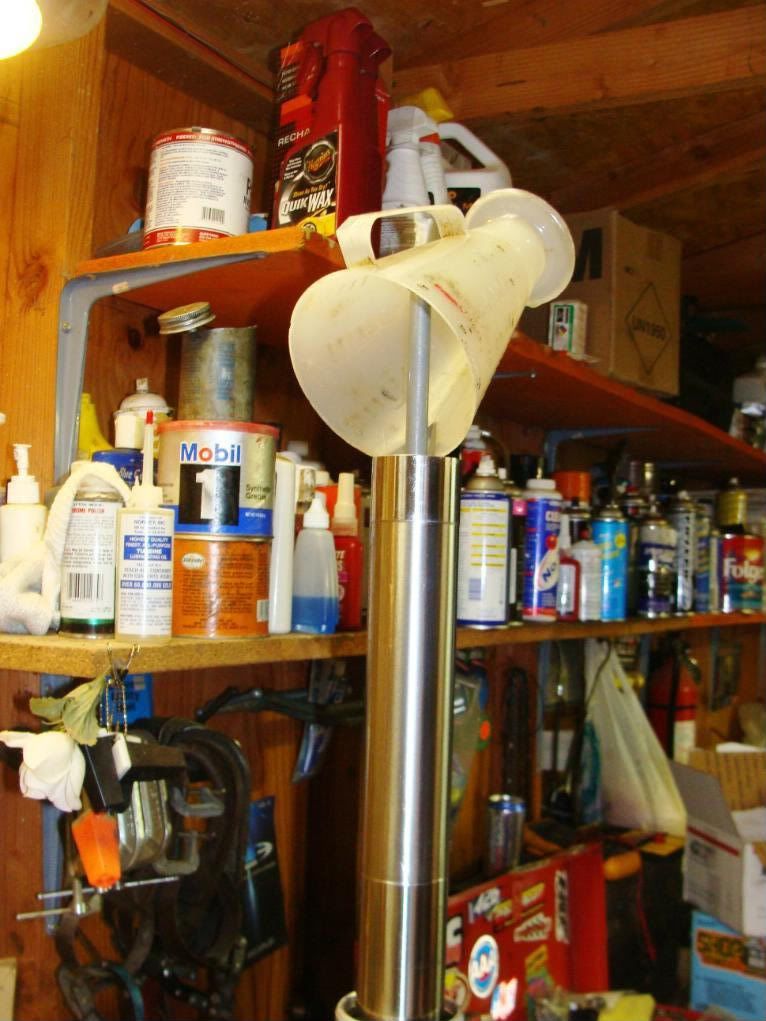
OK, up for discussion. I did NOT want to completely disassemble the front forks this time. So I left them intact, removed the caps, turned them upside down, let them drain for several hours (overnight, actually), and carefully measured the quantity using a Ratio-Rite cup. Both legs were identical in oil volume.

Then, I used diesel fuel to flush the old oil out, get all the aluminum out of the valve stacks (my goal at least). It took two good flushes, including manipulating the dampener rod, and giving the tubes the old twist n' shout return while turning up and downside. After two flushes, the diesel came out really really clean. My thinking is that since diesel is a light oil with high cleaning ability, it would be the perfect, cheapest fluid to use for flushing. What say you?

Reassembly, fresh new wt oil, same volume as removed, then work the damping tube and inner and outer assemblies..

DSC03986.jpg


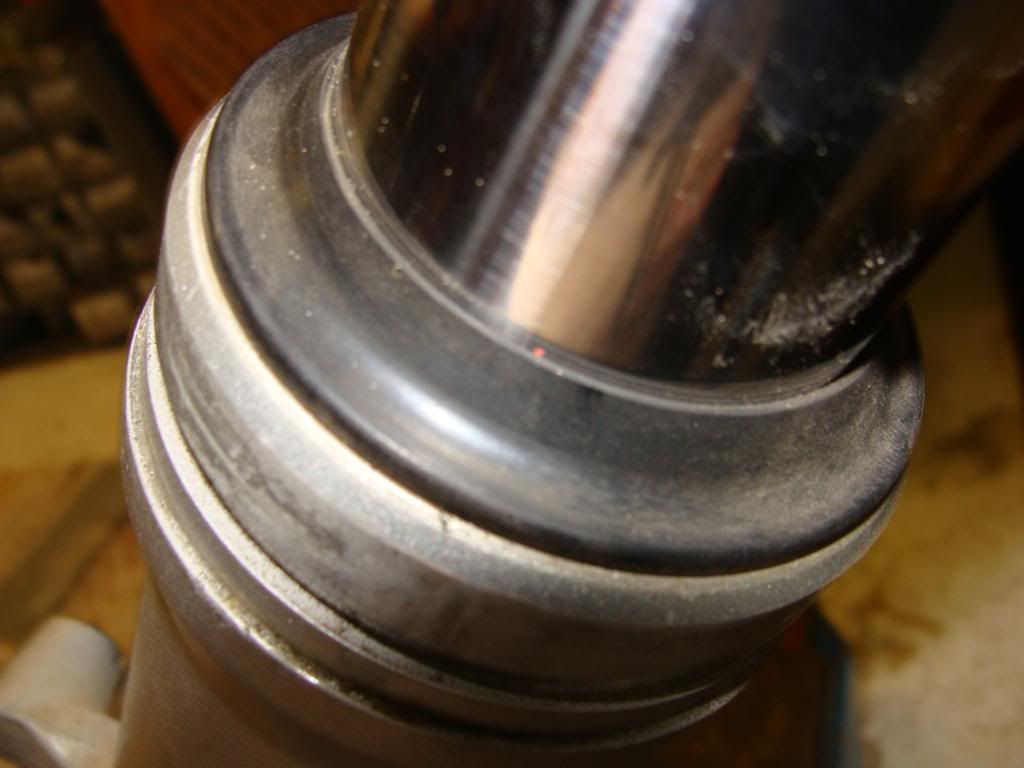
Remember the fork dust cap!

DSC03966.jpg


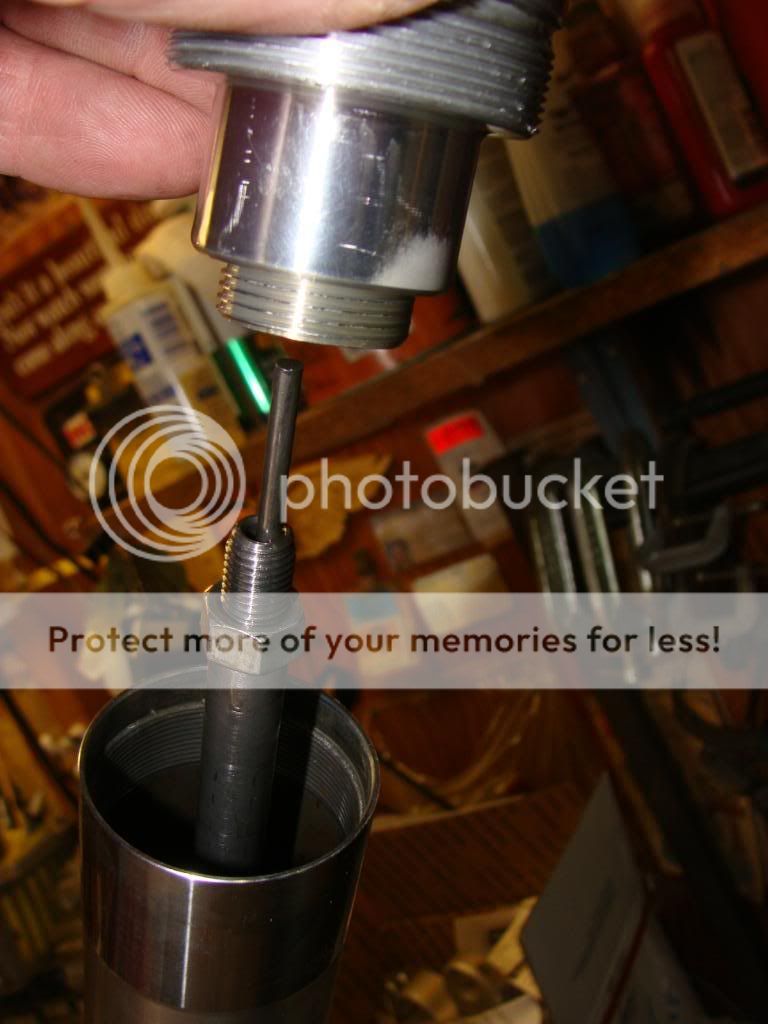
..and the rod!

DSC03969.jpg


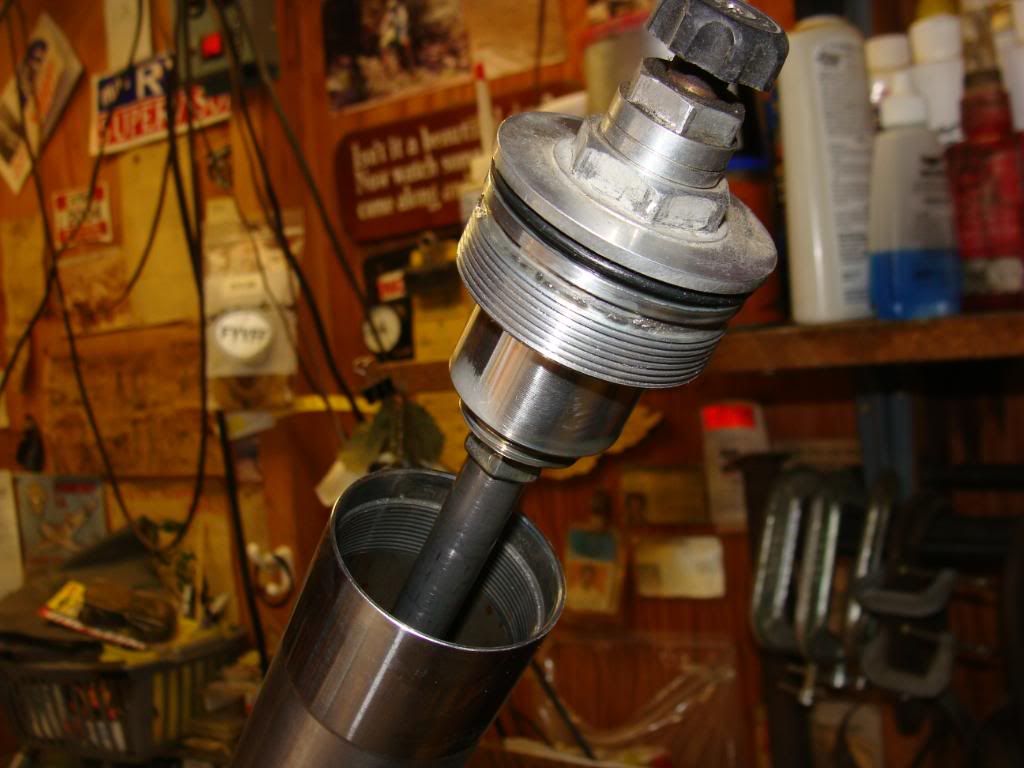
Button it all up, the top cap threads all the way down, then tighten the jam nut.

DSC03967.jpg


After that, its normal stuff you already know.

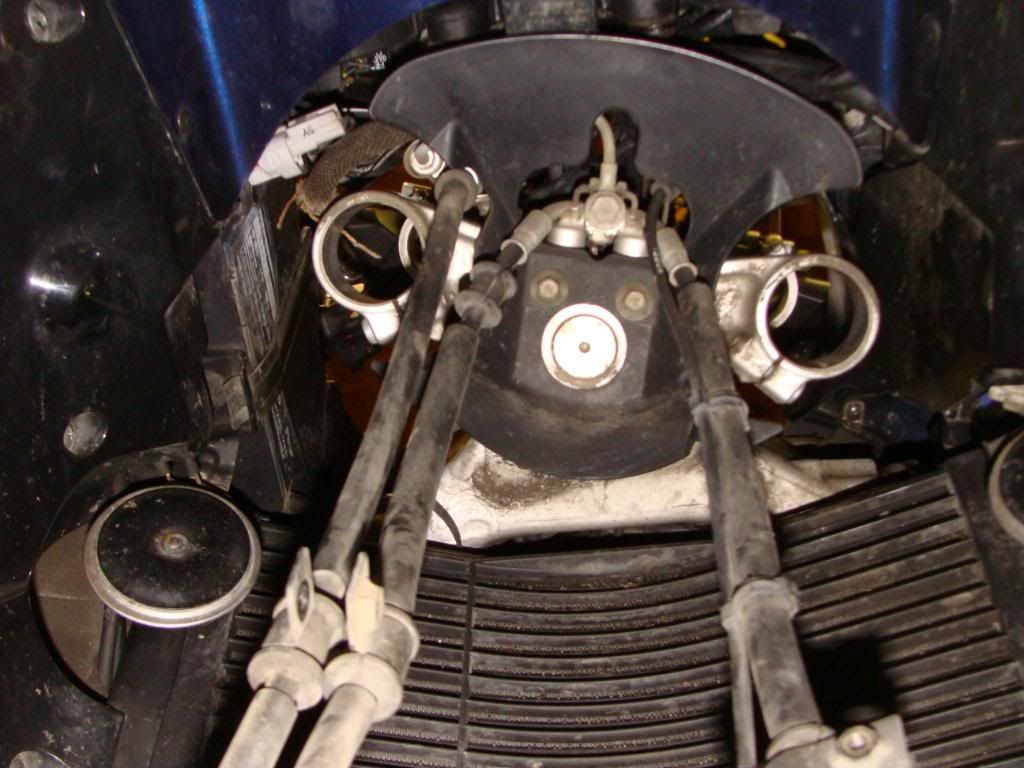
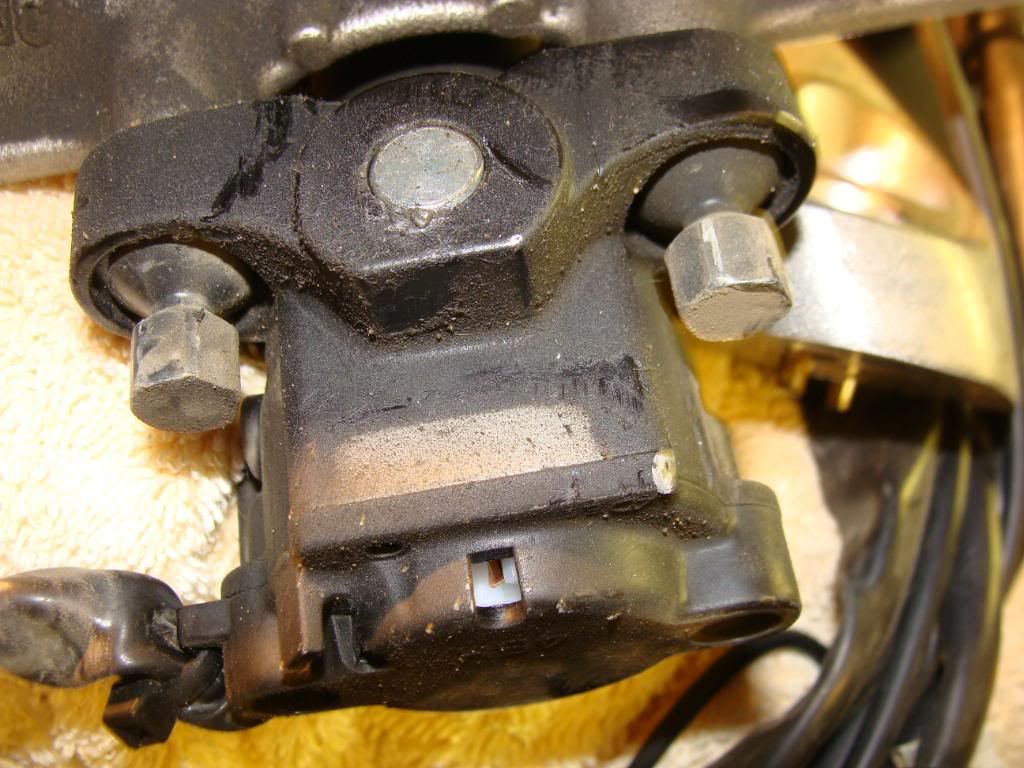
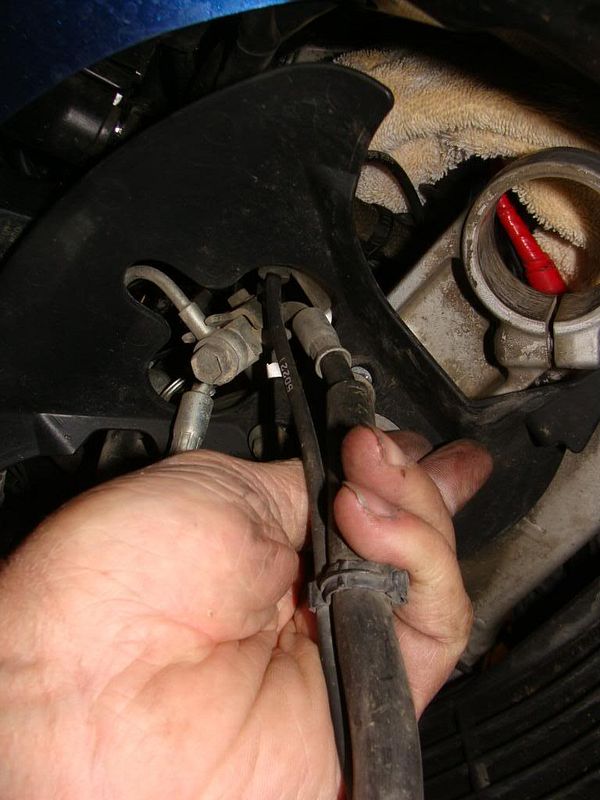
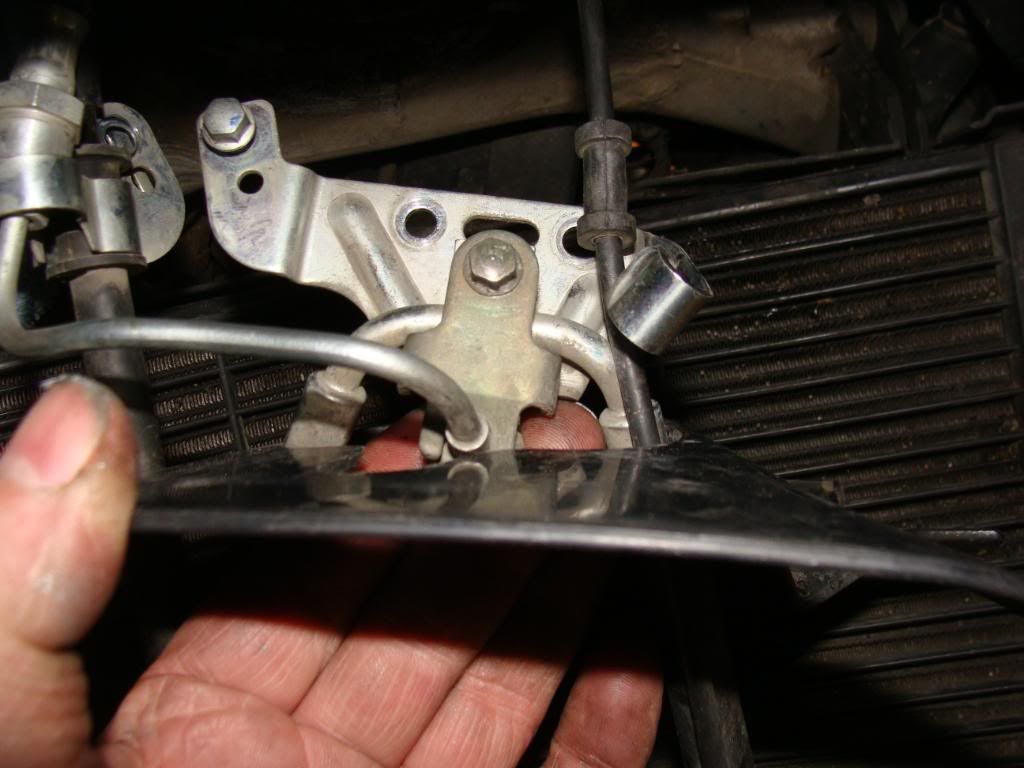
The hardest part for me was reassembling all the crap that attaches to the lower tree. There's a stupid plastic mud guard that gets in the way, the fairing is in the way, and I have big arthritic hands. It seriously took me over 2 hours to get the hydraulic brake lines junction block and all that crap reattached. Using a forehead mounted flashlight helped illuminate it, but then I couldn't see **** w/o my glasses on, which would immediately steam up, given it was

DSC03987.jpg


40 fricking degrees in the shop. I eventually ended up cutting a slice in the plastic mud guard and removing it from the hydraulic lines to get the junction block reinstalled then put the plastic guard back in place.

DSC03902.jpg


Well, that's it. She's back together, and test rode just fine, so now I'm off to work on the ***-end.

Good Day, eh?

 
Last edited by a moderator:
I admire your skills and contribution to the forum. It was a good read. Mine is in the shop for similar service -- I don't have your guts. Nice to know what they are doing to my girl though. :good:

 
I'm prowling for info on fork rebuild. The photos were of great help for a visual, thanks (to all) for taking the time to do a write up. Need more info on fork rebuild that includes inner/outer bushings and any related "special tooling".

 
Regarding the seals for the steering bearings, is there a supplier other then All-Balls? Seems silly to buy their bearing package just for the seals, heh.

 
Top