PhilJet09
Nondescript FJR Hierarchy Displayed
Admore lights installation has been covered on here before, so I'll focus mainly on the things I did differently or that need extra emphasis. Following a suggestion I found on the forum, I peeled off the white tape behind the lenses and replaced it with 3m reflective tape. Before sticking anything to plastic, make sure to clean it well with rubbing alcohol to remove surface oils and dirt. Pay particular attention to places where wires run over sharp edges of plastic and smooth them over. I spent a lot of time doing this. I also noticed that the back side of the lenses tended to pinch the two wires joining the rigid and flexible boards, so I relieved some of the red plastic with a Dremel tool.
I do a fair amount of riding in the rain, so after reinstalling the lenses, I applied a little silicon sealant to keep water from running down on top of the boards.

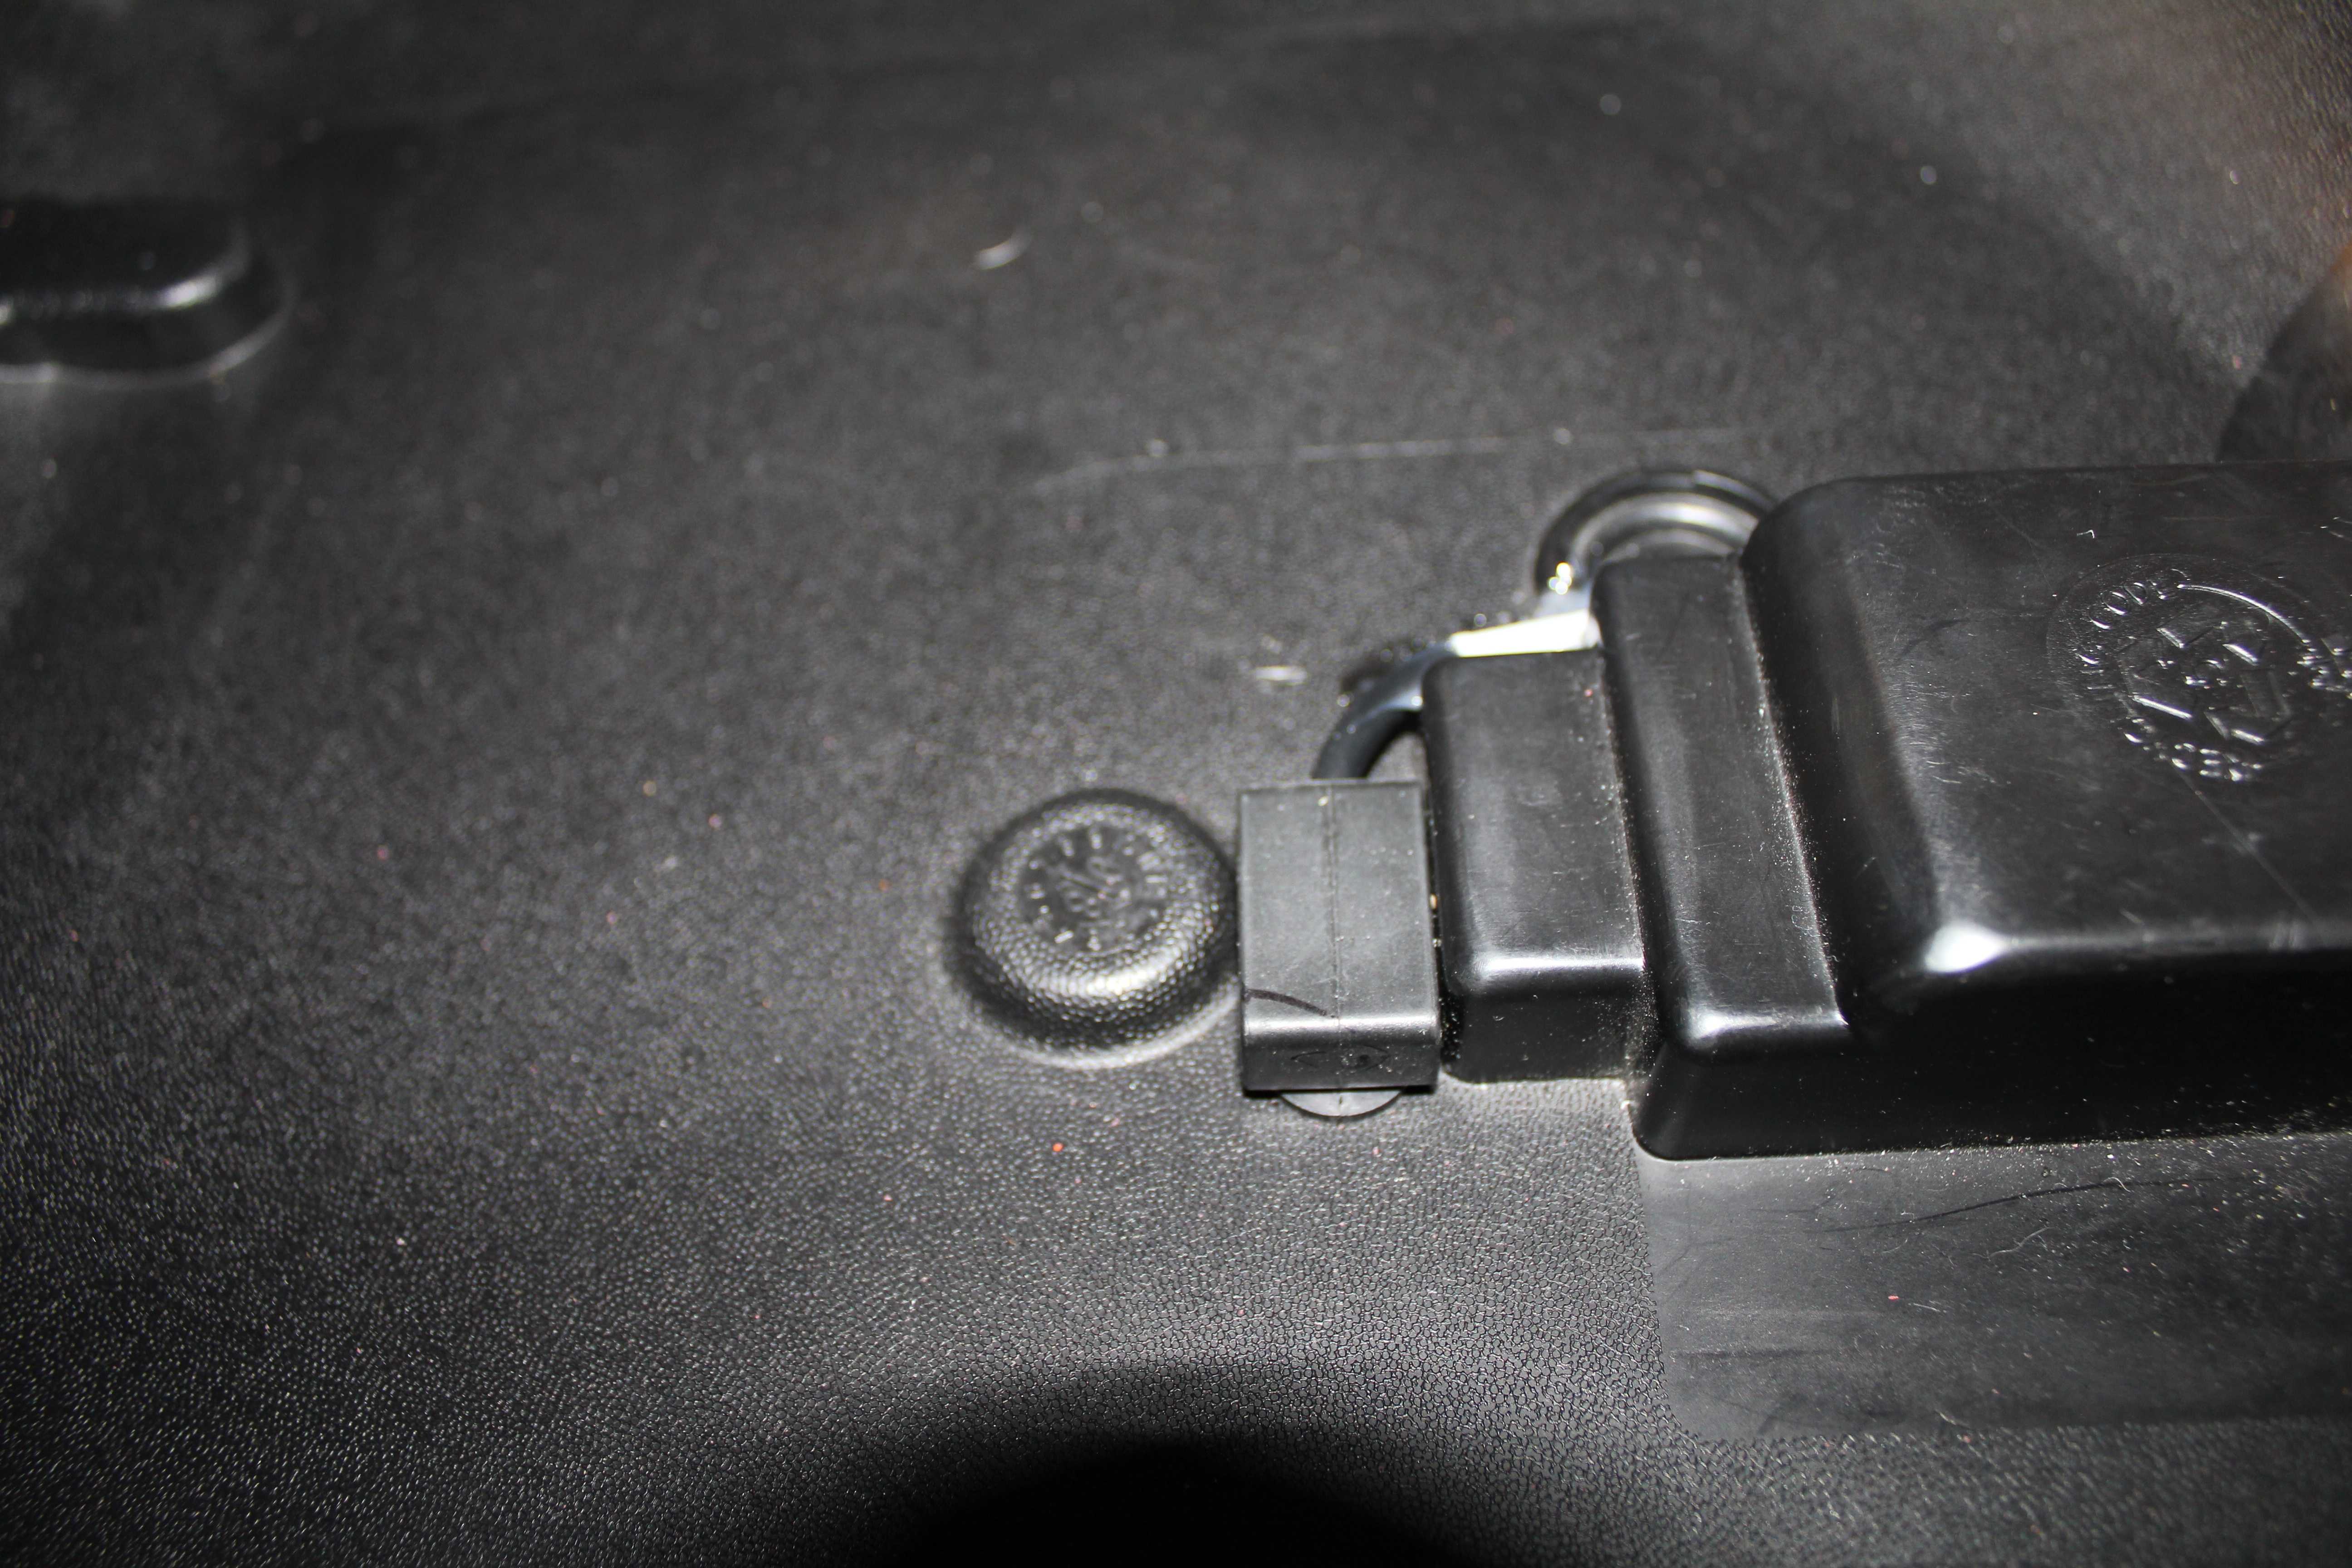
I also didn't care for the suggested location of the 90 degree plug going right through the raised circle on the floor. I felt that this would leave it a little more vulnerable than I liked. I throw my soft laptop case in here and am not always careful yanking it out of there. I put mine here where it seems a little more protected.
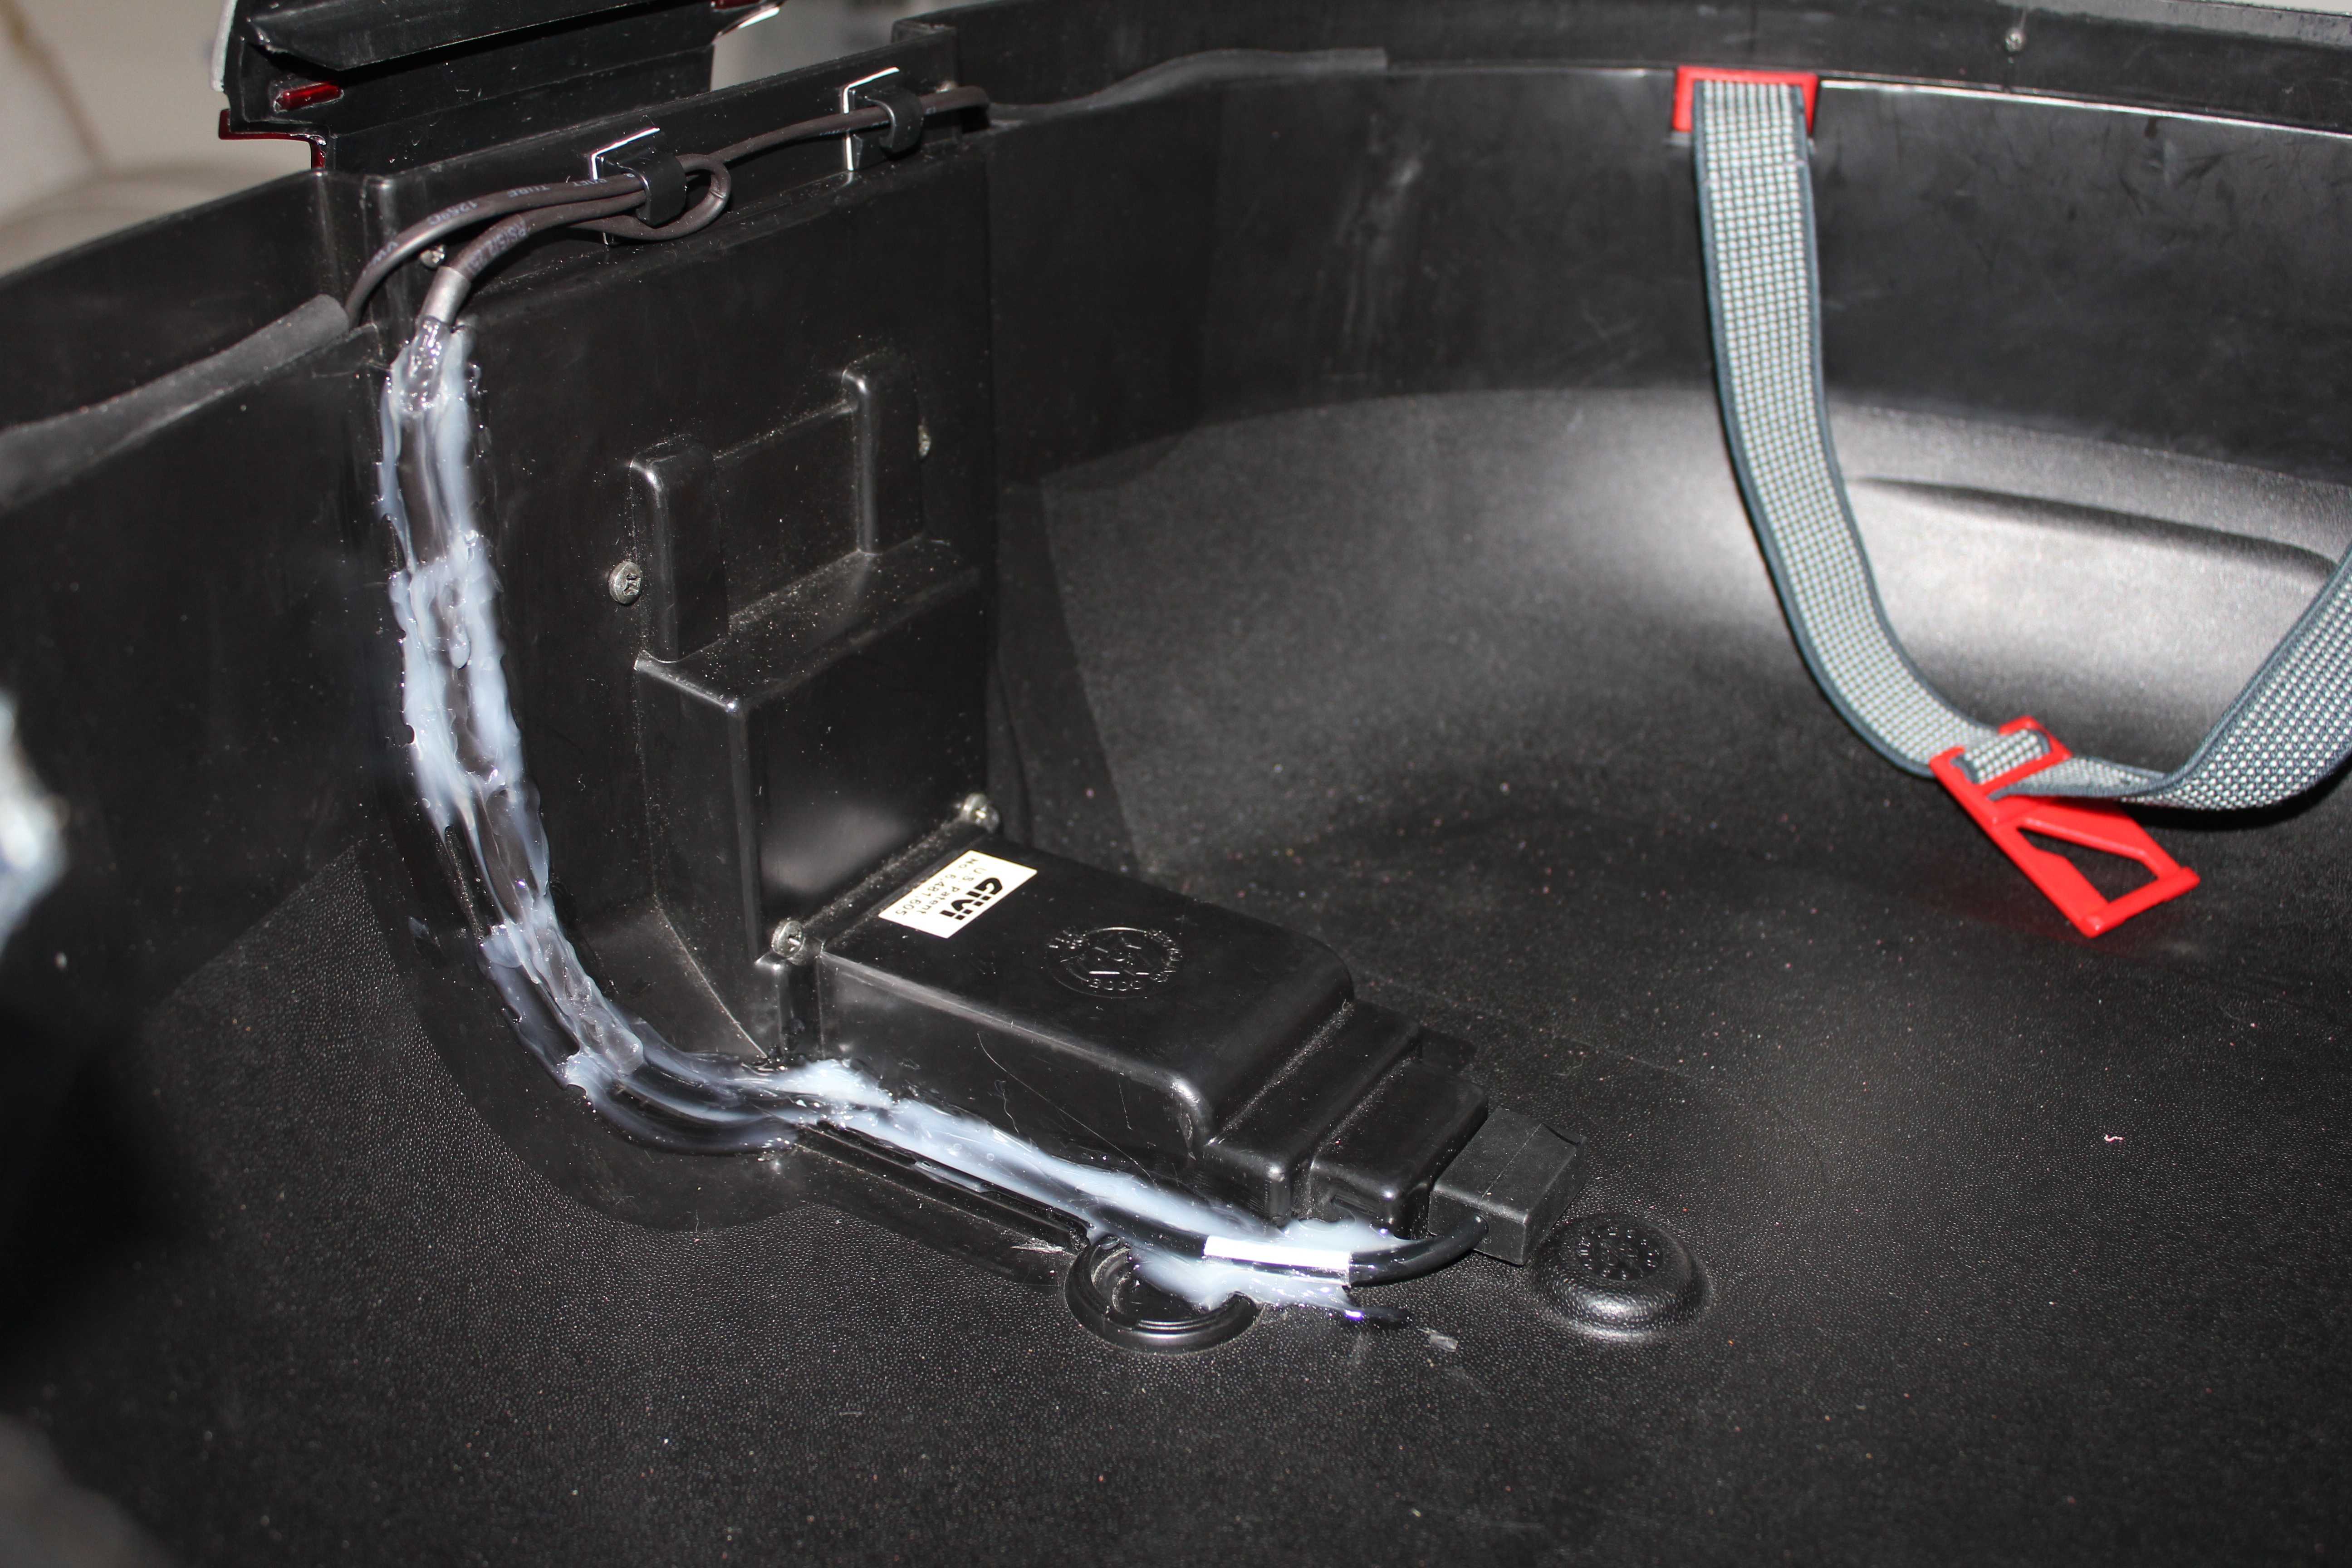
I didn't care for the flat three prong connector for the 90 degree plug to the Y-harness, so I eliminated it which also allowed me to shorten the wires for a cleaner installation. I soldered and heat-shrinked the wires, staggering the connections. I removed any plastic ridges in the way and routed the wires tightly to the side of the latch bump-out. I bedded the entire length in a silicone adhesive that dries to the consistency of dried hot glue. This should be pretty durable, but also allow me to peel everything out should I need to. It isn't completely cured in this picture, it will end up clear.
Admore suggests that you run other part of the wire harness from it's tail light connection, through the back of the subframe and out the top of the plastic tail piece, drilling a large hole in the plastic and inserting a rubber grommet. My philosophy on installs is to be able to put the bike back into original condition as easily and cheaply as possible, so I ran my wires out this way.
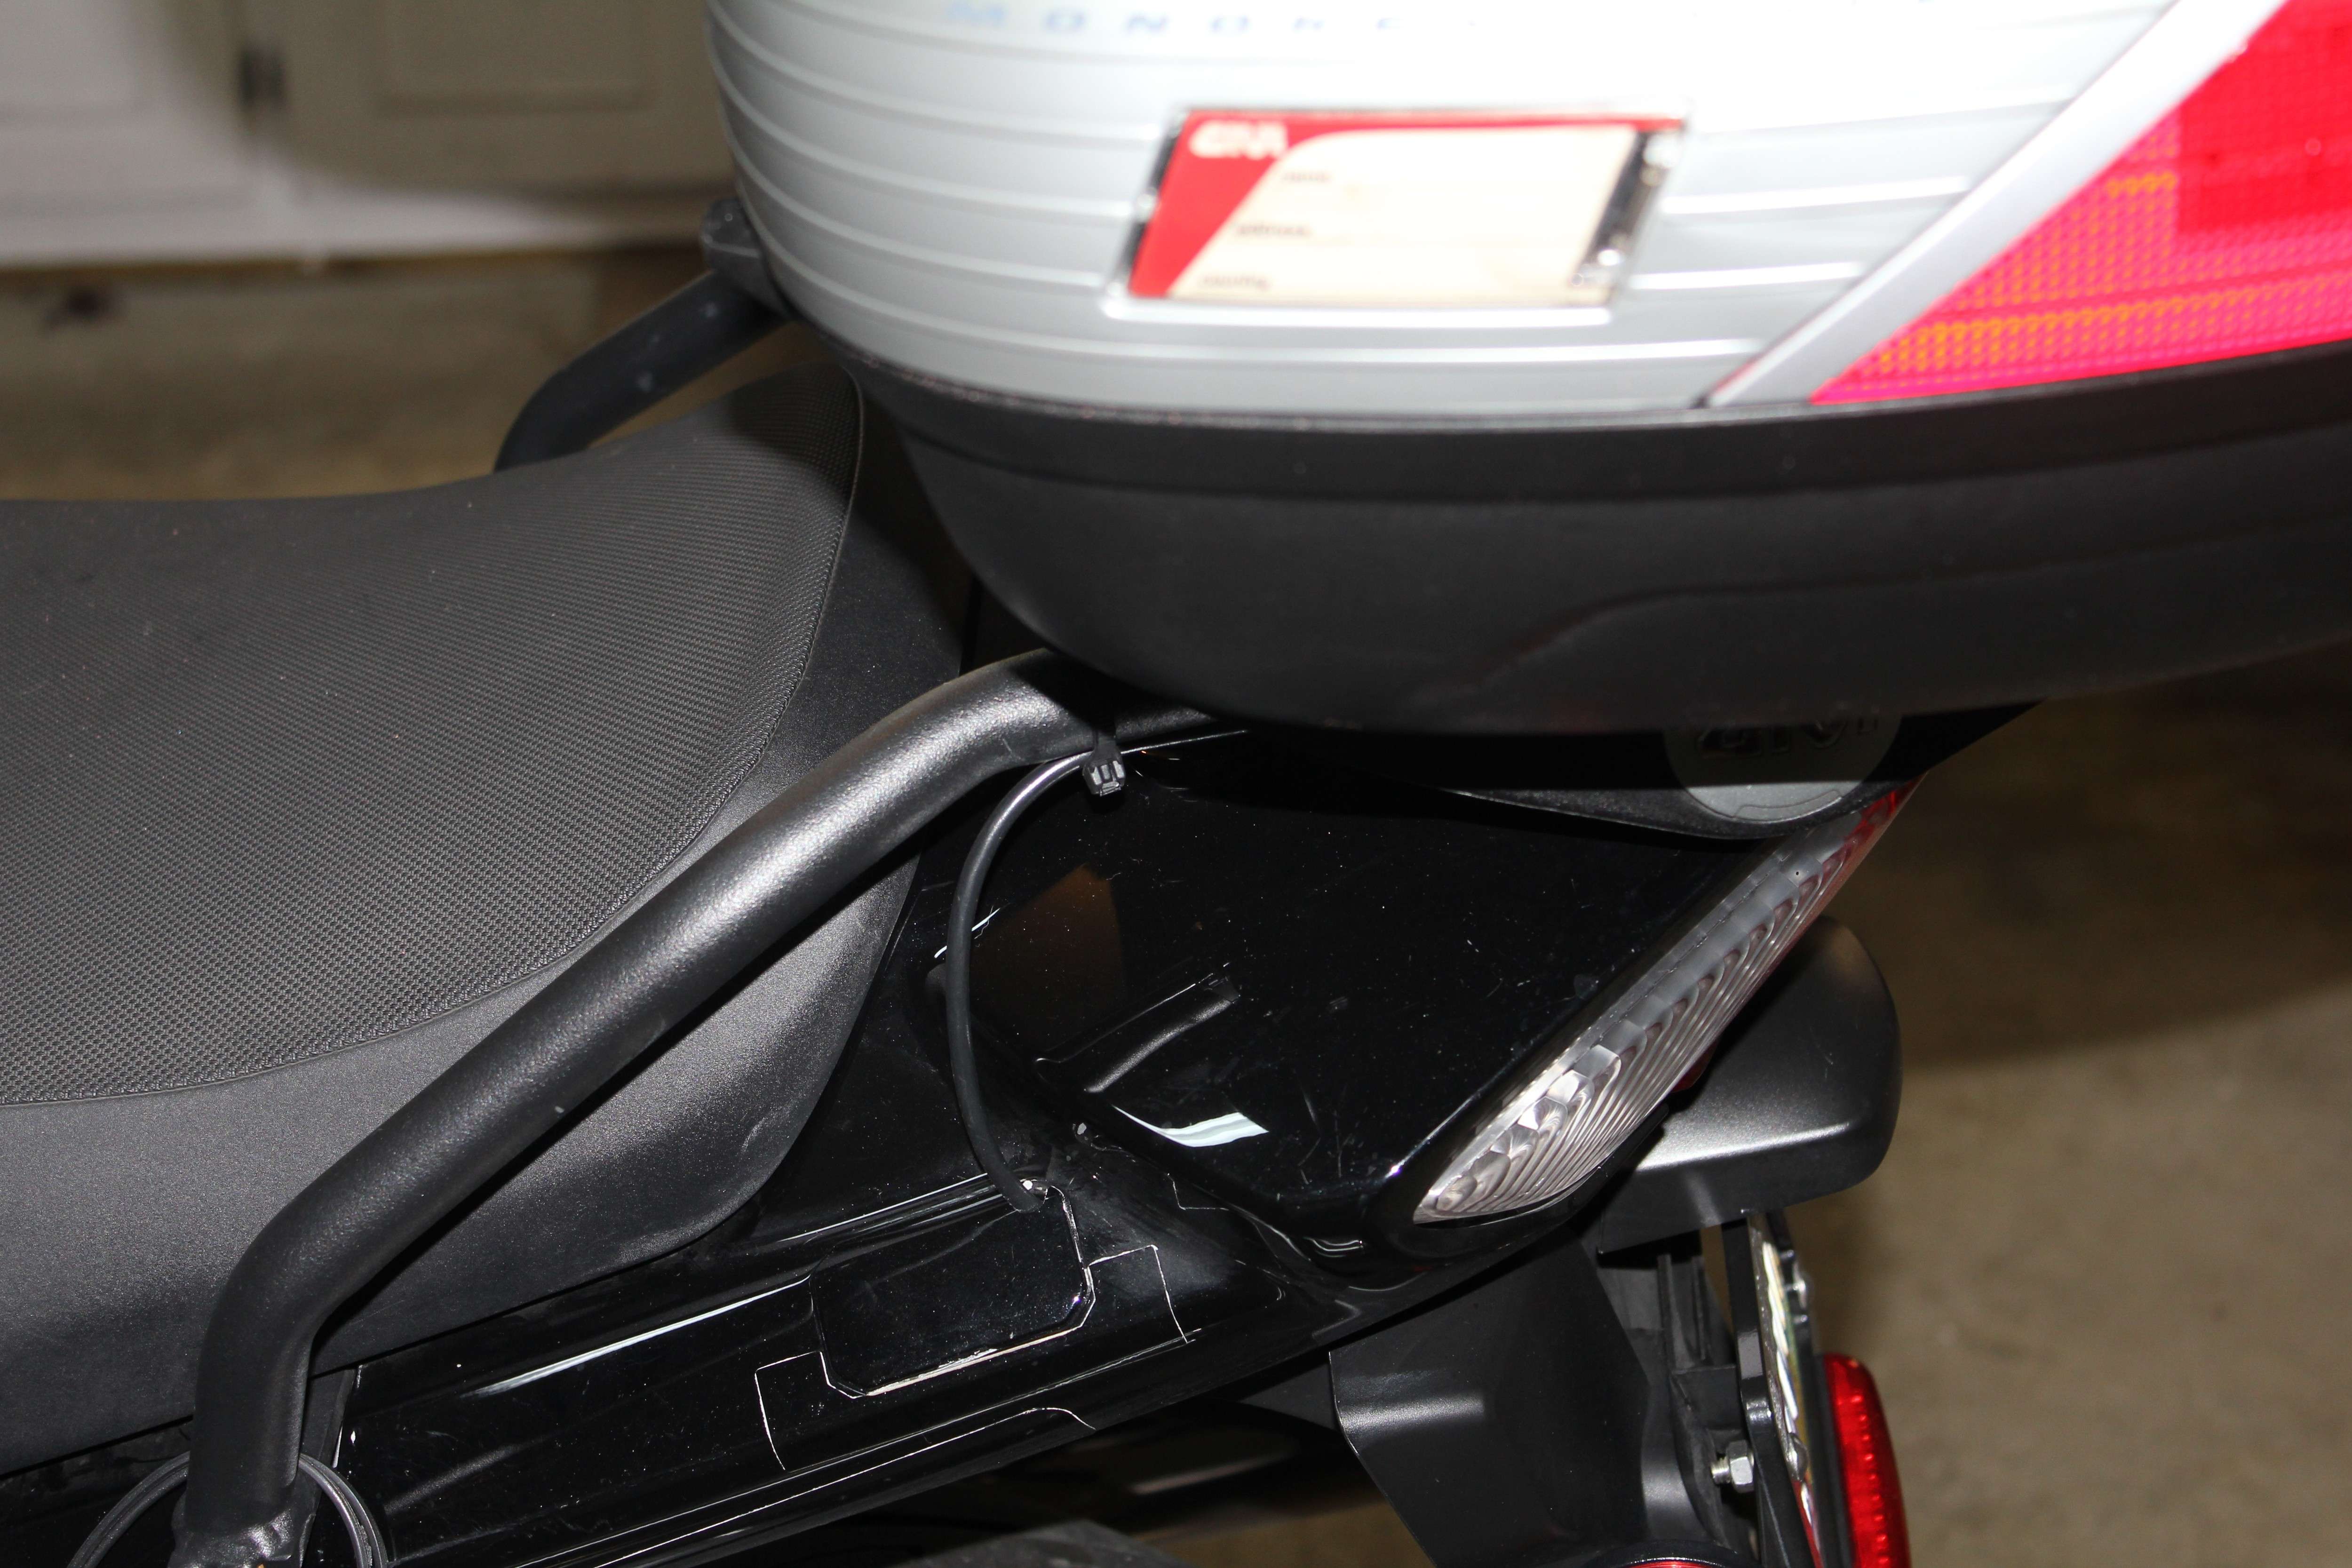
I only had to notch out the little plastic cover, which I can replace for about $11.
This gives me enough length to plug/unplug the connection.
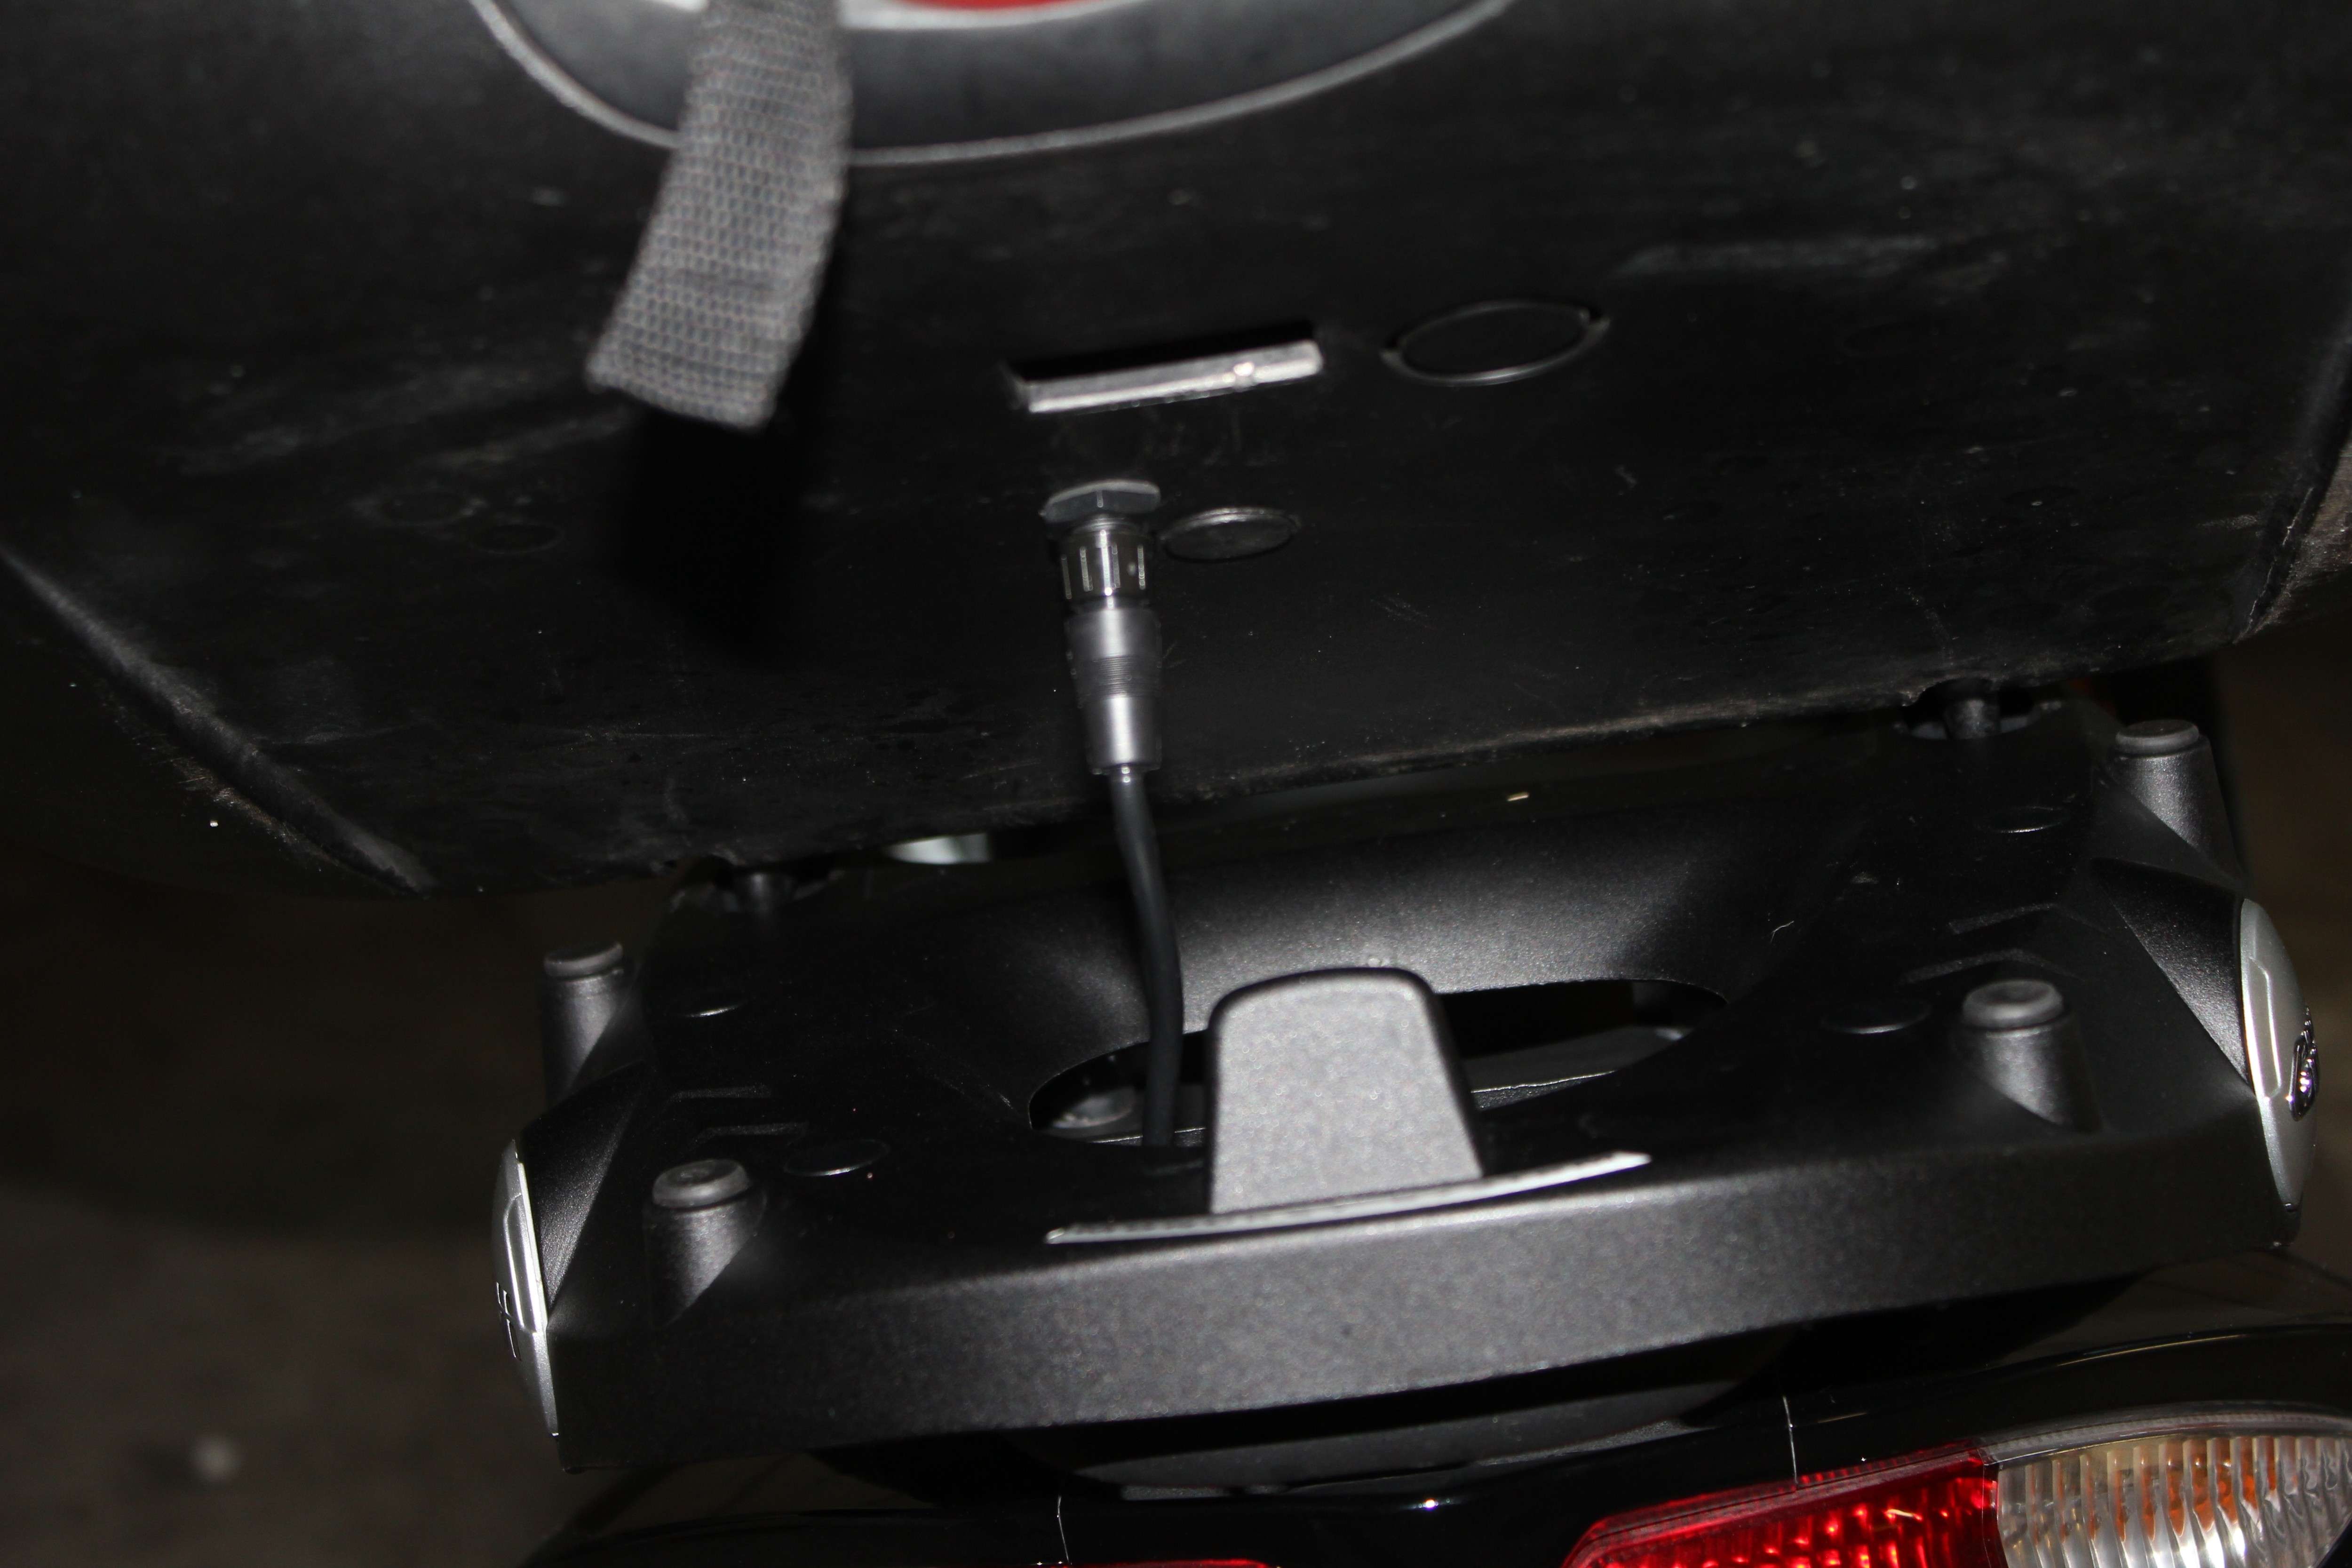
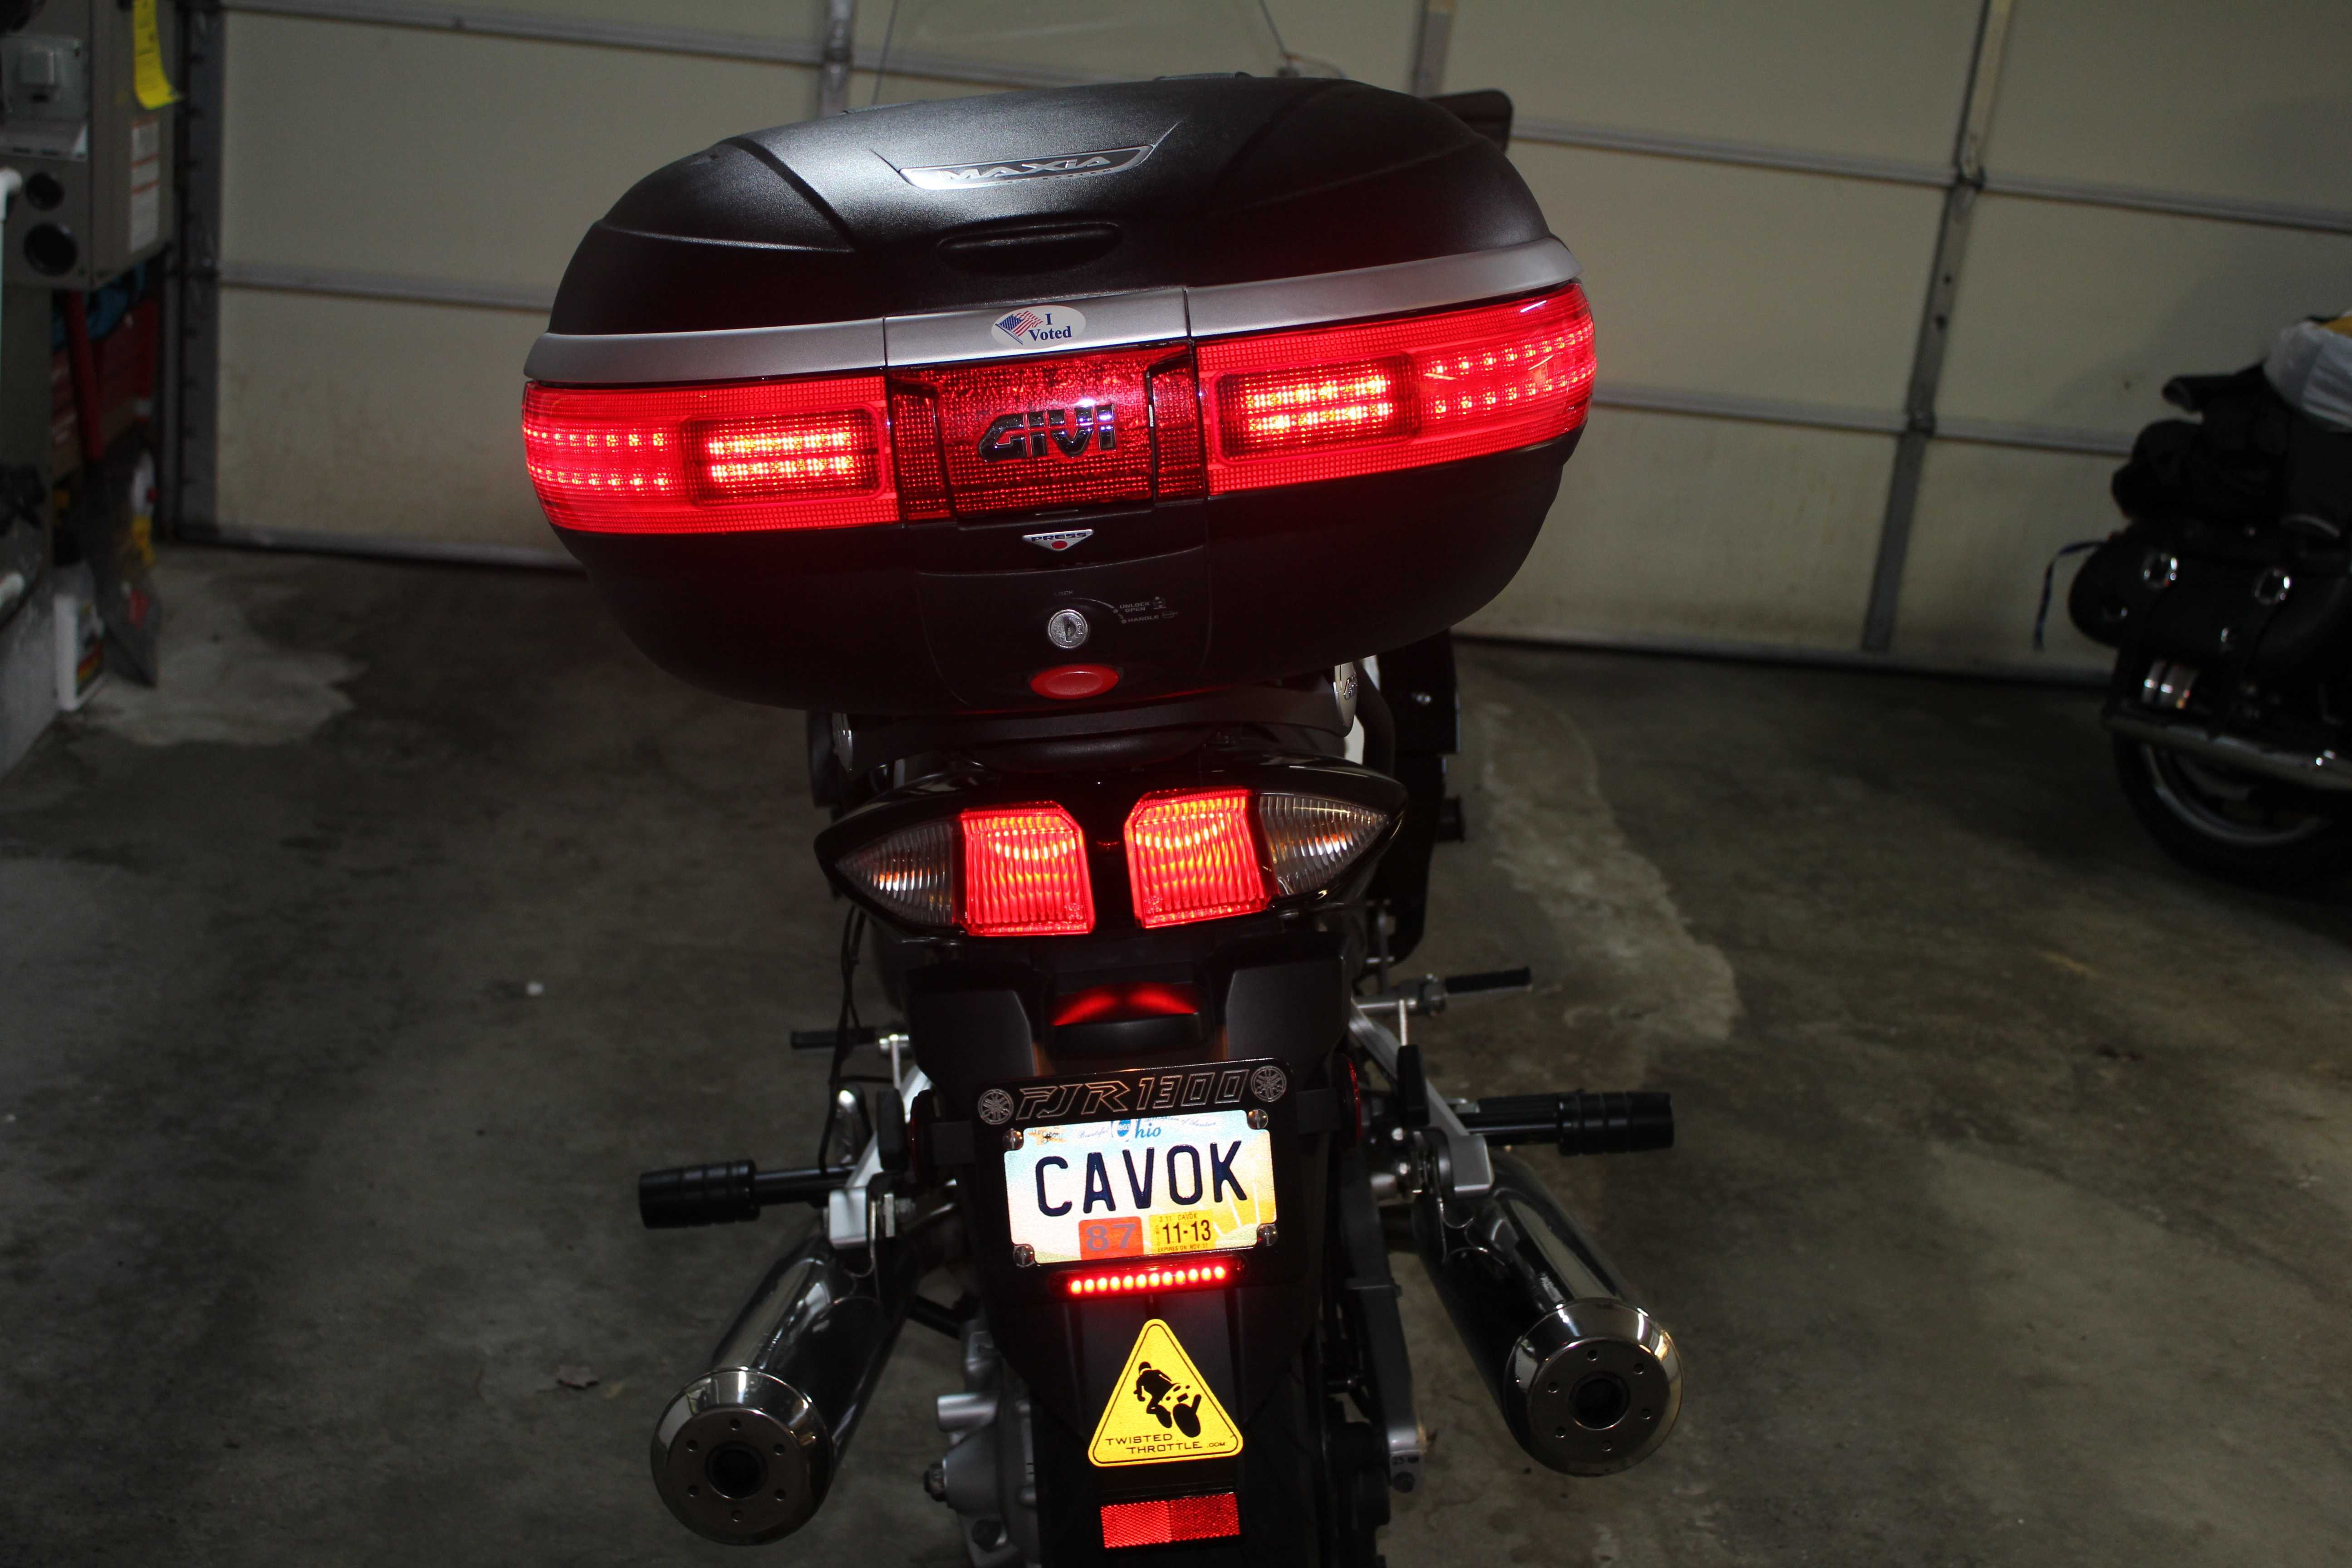
Final result.
I do a fair amount of riding in the rain, so after reinstalling the lenses, I applied a little silicon sealant to keep water from running down on top of the boards.

I also didn't care for the suggested location of the 90 degree plug going right through the raised circle on the floor. I felt that this would leave it a little more vulnerable than I liked. I throw my soft laptop case in here and am not always careful yanking it out of there. I put mine here where it seems a little more protected.

I didn't care for the flat three prong connector for the 90 degree plug to the Y-harness, so I eliminated it which also allowed me to shorten the wires for a cleaner installation. I soldered and heat-shrinked the wires, staggering the connections. I removed any plastic ridges in the way and routed the wires tightly to the side of the latch bump-out. I bedded the entire length in a silicone adhesive that dries to the consistency of dried hot glue. This should be pretty durable, but also allow me to peel everything out should I need to. It isn't completely cured in this picture, it will end up clear.

Admore suggests that you run other part of the wire harness from it's tail light connection, through the back of the subframe and out the top of the plastic tail piece, drilling a large hole in the plastic and inserting a rubber grommet. My philosophy on installs is to be able to put the bike back into original condition as easily and cheaply as possible, so I ran my wires out this way.

I only had to notch out the little plastic cover, which I can replace for about $11.
This gives me enough length to plug/unplug the connection.

Final result.

Last edited by a moderator:


![fjackets Real Lambskin Leather Biker Jacket — Quilted Cafe Racer Zip Up Moto Leather Jackets For Men | [1100085] Johnson Brown, XL](https://m.media-amazon.com/images/I/41I7Pm1f+vL._SL500_.jpg)


