Just completed the
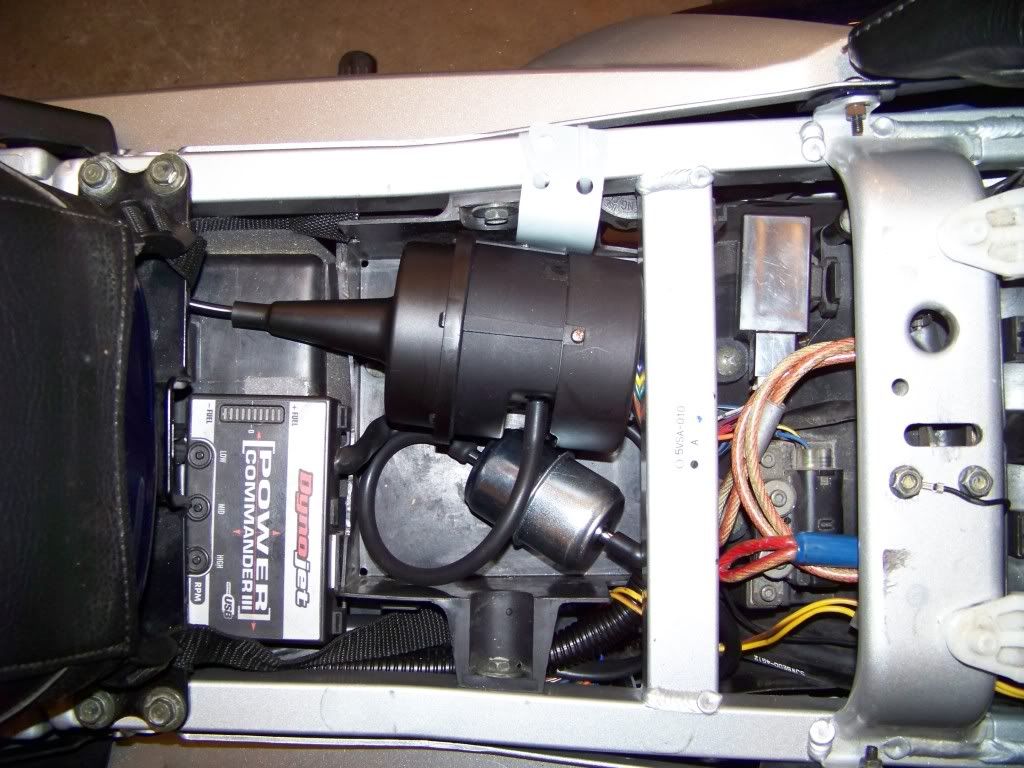
second install of an AVCC CCS-100 on my '05 FJR (long story). I decided to just stick the servo and fuel filter vacuum accumulator in the tool tray as it will provide some small amount of weather protection to the servo unit being there. Just ty-wrapped the servo bracket to the right side frame rail to keep it from flopping around too much.
As you can see I used the standard recommended Autozone FF3404 fuel filter as a vacuum can/accumulator, and also installed a "Help!" vacuum check valve (from the same source) up stream of that (hidden). I teed off of the #1 and #4 cylinders vacuum service ports with just the one check valve between that and the fuel filter. We'll see (when it stops raining) if that causes any issues. I intend on eventually getting 4 of the little "Smitty" approved US Plastics check valves to be put in line with each of the 4 vacuum ports.
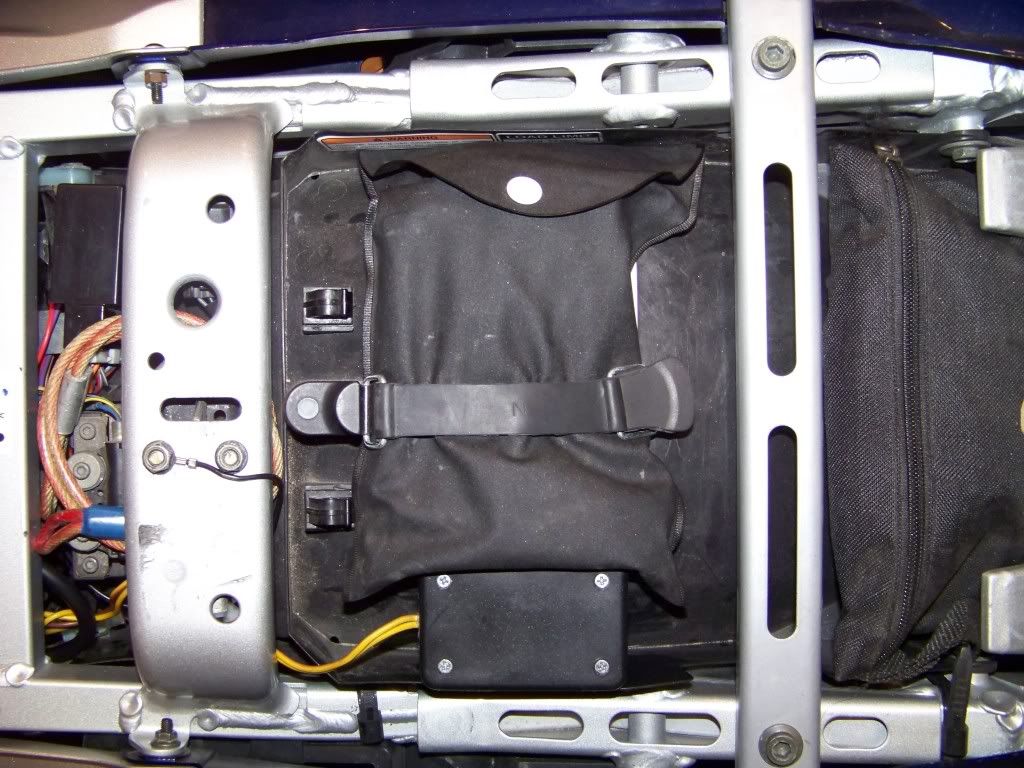
In order to use the tool tray I had to drill out the pop-rivets holding the rubber hold down strap to allow enough under seat clearance (remove tray to prevent drilling into ECU). I later re-installed the removed tie down strap under the passenger seat for retaining the tool pouch back there.
The little box with the yellow wires going into it is my Headlight relay delay module, which delays the firing of the HID headlights until the alternator power is up to speed after starting.
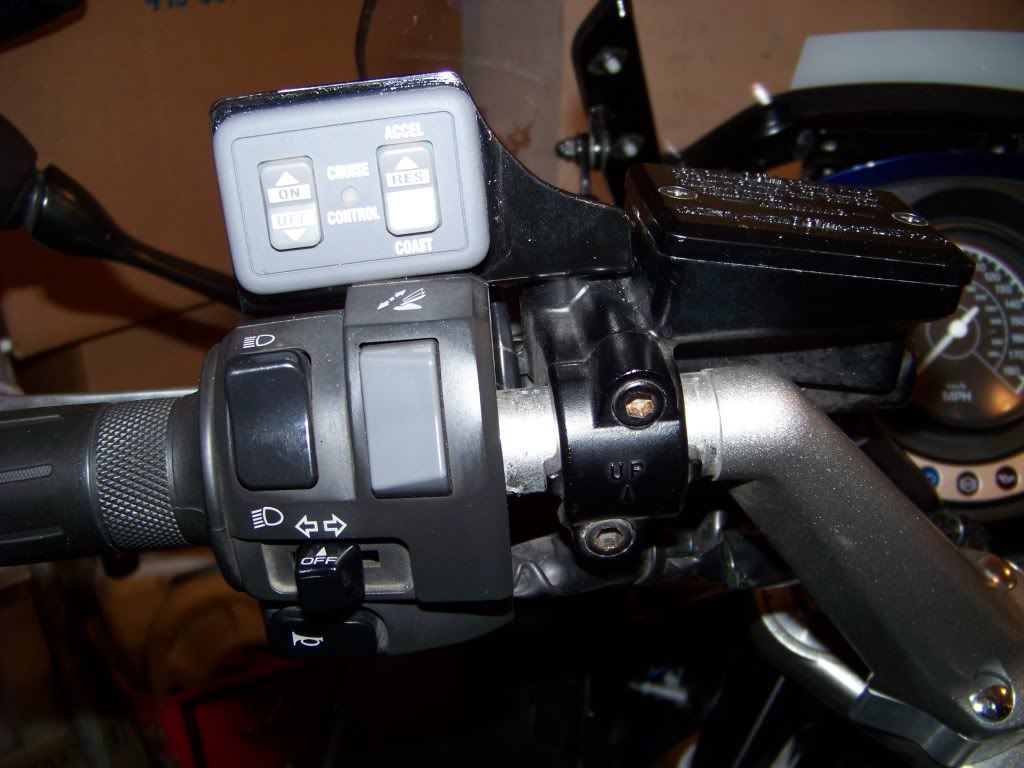
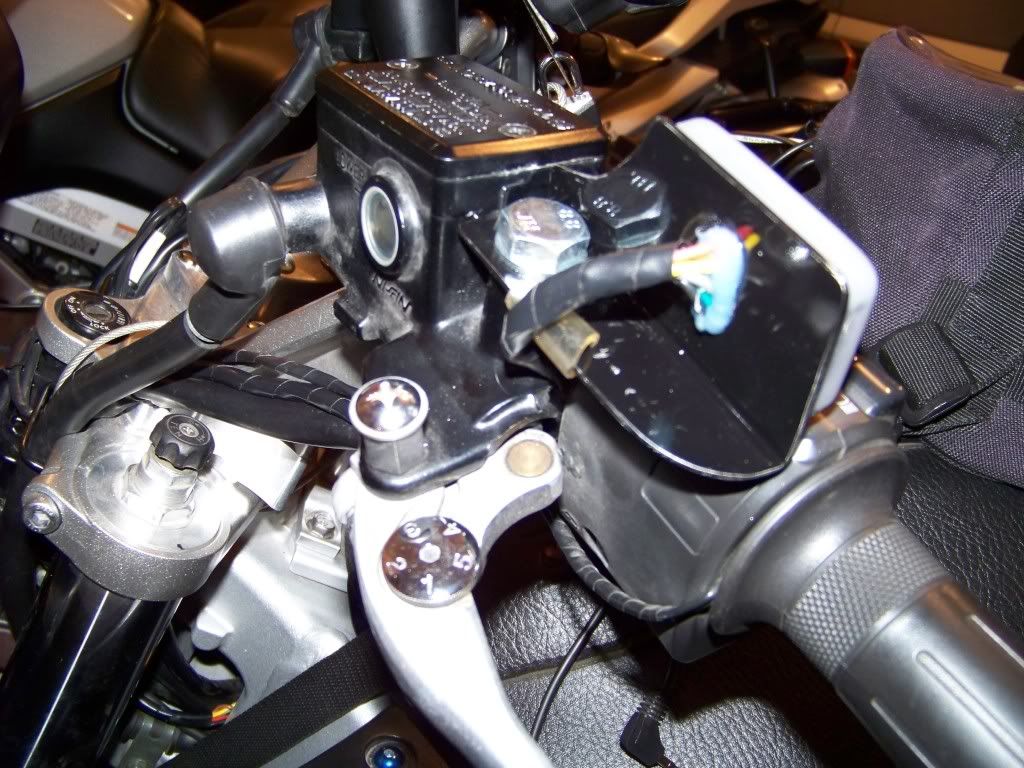
I was also going to install the BWTS-LCP Mod and had even already procured the required switches, but after looking closely at ionbeam's home-brewed AVCC control pad bracket last weekend, I opted to make a similar one instead. Mine is made from a piece of 1/16" aluminum panel (scrap) bent into a slightly more than 90 degree angle, painted black and bolted to the left side threaded mirror hole.
Everything else was pretty standard install as has been documented a jillion times.


