CAD Exchange

Yamaha FJR Motorcycle Forum

Help Support Yamaha FJR Motorcycle Forum:

This site may earn a commission from merchant affiliate links, including eBay, Amazon, and others.

Joe2Lmaker

Well-known member
Joined
Jul 1, 2006
Messages
2,162
Reaction score
50
Location
Fridley, MN
This thread is for people who use CAD tools.

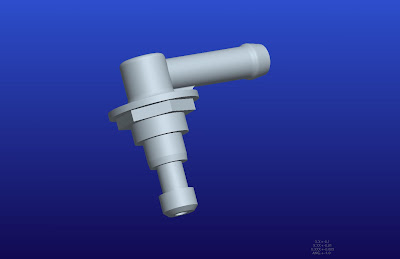
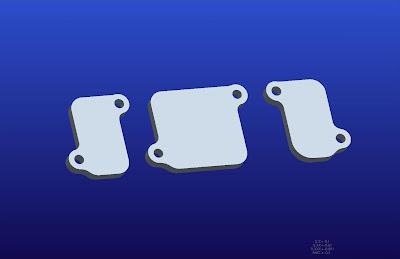
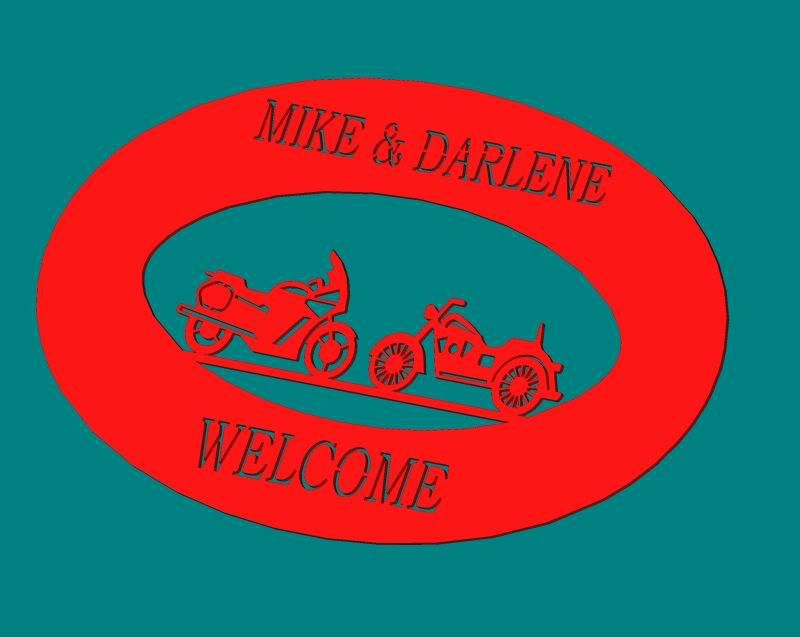
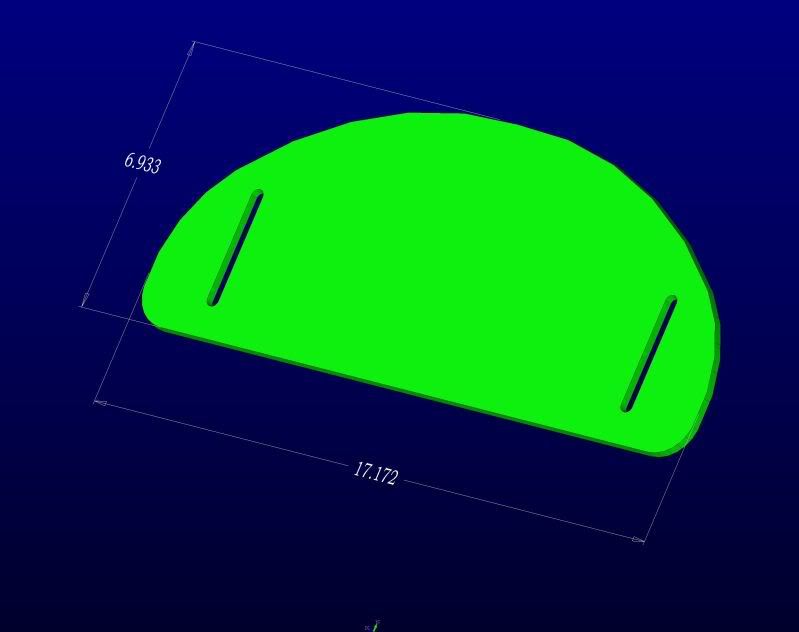
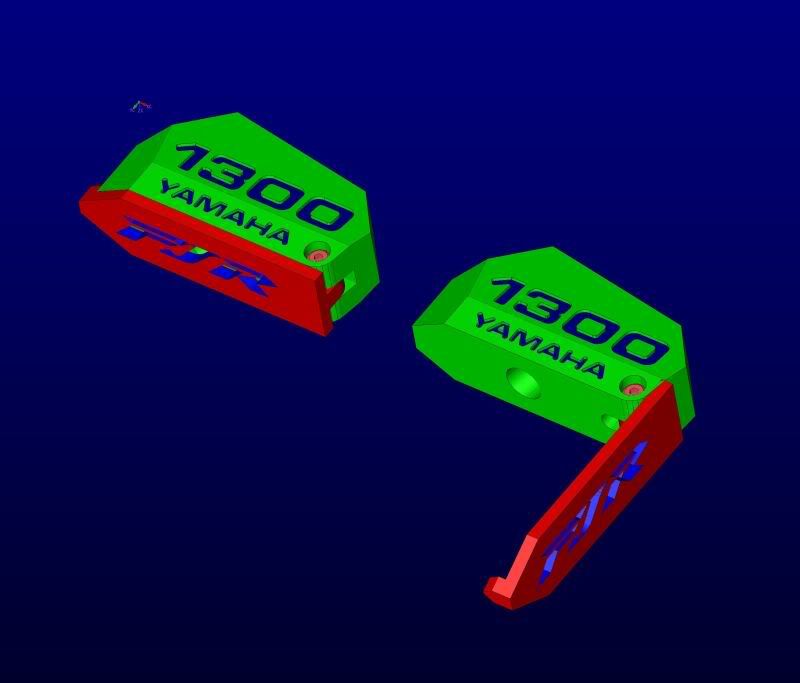
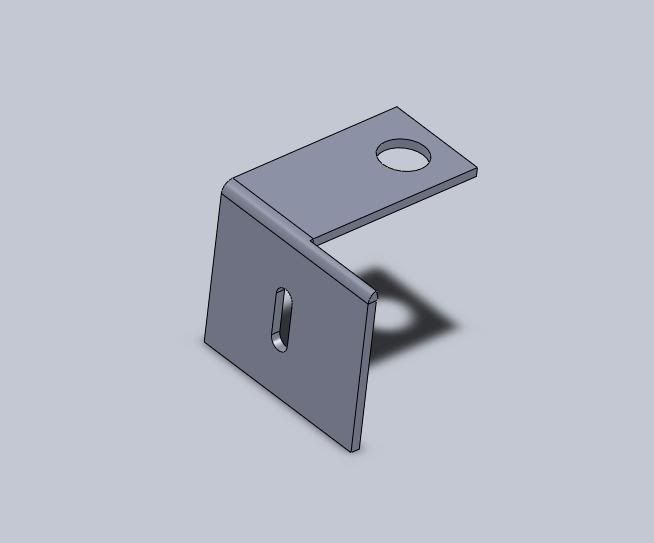
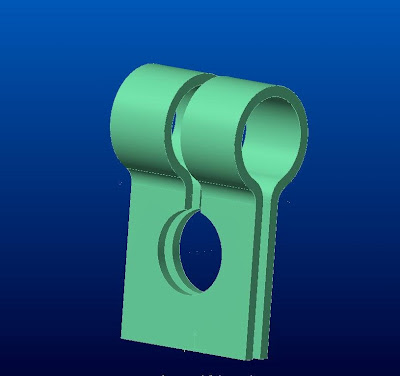
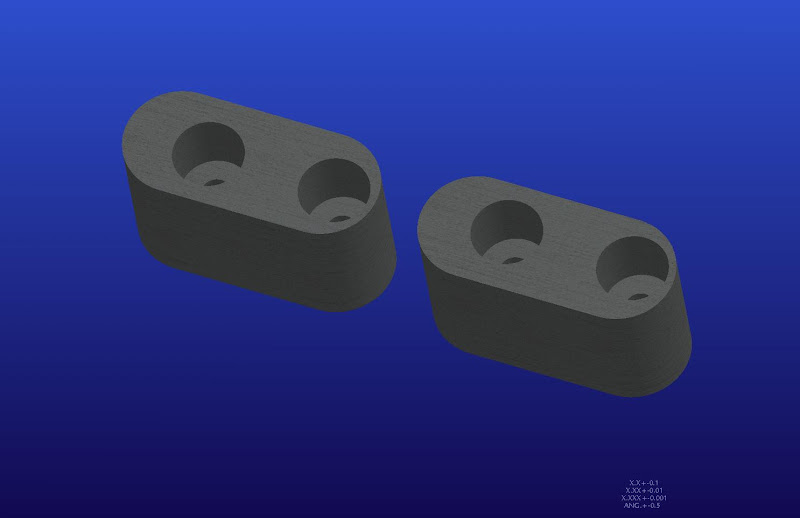
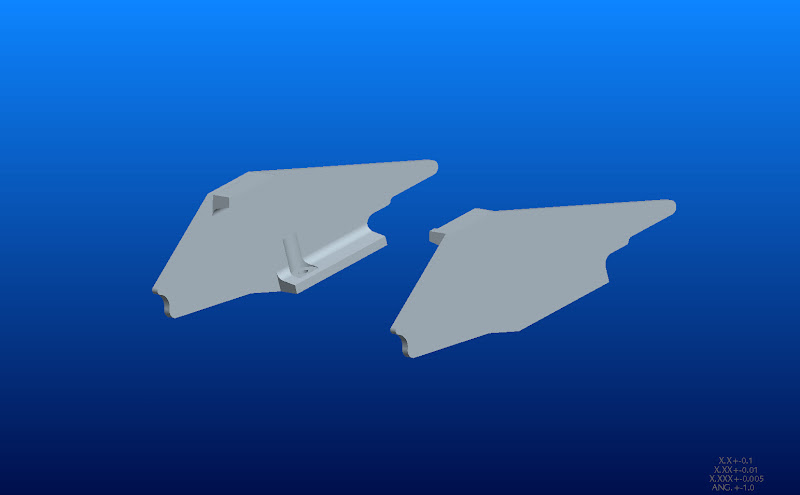
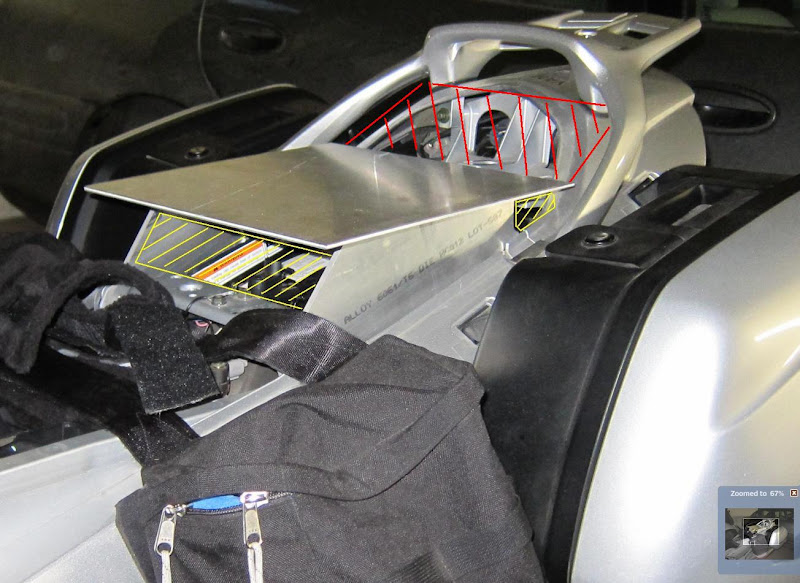
People who create FJR or motorcycle related CAD models can post screen shots of their work. Anyone with the machine tools and CAD/CAM tools to reproduce that work can PM the originator and request the model in a format that will work for them. It is up to the originator to grant your request. You may want to keep in mind that this is an exchange and offer to trade. ;)

Rules:

1.) Rules are subject to change.

2.) Time is money. Respect the time others have invested in producing their CAD models.

3.) Do not use the models to produce any parts for profit without the originator's consent.

4.) Do not share copies of the models without the originator's consent.

5.) Don't get yourself on a shit list. If you burn one of the contributors to this thread, the other's will probably find out.

 
Last edited by a moderator:
First offering:

This fitting can covert a GenI fuel pump flange into a GenII fuel pump flange with a bulkhead fitting for an auxiliary fuel tank. This fitting passed a (very unscientific) 5 month pressure test. <Link>

fitting_trough_denso_fp.JPG


Last edited by a moderator:
I could be persuaded to add in a radar detector mount for the clutch resevor of a gen 2 in the style of *CENSORED* that I whipped up one day. I don't have screenshots available atm.

radar.jpg


Edited to add pic

 
Last edited by a moderator:
Anybody have a drawing for ...?

There goes the neighborhood.

Please read the first line in the first post:

This thread is for people who use CAD tools.

Then read Rule #2

Time is money. Respect the time others have invested in producing their CAD models.

isuace, Contact the vendor who produces the part you want and ask them if they will share the model so you can have it made cheaper.

:fool:
[/QUOTE][/QUOTE][/QUOTE]
 
Last edited by a moderator:
Quick correction on the radar mount. it's for the brake side, not the clutch side.

Carry on

 
Some of my Work. Any Takers?


Can be made for both sides. I guess this is more of the CAM side of things. When i get around to it I will most likely paint these black and highlight the tops in brushed aluminum and then clearcoat. I just got to stop riding and get down to business. So hard to do. :)

 
Last edited by a moderator:
Maybe I can redeem myself here somewhat (probably not). I found out that Solidworks is giving out a 90 day trial to anyone, so I figured I'd try to learn some of this stuff on my own. Here is a cruise control mounting bracket that I've been working on. Took me forever to figure out how to do the bend correctly.

I still need to tweak it a little I think, and verify all of my dimensions, but when I'm done with that I'm going to have a local place cut it with their water jet (hopefully).

bracket.jpg


Some of my Work. Any Takers?


Can be made for both sides. I guess this is more of the CAM side of things. When i get around to it I will most likely paint these black and highlight the tops in brushed aluminum and then clearcoat. I just got to stop riding and get down to business. So hard to do. :)
08 i do some machining also and do my own anodizing and dying. on that part i would bead blast with fine glass at low pressure then polish the letter tops and top outside edge then anodize and dye black. this is very easy to do at home i have about $30 total in my anodizing stuff. i already had a good battery charger though. if you have any questions feel free to ask.

 
Roy,

Thanks for that info and I would be very interested about doing the anodizing at home. I have seen some kits you can buy but the were more in the several hundred dollar range. There are a lot of way's to finish these off and your idea is a good one also. I will get back to this project down the road and maybe try a few different things. They are a little time consuming since it is all done with surfacing techniques.

 
Last edited by a moderator:
This is nice to have when installing and Audiovox Cruise Control:

NO_10_BALL_CHAIN_COUPLING.JPG


It's stronger that the than the ball chain connectors supplied with the CC unit and it also allows greater freedom of movement.

Downside: You'll need a wire EDM to make them.

DSC04031.JPG


I noticed a thread about Mirror Extensions <Link>

If you have the tools, you could make your own:

mirror_spacer_1-set.JPG


For more details, read this <Link> and this <Link>

 
These are cut from 4" aluminum channel. The material is cheap, but you will need a long tee-slot cutter for the counterbore. I made prototypes and fit them to a GenI. They are anchored to the rear subframe with a threaded anchor.

4x247channel_both_grab-rail.jpg


Here is a shot of the prototypes:

IMG_0726_marked-up2.JPG


These would be useful as a rear seat replacing rack, or to mount an auxiliary tank.

If you have the capabilities, and would like to produce a short production run of these parts, please contact me.

Thanks,

-Joe

 
Top