OrangevaleFJR
R.I.P. Our FJR Riding Friend
I have been meaning to write this up for some time. What can I say; I got busy and it took me 2 months to get to it. 
Does every fullfilment of the ultimate come with something to overcome? In the case of getting a custom Bill Mayer Saddle for our FJR, we had a hurdle to get over. Sherri has a backrest on the corbin that we have and neither she, nor I were willing to give up the benefits of this backrest when we went for the Bill Mayer Saddle ride in. Now this posed a problem because BMS doesn't have a supplier for a backrest for the pillion rider of the FJR. The solution had to be to find some way to mount the corbin backrest with the BMS work.
I got and idea and it started shaping up. Here's the story of how we got our Corbin backrest to work with our new custom BMS seats.
Hmm...I got an idea:
if I could get this backrest to fit on this metal tab that the stock rear seat fits onto:
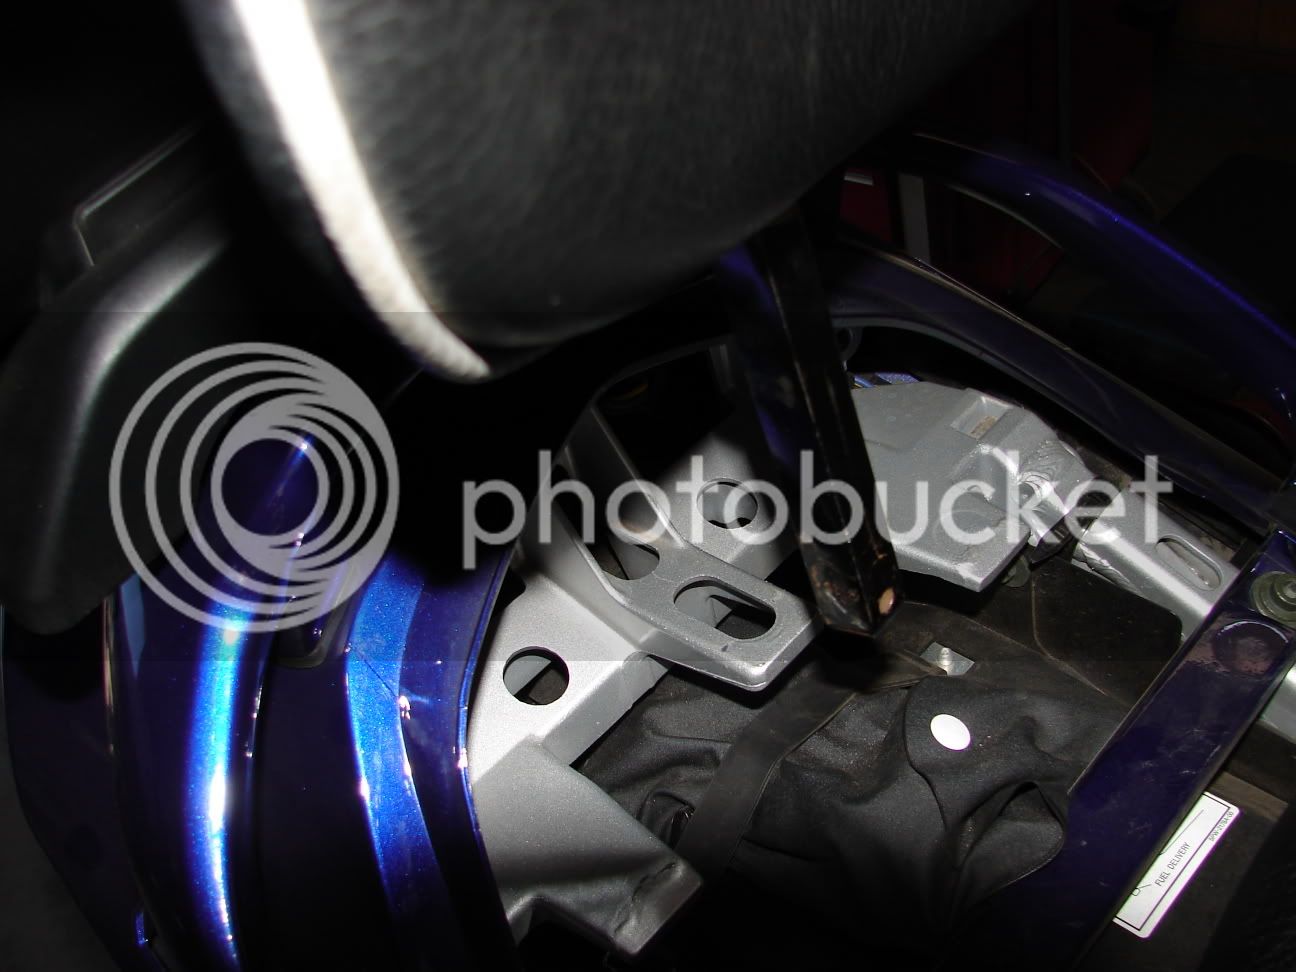
and the shaft of the seat post could go through this conveniently place opening in the stock seat pan
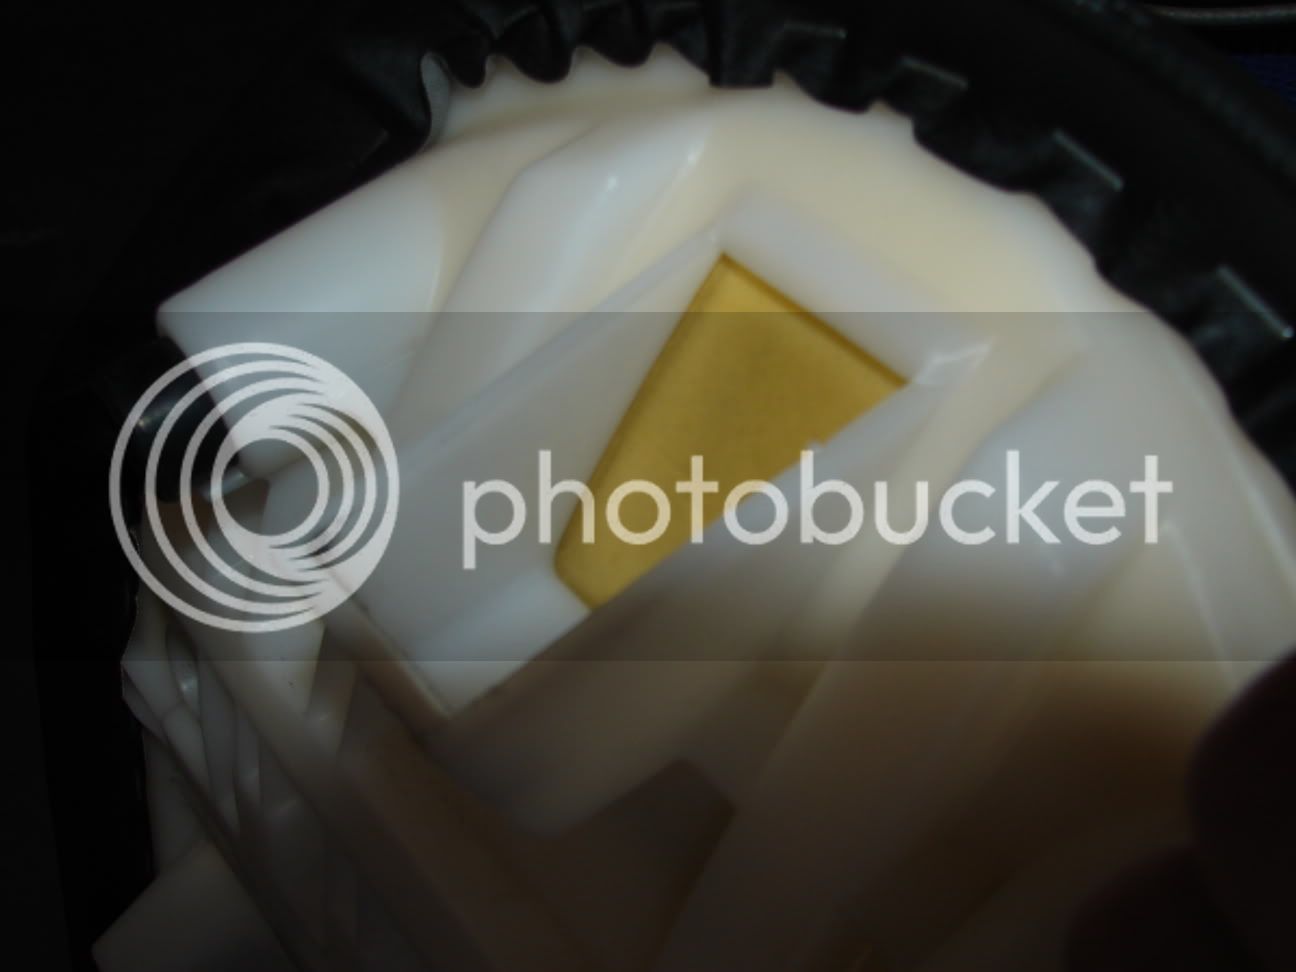
Then we might be able to get a whole sewn into the new custom seat. Well...how can we fix the backrest onto that metal tab? Aha! We need to build something! I discussed my idea with Rob and he me up to his shop and offered to fabricate something based on my ideas.
What I soon realized was that Rob's fabrication experience soon led to better design ideas than I showed up with. fjROB really made this all possible so many, many thanks go out to him. His son Anthony helped too...THANKS!!!
I got a square pipe for the seat post to fit into. I found it at the machinist's shop...the guy that machined my lower crank on the 350 warrior atv whose crank bearing had seized. (it runs great now).
Then Rob had an idea and he was working...it started like this:
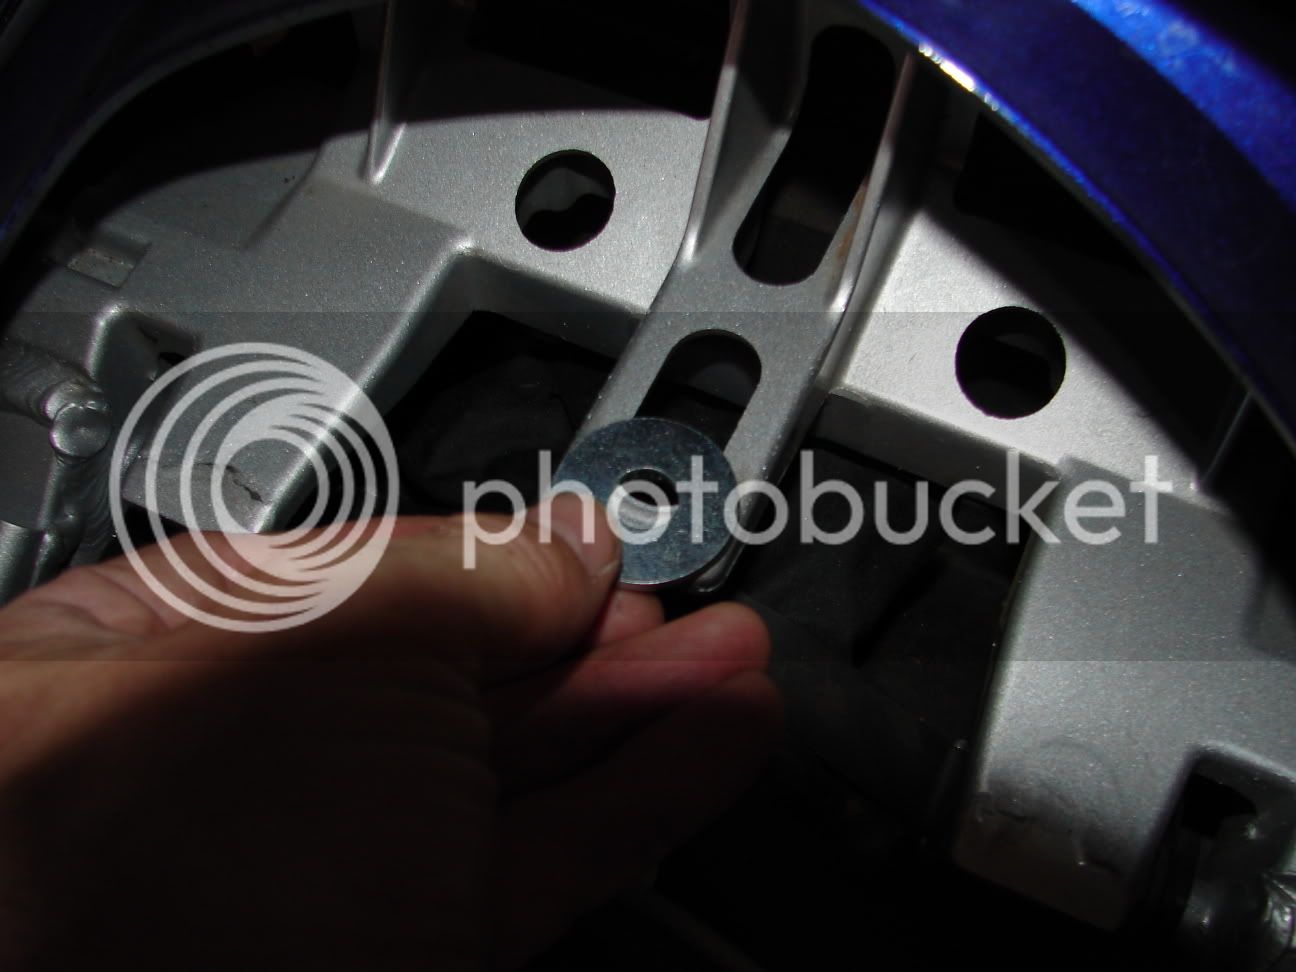
(washer to go under the metal tab)
and went into this:
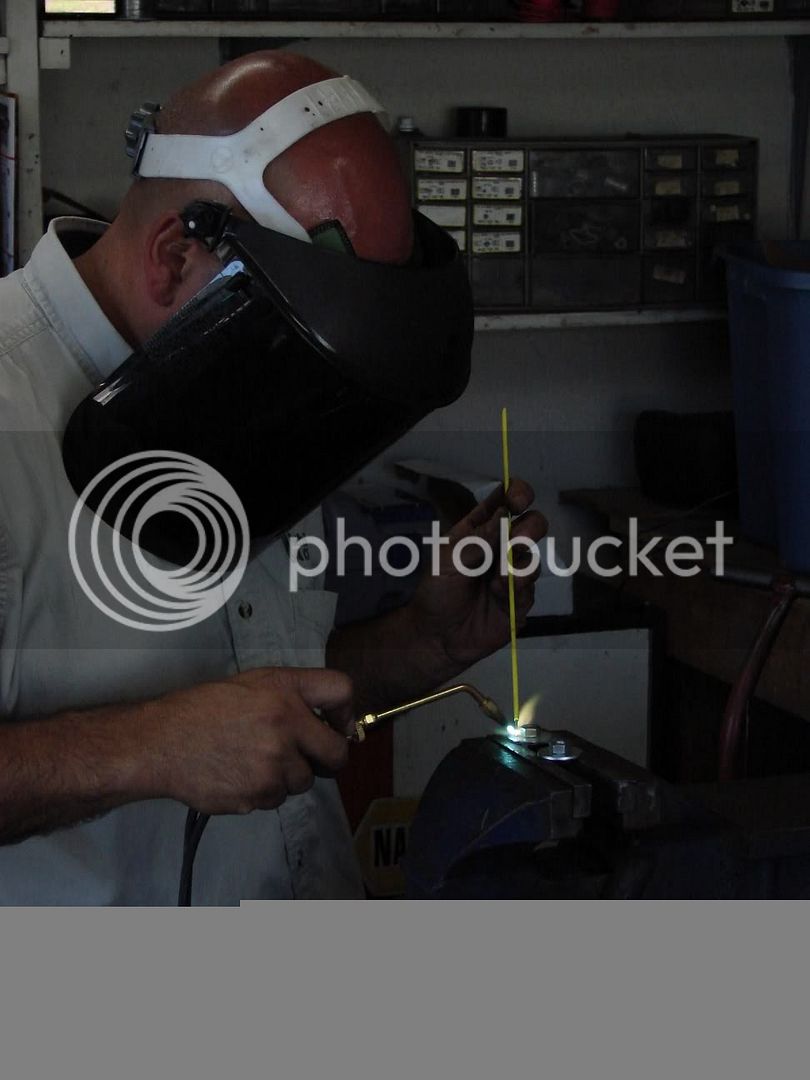
(welding nuts onto washers)
They looked like this:
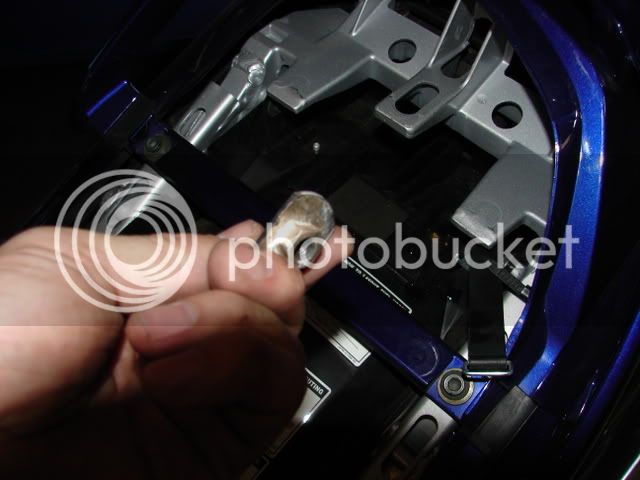
and fit in after grinding off the sides
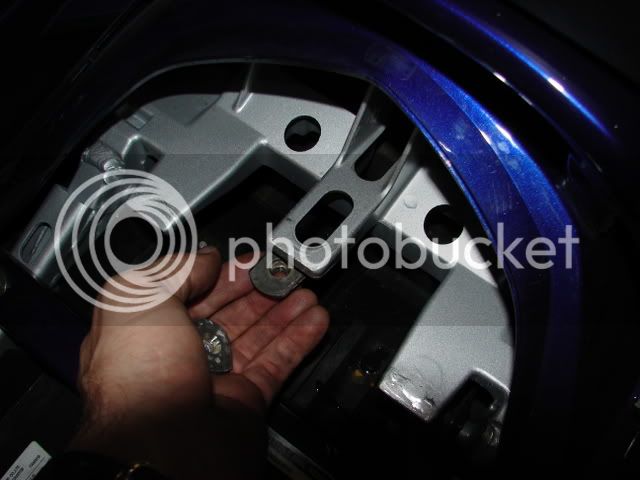
more to come...hold on
Then Rob started on the pipe
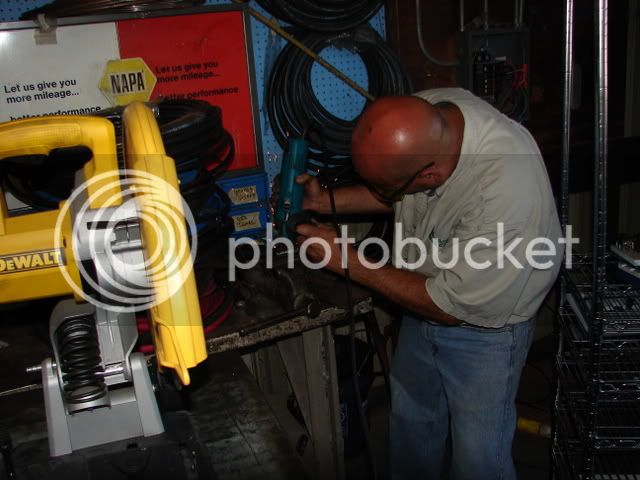
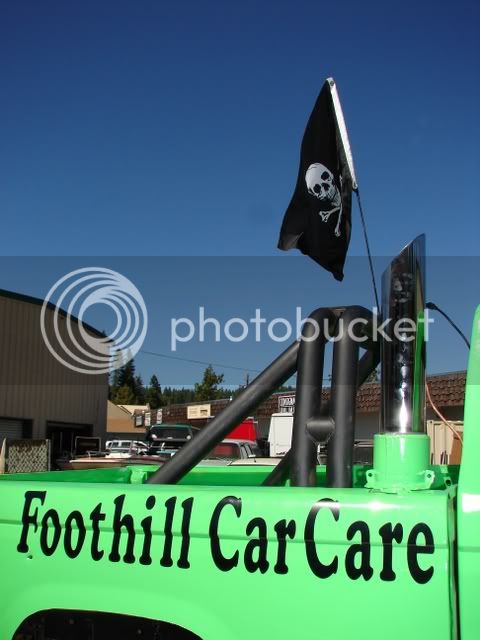
Meanwhile his crew made a truck for the fair's demolision derby
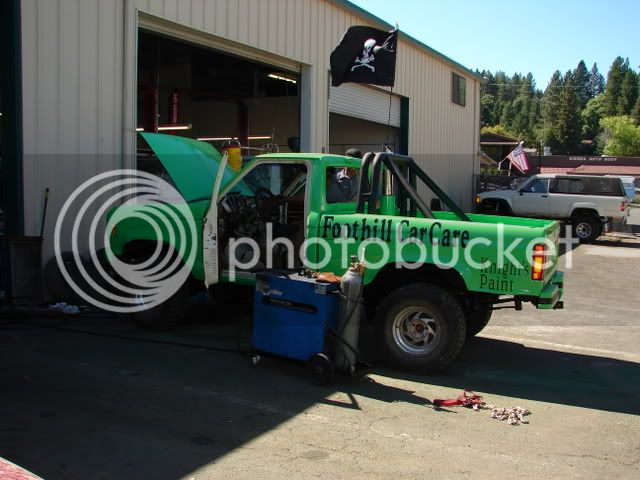
and he got half of the bracket put ready
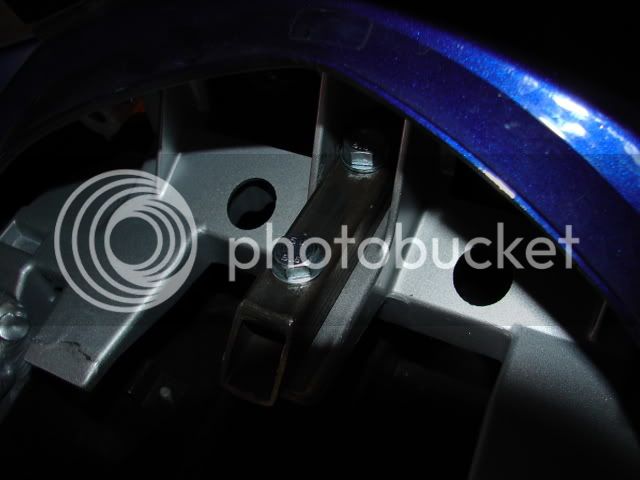
Then cut and welded on the post receiver
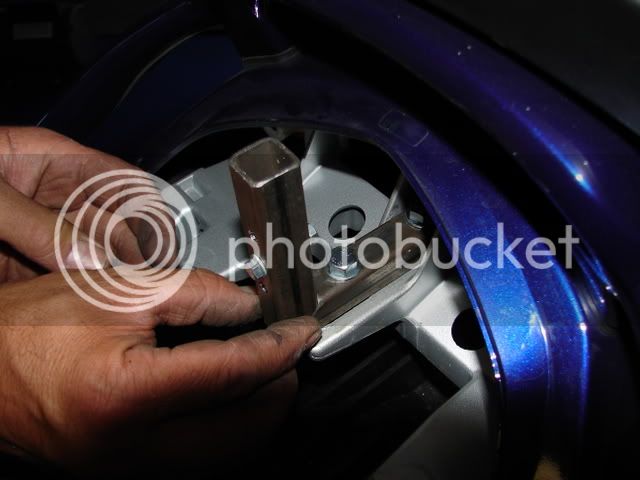
and we drilled holes and put bolts through to the washer/nuts and also put a post height adjustment in
I fixed the bracket on and to make a long story short (sorry no ride report here) we got this:
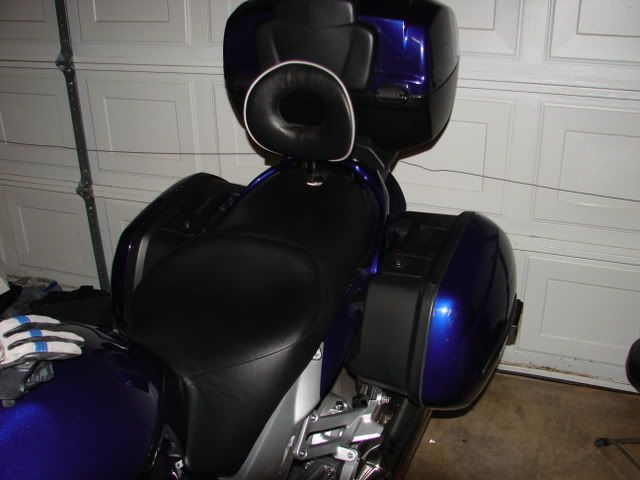
closer
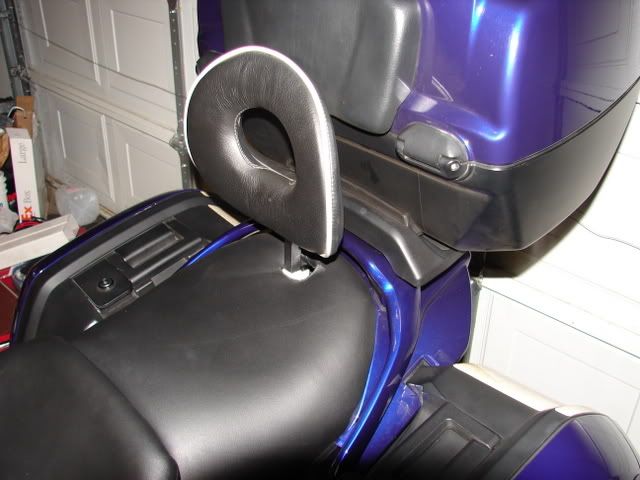
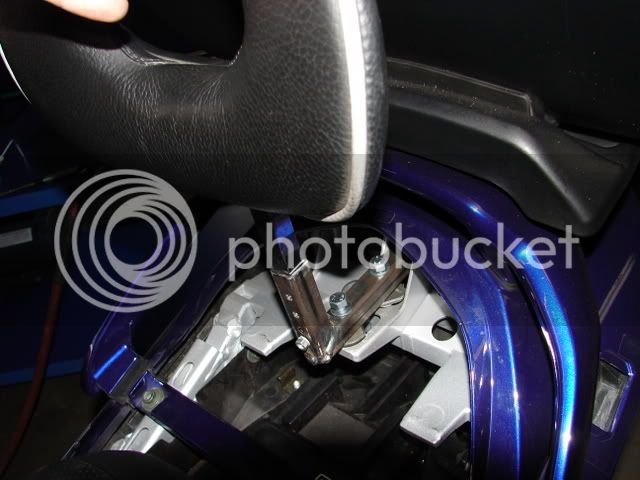
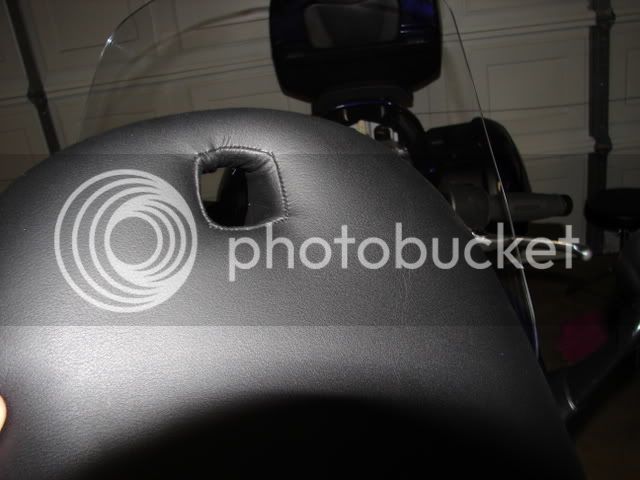
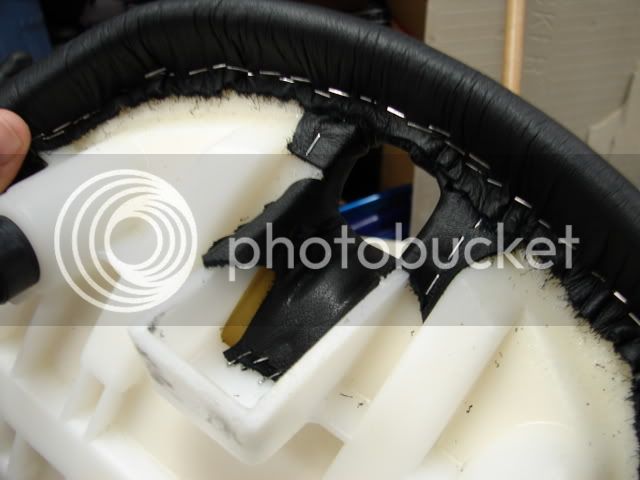
there...want one? Rob will make one for ya
Does every fullfilment of the ultimate come with something to overcome? In the case of getting a custom Bill Mayer Saddle for our FJR, we had a hurdle to get over. Sherri has a backrest on the corbin that we have and neither she, nor I were willing to give up the benefits of this backrest when we went for the Bill Mayer Saddle ride in. Now this posed a problem because BMS doesn't have a supplier for a backrest for the pillion rider of the FJR. The solution had to be to find some way to mount the corbin backrest with the BMS work.
I got and idea and it started shaping up. Here's the story of how we got our Corbin backrest to work with our new custom BMS seats.
Hmm...I got an idea:
if I could get this backrest to fit on this metal tab that the stock rear seat fits onto:

and the shaft of the seat post could go through this conveniently place opening in the stock seat pan

Then we might be able to get a whole sewn into the new custom seat. Well...how can we fix the backrest onto that metal tab? Aha! We need to build something! I discussed my idea with Rob and he me up to his shop and offered to fabricate something based on my ideas.
What I soon realized was that Rob's fabrication experience soon led to better design ideas than I showed up with. fjROB really made this all possible so many, many thanks go out to him. His son Anthony helped too...THANKS!!!
I got a square pipe for the seat post to fit into. I found it at the machinist's shop...the guy that machined my lower crank on the 350 warrior atv whose crank bearing had seized. (it runs great now).
Then Rob had an idea and he was working...it started like this:

(washer to go under the metal tab)
and went into this:

(welding nuts onto washers)
They looked like this:

and fit in after grinding off the sides

more to come...hold on
Then Rob started on the pipe

Meanwhile his crew made a truck for the fair's demolision derby


and he got half of the bracket put ready

Then cut and welded on the post receiver

and we drilled holes and put bolts through to the washer/nuts and also put a post height adjustment in
I fixed the bracket on and to make a long story short (sorry no ride report here) we got this:

closer


there...want one? Rob will make one for ya


