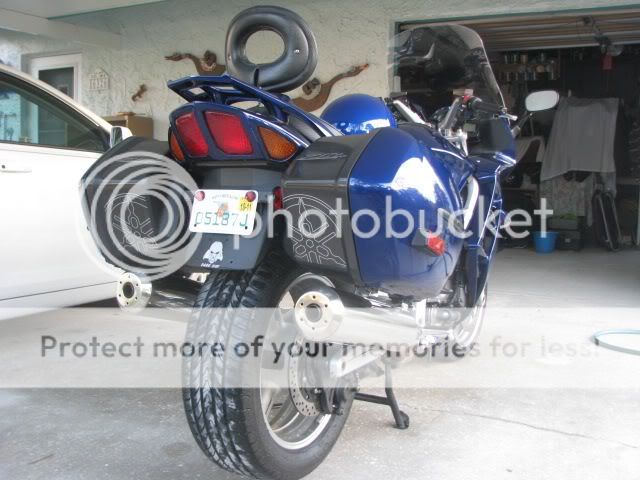
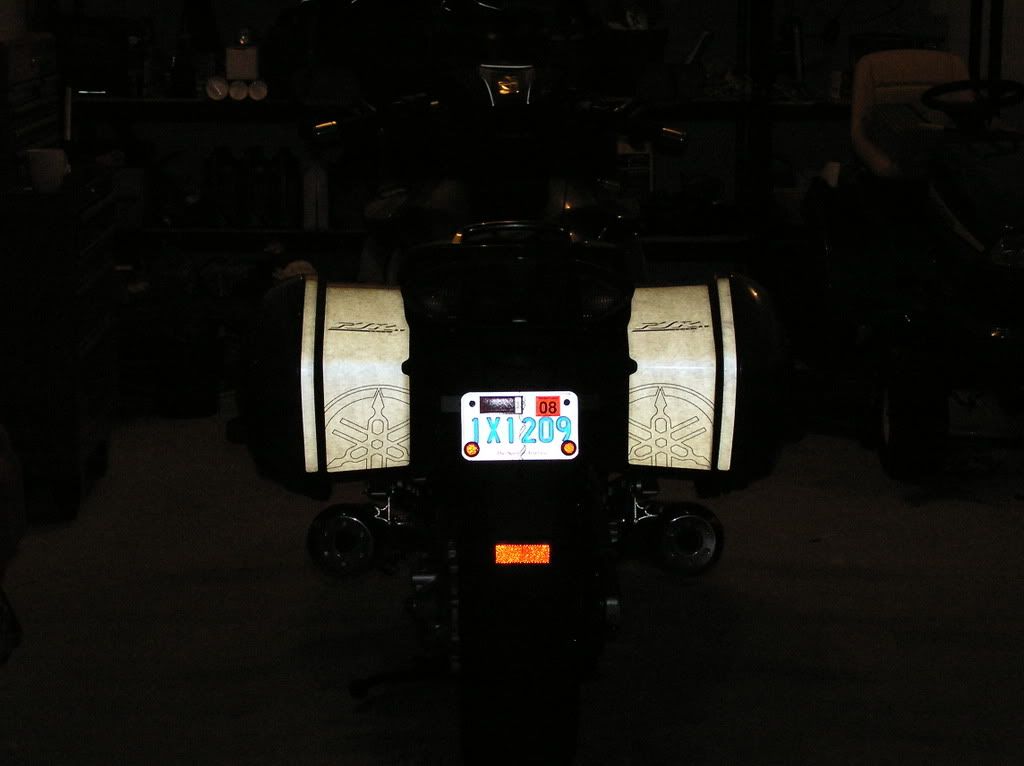
I put their rear bag decals on my bike (found here): CLICKY.
I'm sure you know what they are. I used a spray bottle of water with a couple drops of liquid soap in a 16 oz. bottle... kind of the standard method for applying decals like these. I had to trim them just a little before putting them on, as it's much easier to do before they're mounted on the bike. To squeegee out the air bubbles, I used a small block of rubber (2x2x1/4 inch) that I had laying around. It's normally used to apply spot putty when doing auto body work. Once I used some wax remover to get all the wax off, I washed the surface real well. I sprayed my water/soap solution on the bike and then on the back of the decal, and slid it into place. It will slide around at first. Squeegee it out and your're done. Not hard at all. You'll enjoy putting them on, it's kindof a relaxing type job.
Obviously, these aren't the same exact decals you ordered, but I assume yours will be made of of the same stuff as the decals I bought from Real Time. The method for installing them should be the same.
You'll want to string some masking tape down the lower edge of where you plan to install your decals, so you'll have a nice straight reference of exactly where you want them to go. Then you can stand back and eyeball how straight your masking tape "guide line" is when ya get done putting it on. Once that's done, you can go ahead and install your decals. This way they'll line up nice and straight and will be located at the same level on both sides of the bike. When you're all done, just pull off the masking tape you used for the initial guide line.
Wait a minute. I thought the bag decals used a contact adhesive, not a water activated system. I also applied the decals, but I don't recall anything about soapy water.
It's pretty common to apply sticky decals using a wet method. It allows you to get the position right, then squeeze out the water with a squeegee. They should come with a set of instruction. It isn't hard to do, you just have to be patient.
Wait a minute. I thought the bag decals used a contact adhesive, not a water activated system. I also applied the decals, but I don't recall anything about soapy water.
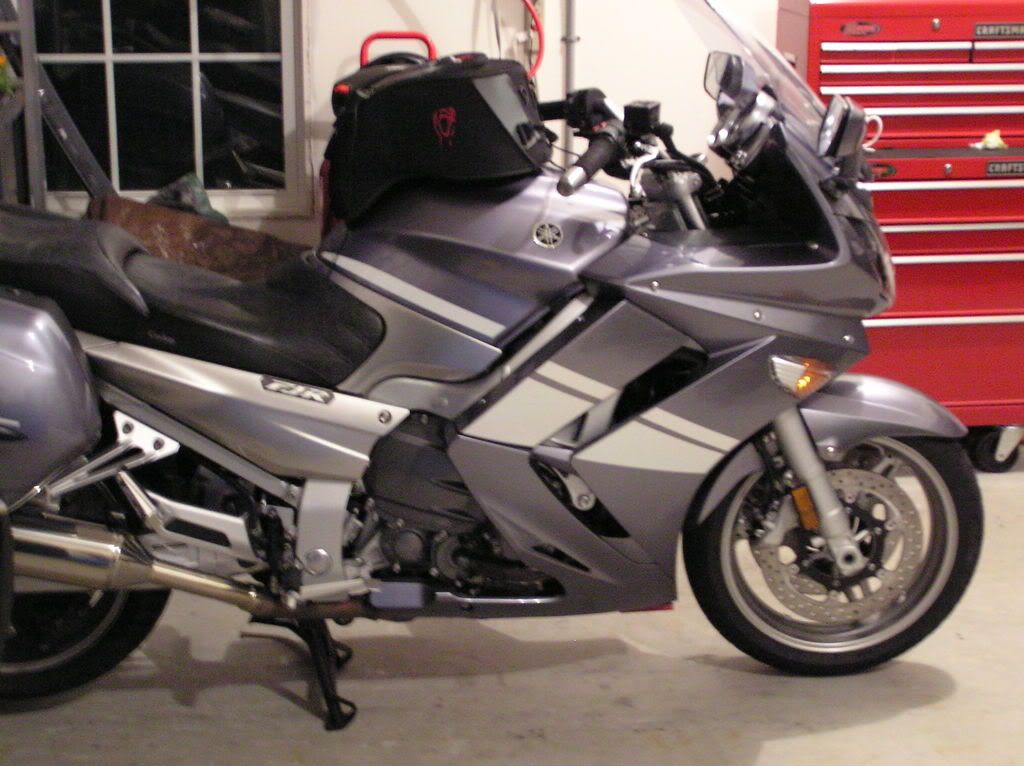
The fairing decals are much harder to get installed perfectly in my opinion. It must be the thickness of the material or something. I put a set on my last '07 and loved them after I was happy with my install which took awhile! The decals for the rear of the bags go on easy... not sure of the difference. I decided against them on this black bike, but they really make the black cherry stand out!
Swing by your local sign shop. Explain what you are doing. Ask nice for a little friendly advice. I make signs as a hobby and have talked to many helpful sign shops. There is a spray available for sticker installation and removal.
I used a 50/50 mixture of water and isopropyl alcohol. Use the mixture liberally and take your time installing. Have the line-up figured out in advance and then begin at the top, working your way down. Go slowly working out all bubbles before giving them a final rub.
The decals are a bitch to install, but the look is awesome!
I have tried in the past to apply decals, or more correctly a tank slapper and was not able to get everything to line up as well as get rid of all the bubbles. This may be due to a lack of patience or the curved surface of the gas tank but they ended up in the garbage. I have the decals on my fairing and I went directly to my local sign shop guy and he put them on for me, of course he does this for a living and it was not that hard for him to apply them, however getting them lined was a bit of a struggle. All that to say, for the $20.00 he charged me it was worth getting it done right.
I used a 50/50 mixture of water and isopropyl alcohol. Use the mixture liberally and take your time installing. Have the line-up figured out in advance and then begin at the top, working your way down. Go slowly working out all bubbles before giving them a final rub.
The decals are a bitch to install, but the look is awesome!
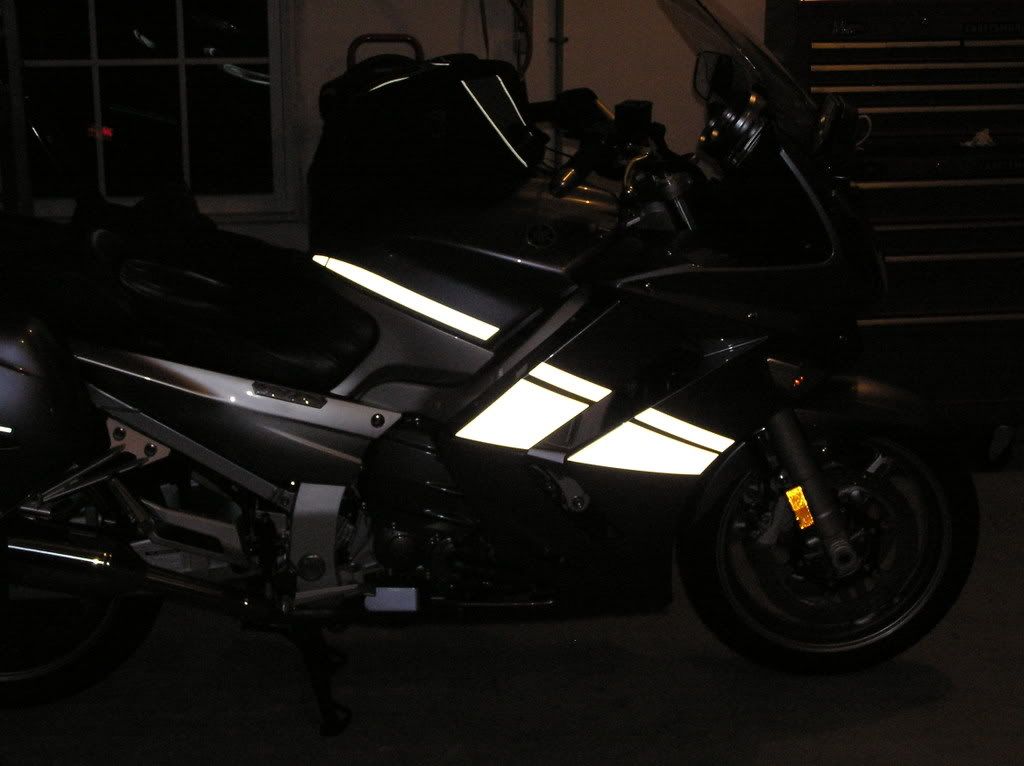
I did the fairing in decals and the bags. Bags easy- fairing a little more work. My issue (I think) was not giving them enough time to fully dry. They went on perfect (nearly). No bubbles after I installed them- I let them sit overnight, and rode the next day. I think the heat from the engine caused them to bubble during the ride. When I got home and checked them out- they looked like they had the chicken pox. Mostly the one on the left side. They've been on for years now and I still love the reflective properties.