I posted last week that the tear down was going to start last Sunday, but my garage was an absolute mess - it just sorta got away from me - so spent most of yesterday cleaning up, reorganizing, and laying out everything. I'm also having a mass sell of some of my old cars + parts. Got a guy coming over tomorrow that I'm trying to do a package deal with.
Things to be installed:
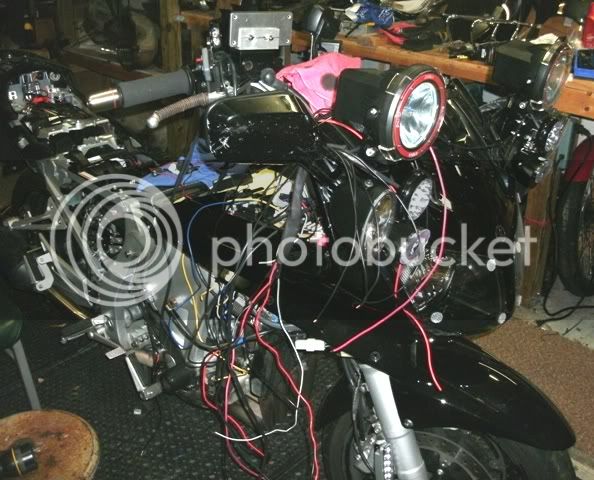
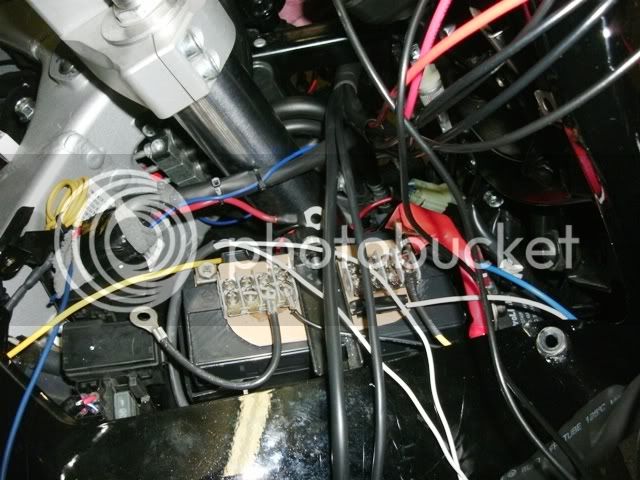
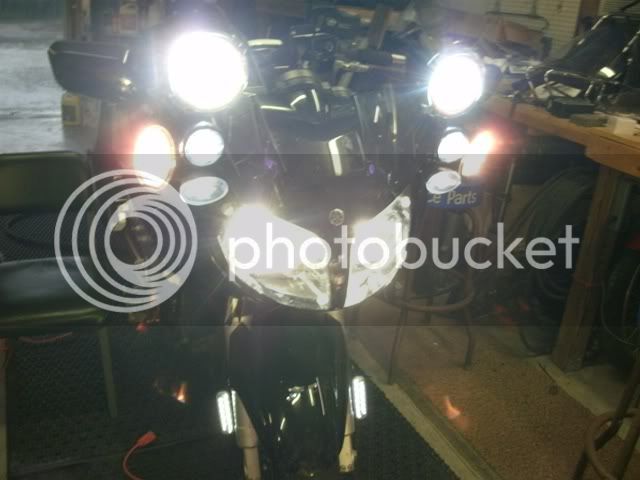
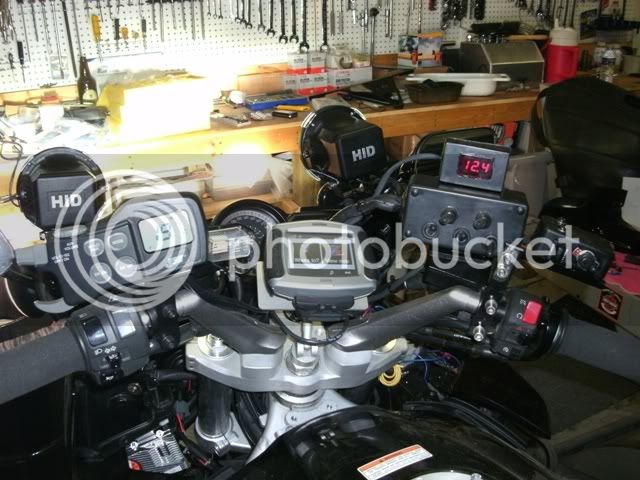
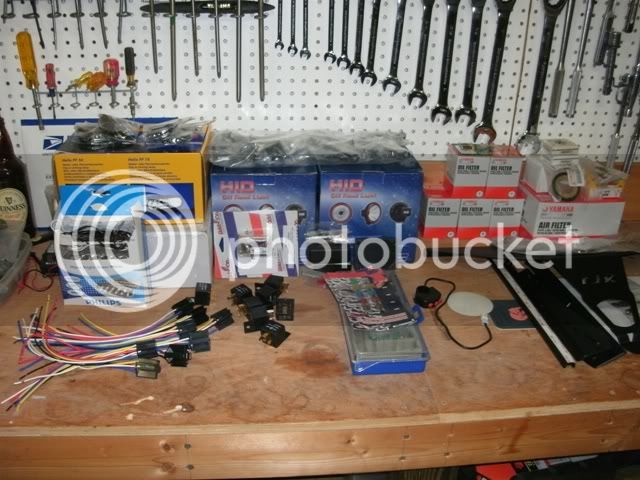
Aux lights - Futurevision HID low beams, Soltek knock offs I got on the group buy from RJ last yr (Alex brackets), FF50's, and some LED lights down on the forks. Also I have more than enough relays and associated wiring. Oil is good for now, but I do need to change the air filter and plugs. Also pictured is my dash shelf; I need to do some reorganizing as I'll move my V1 to the shelf and build a project box for the light switches and maybe the LED voltmeter. I am also planning on doing a ground at the lights when I install the FV low beams. Not as good a fix maybe as the full harness, but it does help alot; I'll know more when I get into it.
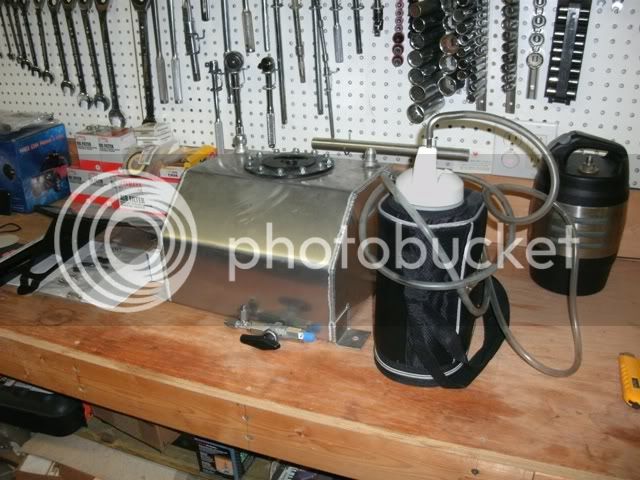
4 gallon aux fuel tank + brackets for my hydration system. I know many put them down on the rear peg, but I don't like it there as I ride often with feet stretched between rear and front pegs, so plan to hang these off the side of the aux tank somehow. I like the shape/design of the ones pictured (on the left with the tube in it) but they aren't insulated worth a flip; I used this last yr for a couple of runs up north and I had warm/tepid water fairly soon on a hot day even after filling totally with ice. I personally like my water cold for as long as I can keep it so need to think of how to either insulate this setup much better or just go down and buy a 1 gl insulated jug and use that (similar to the 1/2 gl 'Bubba Keg' on the right); Ideally I'd like (2) 1 gl insulated jugs for cold water - more later...
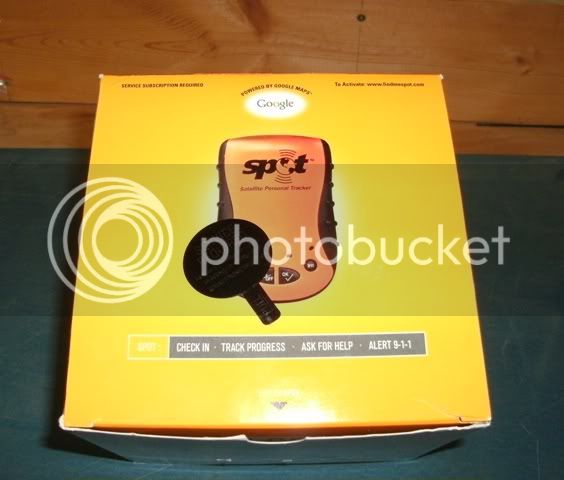
SPOT! I haven't had one but wifey tracked my progress last yr as I was riding with a 'Winger that did during Hoagy's SS2K run. She got me this as a early birthday present. It's a Spot1 which we chose as I found one new in the box on feebay for $75 and I understand battery life is much better plus they are available all over vs the proprietary batteries in later versions. I still need a mounting bracket for it...
I still have some parts to buy but need to choose wisely as my farkle budget is getting pretty thin. I'd like to replace the rear lights with LED's; any advice? I'm also sorting out the fittings for the aux fuel but getting close to decision on that.
I also would like to lube the splines on the driveshaft and replace my head bearings with tapered roller bearings - I have all the parts for that.
I'll track progress if anyone is interested. It has to be ready by Daytona Bikeweek/IBA Jax.
Any of you Florida guys - or anyone else for that matter - feel free to stop by to help, harass, consult, or work on your own project!
Things to be installed:
Aux lights - Futurevision HID low beams, Soltek knock offs I got on the group buy from RJ last yr (Alex brackets), FF50's, and some LED lights down on the forks. Also I have more than enough relays and associated wiring. Oil is good for now, but I do need to change the air filter and plugs. Also pictured is my dash shelf; I need to do some reorganizing as I'll move my V1 to the shelf and build a project box for the light switches and maybe the LED voltmeter. I am also planning on doing a ground at the lights when I install the FV low beams. Not as good a fix maybe as the full harness, but it does help alot; I'll know more when I get into it.
4 gallon aux fuel tank + brackets for my hydration system. I know many put them down on the rear peg, but I don't like it there as I ride often with feet stretched between rear and front pegs, so plan to hang these off the side of the aux tank somehow. I like the shape/design of the ones pictured (on the left with the tube in it) but they aren't insulated worth a flip; I used this last yr for a couple of runs up north and I had warm/tepid water fairly soon on a hot day even after filling totally with ice. I personally like my water cold for as long as I can keep it so need to think of how to either insulate this setup much better or just go down and buy a 1 gl insulated jug and use that (similar to the 1/2 gl 'Bubba Keg' on the right); Ideally I'd like (2) 1 gl insulated jugs for cold water - more later...
SPOT! I haven't had one but wifey tracked my progress last yr as I was riding with a 'Winger that did during Hoagy's SS2K run. She got me this as a early birthday present. It's a Spot1 which we chose as I found one new in the box on feebay for $75 and I understand battery life is much better plus they are available all over vs the proprietary batteries in later versions. I still need a mounting bracket for it...
I still have some parts to buy but need to choose wisely as my farkle budget is getting pretty thin. I'd like to replace the rear lights with LED's; any advice? I'm also sorting out the fittings for the aux fuel but getting close to decision on that.
I also would like to lube the splines on the driveshaft and replace my head bearings with tapered roller bearings - I have all the parts for that.
I'll track progress if anyone is interested. It has to be ready by Daytona Bikeweek/IBA Jax.
Any of you Florida guys - or anyone else for that matter - feel free to stop by to help, harass, consult, or work on your own project!