S76
Well-known member
Well, it's that time of year here in New England when it's not practical to ride, so the next best thing to keep enjoying the FJR is to add Farkles. It took me a very long time (days actually) trying to figure out the best spots to mount things and the best routing for wires etc. so I thought maybe I could save someone some time by sharing these pics. Chances are I didn't figure things out the best way, but it is the best I could come up with.
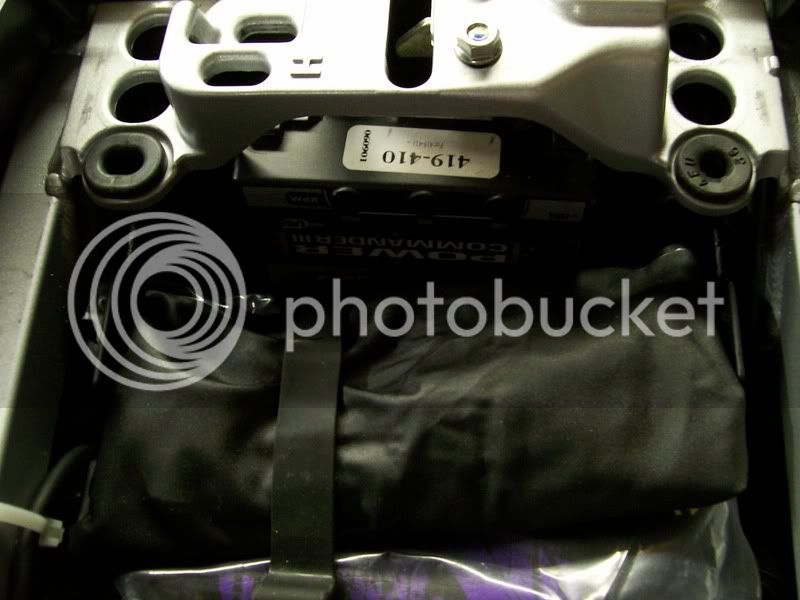
Gerbings Dual Permanent Controlers and Datel volt meter mounting


It literally took me hours to shoehorn the controlers into this area, and it does make it very tight to install the panel, but once it is in place there is adequate clearance.

The black box is the Gerbings Controller. This is the only location for this box without cutting and splicing wires. It clears the tank, just barely. The wires running to the right go to the battery. Well not quite. I attached the ground to the battery and the positive lead to the starter solenoid because it wouldn't reach the battery positive. Of course this makes the controler HOT all the time, but if you leave it on the lights are illuminated so I shouldn't forget. The wires going off to the left go to the Gerbings control knobs.

Datel Volt Meter to keep an eye on the battery and the two rheostats for the Gerbings with indicator lights

PC III Instalation. It will stand up at the rear of the tool try area just under the seat support and velcro in place. Uses very little room that way and the wires are just long enough. It is mounted upside down though and that could explain why now my bike is faster in reverse than forward.
Autocom Instalation. I had to whittle away at the front of the plastic tool tray a little for the knobs and wires but this does not use up any tool kit space this way.

Zumo Instalation. I bent up a piece of metal and this made a mount for the XM antenna. The little holes in the mount are so you can tye rap the extra antenna lead to the bottom of the bracket. That idea came from someone on this forum. Thanks. It does make it a little awkward to get the key in but I wanted to keep it low so it doesn't block the instruments.

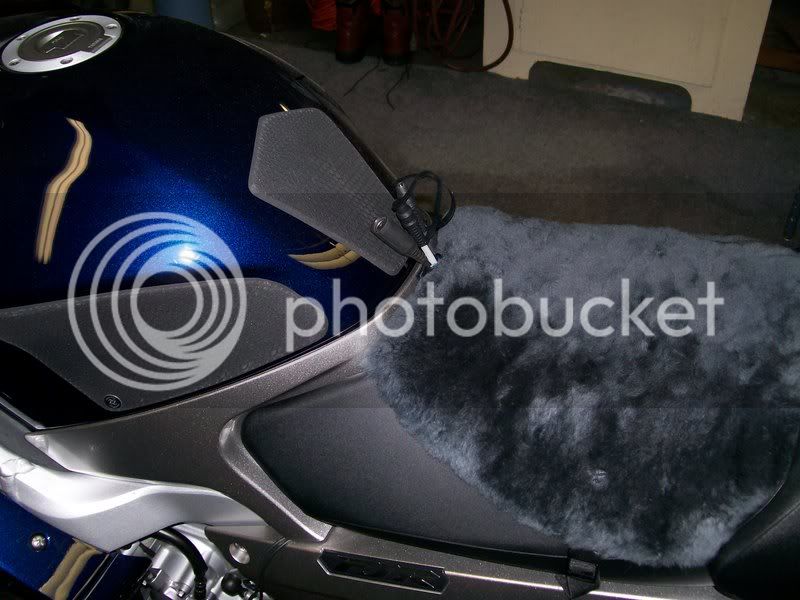
Passenger Atuocom Plug. Her helmet plug is on the left so I put the bike plug on the right so the cord would cross over in front of her and not be daggling in the wind on one side. Theory yet to be proven.

Driver Autocom and Gerbings Plugs. The Gerbings plugs would only reach to here so that is where they go.
Rear Storage for Alarmed disc Lock, Spare glasses, Tire pressure gauge, and Passenger Autocom extension

Even with all this crap installed I still have lots of room left over for under seat storage, which is what my goal was.
Gerbings Dual Permanent Controlers and Datel volt meter mounting
It literally took me hours to shoehorn the controlers into this area, and it does make it very tight to install the panel, but once it is in place there is adequate clearance.
The black box is the Gerbings Controller. This is the only location for this box without cutting and splicing wires. It clears the tank, just barely. The wires running to the right go to the battery. Well not quite. I attached the ground to the battery and the positive lead to the starter solenoid because it wouldn't reach the battery positive. Of course this makes the controler HOT all the time, but if you leave it on the lights are illuminated so I shouldn't forget. The wires going off to the left go to the Gerbings control knobs.
Datel Volt Meter to keep an eye on the battery and the two rheostats for the Gerbings with indicator lights
PC III Instalation. It will stand up at the rear of the tool try area just under the seat support and velcro in place. Uses very little room that way and the wires are just long enough. It is mounted upside down though and that could explain why now my bike is faster in reverse than forward.
Autocom Instalation. I had to whittle away at the front of the plastic tool tray a little for the knobs and wires but this does not use up any tool kit space this way.
Zumo Instalation. I bent up a piece of metal and this made a mount for the XM antenna. The little holes in the mount are so you can tye rap the extra antenna lead to the bottom of the bracket. That idea came from someone on this forum. Thanks. It does make it a little awkward to get the key in but I wanted to keep it low so it doesn't block the instruments.
Passenger Atuocom Plug. Her helmet plug is on the left so I put the bike plug on the right so the cord would cross over in front of her and not be daggling in the wind on one side. Theory yet to be proven.
Driver Autocom and Gerbings Plugs. The Gerbings plugs would only reach to here so that is where they go.
Rear Storage for Alarmed disc Lock, Spare glasses, Tire pressure gauge, and Passenger Autocom extension
Even with all this crap installed I still have lots of room left over for under seat storage, which is what my goal was.