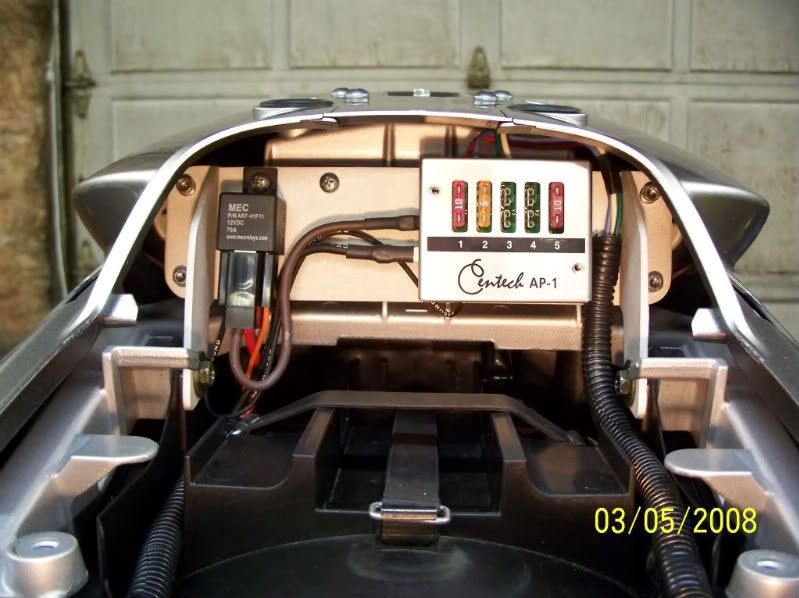
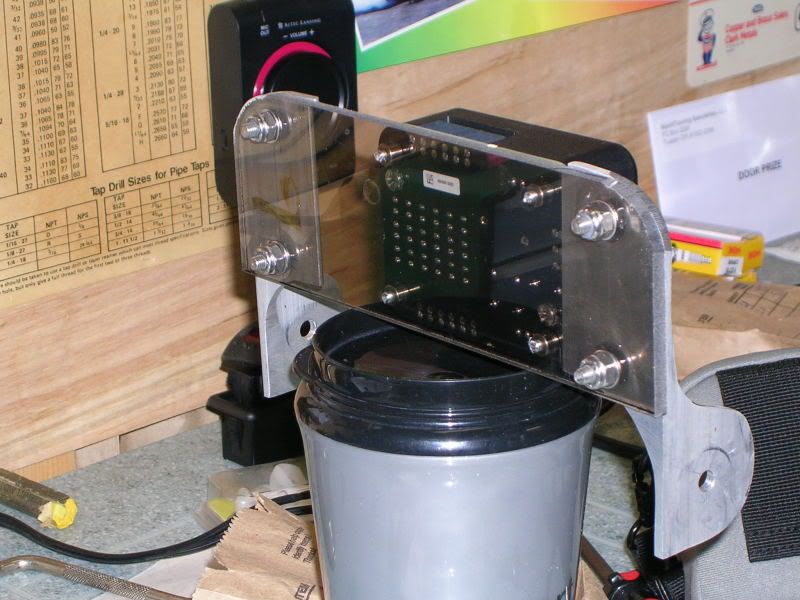
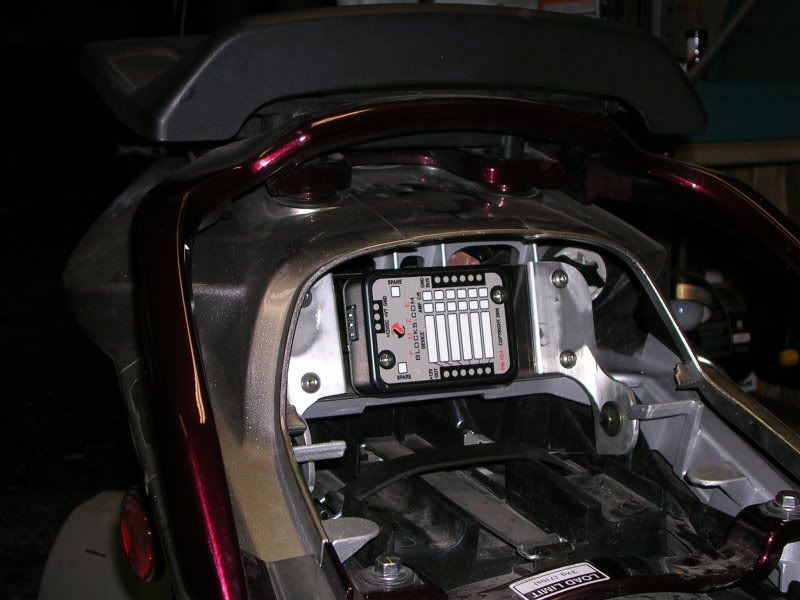
If and when I make more I would narrow the top flange down a little as you are wasting mounting space, maybe even the bottom flange as I think I could squeeze a Autocom or Starcom into it also.The reason I used the Lexan is that it's non conducetive.
So what is "conducetive"???

Seriously though, which is the 'top flange' and which is the 'bottom flange'? I having a hard time matching your terminology with what I'm seeing and what I'm thinking.
I'm thinking, add a few tapped holes in the aluminum and you got yourself a nice ground bus too!
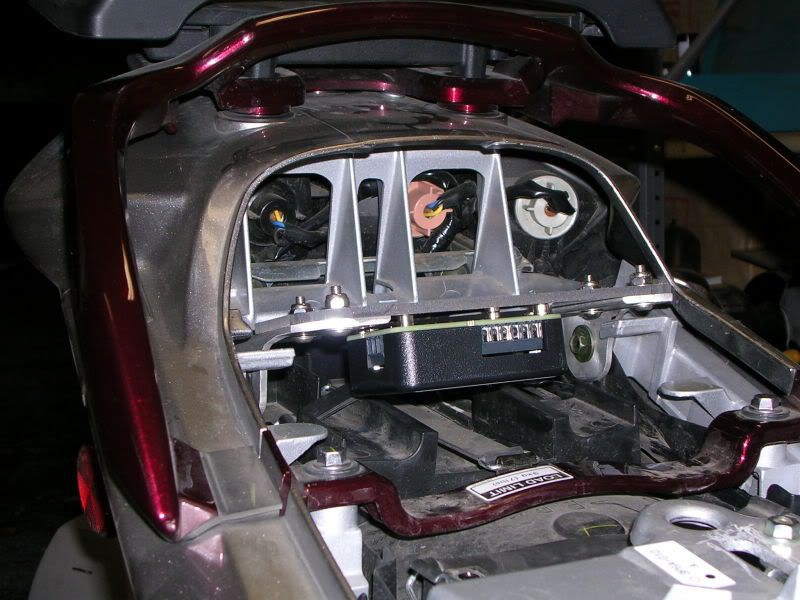
This is the second (and third) time I've seen this type of mounting solution and I really like it. I could not find the first one I saw again so these pics are great. I don't imagine that these mounts need to be as robust as both of yours appear to be. Is there any reason other than to simplify home building that this couldn't be a one-piece bend part?