escapefjrtist
Searching for Dry Roads
After reviewing Yamafitters Excellent CCT Post I decided it was time to dive in and change the CCT plus a thermostat that has been acting differently than when the bike was new. Parts were purchased from Cycle Parts Warehouse and delivered as promised.
First the CCT:
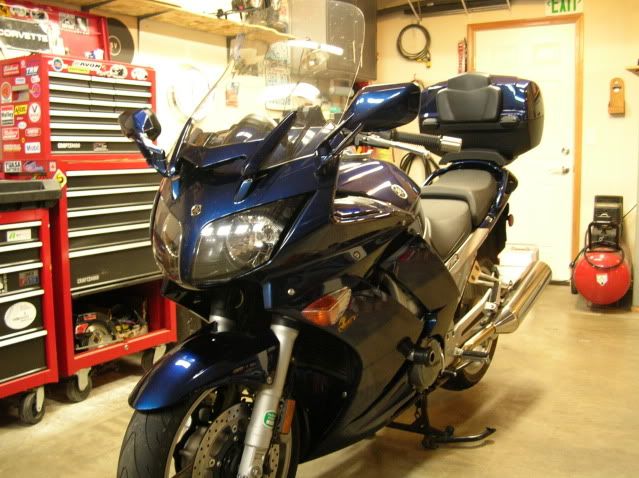
The victim, '06 with approximately 47K on the clock. Occasionally made strange sounds from the RT side of the engine. I run my idle close to 1200 rpm, so I didn't want any unwarranted *big bang* surprises.
I got tired of the soft bolts for the tank and replaced them with SS Socket Head Allen w/ SS washers.
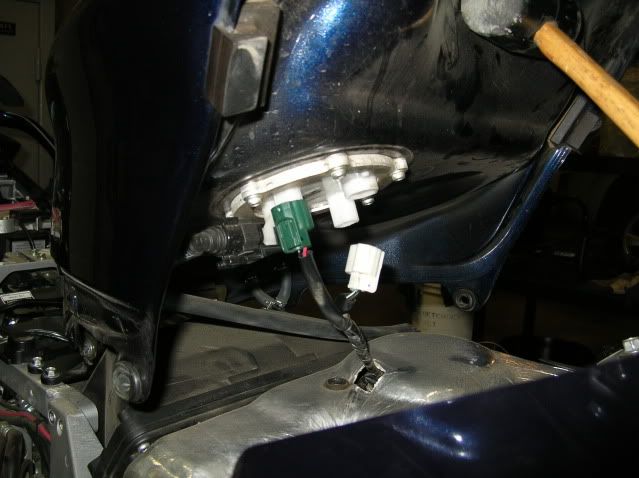
Lifting the tank:
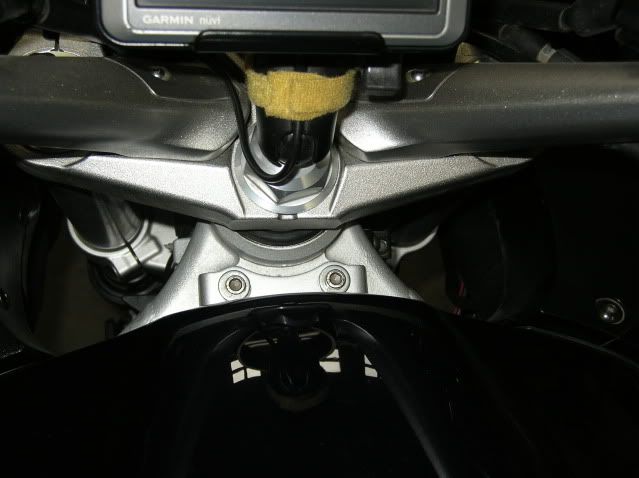
Jiffy Pop cover and T-Bar:
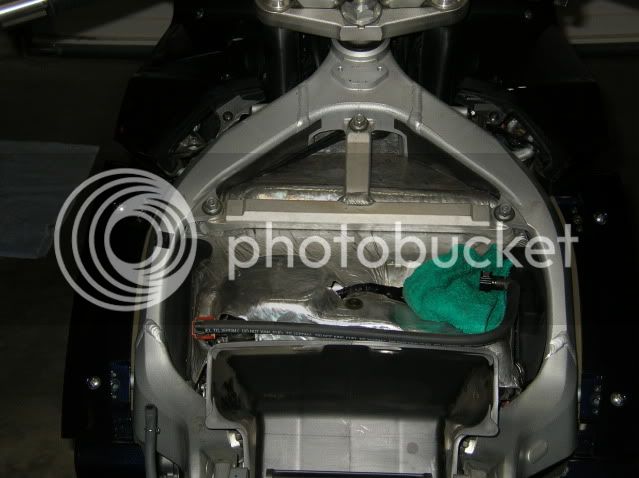
Under the cover -- Success!
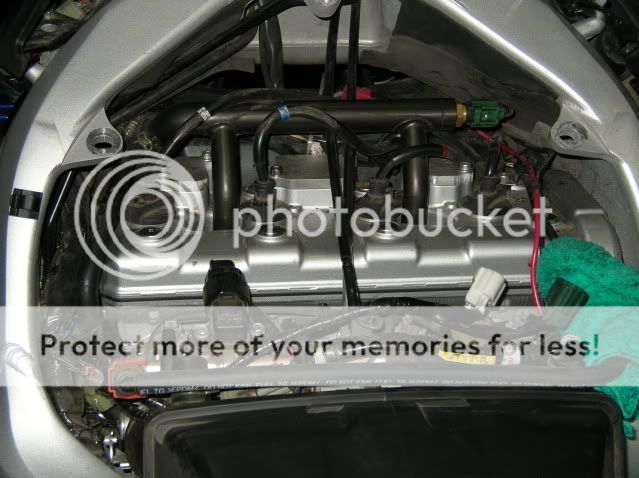
Stripped of all the plastic:
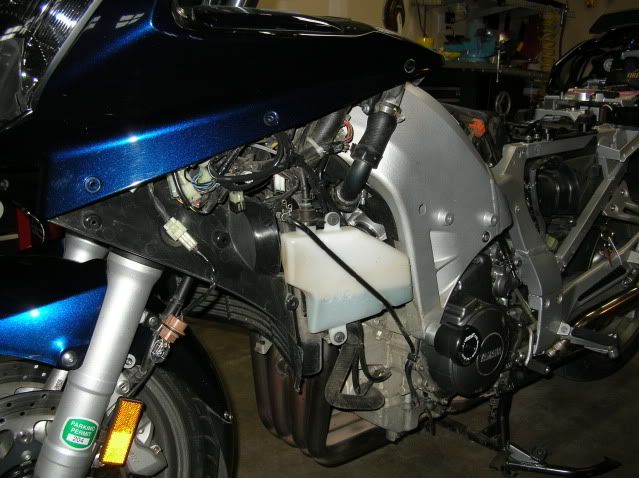
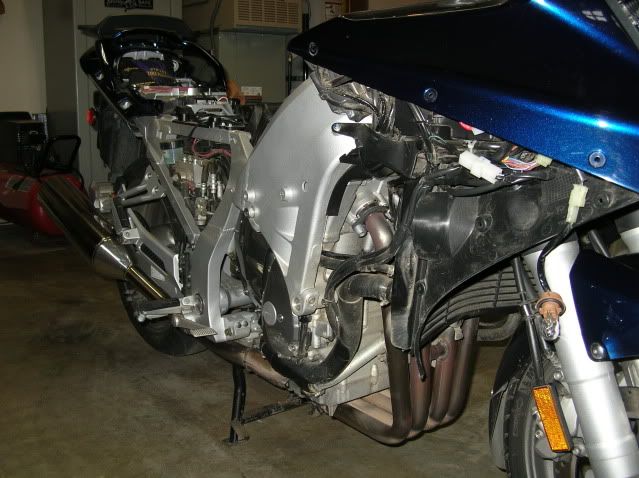
Oil Pump Cover:
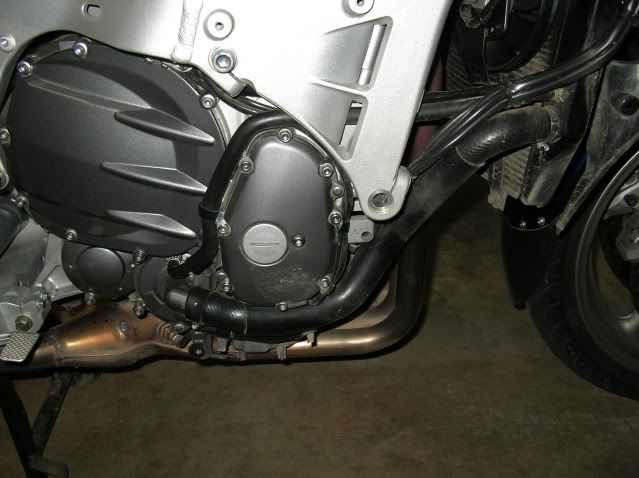
Top View of the CCT:
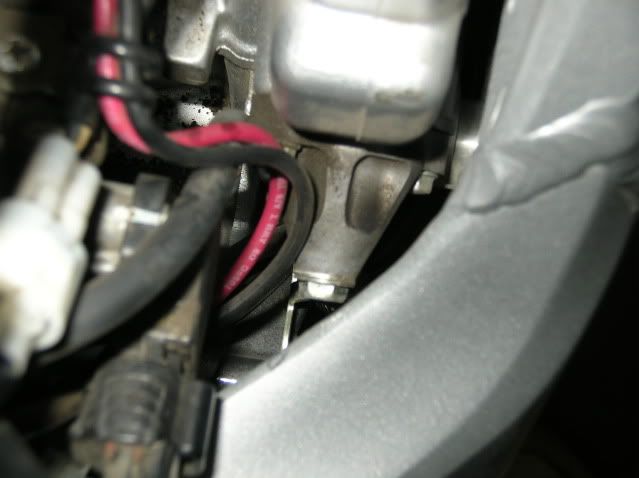
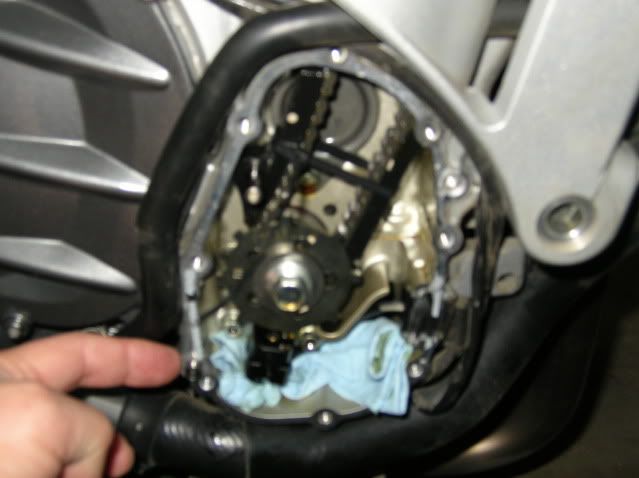
Out of focus, sorry! Behind the oil pump cover with the zip tied chain. Note the location of two (2) dowels. The cover must come off square and the gasket is sealed well. Don't force or twist the cover, gentle pressure and it'll come off.
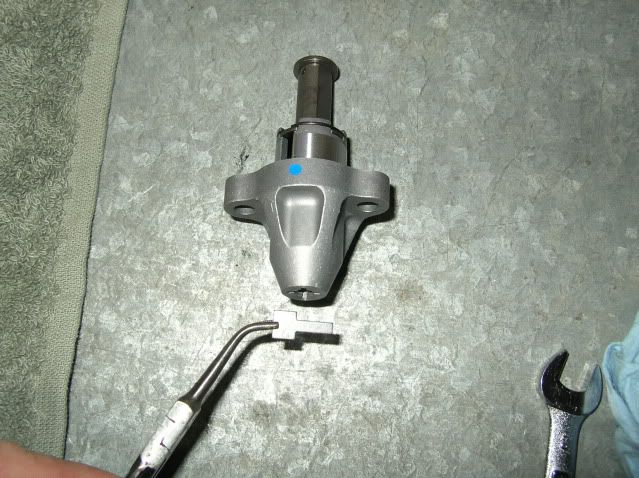
Thin Tee that holds the new CCT in retracted position. Unlike yamafitters, mine would not stay in the retracted position. The CCT was installed with the tee and then I used a small needle nose to remove it.
Thin flat blade screw driver to retract the old CCT.
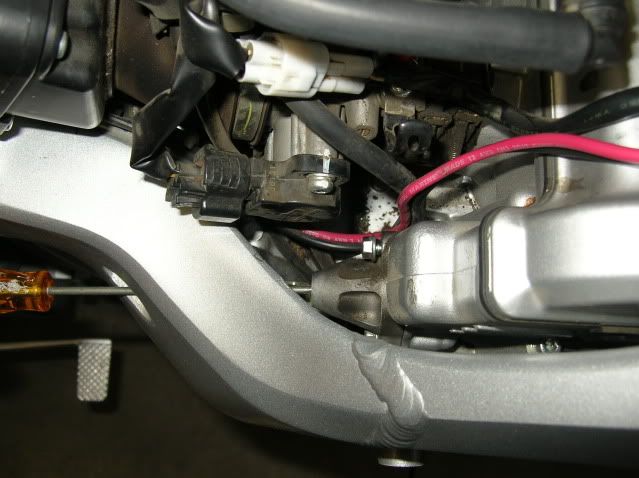
Had to sacrifice an 8mm wrench to get to the lower bolt closest to the frame.
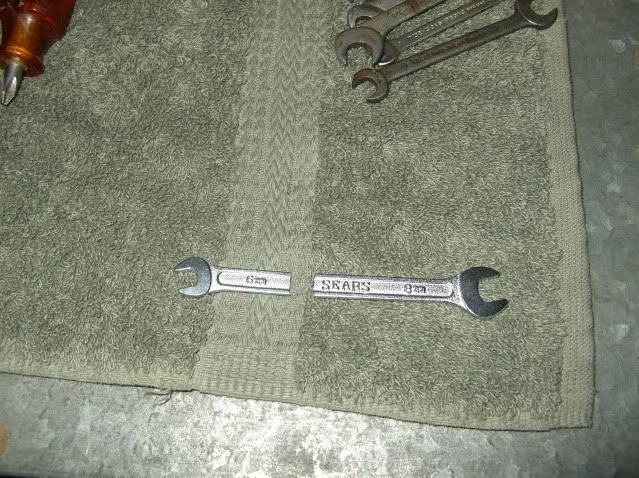
Note difference in retracted plunger between old and new CCT.
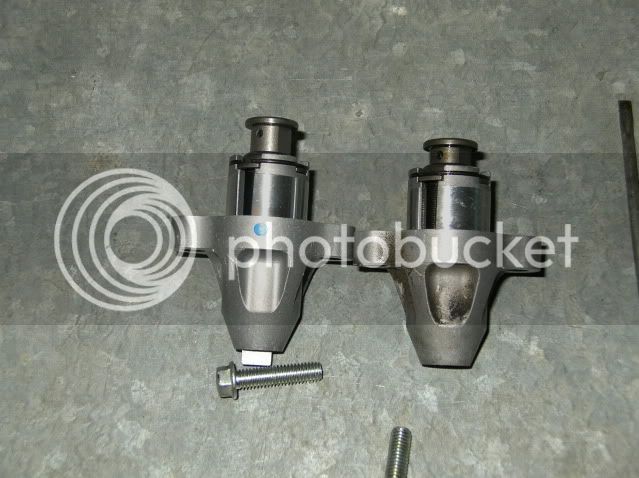
Minus the CCT. Not too bad a job, assembly goes quickly with the yamafitter screw driver slot!
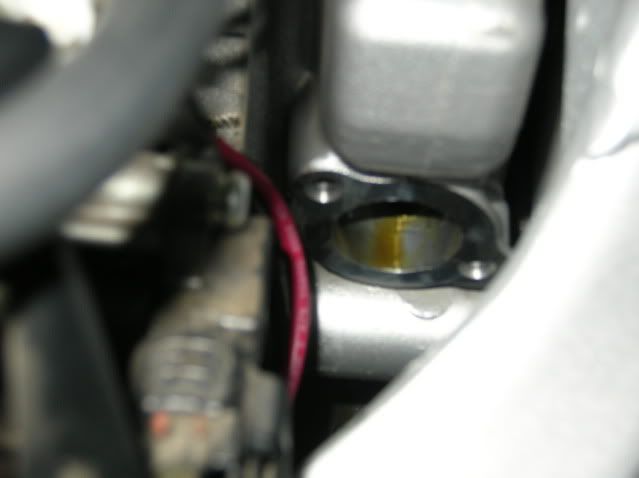
As I mentioned above, my GENII began to exhibit some strange cooling habits last summer. Mine always ran four bars at highway speeds, regardless of ambient temperature. Out of the blue, it changed and began running five bars at the slightest decrease in speed and rapidly went to six in traffic. I suspected the thermostat, but since it never heated or boiled I let it go until now. After the old thermostat was removed, I boiled it on the stove and it was fully open at the proper temperature (71C). Although there was nothing obvious, I'm happy to report with the new thermostat, the cooling now behaves just like it was new.
Now on to the thermostat change:
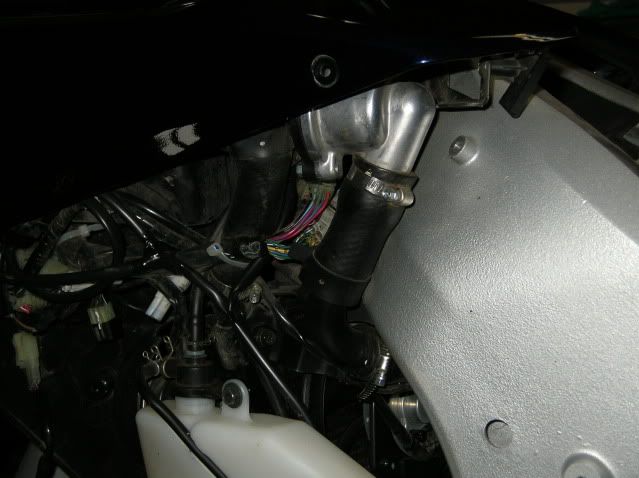
Thermostat housing on the left side.
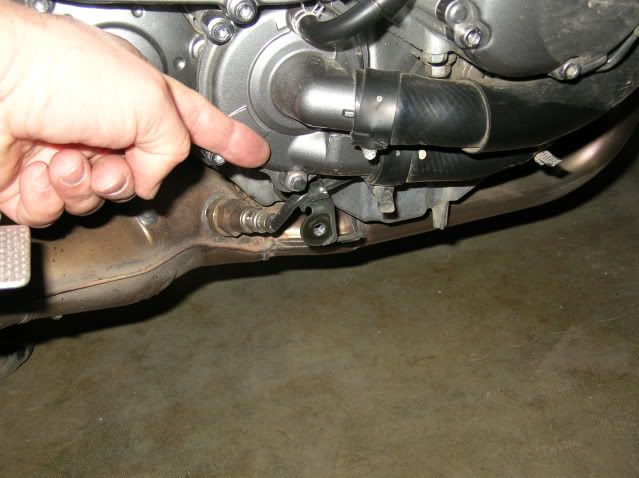
Gotta drain the coolant first, remove this bolt on the water pump.
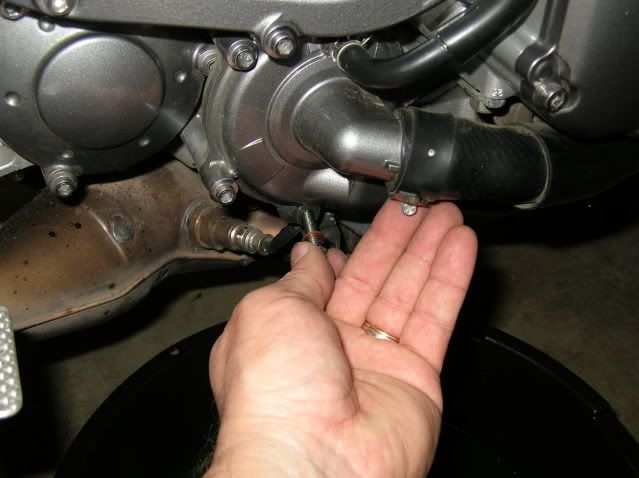
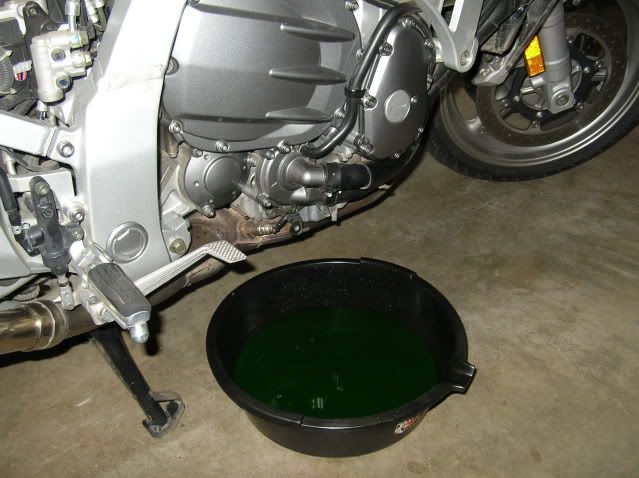
Need a suitable catch container. It helps to have a buddy slowly open the radiator cap and control the draining speed as it really shoots out when the cap is removed!
Remove two hose clamps:
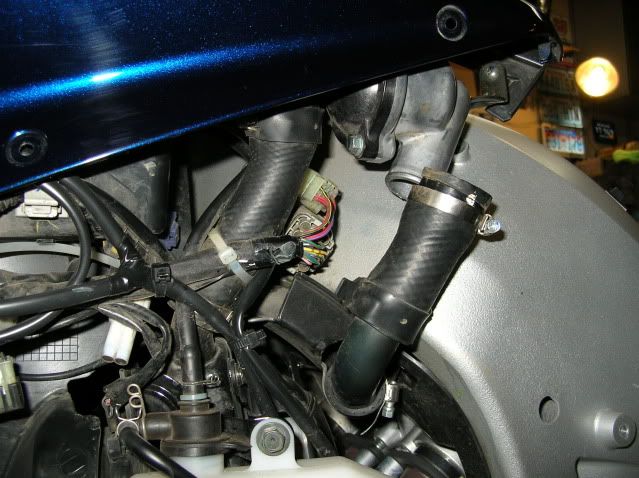
And the bolt securing the housing to the frame:
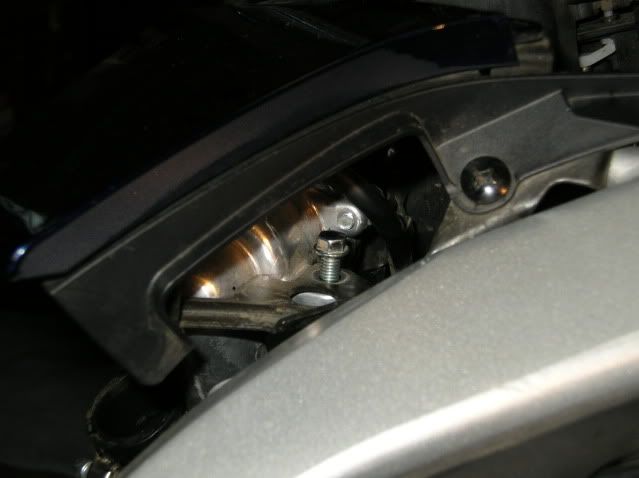
You end up with this on the bench:
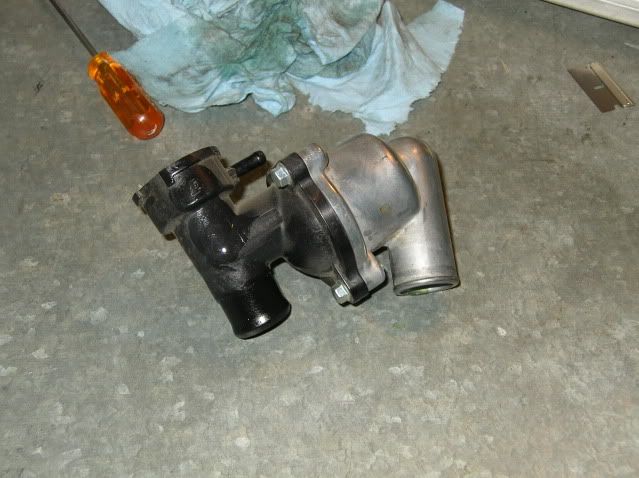
Note location of vent hole located at the top:
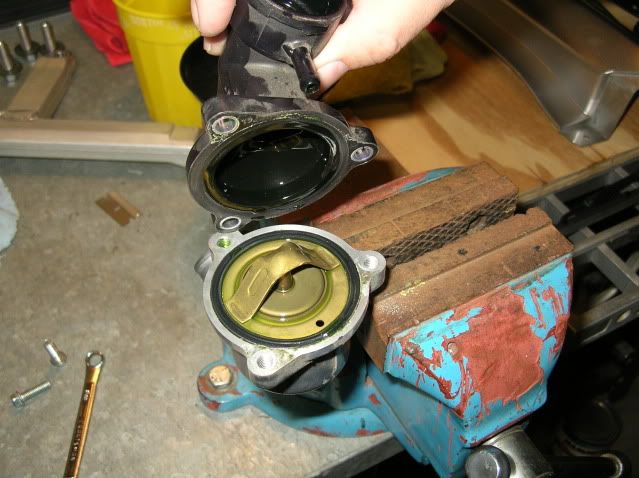
Found quite a bit of corrosion under the thermostat gasket. Clean everything up well and reassemble with the new unit... vent hole located on top!
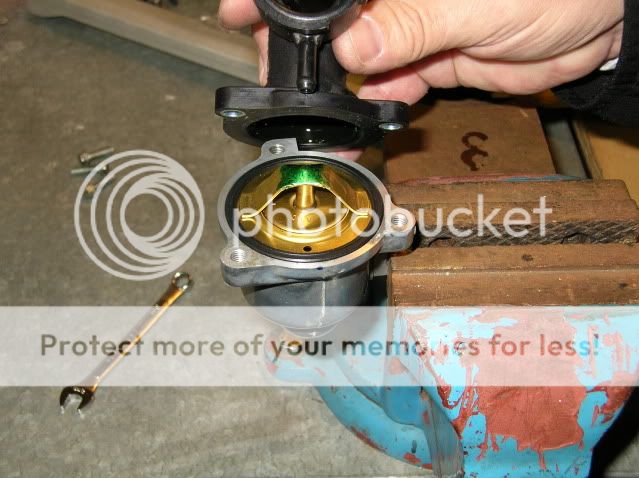
Reassembly in the reverse order.
Also installed my reworked stock shock. Had Sasquatch perform the full rework with a matching spring tailored just for me! Have about 370 miles on it so far. I need to experiment with dampening adjustments a little, but preliminary impression is :clapping: .
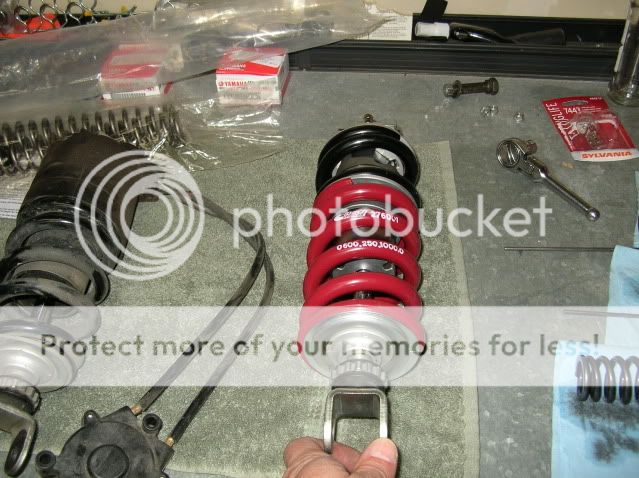
Reassemble the stock soft/hard mechanism:
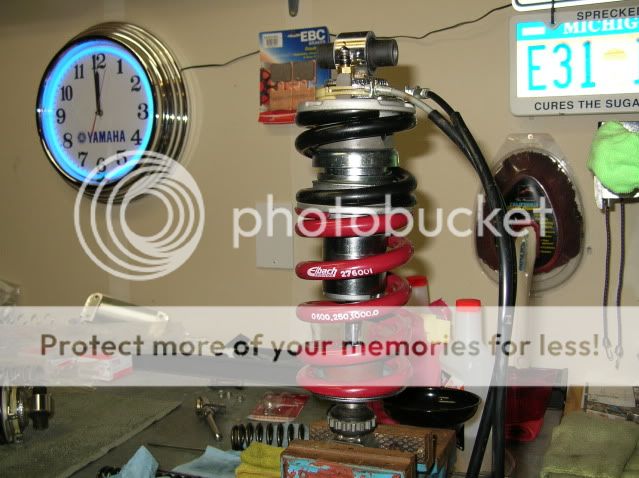
Hope this helps someone to get off the couch. The job is relatively easy and straight forward!
--G
Edit -- Modified title for clarity.
First the CCT:
The victim, '06 with approximately 47K on the clock. Occasionally made strange sounds from the RT side of the engine. I run my idle close to 1200 rpm, so I didn't want any unwarranted *big bang* surprises.

I got tired of the soft bolts for the tank and replaced them with SS Socket Head Allen w/ SS washers.

Lifting the tank:

Jiffy Pop cover and T-Bar:

Under the cover -- Success!

Stripped of all the plastic:


Oil Pump Cover:

Top View of the CCT:

Out of focus, sorry! Behind the oil pump cover with the zip tied chain. Note the location of two (2) dowels. The cover must come off square and the gasket is sealed well. Don't force or twist the cover, gentle pressure and it'll come off.

Thin Tee that holds the new CCT in retracted position. Unlike yamafitters, mine would not stay in the retracted position. The CCT was installed with the tee and then I used a small needle nose to remove it.

Thin flat blade screw driver to retract the old CCT.

Had to sacrifice an 8mm wrench to get to the lower bolt closest to the frame.

Note difference in retracted plunger between old and new CCT.

Minus the CCT. Not too bad a job, assembly goes quickly with the yamafitter screw driver slot!

As I mentioned above, my GENII began to exhibit some strange cooling habits last summer. Mine always ran four bars at highway speeds, regardless of ambient temperature. Out of the blue, it changed and began running five bars at the slightest decrease in speed and rapidly went to six in traffic. I suspected the thermostat, but since it never heated or boiled I let it go until now. After the old thermostat was removed, I boiled it on the stove and it was fully open at the proper temperature (71C). Although there was nothing obvious, I'm happy to report with the new thermostat, the cooling now behaves just like it was new.
Now on to the thermostat change:
Thermostat housing on the left side.

Gotta drain the coolant first, remove this bolt on the water pump.


Need a suitable catch container. It helps to have a buddy slowly open the radiator cap and control the draining speed as it really shoots out when the cap is removed!

Remove two hose clamps:

And the bolt securing the housing to the frame:

You end up with this on the bench:

Note location of vent hole located at the top:

Found quite a bit of corrosion under the thermostat gasket. Clean everything up well and reassemble with the new unit... vent hole located on top!

Reassembly in the reverse order.
Also installed my reworked stock shock. Had Sasquatch perform the full rework with a matching spring tailored just for me! Have about 370 miles on it so far. I need to experiment with dampening adjustments a little, but preliminary impression is :clapping: .

Reassemble the stock soft/hard mechanism:

Hope this helps someone to get off the couch. The job is relatively easy and straight forward!
--G
Edit -- Modified title for clarity.
Last edited by a moderator:


