deanw
Well-known member
I haven't seen Warchild or Fairlaner post up anything about how to take the fairing apart. (If I missed it, someone point me at it and I'm happy to have this go in the trash...) The service manual is classically vague about it.
Warchild posted this pic:

But didn't say how he got there.
So. Remove the headlight adjuster screws. Note they're not press-on, there are set screws. (Go ahead, laugh- but the Service Manual doesn't say either way, it just says "remove them".)
Remove the allen head screws and push-pin fasteners. For the latter, push the center in, then remove the entire fastener. (To reinstall, pull the center pin out, insert the body, then push the pin in until it's flush again.)
At this point the fairing is just (ha!) snapped together. A screwdriver will work, but something with a thinner, wider blade will be better. Putty knives work, but I wanted something I can pack in a tool kit for the road. Being a data geek, I realized the blanks that block off an expansion board slot on a PC case might be about right, and it was. Two of them work a treat and will take up no space in the toolkit. Slide one in between the two tabs above, another to the left, and pry gently. Repeat on the other side, then down each side.
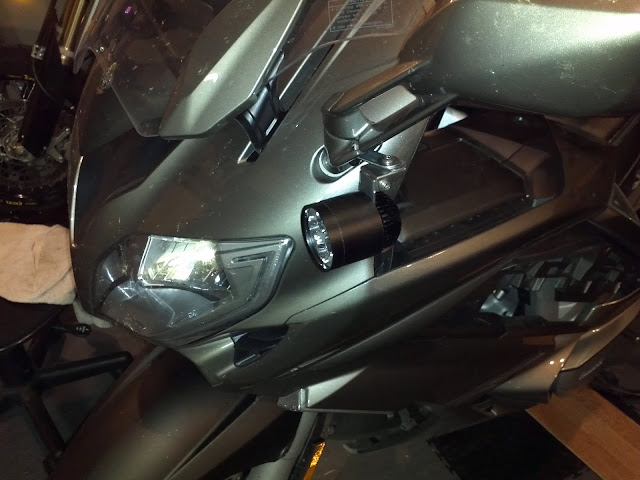
That got me to where I need to be tonight, to start installing my aux lights and primary farking harness.
If this is helpful to anyone, let me know- I have to pull the side fairings next.
Warchild posted this pic:

But didn't say how he got there.
So. Remove the headlight adjuster screws. Note they're not press-on, there are set screws. (Go ahead, laugh- but the Service Manual doesn't say either way, it just says "remove them".)
Remove the allen head screws and push-pin fasteners. For the latter, push the center in, then remove the entire fastener. (To reinstall, pull the center pin out, insert the body, then push the pin in until it's flush again.)
At this point the fairing is just (ha!) snapped together. A screwdriver will work, but something with a thinner, wider blade will be better. Putty knives work, but I wanted something I can pack in a tool kit for the road. Being a data geek, I realized the blanks that block off an expansion board slot on a PC case might be about right, and it was. Two of them work a treat and will take up no space in the toolkit. Slide one in between the two tabs above, another to the left, and pry gently. Repeat on the other side, then down each side.
That got me to where I need to be tonight, to start installing my aux lights and primary farking harness.
If this is helpful to anyone, let me know- I have to pull the side fairings next.


