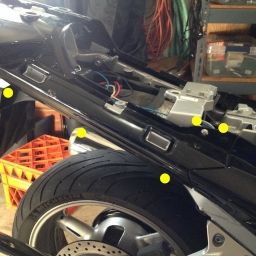
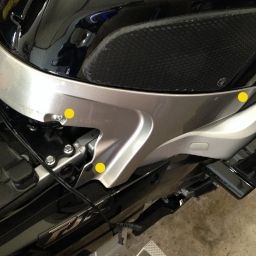
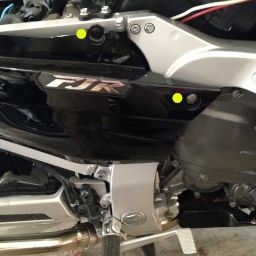
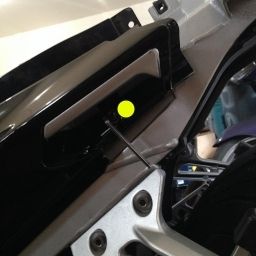
Part 2 - At this point the backend is pretty much naked so we can get down to what we came here for, getting the rear fender off.
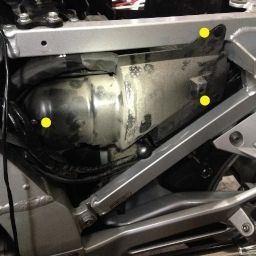
Next off is the intake snorkel that had been hidden beneath the left side cover
2 rivets and a screw.
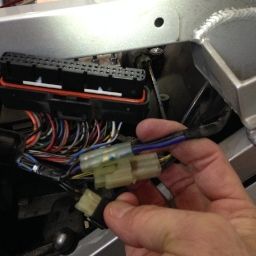
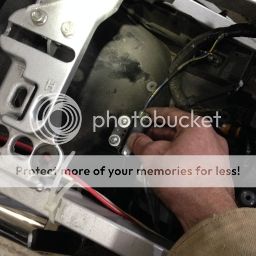
With the snorkel gone you can see the electrical connectors you'll have to unplug
Unplug the ECU, tail/brake light and license plate light connectors. Remember which wire goes where for the license plate light.
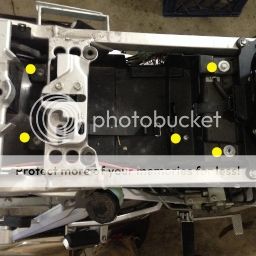
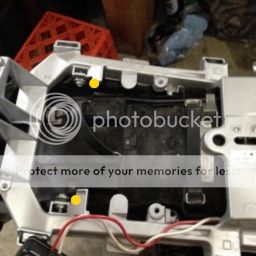
Now let's get the tool tray out of there
2 bolts and 3 screws, then just slide the tray back, pull up on the front, and pull the tray up, forward and out.
Tail/brake light assembly is next
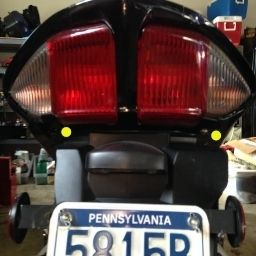
A 10mm bolt on each side
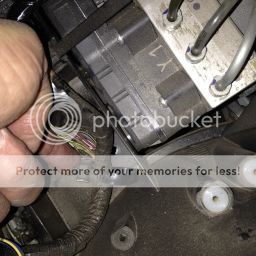
Now free up the lean angle sensor
2 screws.
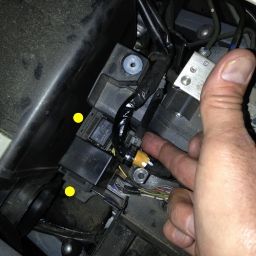
Release the 2 cable ties that had been hidden by the tool tray so you can free the 2 relays (you AE guys have 3). You don't have to unplug the relays, just slide their rubber jacket up off of the tongue then pull the whole wiring harness up out of the way a bit.
Just get your finger underneath and push down on the tab.
Here's a better picture of that tab with the tie mostly loosened and out of the way
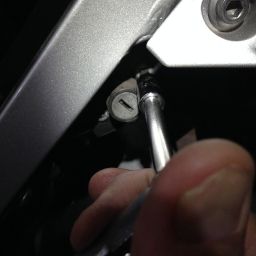
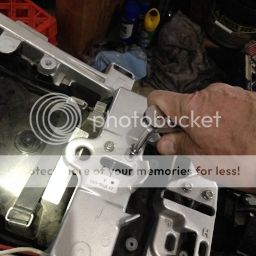
Now the seat lock and cable assembly. Start with the lock itself
2 t30 security screws.
I removed the latch mechanism too but I don't remember if I really had to
2 bolts and its free.
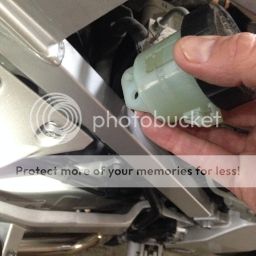
Finally, you'll need to unbolt the rear brake fluid reservoir
1 bolt and it's free. The tab that it's bolted to looks like it will give you trouble when you try to remove the fender but it's pretty flexible.
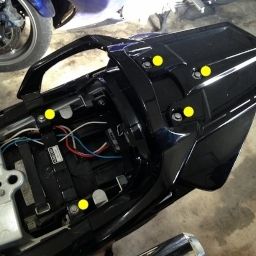
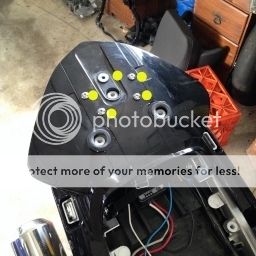
You're now ready to free up the actual fender.
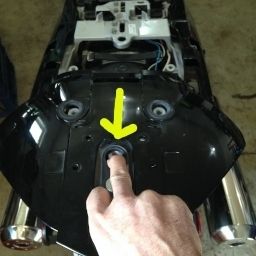
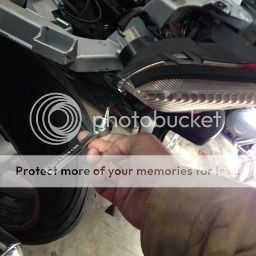
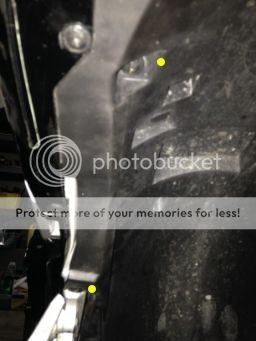
2 bolts on top, and...
...4 rivets underneath, 2 on each side. (Forgot to take this pic while I was changing out the fender so just went out to the garage and took it. That's why plastic is back on.)
The rear fender is now free. I was able to remove it without removing the rear wheel by twisting it a bit to the left and snaking it back over the tire.
...and that's it! Installation is just the reverse of removal. No nasty surprises.
All in all not too bad. Let me know if I forgot anything.


