vandy
Well-known member
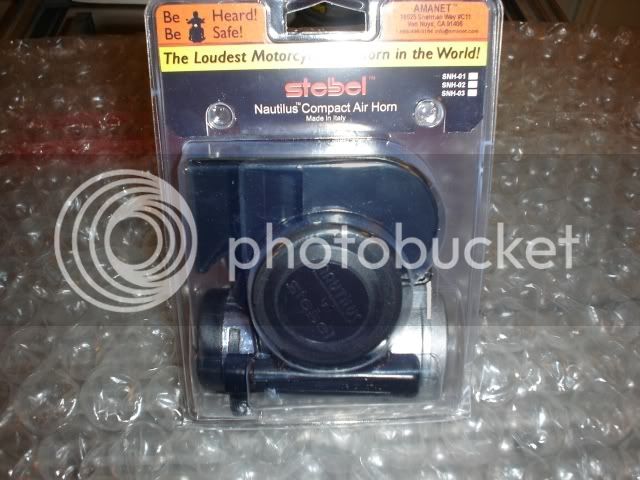
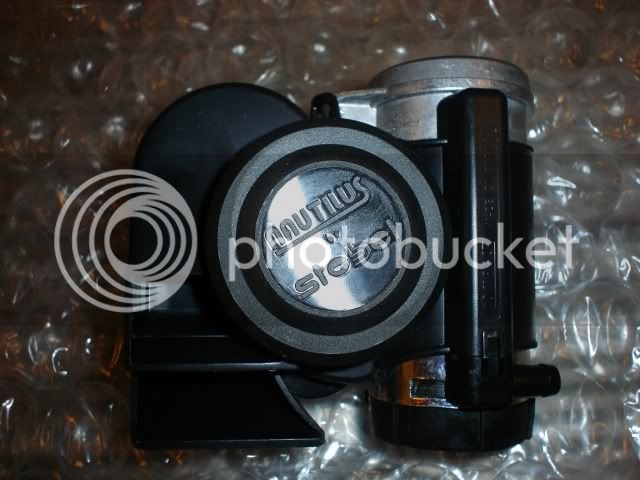
I started the install on my bike with the idea of splitting the horn in 2 parts and putting them on both sides of the fairing.
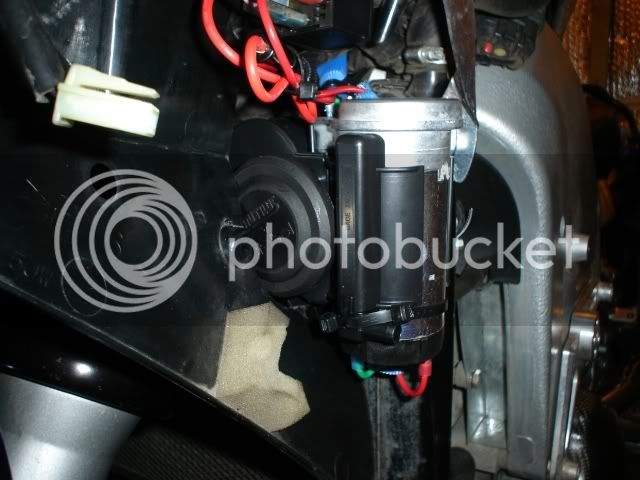
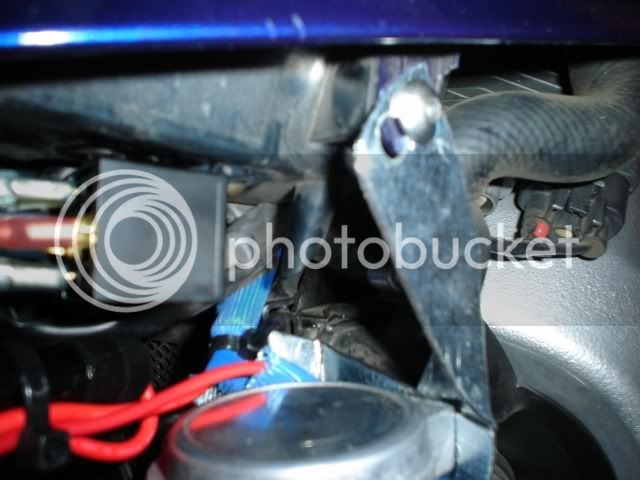
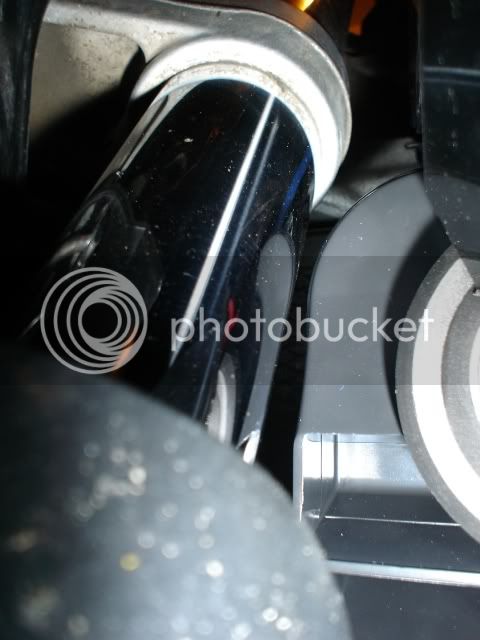
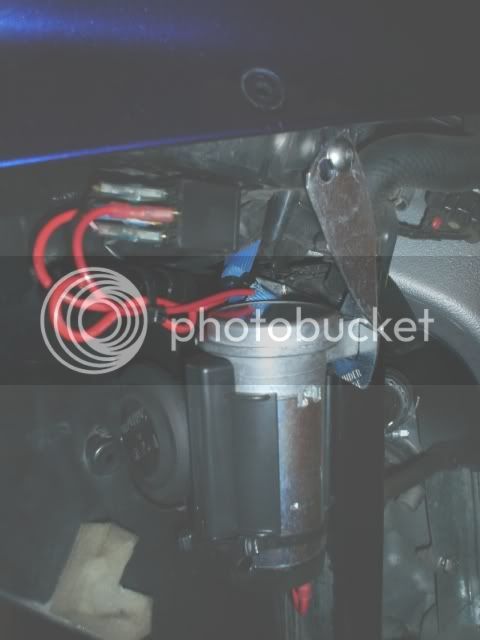
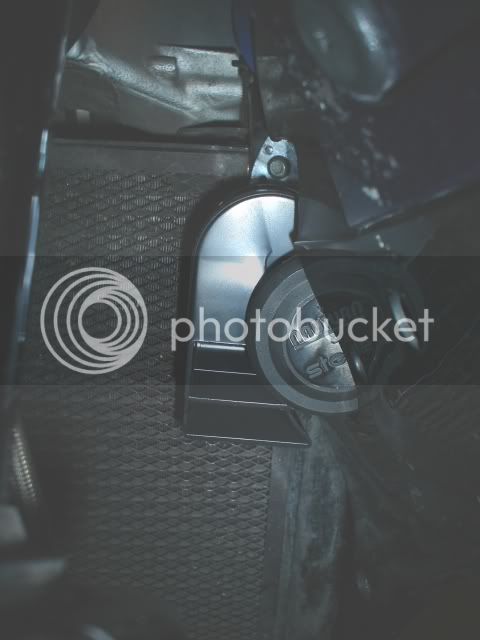
After a little looking around and seeing what a pain it was going to be I looked at a few more options and found that I could mount the compresser under the toolbox slot and put just the horn up front.
After about 2 hours work fabricrating brackets and holes I have the compresser part done and was planing on doing the horn part Monday.
Work just called and canceled that plan..I have to jet to Mexico in the early morning and wont be back for maybe 3 days.
I have been taking pictures so I will try to post them when done.
If IM not mistaken this spot for the compressor will only work with non abs.


")