LED questions

Yamaha FJR Motorcycle Forum

Help Support Yamaha FJR Motorcycle Forum:

This site may earn a commission from merchant affiliate links, including eBay, Amazon, and others.

Ant1750

Well-known member
Joined
May 20, 2011
Messages
85
Reaction score
3
Location
Colorado Springs
Anyone have led lights on their bike? I am talking about extra lighting to illuminate bike in colors etc. If you do what LEDs did you buy? From where? Can you send pics please. I am looking at adding some but want to see how they will look first. I have silver bike thinking adding blue lights. Thanks for any replies

 
Blue lights are generally disallowed, reserved for emergency vehicles only.

If you want to light your bike up while you're parked at the bar, fine, but while under way, blue or red lights (that aren't tail lights) are frowned on by law enforcement. They want to be the only ones using blue lights.

When that neon tube fad on cars was so big a few years ago lots of those kids were written up for blue and red. The guys with green, orange, even yellow, were good to go.

That said, I can't imagine any good reason to do anything like LED strips or hidden illumination for "ooh!" effects. Just not my taste, I guess.

 
My LED's are more for the WOW factor than the bling factor. The headlights are high end HID's for comparison sake.

DSC_0007-1.jpg


I added some tiny surface mount LEDs to my turn signals after installing HIDs - have a pic of them somewhere here on this forum.

If you want to light your bike like you have 2 twelves in the trunk - knock yourself out - check this link - BOOM BOOM BOOM

Not my cup 'o tea, but have it! :p

 
I add some of the "show" LEDs during a long winter a couple years back. Ordered loose LEDs online, resistors from Radio Shack, and a spool of wire from my junk drawer. I'll dig up pics and add a reply to show what I did.

 
LED strips on each fz1 mirror...each wired with a relay so they are running lights plus "wig wag" to the front turn signals

4663991583_3a356f92d9_b.jpg


Clearwater Lights

4597002453_32266c5984_z.jpg


4597002461_6f952f87c3_z.jpg


Hyperlites

3639659031_6a5d74ee7f_z.jpg
Bright is an understatement with lights like that WOW.

I only plan on using lights when MC is parked so not worried about using blue lights but I am aware its illegal in CO to have blue lights visible on veh while in motion. Thanks thou

 
I"ve got a fair number of photos to share, so I'll split this into two or three posts.

It started on impulse when I was at the dealer picking up my bike from a service call. They had some of those Electro-pods marked down, and I thought I could make use of them. Several months later, in the middle of a dark and freezing winter, I had the tupperware off the bike for other maintenance chores and decided, WTF, I think I'd like to add some LEDs. I'd had a conversation earlier with a forum member in Minneapolis who'd done the same and he walked me through the basics of wiring things up. Among the secrets he shared: For the price of one pre-made LED rig (Electro-pod, etc) you can buy enough materials to make your bike glow like the spaceship in Close Encounters; and Shoe Goo, a silicone sealant that secures the LEDs in nooks and crannies.

You'll need some basic soldering skills. And as you'll see, mine almost reach that level. The basic setup is, each LED needs a resistor soldered in-line with the positive leg. (It's not hard to figure which that is; LEDs only light when + is connected to + and - to -.) I bought a pack of 150 ohm resistors at Radio Shack for $1. Put the resistor wherever is convenient in the positive run:

Lead2.jpg


After adding heat shrink tubing, here are a couple of LEDs ready to be installed:

Lead4.jpg


Some of mine are installed in the bodywork. To allow disconnecting them, I bought several of these from the auto parts store. Plug the plugs into each other, cut the wires in the middle and solder one end to the the lead from the LED, the other to the lead to your power (I'll get to how I powered mine later):

Plugs.jpg


Here's an LED and the plug installed in the silver cover that fits below the seat. The LED peeks through the front of the cover and shines downward, illuminating the peg area. Leave enough slack that you can remove the panel and reach the plug:

InsideRCover.jpg


Here's a closeup showing the wire taped in place while the Shoe Goo dries. Just lay down a bed of Goo, press the wire in place, dab some more over it, and allow to dry.

LMidFairing.jpg


Because I already had the Electropods, I installed them too. I tied all of them into one lead to reduce the number of wires to my power blocks.

LeftFairing1.jpg


InsideRFairing1.jpg


Next post, I'll show my power and wiring setup, and some more installation locations.

 
Last edited by a moderator:
BTW, here's where I ordered my loose LEDs and the reflectors you'll see in some shots below: TheLEDLight.com. I got 20-25 degree White 5mm superbrights.

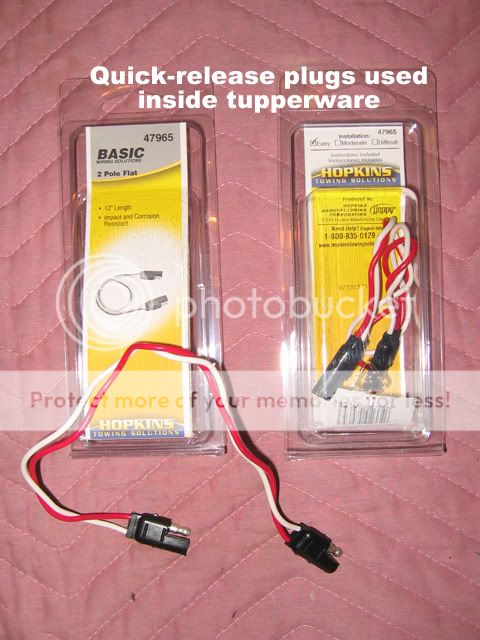
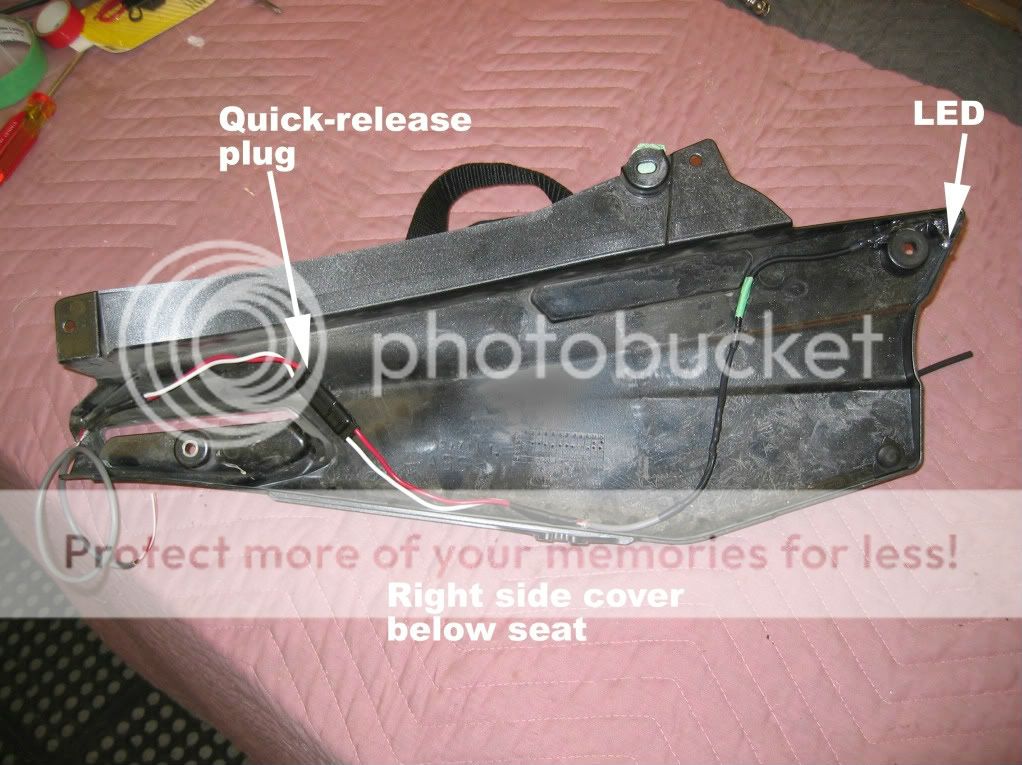
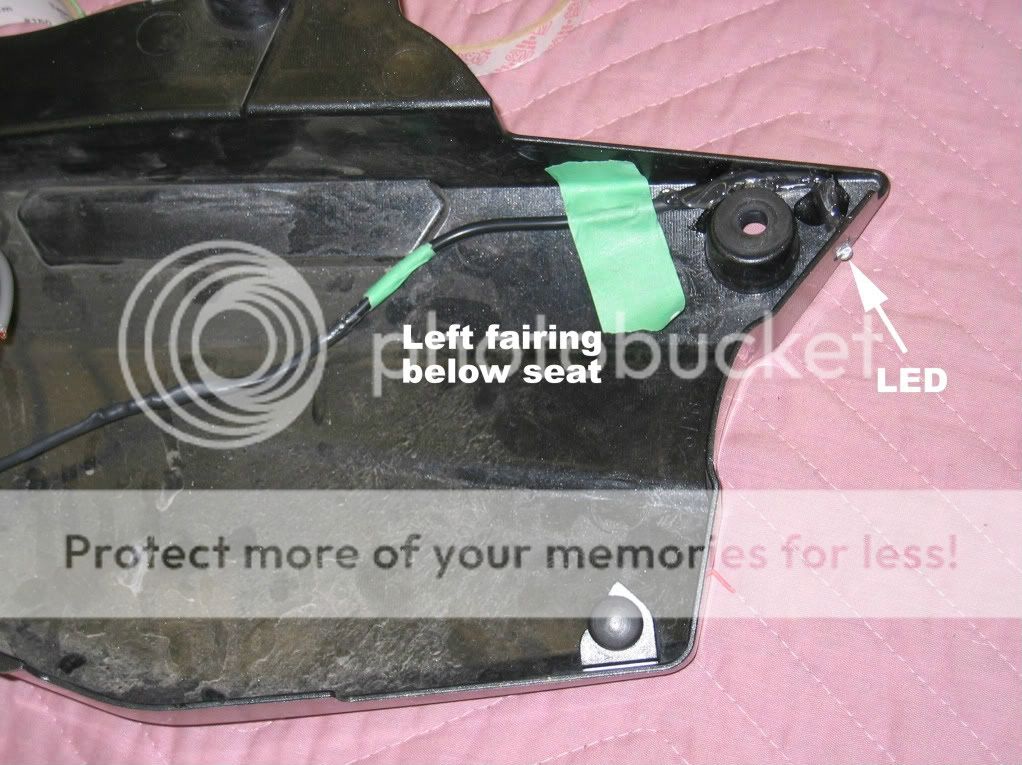
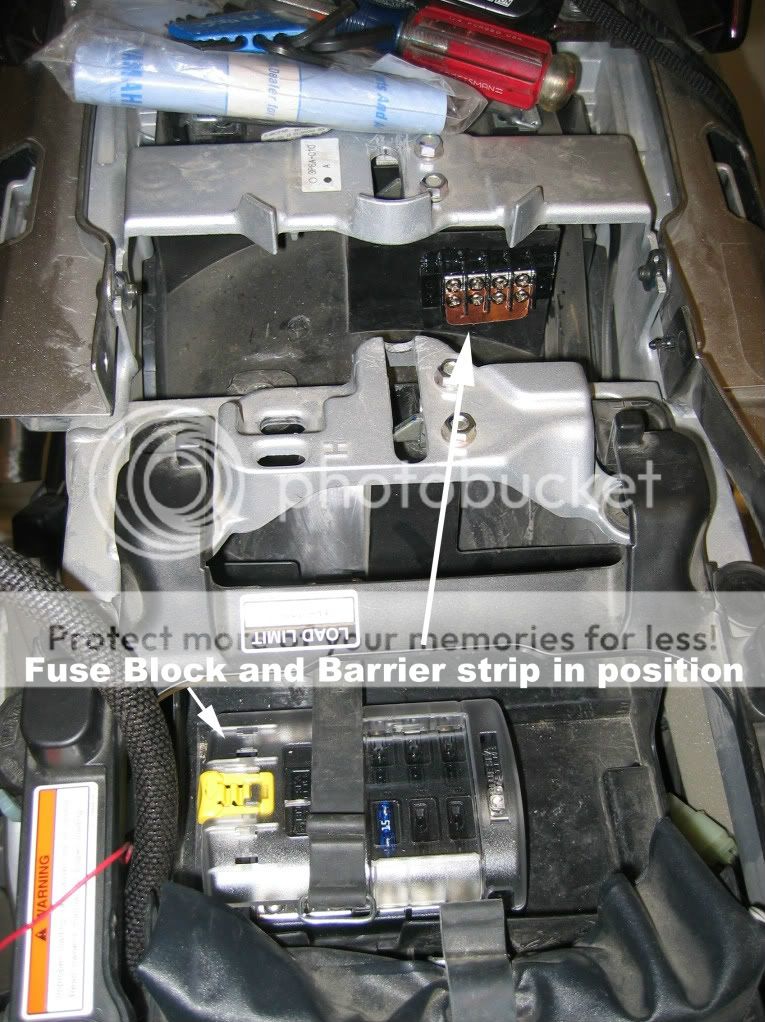
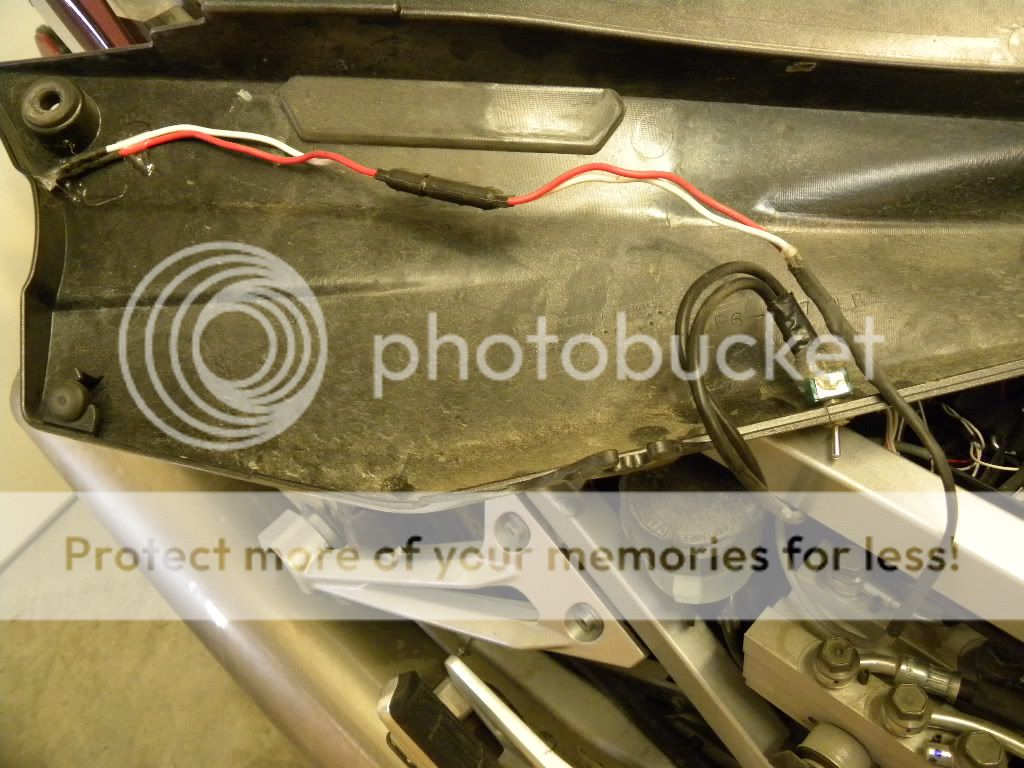
All these LEDs have wires coming off of them and they need power. I'd already installed a FuseBlock under the seat, so I added a Radio Shack barrier strip under there as well. The bare-wire + leads of the LEDs get connected to the barrier strip. A homemade copper strip ties all 8 terminals together. The - all go back to the FuseBlock. The second photo shows the lead from the fuse block to a toggle switch under the right side cover. After the switch, power goes to the barrier strip so I can turn the lights on and off. (The switched lead is not yet in place in the first photo):

BlockAndBarrier.jpg


DSCN2633.jpg


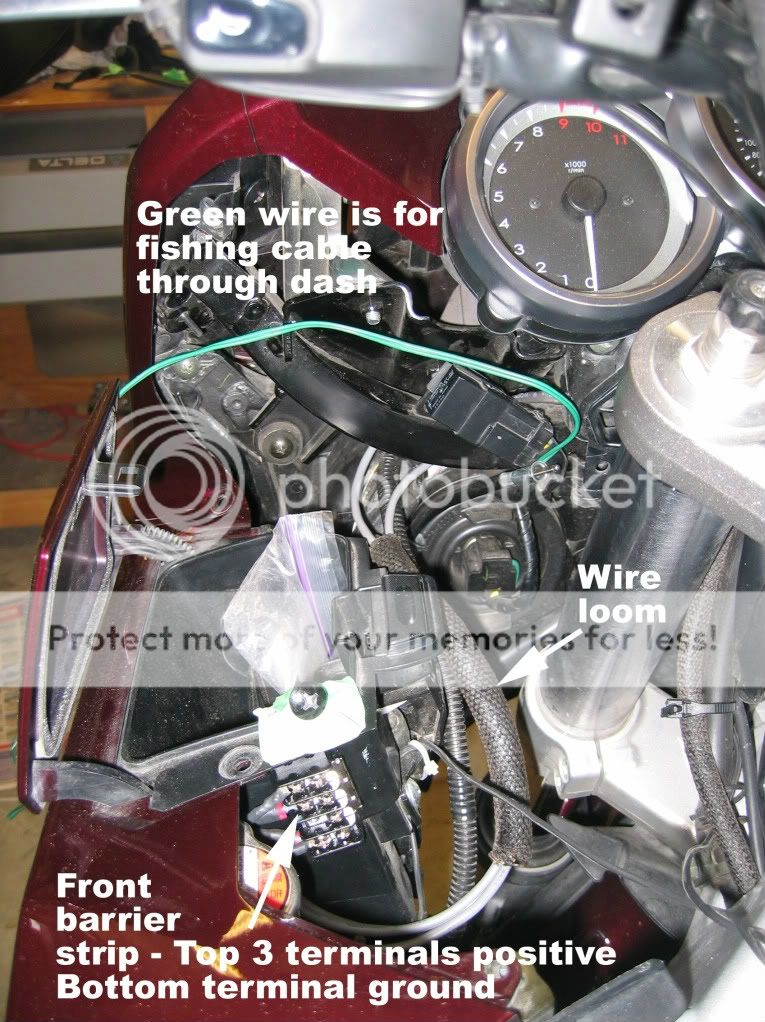
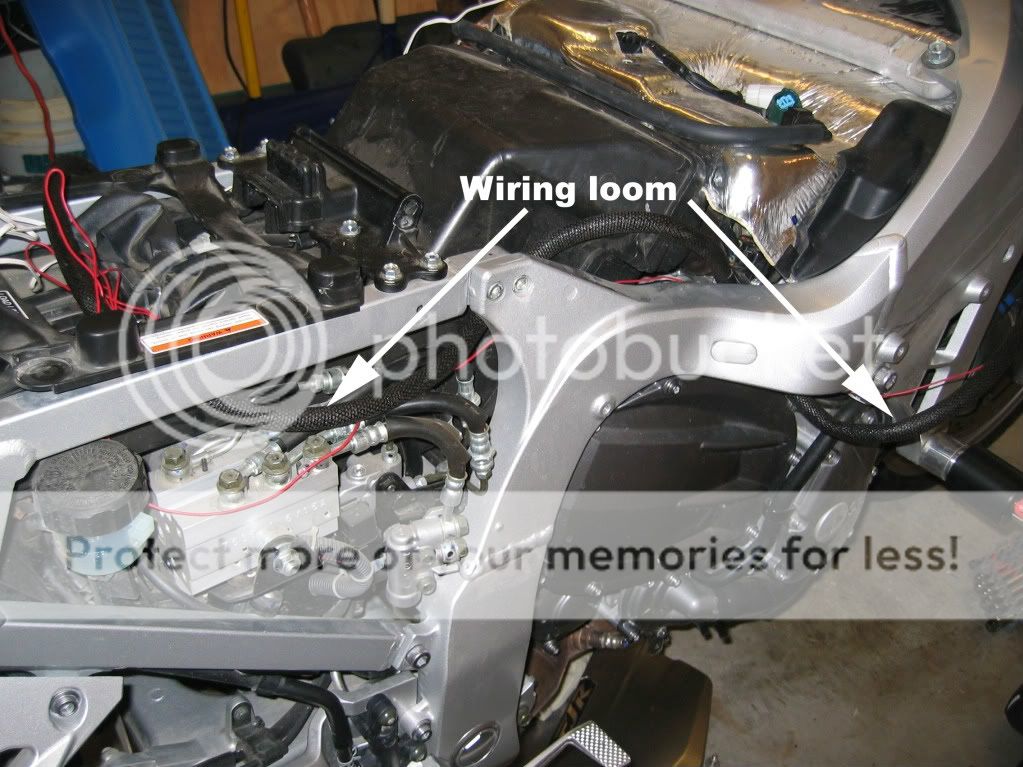
Because there are a number of lights up front, I added a second strip up there to reduce the number of wires running to the rear barrier strip: The wires gathered in the loom are LED leads.

FrontBarrier2.jpg


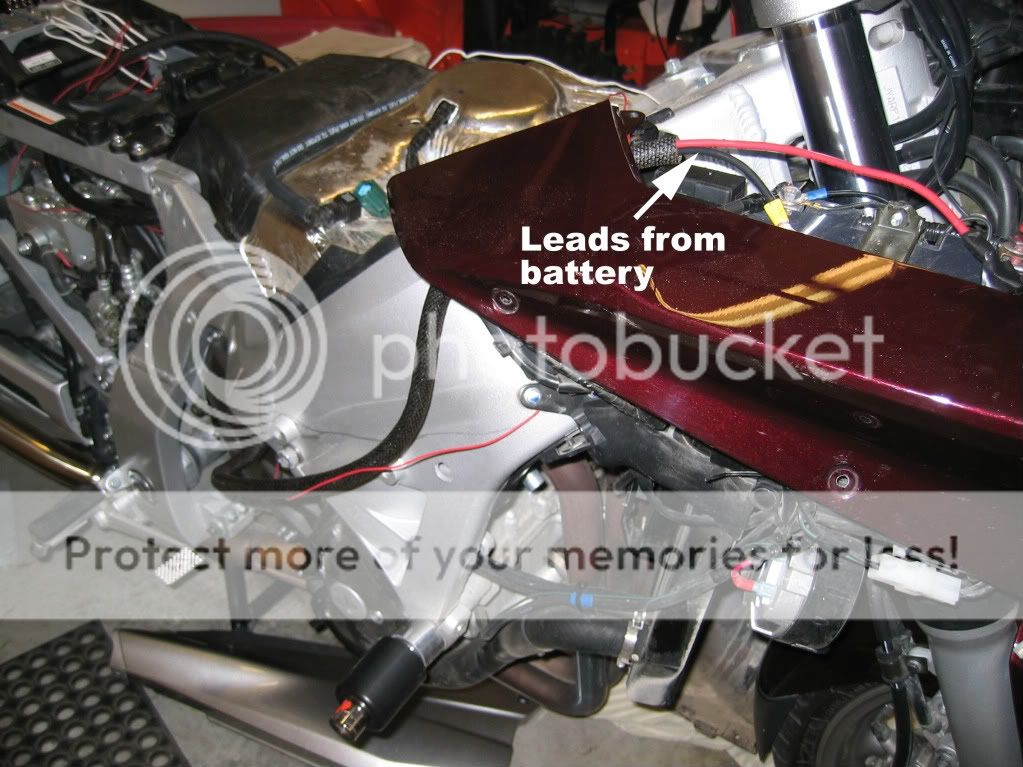
These two shots show how I fed power from the battery to the fuse block. Smaller gauge wire routed on the opposite side of the bike leads from the rear barrier strip to the front barrier strip, switching it on and off with the rear. Wire loom protects both runs.

Leads.jpg


Loom1.jpg


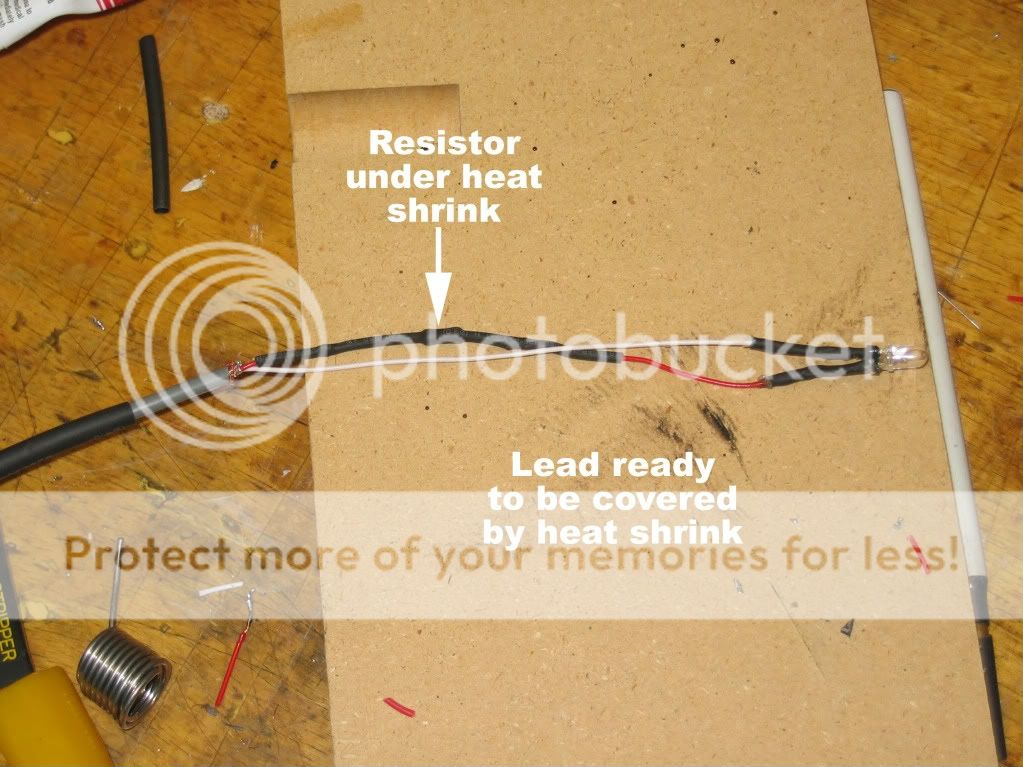
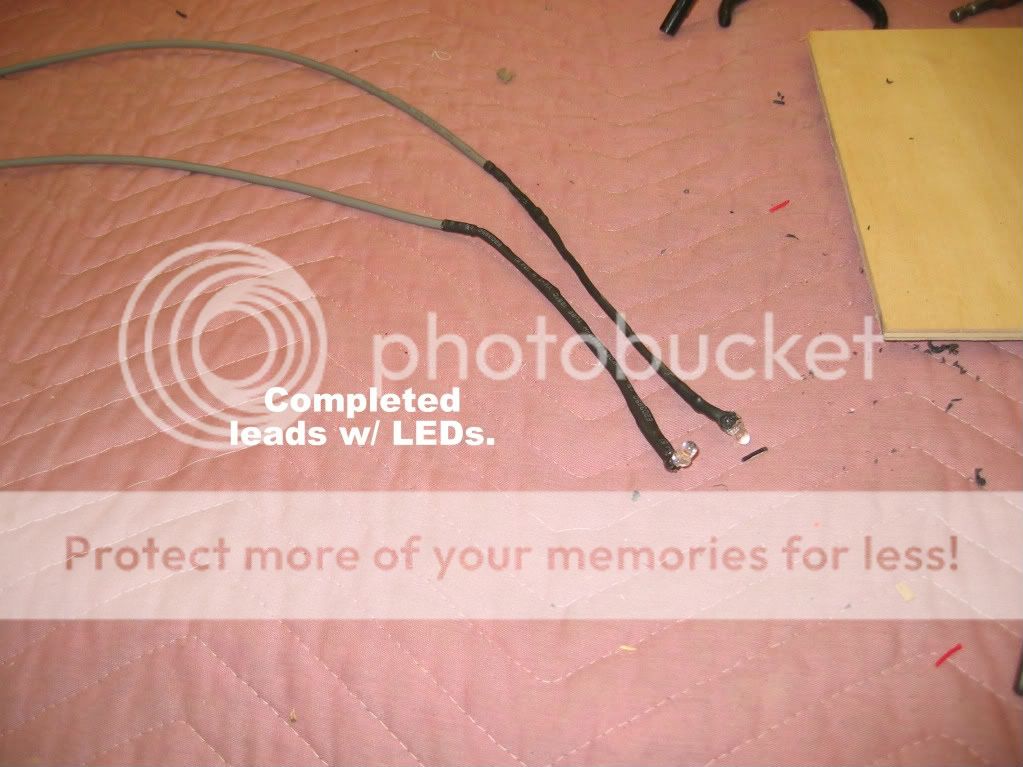
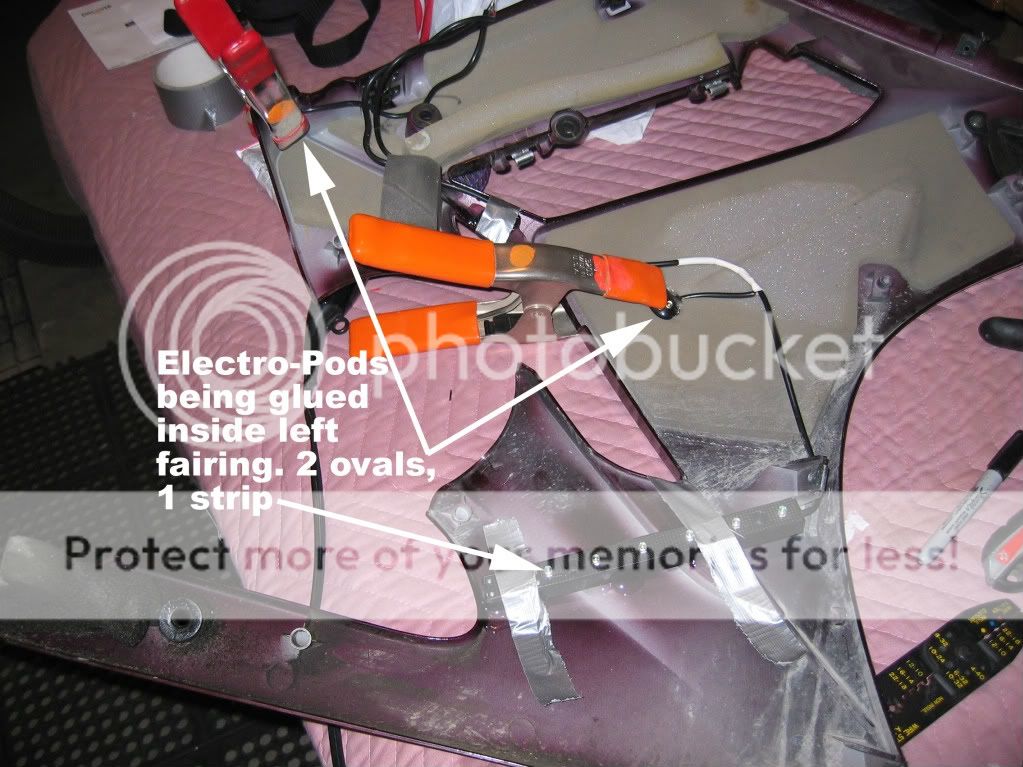
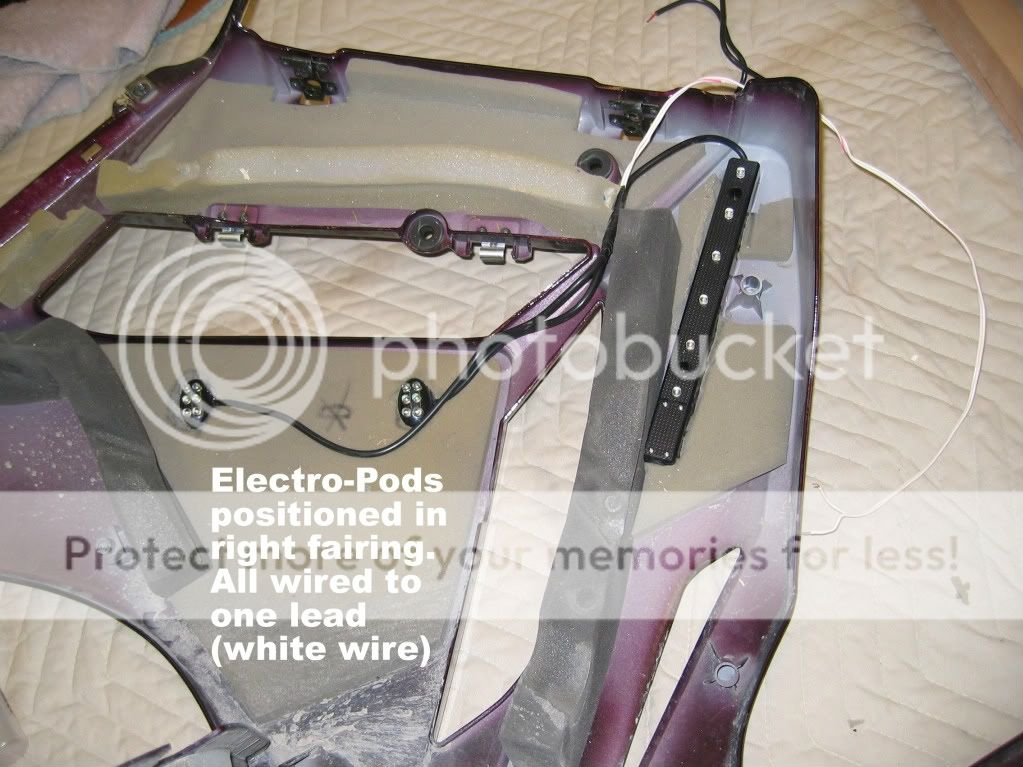
As far as locations, just go nuts! When I started, I wired up an LED with a 6' lead as shown in the previous post, connected it to the fuse block, turned off the garage lights and started poking it into nooks and crannies to see if I liked the result. Half the fun is finding a place to hide the LED where it isn't easily seen, yet highlights interesting parts of the bike. If I get another long, dark winter, I may add some inside my runnning lights, below the tank and wherever time and imagination allow. As for durability, I've got LEDs inside my front fender where they get all kinds of water and road debris. Still working.

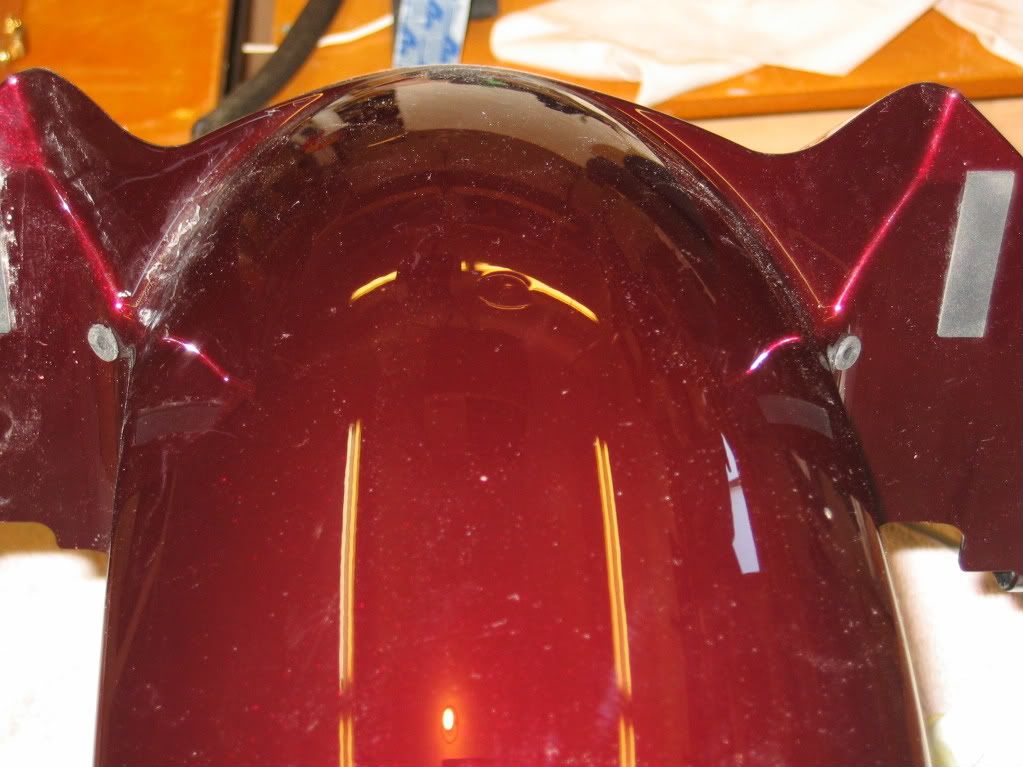
Here's a rear view of the fender with rubber grommets in place to protect the LED leads:

100_0020.jpg


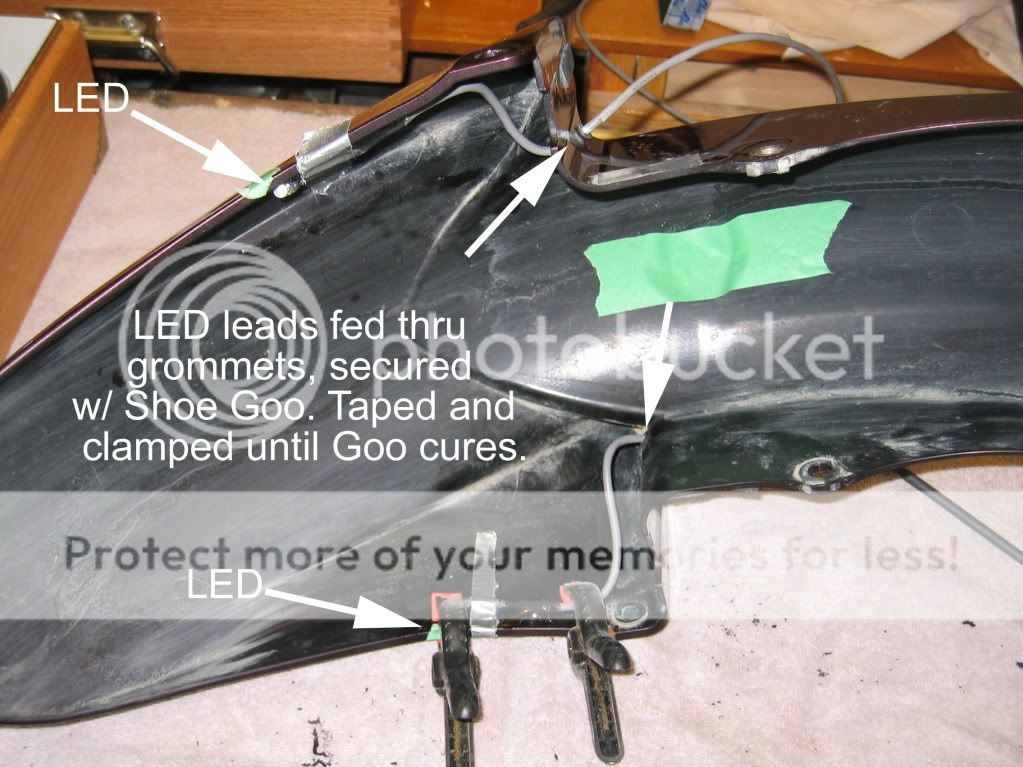
Arrangement inside the fender:

InsideFender.jpg


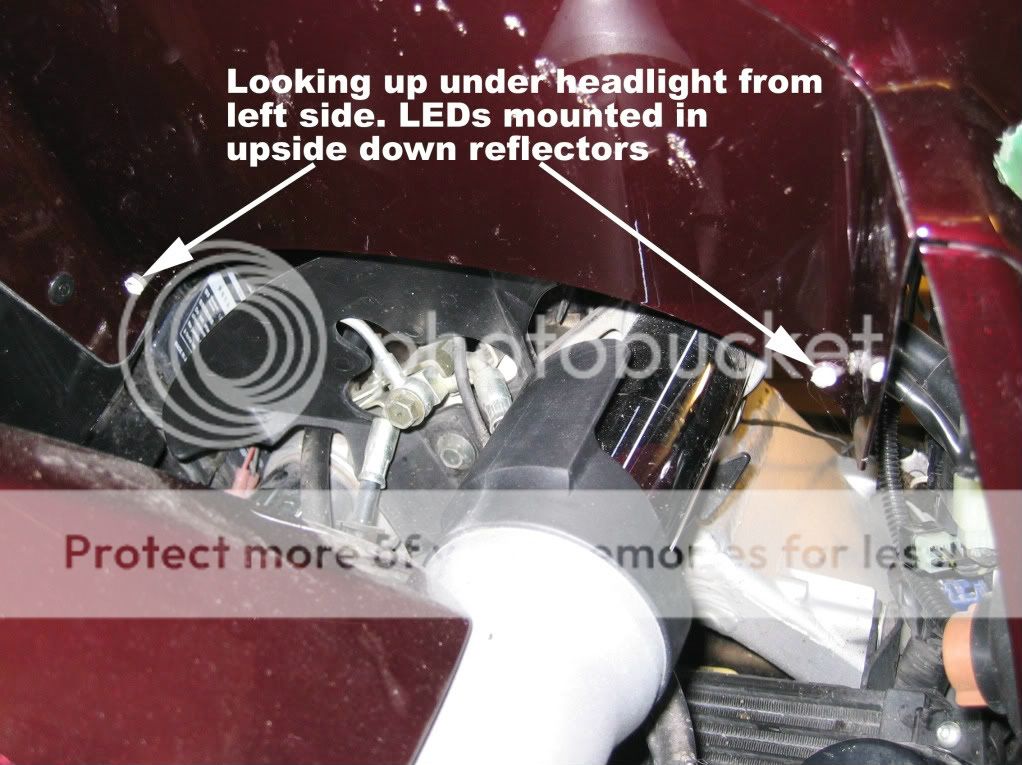
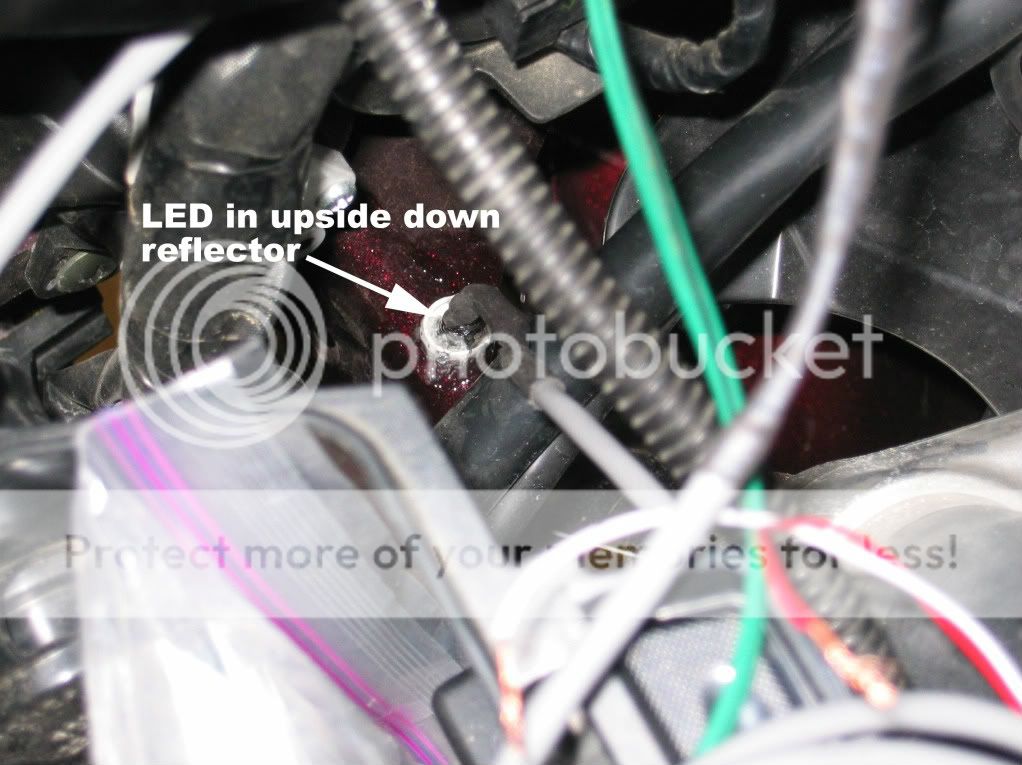
This is looking up under the nose, left shock in the foreground. To help hold these, I inverted bell-shaped reflectors in the holes. They provided the perfect reveal and position the LEDs at the desired angle.

UnderHeadlight.jpg


Same installation viewed from the top. Shoe Goo again holds everything in position:

FrontFenderLeftTopView.jpg


Two last shots: Here's an install in the cowl vent. The lead comes in from the right, then bends into a C shape to point the LED back to the right, into the cowl. Again, finding places to hide the LED, but highlighting an area.

Nose1.jpg


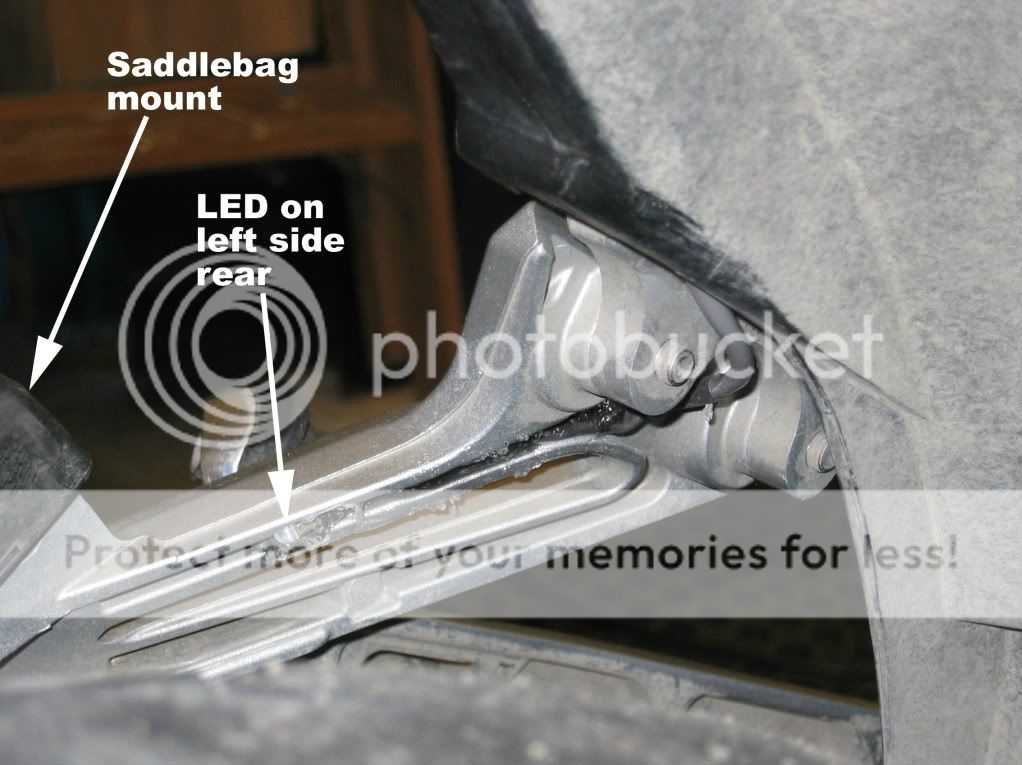
This LED fits in the hollow in the strut and shines on the front of the rear wheel. There's a matching one on the opposite side:

LRearFrame.jpg


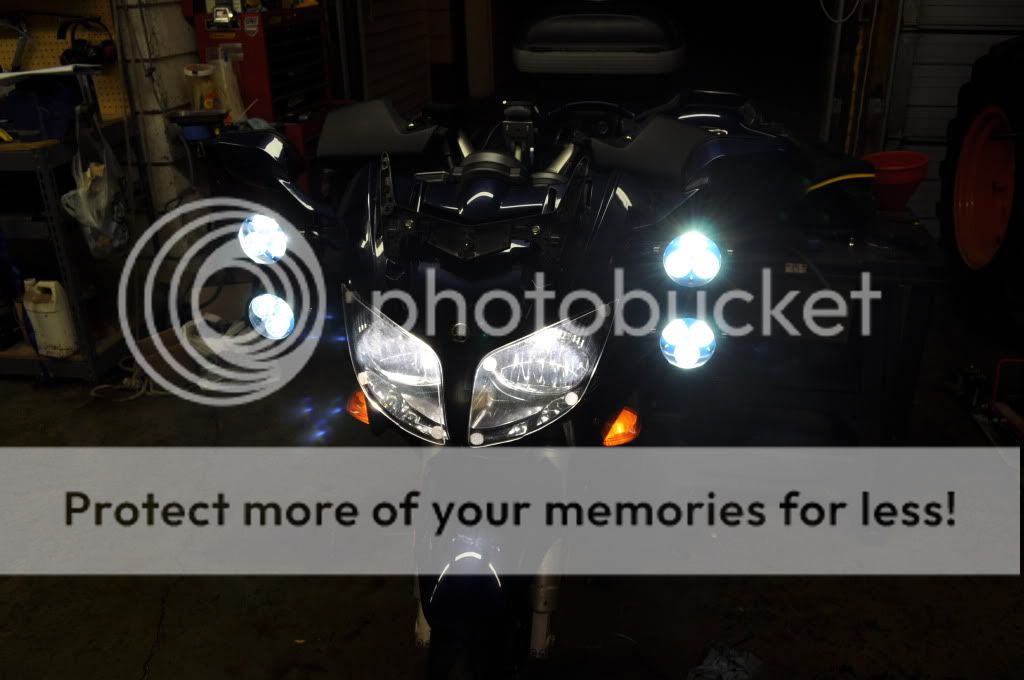
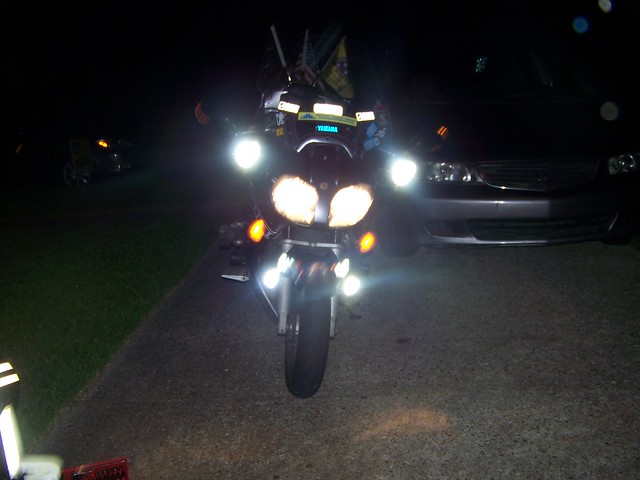
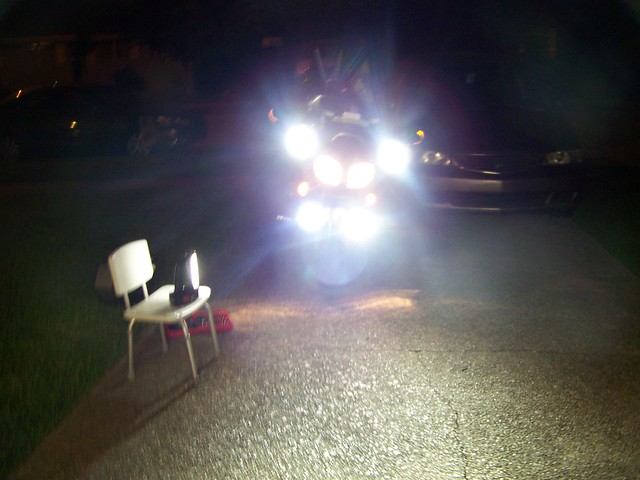
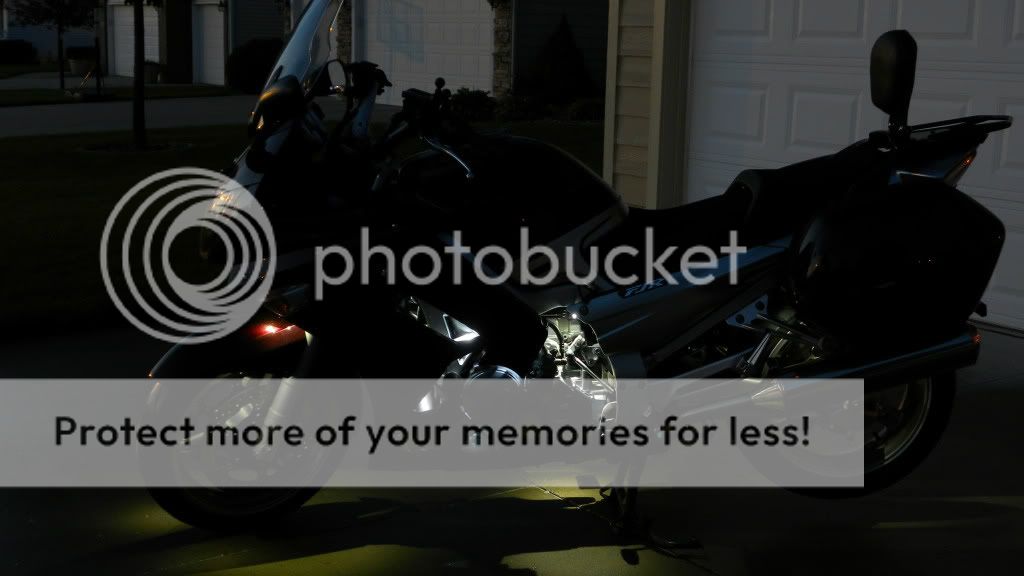
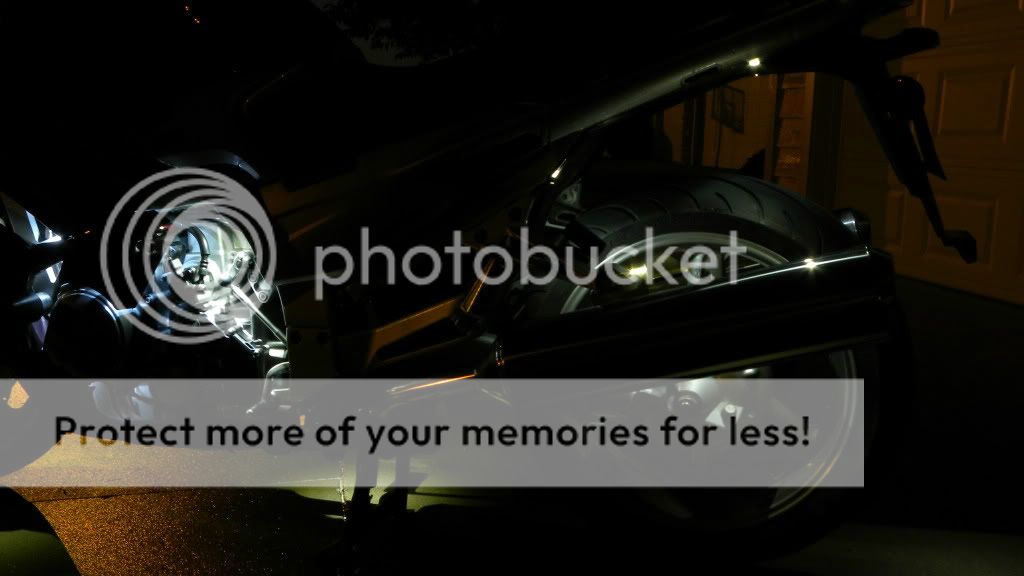
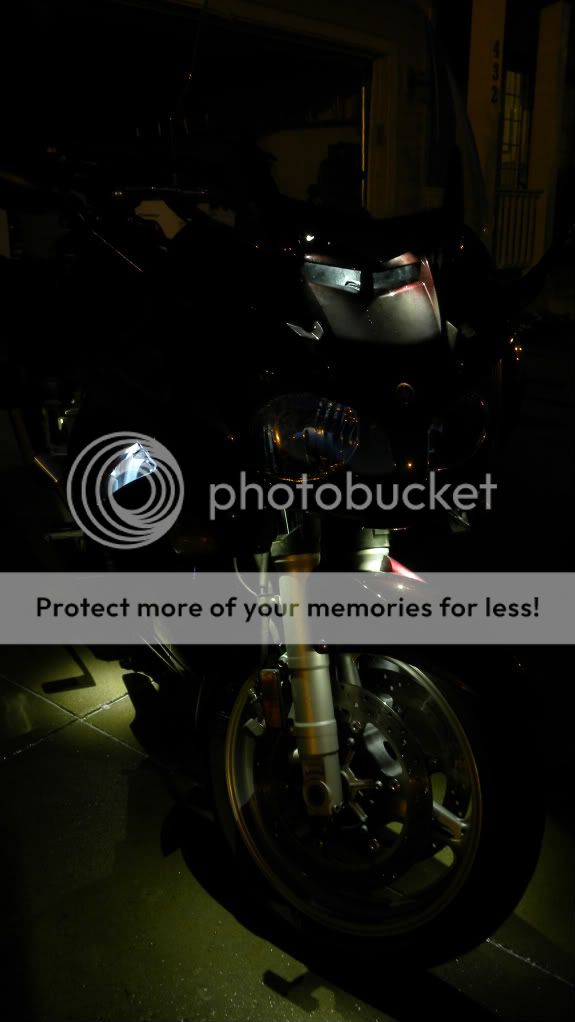
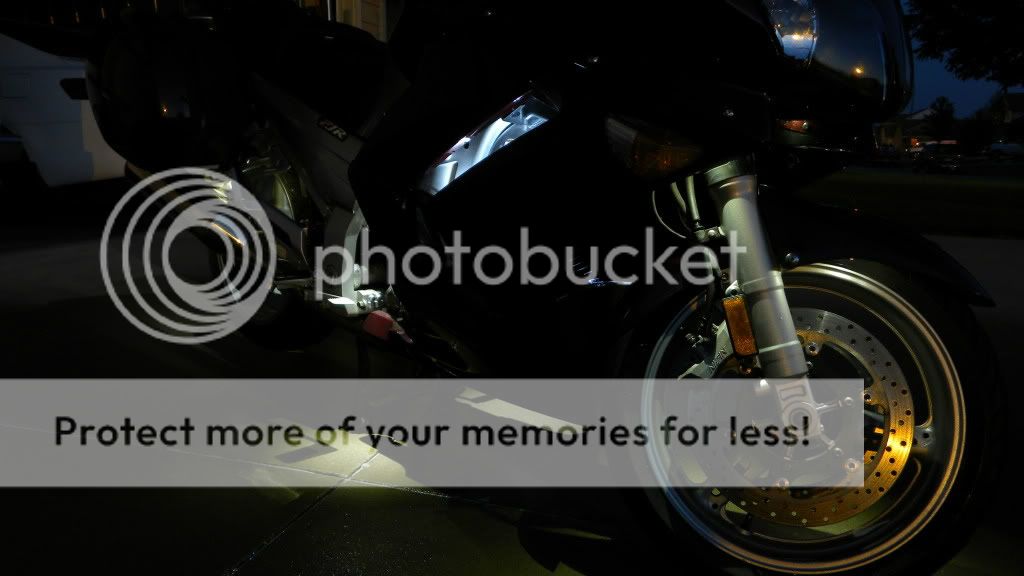
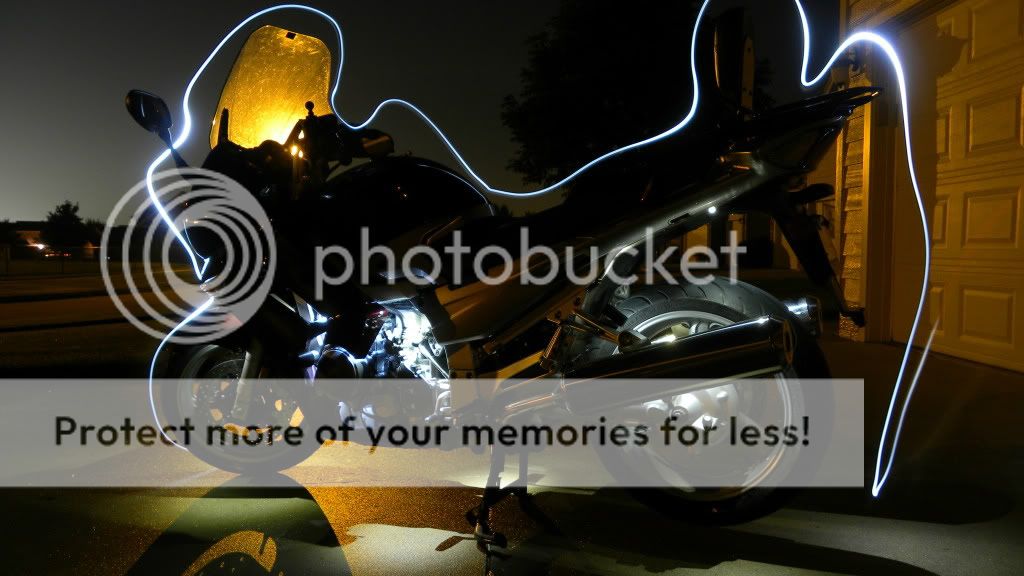
After all this, I realized I don't have any photos of the bike lit up. I'll try to snap some this weekend and post it so the ghey-bashing can begin in earnest :bleh:

 
Read through the thread with interest, Craig, but . . . NO PAYOFF! :sadsmiley02: Looking forward to seeing the results.

I wouldn't do this myself, but I think I'll like it on yours when I see it. Great job of illustrating and explaining, and clever application of "Shoe Goo," too. It's tough and durable, but I never thought to use it for anything but, well, shoes. Good job.

One more thing. If I WERE to do this, I think I'd add a few white lights down inside the guts of the bike, not to shine out for "show," but to illuminate all the hiding places that dropped screws and washers go. :lol:

 
Last edited by a moderator:
Ok, ok, I got some shots of the bike lit up. These are all long exposure, just existing light, no flash or any type of fill. I even wet down the drive like they do in Hollywood to make it shinier. (Actually I'd just washed off the outer layer of CFO crud.) However, the camera isn't as sensitive as the human eye, so you lose a bit of the effect as compared to seeing it in person.

Left side. Saddlebag masks some of the effect on the rear wheel

5-Lside.jpg


Right side w/ the saddlebag removed:

2-RSide.jpg


Much of the light above the shift lever comes from the light inside the silver side cover shown in the previous post. Light toward the front is from the Electropods.

The LED embedded in the strut (shown in previous post) and the one above the rear wheel provide a nice flood of light under the rear fender:

4-LRear-ENgine.jpg


Here's the front cowl. There are two more LEDS tucked behind the lowest bracket on the inside of the windshield shining down. You can see inside the air intake with the windshield raised. You can also see how the two LEDs above the wheel well illuminate the fender and how the two inside the fender accent the wheel:

6-RCowl.jpg


Shot toward the back. The orange glow on the rotor is from the street light.

7-RFront3rd.jpg


And finally, I was having fun doing these so I got a bit creative with an LED flashlight:

8-Trace1.jpg


If I continue with this, I'll install some in the running lights so I can make them glow even with the key off. I'd like to accent my license plate. And I need to accent the tank and dash. I've been trying to figure out how to backlight the FJR badge on the side panel, but haven't come up with a workable solution that provides even illumination and doesn't wash out the logo.

 
Nice very informative and helpful. Thank you very much. I am sold I will being installing LED's just a matter of finding time to do it all.

 
Read through the thread with interest, Craig, but . . . NO PAYOFF! :sadsmiley02: Looking forward to seeing the results.

I wouldn't do this myself, but I think I'll like it on yours when I see it. Great job of illustrating and explaining, and clever application of "Shoe Goo," too. It's tough and durable, but I never thought to use it for anything but, well, shoes. Good job.

One more thing. If I WERE to do this, I think I'd add a few white lights down inside the guts of the bike, not to shine out for "show," but to illuminate all the hiding places that dropped screws and washers go. :lol:
Mike,

You reminded me of one thing I forgot to mention. I did install an LED in one of the reflectors, on a 6' coil of wire that I stash under the seat. Perfect flashlight for peering into nooks and crannies a where a regular flashlight won't seem to reach.

 
Top