...How did you do the switching
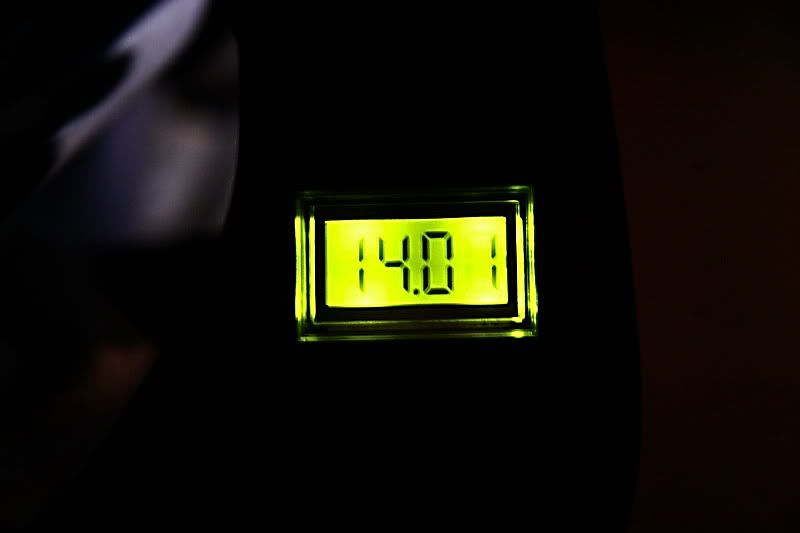
Any old water proof switch, switch J1, pin 3 wire from the Datel to ground. Ground = back light; no ground = no back light.
In truth
the LCD is more trouble and $$$ than what it is worth unless you
really want a LCD meter. The normal Red or Blue LED meters are very easy to hook up, having just two wires that go directly to the battery or an ignition switched relay that goes directly to the battery.
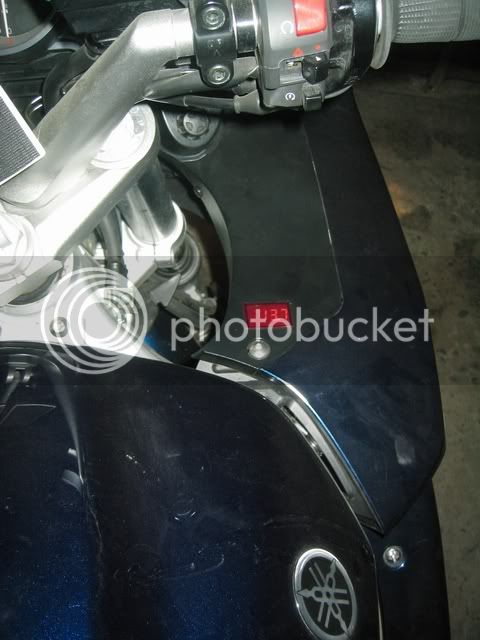
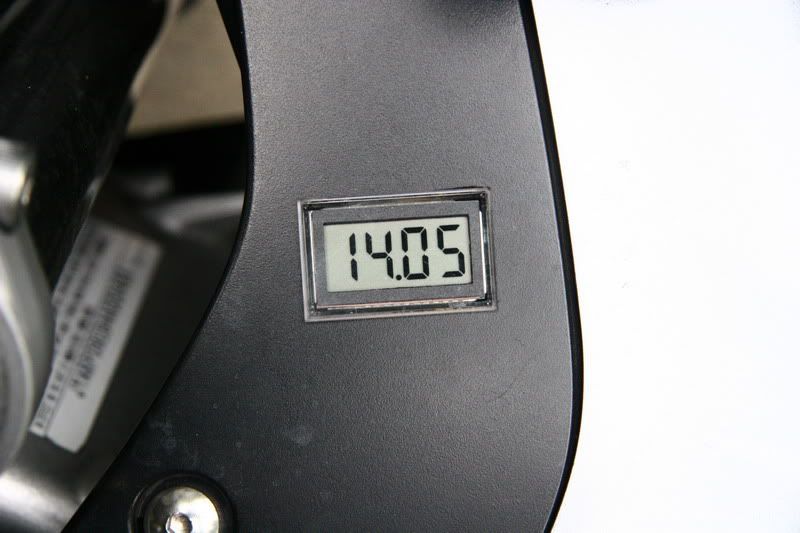
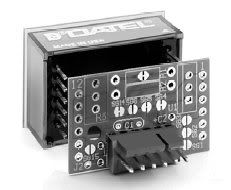
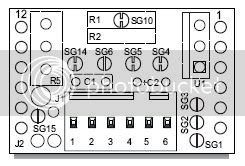
The LCD meter has 12 pins, 6 down each side. The LCD meter itself runs at +5 VDC even though it can measure voltages up to +/- 100 volts. To accommodate this I purchased (more $$$) the optional PCB and populated it with U1 (LM7805 a 5 volt regulator) and C2, a filter cap. Then I shorted together SG2 to put the decimal point in the correct location. SG4 had to be cut to allow for U1 being installed. The PCB did come with the mating connector and pins. When the assembly is complete there are three wires coming out of connector J1 -- one wire from + battery; one wire from - battery; J1, pin three is for the back light as described earlier. One of the perks of my job is being able to either environmentally coat or pot the whole mess once assembled. The connector is nice because it makes it easy to unplug when removing panels.
Just to make the install more of a pain in the ass, I used a three position switch so that I can CLICK -- the switch and have the meter on all the time; CLICK -- meter on only with the ignition; CLICK -- meter on with the ignition and the back light enabled.
You can download a PDF on the
meter and a PDF on the
PCB that are very detailed on how it all works and goes together.
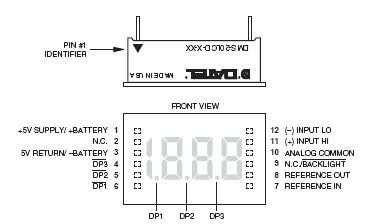
The 12 pins on the LCD meter:
The PCB that solders to the 12 pins and holds the 5 volt regulator plus has the quick disconnect J1:
The details on the PCB:
I really wanted a LCD meter, my eyes don't handle the bright LED meter very well and the only options with the LED are ON and OFF.