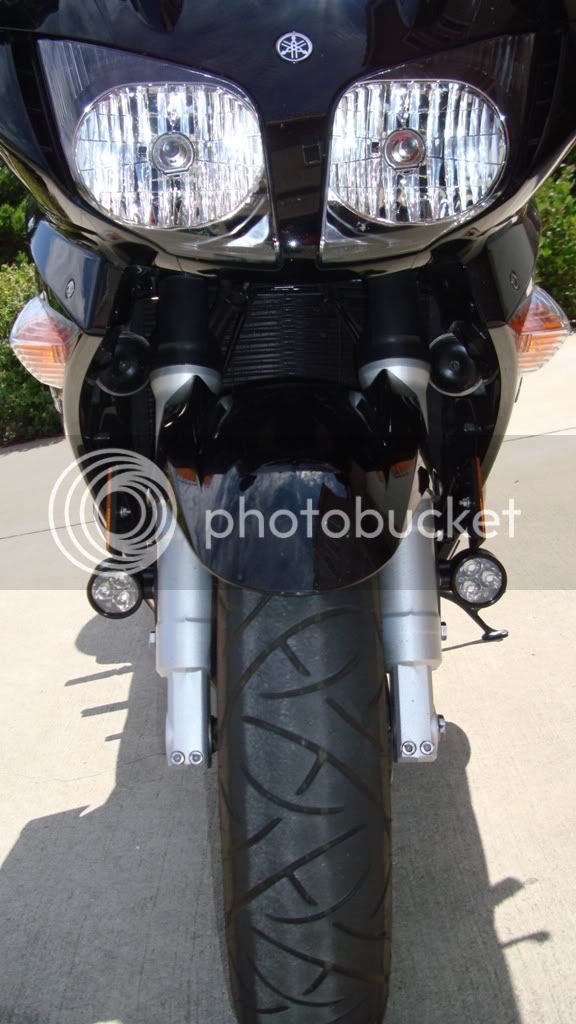
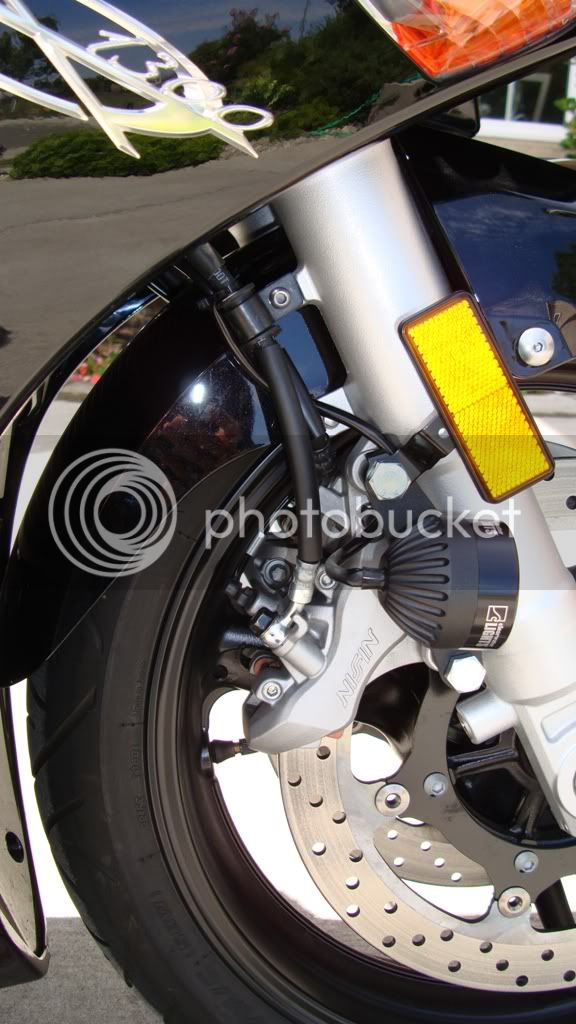
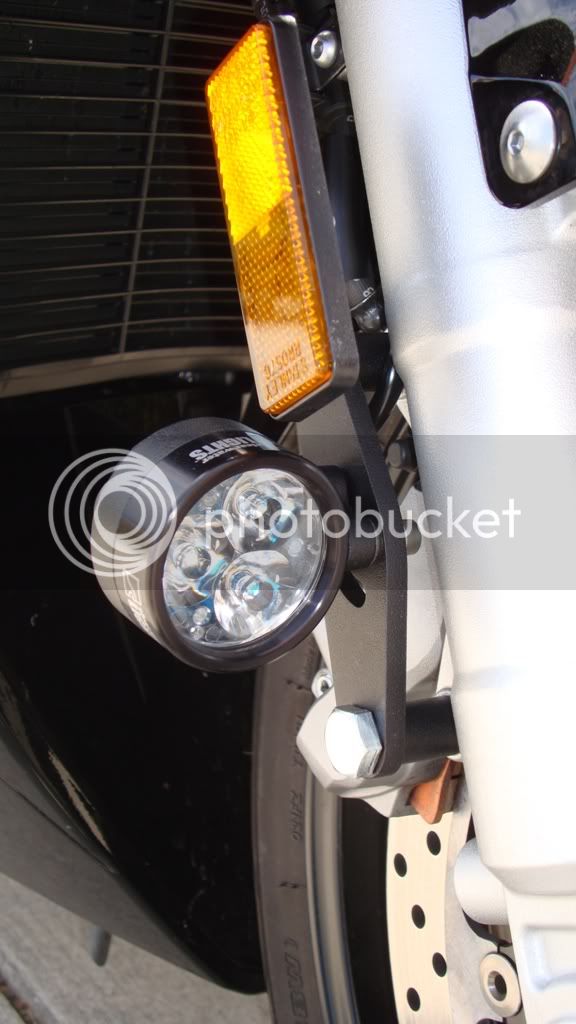
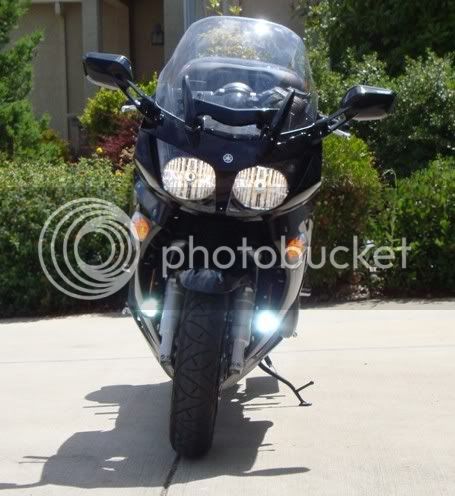
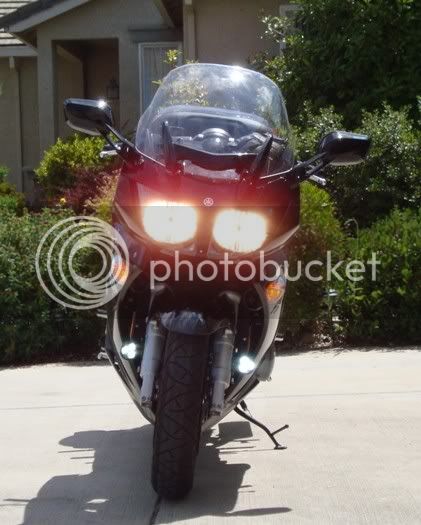
Mike asked me if I could comment on the install, since I put these babies on myself. There was really not much to it.
Probably the hardest part was finding the first headlight relay (before the normal/bright lights split), which has 3 wires going into it, the green one being the main power to the headlights that is switched on once the bike is started. The service manual tells all about it, but doesn't give a real good idea of EXACTLY where it is (at least that I could find). On the 09, it is just left of center behind the upper left panel. Pretty easy to figure out if you have the correct wire using a voltmeter. Each of the lights has a red, black and green wire and the dimmer switch has the same 3 along with a white wire (used if you purchase the larger LED lights Clearwater is coming out with soon . . . the white wire can just be tucked back into the black wire shield). So, basically, using the supplied wire twisters, connect the 3 green wires together, connect the 3 black wires along with the ground wire together, and connect the 3 red wires along with 1 end of the provided red fused wire together. Then, use the included tap to tap the other end of the red fused wire into the green wire you found on the relay. The spade lug on the other end of the black ground wire goes to the battery negative. Once all wired up and tested, I just tucked all of the wires into the left side area below the fairing pocket and buttoned it all up.
The install of the brackets and lights is very straightforward. Depending on your FJR model, there may be some issues getting the reflector brackets situated properly, but I was able to find a reasonable position for them. The wires can simply follow the other tubes up into the fairing and be tie wrapped into place. Of course, torque the caliper bolts back to spec and you're good to go.
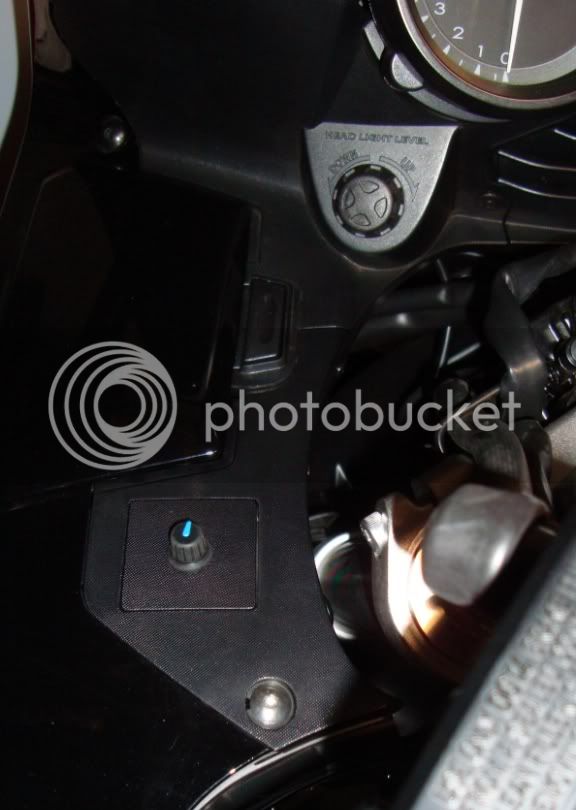
The dimmer switch is easily removed from the supplied bracket and, drilling the proper sized hole, can be put almost anywhere you have room. I chose the little pop out square on the left lower panel figuring if I need to replace it, it is probably one of the less expensive plastic parts.
Overall, the install probably takes 45 minutes or so. Mine took a bit longer figuring out that I had to disconnect the headlight adjustment cables to get the top panels off.
(is this considered a hijack? sorry
)


