


BwanaDik
Well-known member
Got the shock from GP Suspension, all ready to do the install. I'd done a "Penske shock install site:fjrforum.com" search already, had read all the threads briefly and saved them in "favorites", and thought I was ready to go. So my Friday off, I decide to attack it. Unfortunately, my ISP decided to bail out that morning so I had nothing to go by other than the POS FSM because I had neglected to print out the applicable threads. Shit.
I did remember that a bunch of guys had gone thru the left side somehow but, as I have an AE, this area is blocked by the shift mechinism. Shit again! :angry:
There are a couple of excellent threads by FJRocket and mdisher out there. The one by FJRocket, of course, is for an AE but I COULDN'T ACCESS IT!
Oh well, onward!
I looked in the POS FSM for guidance on removing the shock and, of course, it appeared they did it the hard way. Not unlike the fork install procedure. The cartoon showed a view looking down onto the shock from above with the tool tray and stuff removed. So off I go.
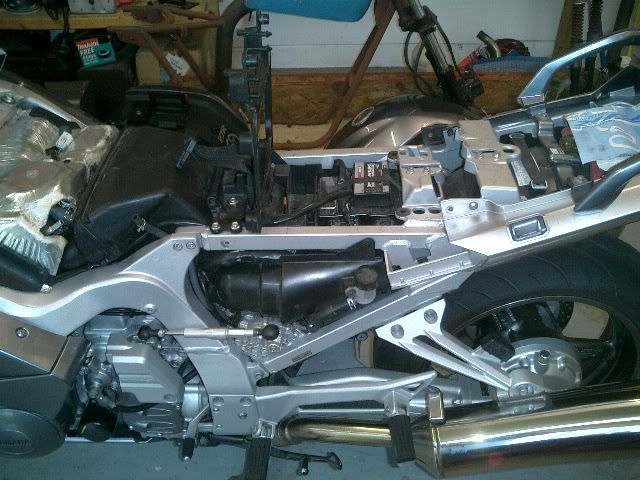
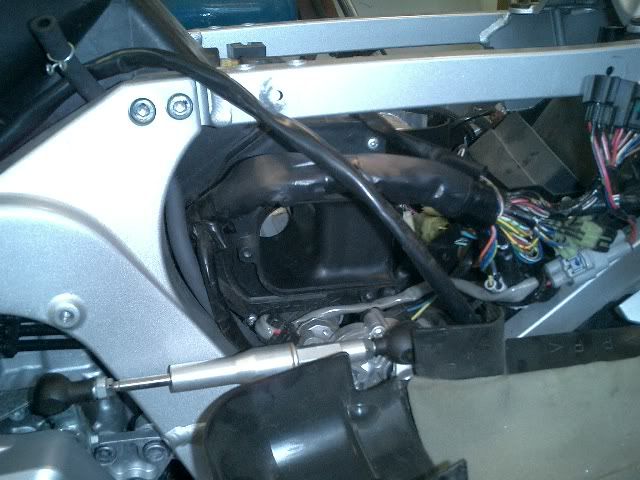
Some pre dis-assembly shots so I might have a clue how to put it back together
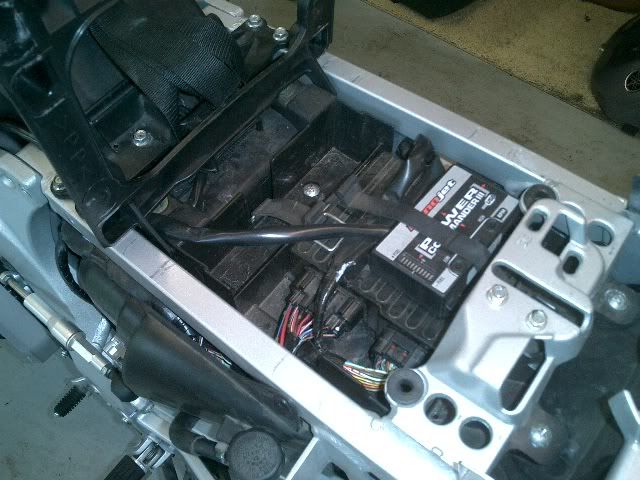
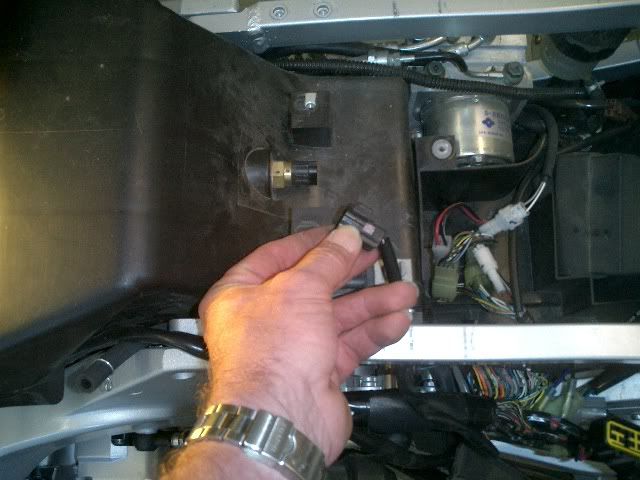
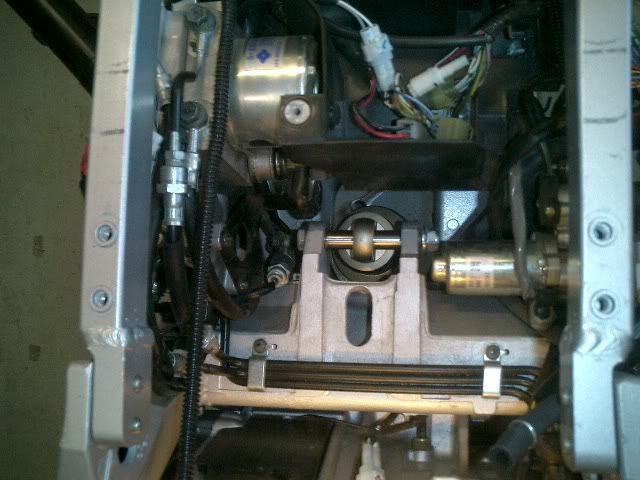
AE control box out and wiring harness disconnected
Removing the air box
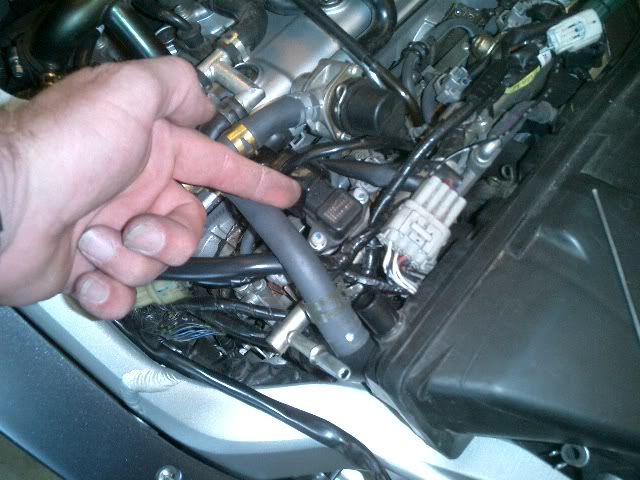
Air temp sensor
I removed this doo dad to access the intake boot screws easier
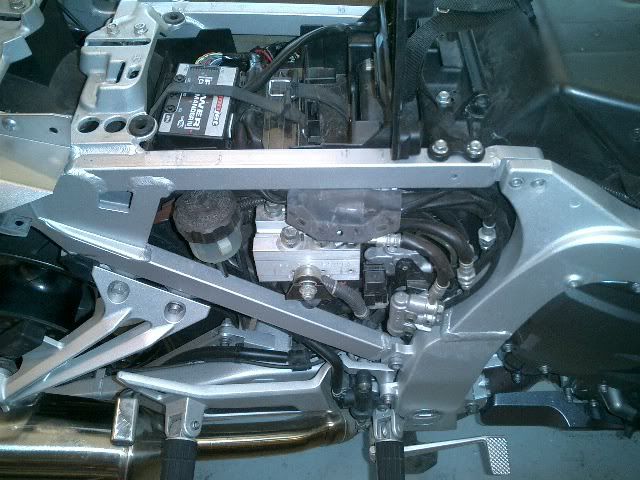
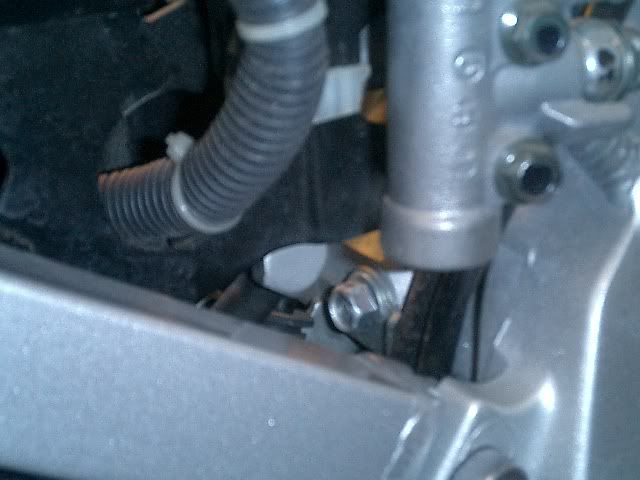
Success! Access (or so I think)
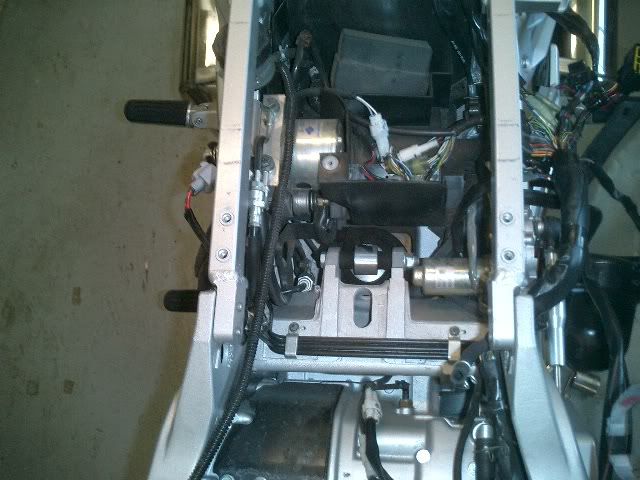
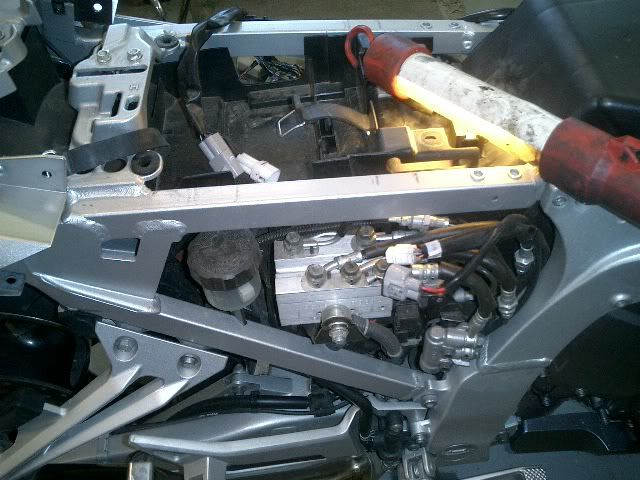
And guess what, the bolt won't come out! After decoding the POS FSM, I finally did figure out that if you push down on the bolt head, after having pulled out the collar bushing, it will just sneak out under the frame bracket. Remember, I still don't have access to the easy instructions on the Forum. I still find it incredable how the packaging job is on this bike. How long do you think the designers/engineers stood around to figure this one out. I'm not sure you can model a maintenance step like this in CAD.
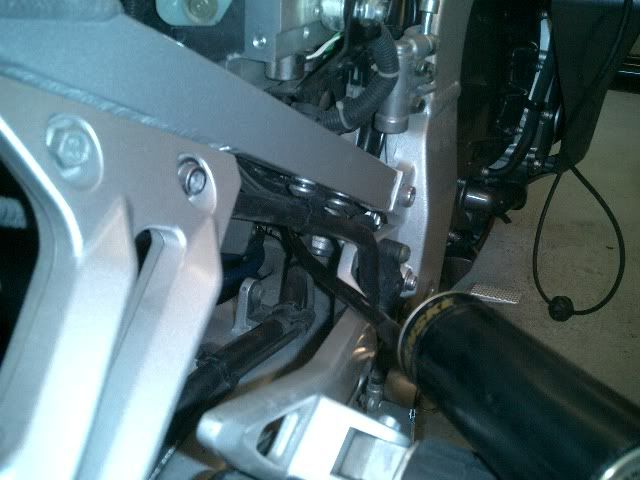
Penske in. At this point a real no-brainer to torque up. Possibly a reason to do it this way instead of coming in the sides?
Routing of the remote. This took a little figuring as GP doesn't provide any installation instructions. Just keep working with the bracket until you get it in the right position. When it's in the "right place" it feels right with no binding
and of course the required picture of the corroded bolt that holds the dog bones together.
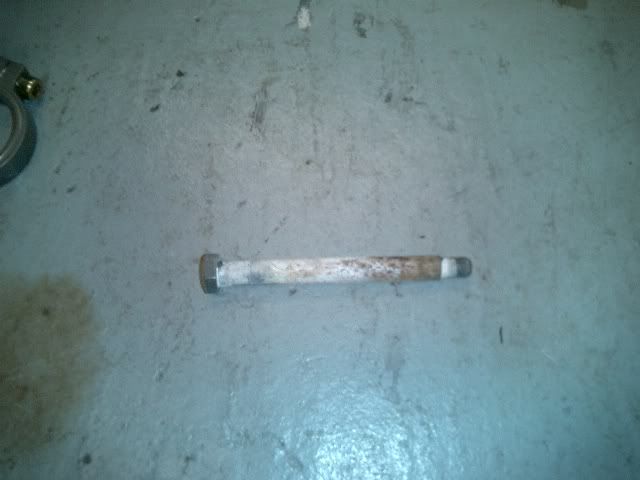
Remember, this is NOT the bearing surface, it only holds the bearing in place (which was fine). Cleaned it up and put some grease on it anyway. There was a comment from one of our U.K. friends about this bolt corroding thru and breaking. Might not be a bad idea to put them on the P.M. list of things to do.
Re-assembled in reverse order.
All things considered, I think this way was probably just as easy as the route of threading the 17 mm socket thru the left side and trying to shinny the bolt out the right side. You guys that have done it that way must have real patience and really skinny fingers. In the dim reaches of a previous life, I had the honor of working with John Ireland at Red Line M/C in Santa Barbara. His philosophy was to take off anything that was in the way, don't try to work around it, that usually takes longer. I've found this to hold true in general and did in this case at least.
So, yes, you can change the shock out thru the top as recommended in the POS FSM without too much trouble. About the only hard part was getting the air box snorkles back on the TB's but that just took some time and wiggling.
I did remember that a bunch of guys had gone thru the left side somehow but, as I have an AE, this area is blocked by the shift mechinism. Shit again! :angry:
There are a couple of excellent threads by FJRocket and mdisher out there. The one by FJRocket, of course, is for an AE but I COULDN'T ACCESS IT!
Oh well, onward!
I looked in the POS FSM for guidance on removing the shock and, of course, it appeared they did it the hard way. Not unlike the fork install procedure. The cartoon showed a view looking down onto the shock from above with the tool tray and stuff removed. So off I go.
Some pre dis-assembly shots so I might have a clue how to put it back together
AE control box out and wiring harness disconnected
Removing the air box
Air temp sensor
I removed this doo dad to access the intake boot screws easier
Success! Access (or so I think)
And guess what, the bolt won't come out! After decoding the POS FSM, I finally did figure out that if you push down on the bolt head, after having pulled out the collar bushing, it will just sneak out under the frame bracket. Remember, I still don't have access to the easy instructions on the Forum. I still find it incredable how the packaging job is on this bike. How long do you think the designers/engineers stood around to figure this one out. I'm not sure you can model a maintenance step like this in CAD.
Penske in. At this point a real no-brainer to torque up. Possibly a reason to do it this way instead of coming in the sides?
Routing of the remote. This took a little figuring as GP doesn't provide any installation instructions. Just keep working with the bracket until you get it in the right position. When it's in the "right place" it feels right with no binding
and of course the required picture of the corroded bolt that holds the dog bones together.
Remember, this is NOT the bearing surface, it only holds the bearing in place (which was fine). Cleaned it up and put some grease on it anyway. There was a comment from one of our U.K. friends about this bolt corroding thru and breaking. Might not be a bad idea to put them on the P.M. list of things to do.
Re-assembled in reverse order.
All things considered, I think this way was probably just as easy as the route of threading the 17 mm socket thru the left side and trying to shinny the bolt out the right side. You guys that have done it that way must have real patience and really skinny fingers. In the dim reaches of a previous life, I had the honor of working with John Ireland at Red Line M/C in Santa Barbara. His philosophy was to take off anything that was in the way, don't try to work around it, that usually takes longer. I've found this to hold true in general and did in this case at least.
So, yes, you can change the shock out thru the top as recommended in the POS FSM without too much trouble. About the only hard part was getting the air box snorkles back on the TB's but that just took some time and wiggling.