Wanderer
Well-known member
Here's a few pics of the stuff I've done to the bike over the last week. Some of it was long over due, some of it was on a whim.
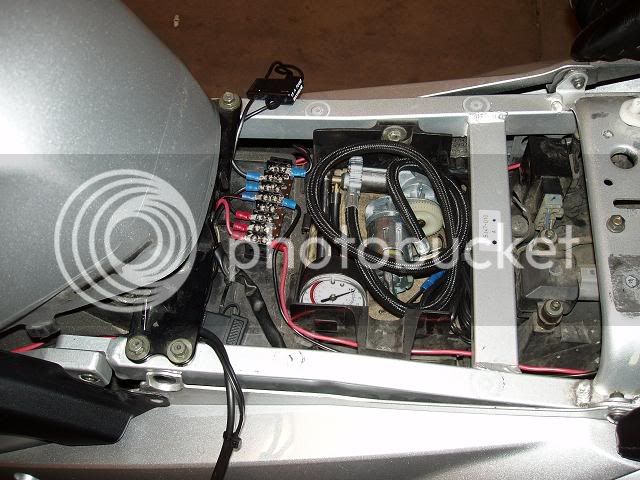
First I cleaned up and rewired the mess under the seat where I keep the PDB (wired for 2 heated liners and 12v acc plug)and the little compressor with TP guage.
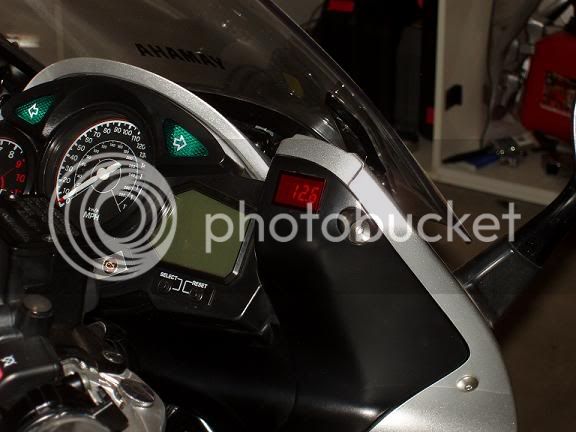
Then I installed the new Datel Voltmeter to keep an eye on the battery while running all the crap I potentially have attached to the bike.
I copied the idea from 05FJRBlueDevil's install I found here on the forum.
I may someday tie this in on a relay when I do a front PDB/realy for the heated grips install, but since the bike never sits for more than a week I can't see it really putting a dent in the battery charge.
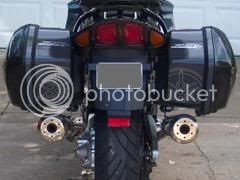
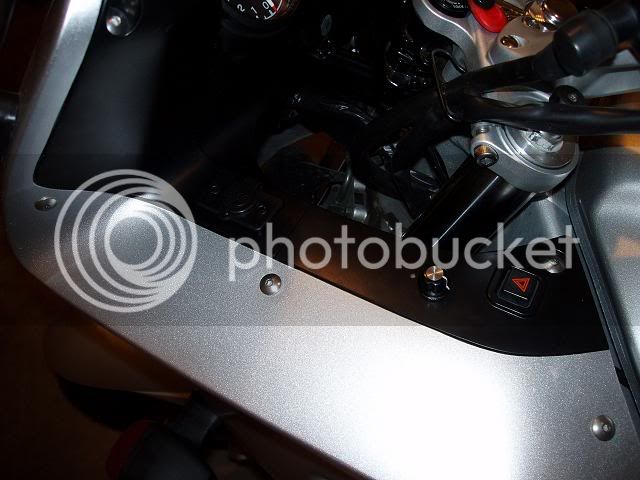
While all the ABCD panels were off I added in a LONG overdue weatherproof 12v acc plug that reaches the tankbag for the BlackBerry(music and GPS), the tire pump also plugs in here. It's powered by the PDB.
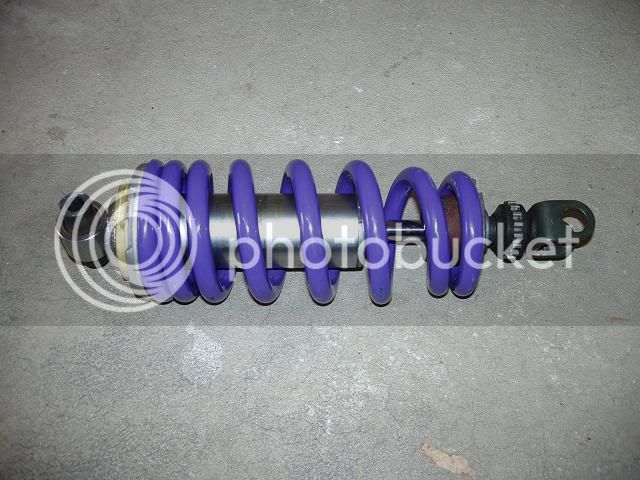
While my father was here (also rides an FJR) I got him to help me install the new EPM spring kit on the front and rear. I totally failed to get pics of the front but it was a crazy easy install so here is a pic of the newly installed rear spring ready to go back on the bike. In retrospect, next time I'll pay a suspension shop the 50 bucks to pop on the new spring rather than fight with a pair of MacPherson strut compressors to swap them out. 835lb springs don't compress easily with hand tools.
now if the weather would just cooperate I could go enjoy all this stuff.
First I cleaned up and rewired the mess under the seat where I keep the PDB (wired for 2 heated liners and 12v acc plug)and the little compressor with TP guage.
Then I installed the new Datel Voltmeter to keep an eye on the battery while running all the crap I potentially have attached to the bike.
I copied the idea from 05FJRBlueDevil's install I found here on the forum.
I may someday tie this in on a relay when I do a front PDB/realy for the heated grips install, but since the bike never sits for more than a week I can't see it really putting a dent in the battery charge.
While all the ABCD panels were off I added in a LONG overdue weatherproof 12v acc plug that reaches the tankbag for the BlackBerry(music and GPS), the tire pump also plugs in here. It's powered by the PDB.
While my father was here (also rides an FJR) I got him to help me install the new EPM spring kit on the front and rear. I totally failed to get pics of the front but it was a crazy easy install so here is a pic of the newly installed rear spring ready to go back on the bike. In retrospect, next time I'll pay a suspension shop the 50 bucks to pop on the new spring rather than fight with a pair of MacPherson strut compressors to swap them out. 835lb springs don't compress easily with hand tools.
now if the weather would just cooperate I could go enjoy all this stuff.