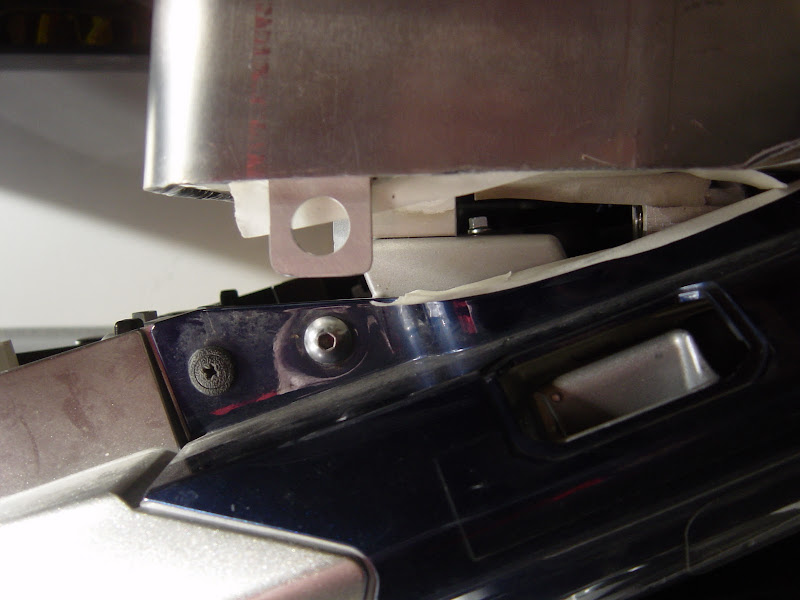
I also added two small pieces of 1/16" thick rubber that I placed under the front feet on the tank to make it fit snug. I have plenty that I will share if you need a couple inches fellow purchasers.
I hope that rubber is foam rubber that squashes down to nothing.
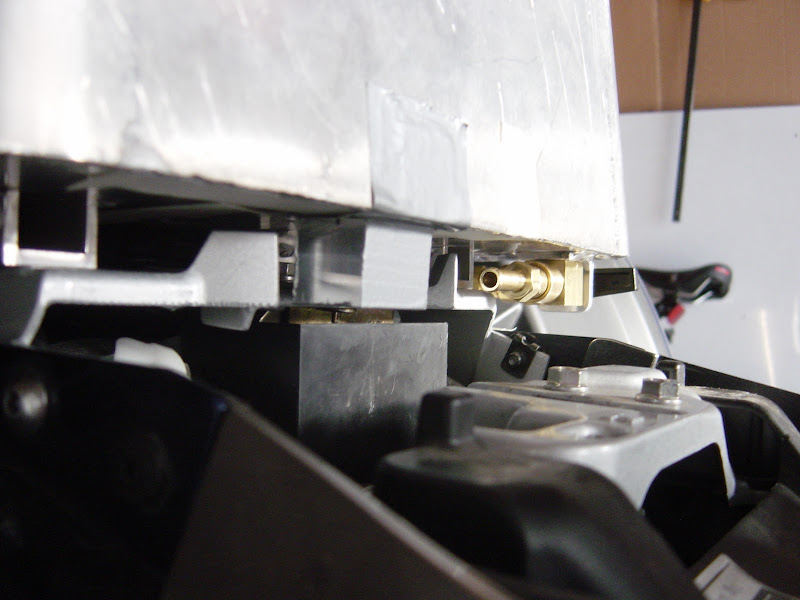
I spent quite a bit of time verifying the correct heights that those replacement grab rail bushings needed to be.
Plus, I mounted your tank to my bike after making the replacement grabrail bushings to verify the fit.
I would not recommend adding .0625" of rubber.
If you want to check it out, go to a toy store. Buy some Silly Putty. Add some to the areas where you are considering adding the rubber. Mount the tank and let it squish the Silly Putty flat, then measure the thickness of the Silly Putty. A Tootsie Roll will work if it's warm enough, but put it between sheets of wax paper. Then measure the whole stack, wax paper, Tootsie Roll, wax paper.
Be
very careful before you go adding rubber sheets here and there. You do not want to add stresses to the welds.


") were causing problems. The measurements seemed to show that they were raising the front of the tank too much. When the bumpers were removed, the measurements for the replacement bushings were much more "flat".
were causing problems. The measurements seemed to show that they were raising the front of the tank too much. When the bumpers were removed, the measurements for the replacement bushings were much more "flat".