Looks very good, I just ordered a humongous Cee Bailey to replace my slightly less humongous Cal-Sci, I'm definitely concerned with how it will look.
I may trade my Cal-Sci with someone's stock and do something similar to what you did at least for the summer months.
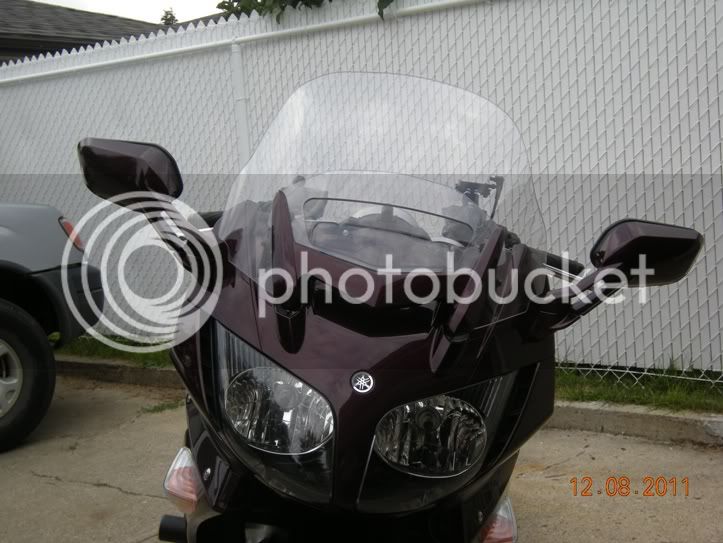
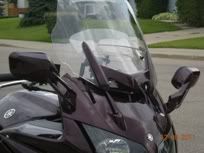
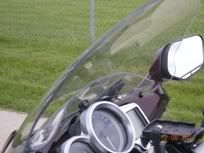
The idea behind the inside deflector is to simulate a tall windshield. The air-flow behind the main windshield is forced upward by the deflector and allows the main airstream to remain intact longer before breaking apart and generating the buffeting. It made sense in theory and this experiment has proven it. Now, if I can only get by the looks.
")
On the subject of cutting a windshield, here's what I've learned, some of it the hard way:
1. If you're cutting an opening, best to drill our the corners first. For this application, I used a 1 1/8"
Forstner bit but even a hole cutter would probably work good. Start off with a 1/8" pilot hole at each corner and before you start off with the larger bit, get yourself a second set of hands; the secret here is to
spray a small amount of water at the drill bit so as to keep it from building up melted plastic. A spray bottle is all that's needed.
2. For the cuts between the holes and any outside cuts, the ideal tool is a scroll saw or a band saw but I've gotten by with a jig saw. If using a jig saw, use a metal cutting blade and again, the second set of hands to spray cool the blade. Electric tools and water don't mix that well so plug into a GFI if available (just in case.... although I haven't had a misfortune yet). Blow-dry the jig saw when done.
3. Another word of caution if using a jig saw; make darn sure the saw's come to a complete stop before pulling it out of the works. One down stroke against the windshield and you've got yourself a nice crack.
4. That same carpenter friend that lent you the Forstner bit, ask him if you can pass the edges of your windshield on his disc sander. Otherwise, 200 grit sandpaper on a 4-6" block of wood works too.