UselessPickles
Making Grand Canyon replicas from air boxes...
I recently installed the Yamaha heated grip (grip warmer) kit on my 2008 FJR A. I found the instructions quite lacking in detail, so here's some confidence boosters for anyone considering installing this on their bike. This should be the same for all Gen II (2006-2009) non-AE bikes (AEs come with the kit installed already). This is not a complete step-by-step guide, so you'll still need to read the kit's instructions thoroughly.
Other than the poor instructions, the kit is great. It came with everything that is needed, and required no wiring skills. Just route the wires to existing connectors and plug them in.
The kit came with the throttle grip already installed onto a throttle tube (it's longer than the original throttle tube), so you only have to worry about wrestling with the left grip.
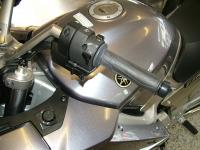
The most confusing part of the instructions is the horrible drawing and explanation of how the wire for the right grip is routed through the throttle cable housing (the kit comes with a replacement house that nicely hides the wire). Here's what the loop should look like that they describe:
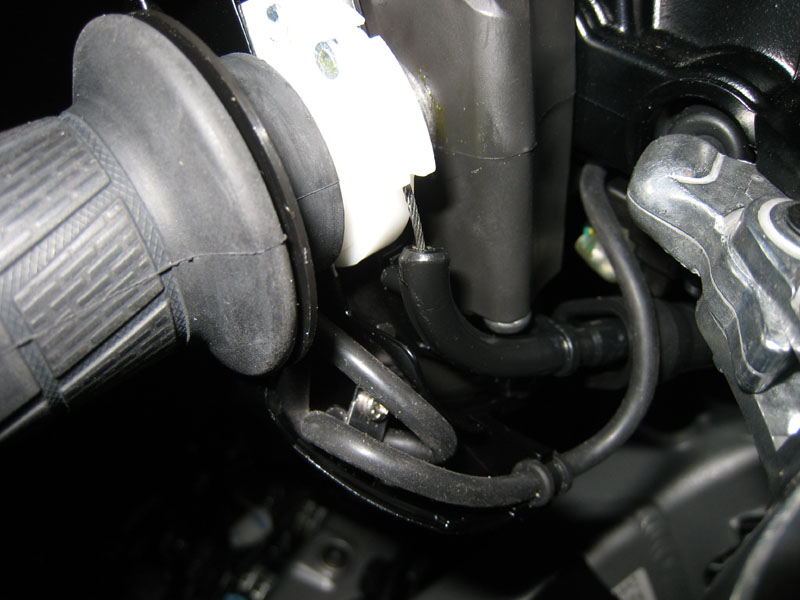
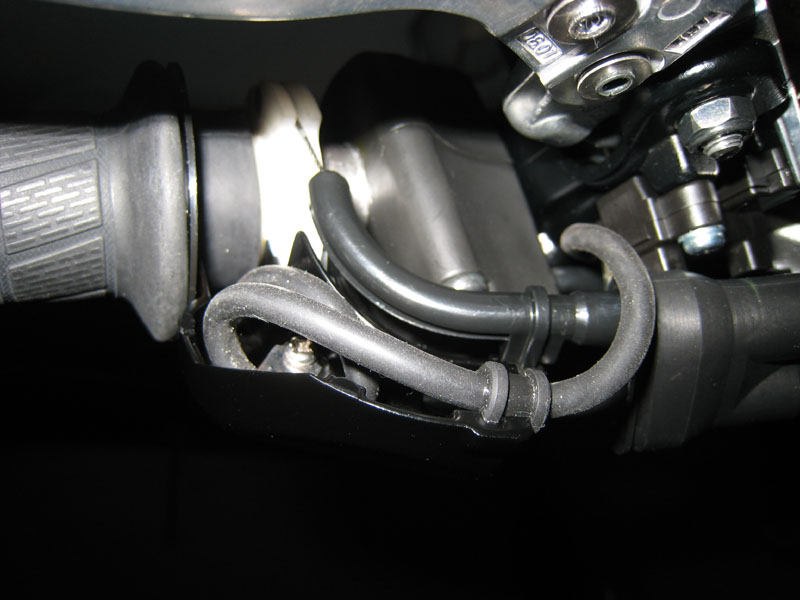
Here's what the right grip looks like when completed:
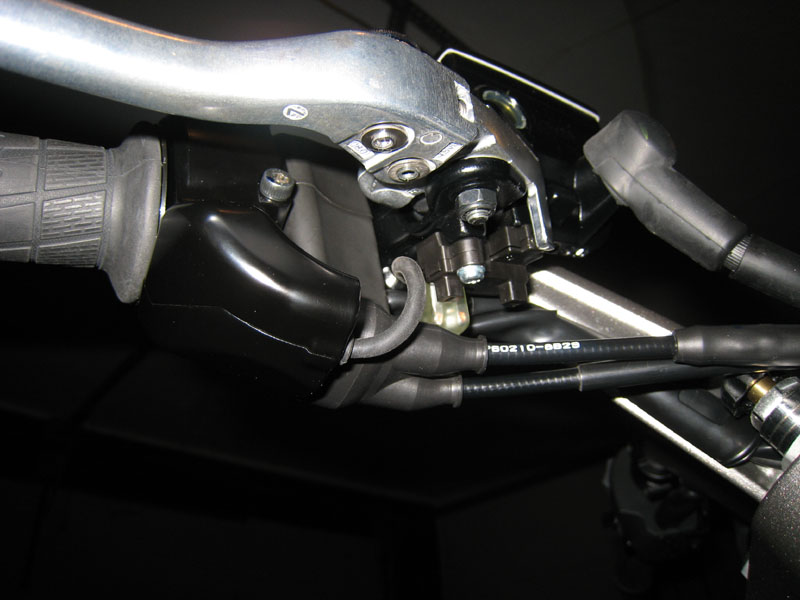
Thats the best way I came up with for routing the wire. It follows down the handlebar behind the stock wiring. The screws on that little retaining clip for the wiring are very tight. They also require the removal of the handlebars to access them. I gave up and just used a flat-blade screwdriver to bend it outward enough so that I could slip the grip wire in there. A small flat-blade screwdriver is useful for pushing the grip wire completely behind the stock wiring. Theres a nice groove in the handlebar back there where the wire will fit. Once you're happy with the wire routing through there, fold up a rag and use it to protect the handlebar and the retaining bracket as you squeeze it back into place with some channel locks or pliers.
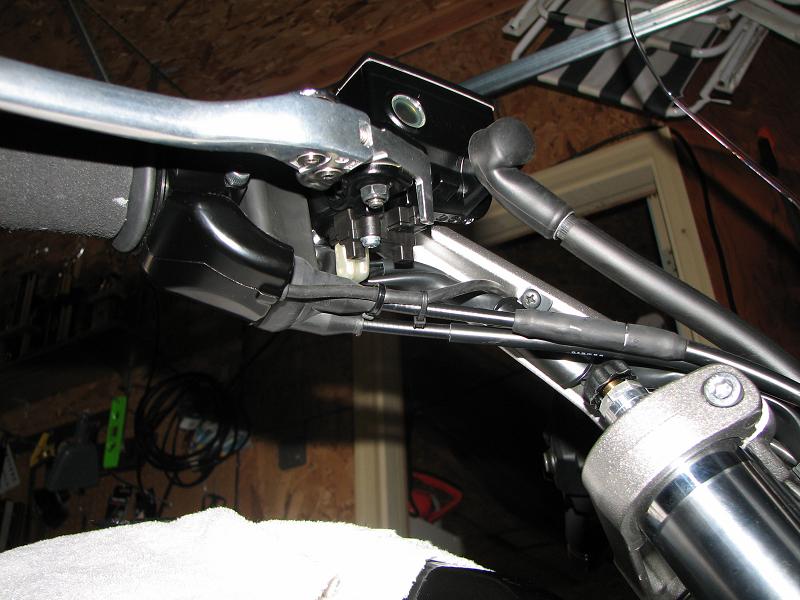
And here's the left grip:
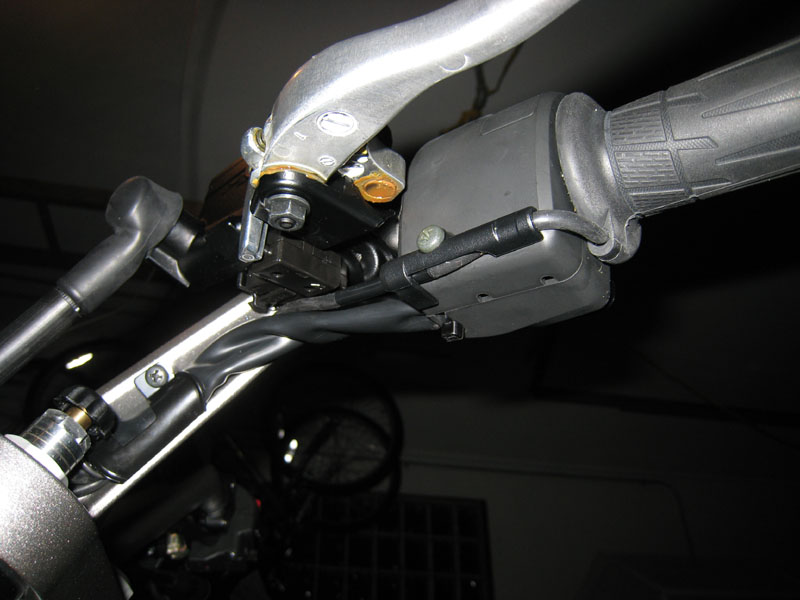
See that nifty little plastic thing that's holding the wire to the switch housing? The instructions never mention that part at all, except for listing it in the parts list. Wire is routed down the handlebar much like the right grip.
I suggest removing the switch housing and clutch lever/reservoir to give you more room to wrestle the old grip off. I don't have an air compressor, so I cannot use the compressed air technique to remove it. I used a small flat blade screwdriver to break up the glue under the grip. Then I used the screwdriver to hold the grip away from the handlebar a bit while I poured some soapy water between the grip and the bar. Moving the screwdriver around with distribute the soapy water everywhere and make the grip slide off with ease.
Reinstall the the clutch lever and switch housing before installing the new grip so that you know how far to slide it on. Installing the new grip is pretty simple. Put some of the supplied glue on the bar and on the inside of the grip, then push and twist with all your might! Make sure you have the grip rotated with the wire coming out in the desired direction before you start, because it really doesn't want to move once you get it on all the way.Excess glue will squish out, so be ready to wipe it up.
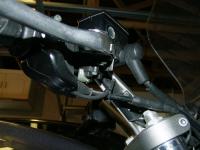
The wires from the grips continue here:
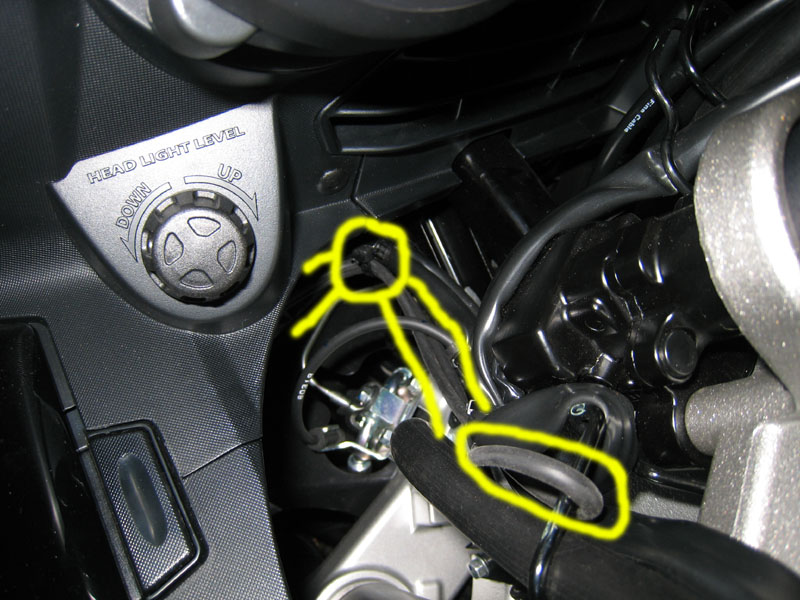
The right grip's wire goes under the ignition, then comes up and back down through the cable retainer, where it will meet up with the wire from the left grip. Both wires then follow an existing wiring bundle toward the left turn signal area. i zip tied the wires to the existing wiring to hold it in place.
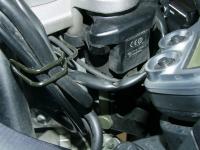
Here's where the grip wires plug in:
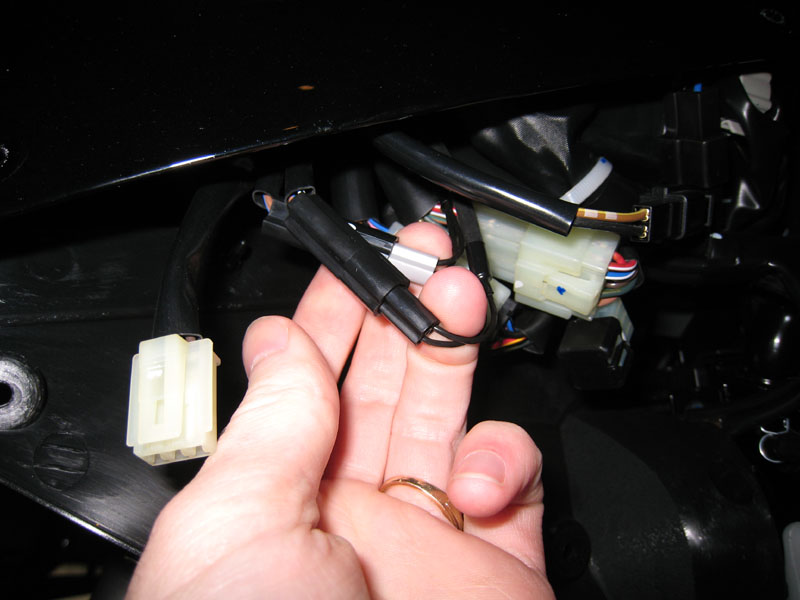
They're right next to the left turn signal connector. I removed the left fairing to access the connectors, although it may be possible to do it by just removing the black inner fairing piece. With the left fairing removed, it's very easy to find where the wires should be routed, so I suggest just taking the time to remove it.
As far as I can tell, it doesn't matter which connector is used for which grip. The instructions do not specify, and the wiring diagram in the service manual shows the grips wired in series.
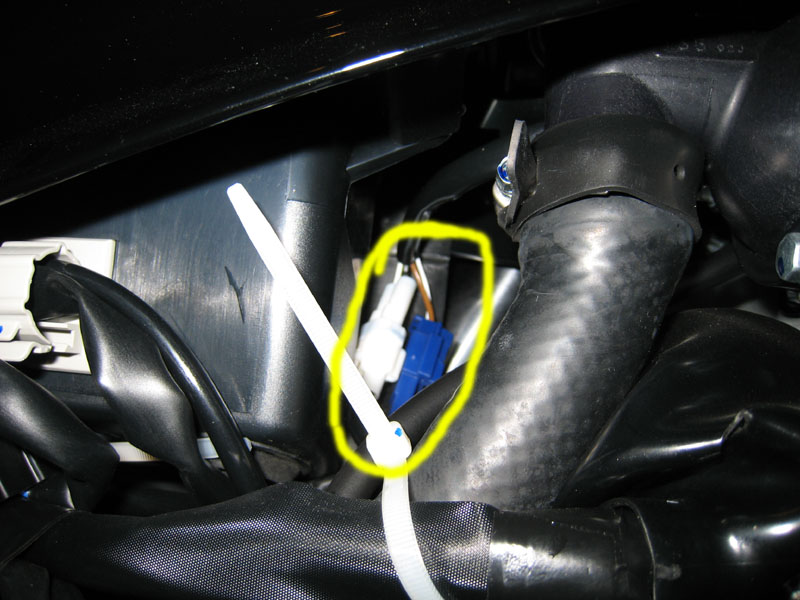
The controller is easy to install. just remove the left panel where it will be installed, remove the placeholder, moiunt the controller to the panel, and youll find the connectors for the controller right behind the accessory box:
It took me about 3 hours, but that included some experimenting with wire routing. It should be easy to complete in less than 3 hours with these tips and pictures. Now I need the snow to melt so I can try them!
Questions & suggestions welcome. I'll make changes to this original post with any additional info or clarifications as needed.
Other than the poor instructions, the kit is great. It came with everything that is needed, and required no wiring skills. Just route the wires to existing connectors and plug them in.
The kit came with the throttle grip already installed onto a throttle tube (it's longer than the original throttle tube), so you only have to worry about wrestling with the left grip.
The most confusing part of the instructions is the horrible drawing and explanation of how the wire for the right grip is routed through the throttle cable housing (the kit comes with a replacement house that nicely hides the wire). Here's what the loop should look like that they describe:


Here's what the right grip looks like when completed:

Thats the best way I came up with for routing the wire. It follows down the handlebar behind the stock wiring. The screws on that little retaining clip for the wiring are very tight. They also require the removal of the handlebars to access them. I gave up and just used a flat-blade screwdriver to bend it outward enough so that I could slip the grip wire in there. A small flat-blade screwdriver is useful for pushing the grip wire completely behind the stock wiring. Theres a nice groove in the handlebar back there where the wire will fit. Once you're happy with the wire routing through there, fold up a rag and use it to protect the handlebar and the retaining bracket as you squeeze it back into place with some channel locks or pliers.
And here's the left grip:

See that nifty little plastic thing that's holding the wire to the switch housing? The instructions never mention that part at all, except for listing it in the parts list. Wire is routed down the handlebar much like the right grip.
I suggest removing the switch housing and clutch lever/reservoir to give you more room to wrestle the old grip off. I don't have an air compressor, so I cannot use the compressed air technique to remove it. I used a small flat blade screwdriver to break up the glue under the grip. Then I used the screwdriver to hold the grip away from the handlebar a bit while I poured some soapy water between the grip and the bar. Moving the screwdriver around with distribute the soapy water everywhere and make the grip slide off with ease.
Reinstall the the clutch lever and switch housing before installing the new grip so that you know how far to slide it on. Installing the new grip is pretty simple. Put some of the supplied glue on the bar and on the inside of the grip, then push and twist with all your might! Make sure you have the grip rotated with the wire coming out in the desired direction before you start, because it really doesn't want to move once you get it on all the way.Excess glue will squish out, so be ready to wipe it up.
The wires from the grips continue here:

The right grip's wire goes under the ignition, then comes up and back down through the cable retainer, where it will meet up with the wire from the left grip. Both wires then follow an existing wiring bundle toward the left turn signal area. i zip tied the wires to the existing wiring to hold it in place.
Here's where the grip wires plug in:

They're right next to the left turn signal connector. I removed the left fairing to access the connectors, although it may be possible to do it by just removing the black inner fairing piece. With the left fairing removed, it's very easy to find where the wires should be routed, so I suggest just taking the time to remove it.
As far as I can tell, it doesn't matter which connector is used for which grip. The instructions do not specify, and the wiring diagram in the service manual shows the grips wired in series.
The controller is easy to install. just remove the left panel where it will be installed, remove the placeholder, moiunt the controller to the panel, and youll find the connectors for the controller right behind the accessory box:

It took me about 3 hours, but that included some experimenting with wire routing. It should be easy to complete in less than 3 hours with these tips and pictures. Now I need the snow to melt so I can try them!
Questions & suggestions welcome. I'll make changes to this original post with any additional info or clarifications as needed.
Last edited by a moderator:


