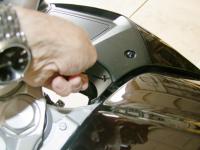
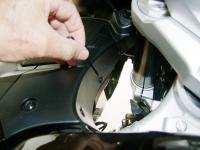
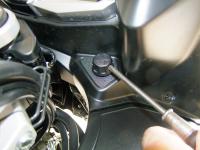
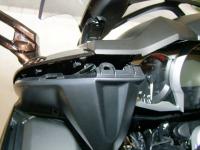
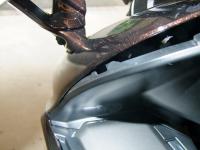
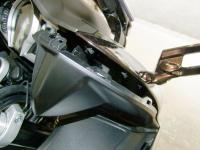
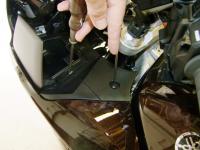
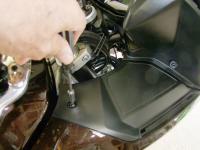
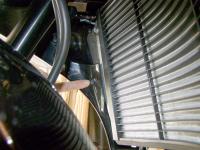
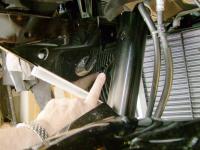
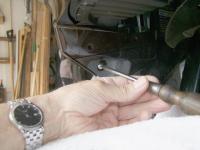
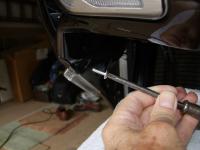
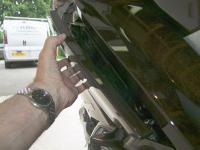
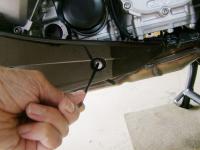
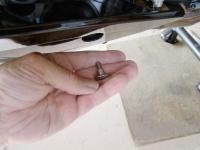
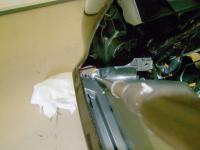
I give, how do you remove the fairing side panels on the 2013?

Yamaha FJR Motorcycle Forum

Help Support Yamaha FJR Motorcycle Forum:

This site may earn a commission from merchant affiliate links, including eBay, Amazon, and others.

Bungie

FrostBack #2 - IBA # 44620
Joined
Nov 9, 2007
Messages
4,384
Reaction score
536
Location
Sudbury, ON
How do you remove the fairing side panels on the 2013?

I've got the 2 screws in the face of the cowl, the one underneath the cowl, the inner fender liner, the one under the vent, the other one out in the open. The panel is flappy, but still seems to be secured near the glove box (took the screw out on top closest to the glove box).

I'm assuming it's clips, but I don't want to bust anything.

Whose done it? What am I missing?

Owners manual tells you who to remove the inner panels (ABCD), but not the fairing sides.

 
Ack, it's beem 8 months since I did this....

IIRC, removing the black side panels reveals more fasteners to remove,

After that, it is a matter of slots and tabs... be patient, move methodically, or you'll be snapping slots and tabs in short order....
fool.gif


Edit: didn't Richard have a write-up about this in his Gen III thread?

 
Last edited by a moderator:
Gen III Lower Fairing Removal Procedure.

Remove the threaded fasteners from the center plastic on each side of the gauge cluster, and the two at the curve near the base as they meet the side panels.

Remove the push pin fasteners that hold the center dash plastic to the side panels on each side down along the fork tubes. While you are there remove all of the other push pin type fasteners you can see down there on the edges of the side panels.

You'll need a long thin #2 Philips screwdriver to remove the two screws holding the headlight adjusters, one on each side. Rotate the adjuster to expose the screw hole to the outside of the bike for easier removal. Remove the two adjusters.

Carefully pop the center panel loose along the top near the gauge cluster. Then slowly move outwards using a thin common screwdriver to push the center panel in along the edge where it meets the fairing edge to pop the tabs loose. You'll need to open the glovebox lid to get it past the left side. Pull it up towards the cockpit for removal. With a little prodding it will come out.

You can start removing the fasteners on the black side panels now. They are near the gas tank facing straight up and the Philips head screw under the glovebox lid. The battery side has screws near the same locations on the right side. Once removed, remove the black side panels. They come out easy compared to every other panel.

Now comes the fun part. You need to remove all the screws and fasteners in the black panels that reside along the top of the front wheel in the fairing tunnel. There is a Philip head screw on each side and at least 5 push pin style fasteners one each side. Once removed, pull the black panels out. They are flexible and come out easily.

Get some refreshments, take a moment and relax.

Now, remove the two fasteners on the right side of the fairing triangle and the one in the bottom that's accessible lying on your back near the chin.

Remove the fastener from each vent that faces forward just low and outward of each headlight. Leave the vent.

Remove the adjustable fairing venting on each side of the fairing. I will assume you know how to get those off.

Take a break. More refreshments.

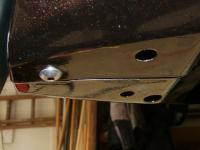
Remove the fasteners at the bottom trailing edge of each side of the fairing. Lying down helps to see them, one and each side.

Now, in front of the glovebox is a silver Philips head screw facing rearward, remove it.

The last fastener to remove of the one hiding behind the adjustable side panel. Remove it. You are now ready to remove the left side fairing.

The tabs we need to release are along the edge in front of the glovebox and behind the forward vent where you removed the bolt earlier.

Grasp the fairing panel through the side vent with one hand and slowly tip the bottom of the fairing outward. The screw tab behind the vent will pop out, you may need to encourage it a little. You will see the tab that needs to be released right next to the silver Philips head screw you removed earlier in front of the glovebox. Tip and rotate the fairing panel out and back and it should release.

Disconnect the electrical connects from the glovebox and turn signal and set the panel aside.

The right side is basically the same, only reversed. Same tabs and same locations.

To reinstall, work backwards through the removal procedure.

Hope that helps. My advice, take your time and go slow. Have refreshments handy. A partner in crime helps.

 
weirdsmiley.gif
I think you just unsold me on a Gen III.
Me too? Would like to upgrade to the Gen III from my '03, but reading write-ups like this give me second thoughts.

Any reason the panels actually need to be removed for any routine maintenance or is it mainly for access when installing accessories?

 
Last edited by a moderator:
Thank you Squadron Leader. You'll need to try harder to dissuade me from buying an FJR. This was close, but not enough.

While spending about 3 hours looking over a 2013 FJR last week I noticed the beautiful clean lines, how smooth and aerodynamic the bike looked and . . . wait, how do you get at the insides?

I asked the sales rep . . . no clue. Got the shop manager . . . also no clue. The mechanic who put the bike together was off that day, but, "he would know."

Seriously, really appreciate your detailed instructions. I've bookmarked it for my future first attempt! :)

Shuey

 
First time is the tough one. I can pull it off and reinstall in less than and hour now from start to finish. Removing the lowers on my 05 was no easy task. The B/C panels were always a bitch to get out and back in. The panels in the tunnel are no different than the first two generations. The dash panels are far easier on the 13 than the previous bikes. Its those few darn tabs right were the fairing meets the lower in front of the glovebox and the battery panel that cause all of your pain. Once you master them its not bad at all.

 
Huge thanks!

Turns out I got all the fasteners out. I was just afraid to pull the bottom of the panel out to far. Guess it's time to order a service manual for it.

Gen III Lower Fairing Removal Procedure.
 
Hope that helps. My advice, take your time and go slow. Have refreshments handy. A partner in crime helps.
Much thanks for the run down. I got the panels off (all of them inner, and side) this weekend. Got my fuseblock installed, gps installed, wired up and then tackled my sliders.

If we ever meet, beer on me.

 
Gen III Lower Fairing Removal Procedure.
Remove the threaded fasteners from the center plastic on each side of the gauge cluster, and the two at the curve near the base as they meet the side panels.

Remove the push pin fasteners that hold the center dash plastic to the side panels on each side down along the fork tubes. While you are there remove all of the other push pin type fasteners you can see down there on the edges of the side panels.

You'll need a long thin #2 Philips screwdriver to remove the two screws holding the headlight adjusters, one on each side. Rotate the adjuster to expose the screw hole to the outside of the bike for easier removal. Remove the two adjusters.

Carefully pop the center panel loose along the top near the gauge cluster. Then slowly move outwards using a thin common screwdriver to push the center panel in along the edge where it meets the fairing edge to pop the tabs loose. You'll need to open the glovebox lid to get it past the left side. Pull it up towards the cockpit for removal. With a little prodding it will come out.

You can start removing the fasteners on the black side panels now. They are near the gas tank facing straight up and the Philips head screw under the glovebox lid. The battery side has screws near the same locations on the right side. Once removed, remove the black side panels. They come out easy compared to every other panel.

Now comes the fun part. You need to remove all the screws and fasteners in the black panels that reside along the top of the front wheel in the fairing tunnel. There is a Philip head screw on each side and at least 5 push pin style fasteners one each side. Once removed, pull the black panels out. They are flexible and come out easily.

Get some refreshments, take a moment and relax.

Now, remove the two fasteners on the right side of the fairing triangle and the one in the bottom that's accessible lying on your back near the chin.

Remove the fastener from each vent that faces forward just low and outward of each headlight. Leave the vent.

Remove the adjustable fairing venting on each side of the fairing. I will assume you know how to get those off.

Take a break. More refreshments.

Remove the fasteners at the bottom trailing edge of each side of the fairing. Lying down helps to see them, one and each side.

Now, in front of the glovebox is a silver Philips head screw facing rearward, remove it.

The last fastener to remove of the one hiding behind the adjustable side panel. Remove it. You are now ready to remove the left side fairing.

The tabs we need to release are along the edge in front of the glovebox and behind the forward vent where you removed the bolt earlier.

Grasp the fairing panel through the side vent with one hand and slowly tip the bottom of the fairing outward. The screw tab behind the vent will pop out, you may need to encourage it a little. You will see the tab that needs to be released right next to the silver Philips head screw you removed earlier in front of the glovebox. Tip and rotate the fairing panel out and back and it should release.

Disconnect the electrical connects from the glovebox and turn signal and set the panel aside.

The right side is basically the same, only reversed. Same tabs and same locations.

To reinstall, work backwards through the removal procedure.

Hope that helps. My advice, take your time and go slow. Have refreshments handy. A partner in crime helps.

This post needs pics for the mechanically challenged

 
I just followed MNFJR05's excellent write up to remove the lower fairings on my '14 ES to install a new Holeshot header system. If you take your time, it's really not all that difficult. There were a few differences due to mine being the CA model, so I've updated the instructions with my changes in bold. All credit goes to MNFJR05 for his quality instructions!

Gen III Lower Fairing Removal Procedure.

Remove the threaded fasteners from the center plastic on each side of the gauge cluster, and the two at the curve near the base as they meet the side panels.

Remove the push pin fasteners that hold the center dash plastic to the side panels on each side down along the fork tubes. While you are there remove all of the other push pin type fasteners you can see down there on the edges of the side panels.

You'll need a long thin #2 Philips screwdriver to remove the two screws holding the headlight adjusters, one on each side. Rotate the adjuster to expose the screw hole to the outside of the bike for easier removal. Remove the two adjusters.

Carefully pop the center panel loose along the top near the gauge cluster. Then slowly move outwards using a thin common screwdriver to push the center panel in along the edge where it meets the fairing edge to pop the tabs loose. You'll need to open the glovebox lid to get it past the left side. Pull it up towards the cockpit for removal. With a little prodding it will come out.

You can start removing the fasteners on the black side panels now. They are near the gas tank facing straight up and the Philips head screw under the glovebox lid. The battery side has screws near the same locations on the right side. Once removed, remove the black side panels. They come out easy compared to every other panel.

Now comes the fun part. You need to remove all the screws and fasteners in the black panels that reside along the top of the front wheel in the fairing tunnel. There is a Philip head screw on each side and at least 4 push pin style fasteners one each side. Once removed, pull the black panels out. They are flexible and come out easily.

Get some refreshments, take a moment and relax.

Now, remove the two fasteners on the right side of the fairing triangle and the one in the bottom that's accessible lying on your back near the chin.

(CA only) Remove the 2 screws (with washers) just back from the bottom one that attach to the fuel rollover valve and canister.

Remove the fastener from each vent that faces forward just low and outward of each headlight. Leave the vent.

Remove the adjustable fairing venting on each side of the fairing. I will assume you know how to get those off.

Take a break. More refreshments.

Remove the fasteners at the bottom trailing edge of each side of the fairing. Lying down helps to see them, one and each side.

Now, in front of the glovebox is a silver Philips head screw facing rearward, remove it.

The last fastener to remove of the one hiding behind the adjustable side panel. Remove it. You are now ready to remove the left side fairing.

The tabs we need to release are along the edge in front of the glovebox and behind the forward vent where you removed the bolt earlier.

Grasp the fairing panel through the side vent with one hand and slowly tip the bottom of the fairing outward. The screw tab behind the vent will pop out, you may need to encourage it a little. You will see the tab that needs to be released right next to the silver Philips head screw you removed earlier in front of the glovebox. Tip and rotate the fairing panel out and back and it should release.

Disconnect the electrical connects from the glovebox and turn signal and set the panel aside.

(CA only) After removing the left fairing panel, remove the clamp mounting screw and the 2 fuel rollover canister bracket bolts.

The right side is basically the same, only reversed. Same tabs and same locations.

To reinstall, work backwards through the removal procedure.

Hope that helps. My advice, take your time and go slow. Have refreshments handy. A partner in crime helps.
And cuz I know someone's gonna probably ask, here's some "header porn"! Did I just say that?
omg2.gif


HSHeaders.jpg


...
This post needs pics for the mechanically challenged
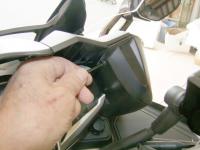
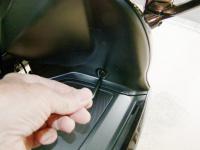
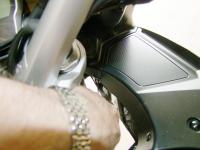
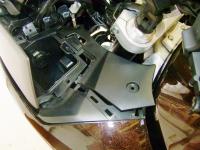
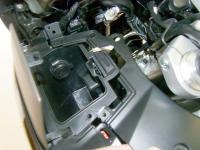
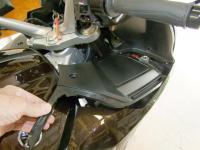
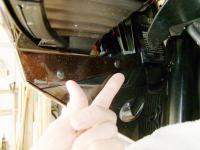
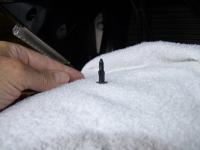
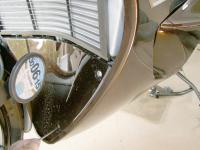
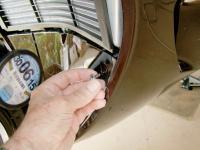
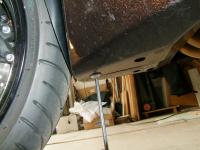
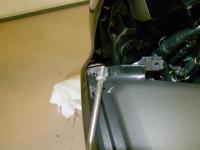
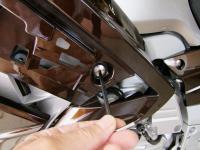
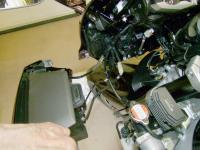
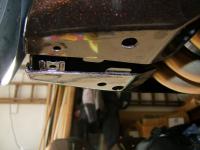
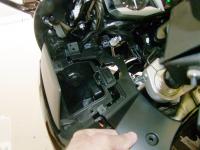
Took my panels off to install stuff, took some pictures as I went. I've annotated them with MNFJR05's excellent description.

(Click on any image for larger view)

Remove the threaded fasteners from the center plastic on each side of the gauge cluster, and the two at the curve near the base as they meet the side panels.


Remove the push pin fasteners that hold the center dash plastic to the side panels on each side down along the fork tubes. While you are there remove all of the other push pin type fasteners you can see down there on the edges of the side panels.


You'll need a long thin #2 Philips screwdriver to remove the two screws holding the headlight adjusters, one on each side. Rotate the adjuster to expose the screw hole to the outside of the bike for easier removal. Remove the two adjusters.


Carefully pop the center panel loose along the top near the gauge cluster. Then slowly move outwards using a thin common screwdriver to push the center panel in along the edge where it meets the fairing edge to pop the tabs loose. You'll need to open the glovebox lid to get it past the left side. Pull it up towards the cockpit for removal. With a little prodding it will come out.


You can start removing the fasteners on the black side panels now. They are near the gas tank facing straight up and the Philips head screw under the glovebox lid. The battery side has screws near the same locations on the right side.


Once removed, remove the black side panels. They come out easily compared to every other panel.


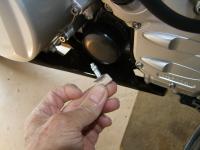
Now comes the fun part. You need to remove all the screws and fasteners in the black panels that reside along the top of the front wheel in the fairing tunnel. There is a Philip head screw on each side and at least 5 push pin style fasteners one each side. Once removed, pull the black panels out. They are flexible and come out easily. mcatrophy comment: I only found 4 push pins each side. Note the two lower rear ones are longer than the others, remember this when re-installing.


Get some refreshments, take a moment and relax. I'd suggest nothing too strong. Might interfere with your concentration.

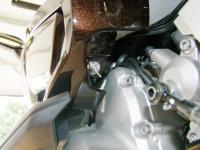
Now, remove the two fasteners on the right side of the fairing triangle and the one in the bottom that's accessible lying on your back near the chin. The two in the front of the triangle have plastic washers, the one underneath does not.


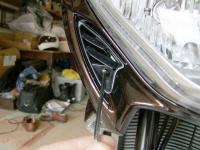
Remove the fastener from each vent that faces forward just low and outward of each headlight. Leave the vent.


Remove the adjustable fairing venting on each side of the fairing. I will assume you know how to get those off.


Take a break. More refreshments. Ditto.

Remove the fasteners at the bottom trailing edge of each side of the fairing. Lying down helps to see them, one and each side.


Now, in front of the glovebox is a silver Philips head screw facing rearward, remove it.


The last fastener to remove is the one hiding behind the adjustable side panel. Remove it. You are now ready to remove the left side fairing.


The tabs we need to release are along the edge in front of the glovebox and behind the forward vent where you removed the bolt earlier.

Regret I failed to take pictures, I didn't have enough hands.
yeaahh.gif


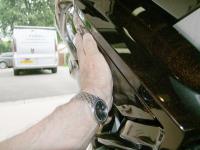
Grasp the fairing panel through the side vent with one hand and slowly tip the bottom of the fairing outward. The screw tab behind the vent will pop out, you may need to encourage it a little. You will see the tab that needs to be released right next to the silver Philips head screw you removed earlier in front of the glovebox. Tip and rotate the fairing panel out and back and it should release.

Regret I failed to take pictures, I didn't have enough hands. Once you begin to pull the bottom rear of the panel out, the seam at the top front starts to spread. There's one tab at about the middle of it and two small bumps. It comes apart quite easily.

Disconnect the electrical connects from the glovebox and turn signal and set the panel aside.


The right side is basically the same, only reversed. Same tabs and same locations.

To reinstall, work backwards through the removal procedure.

Take care with getting all tabs tucked in correctly. Easy to get wrong e.g. where the two fairings join underneath.


Hope that helps. My advice, take your time and go slow. Have refreshments handy. A partner in crime helps.

I hope that it helps too. Couldn't have done it without MNFJR05's post.

[edit] Some pictures enhanced to improve visibility of some details. [/edit]
 
Last edited by a moderator:

Latest posts

Top