Winter Project - Reviving a Wounded FJR

Yamaha FJR Motorcycle Forum

Help Support Yamaha FJR Motorcycle Forum:

This site may earn a commission from merchant affiliate links, including eBay, Amazon, and others.
I think there is now a newer CCT version (green dot?) You may also want to consider the "APE" manual tensioner.

 
Having lots of fun watching and my hands are clean. Good read!
Myself ... I almost feel like I'm there, helping Doug ..... almost
rolleyes.gif


Great read !!

 
So, are you planning to fix the old motor or is this just some sort of post-mortem? Finishing up with that one before getting around to installing the "new" one?

Great read and great pictures.

 
I hope I never have to go through this. Looks like he's plannin on fixing the original I would say at this point.

Good luck with the project.

Dave

 
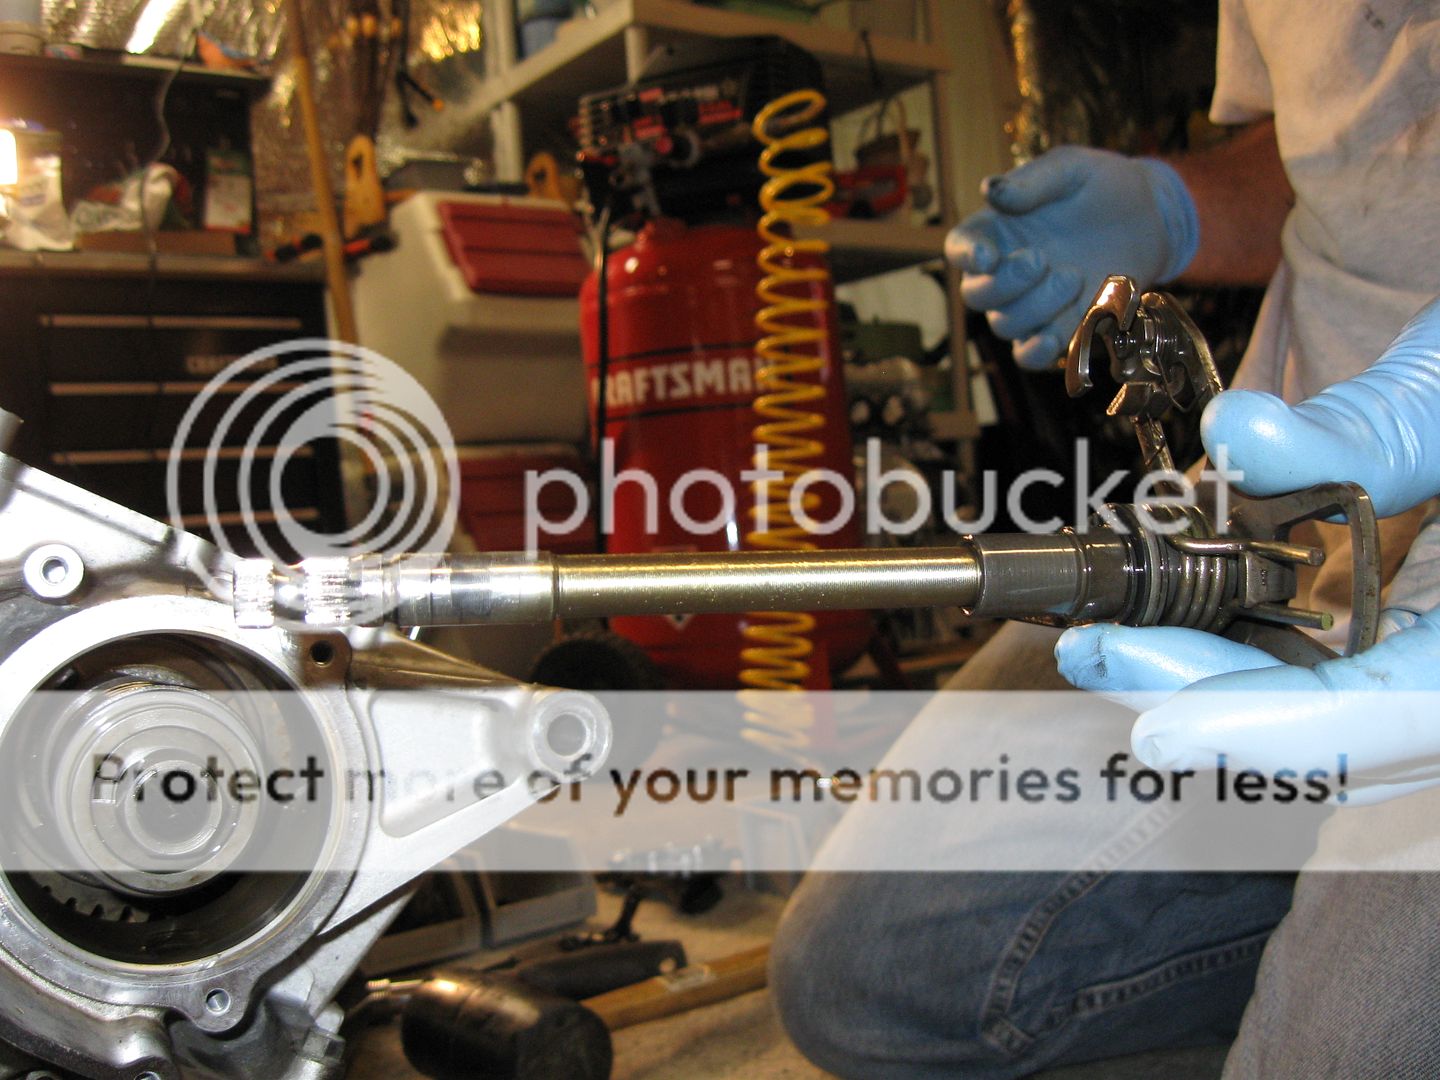
For my own curiosity, please let me know how easy it is for you to remove the outboard circlip that holds the shift shaft in place. I had issues with mine.

Thanks

 
So, are you planning to fix the old motor or is this just some sort of post-mortem? Finishing up with that one before getting around to installing the "new" one?
Great read and great pictures.
Well, it WAS a boat anchor functionally.... aside from a nice parts bin. The replacement engine needs to be sent back. So we thought "Why not at least take it apart!"

According to Doug, the tear down was quite easy (a lot easier than he thought it would be) and parts have been ordered to go ahead and see about the repair. He said I did the hard part stripping the bike down. I'll call it a Team Effort. ; )

For the amount of riding I do, I'm not real concerned about the mileage (60K).

 
Last edited by a moderator:
So, are you planning to fix the old motor or is this just some sort of post-mortem? Finishing up with that one before getting around to installing the "new" one?
Great read and great pictures.
Well, it WAS a boat anchor functionally.... aside from a nice parts bin. The replacement engine needs to be sent back. So we thought "Why not at least take it apart!"

According to Doug, the tear down was quite easy (a lot easier than he thought it would be) and parts have been ordered to go ahead and see about the repair. He said I did the hard part stripping the bike down. I'll call it a Team Effort. ; )

For the amount of riding I do, I'm not real concerned about the mileage (60K).
It looks good from here so far.

I hope you fix it and keep it original.... Might be a collectors item someday. Numbers need to match! :)

 
Very cool read! Thanks for posting all the pictures - the innards look better than I thought they would. Can't say the same for the outside of the engine and everything else that was exposed exposed to the elements.

Regarding the throttle butterflies, does anyone have any insight as to why just the bottom half of the butterflies got all gunked up?

 
Hey Paul, I think I read somewhere here that gunk on the butterflies MIGHT be from the crankcase breather.

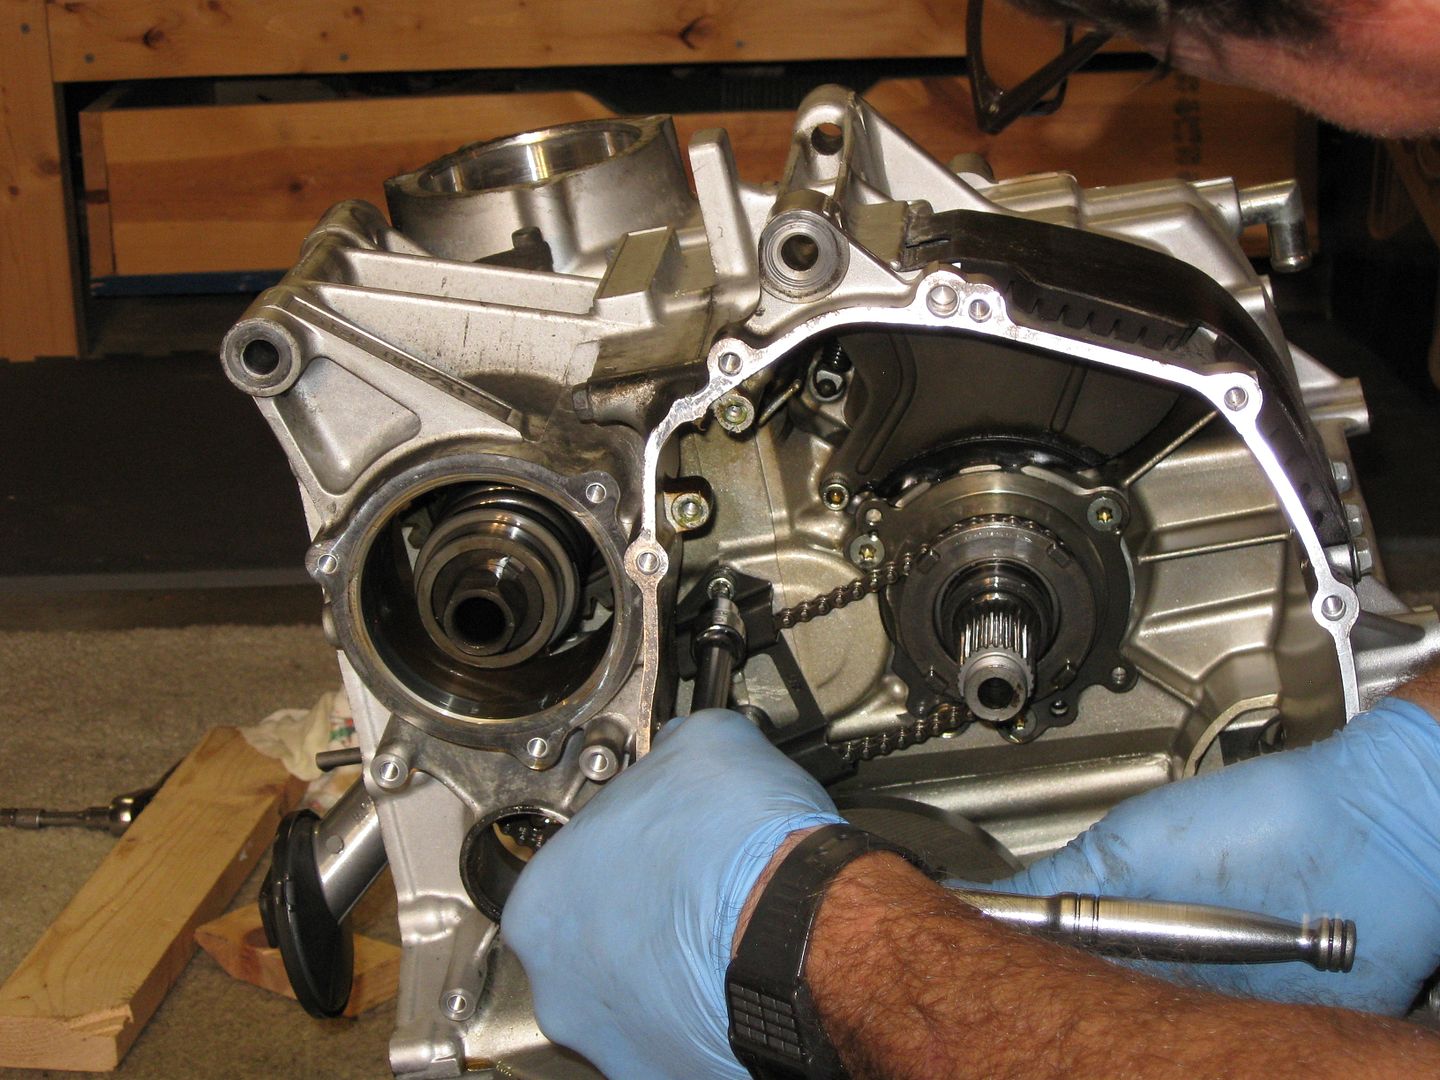
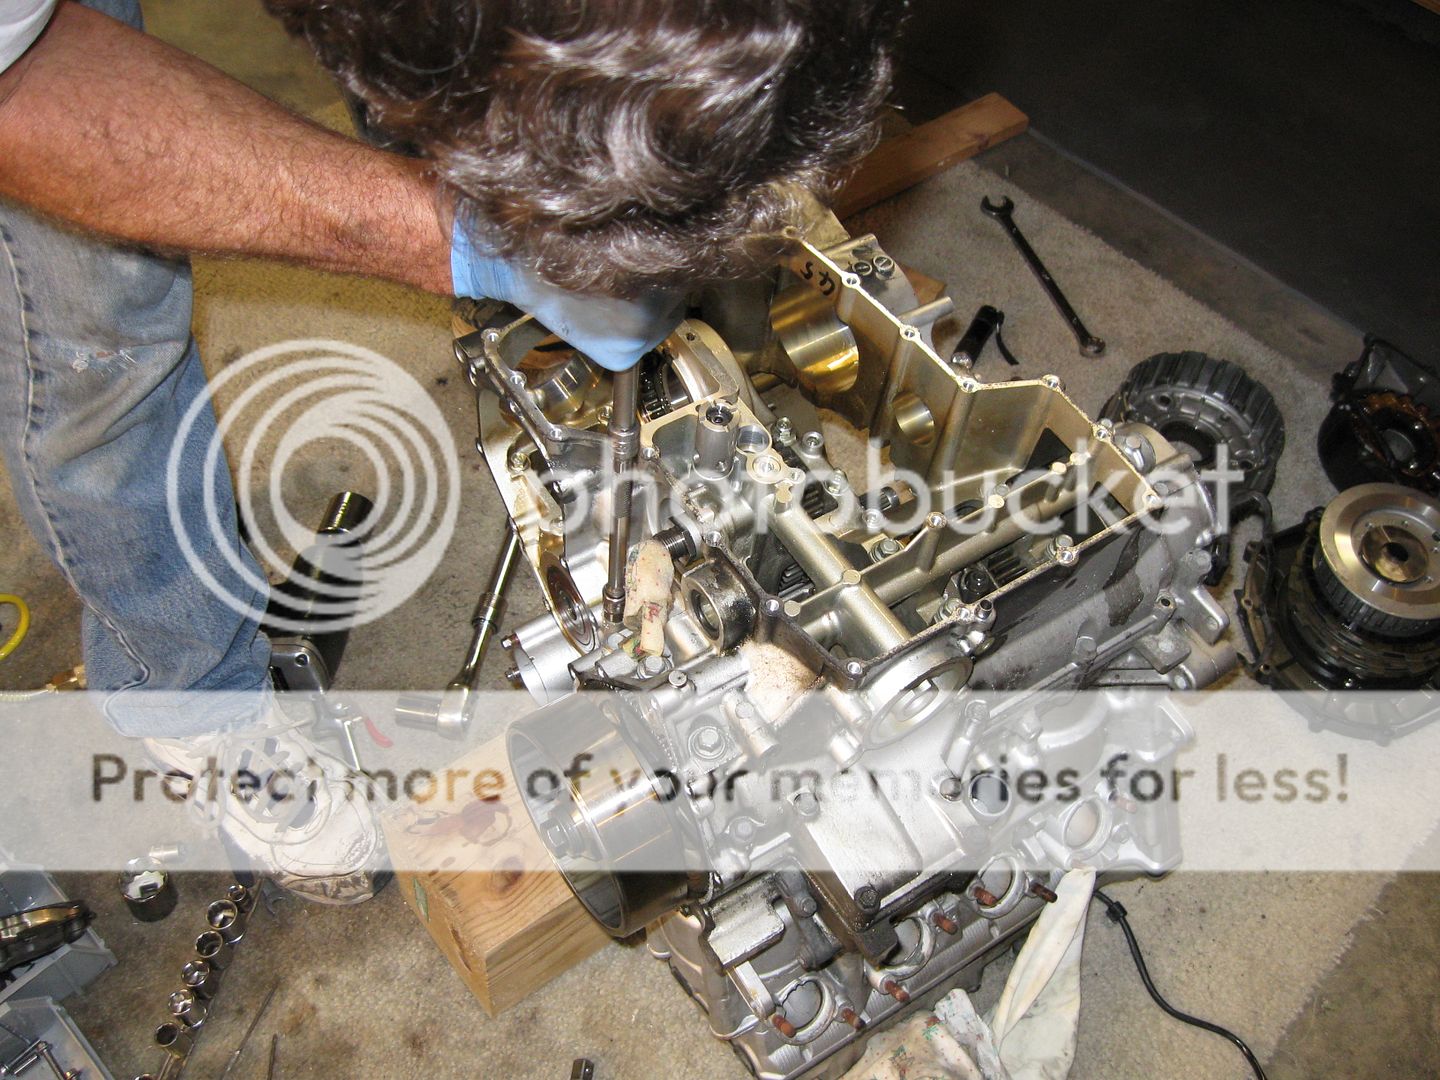
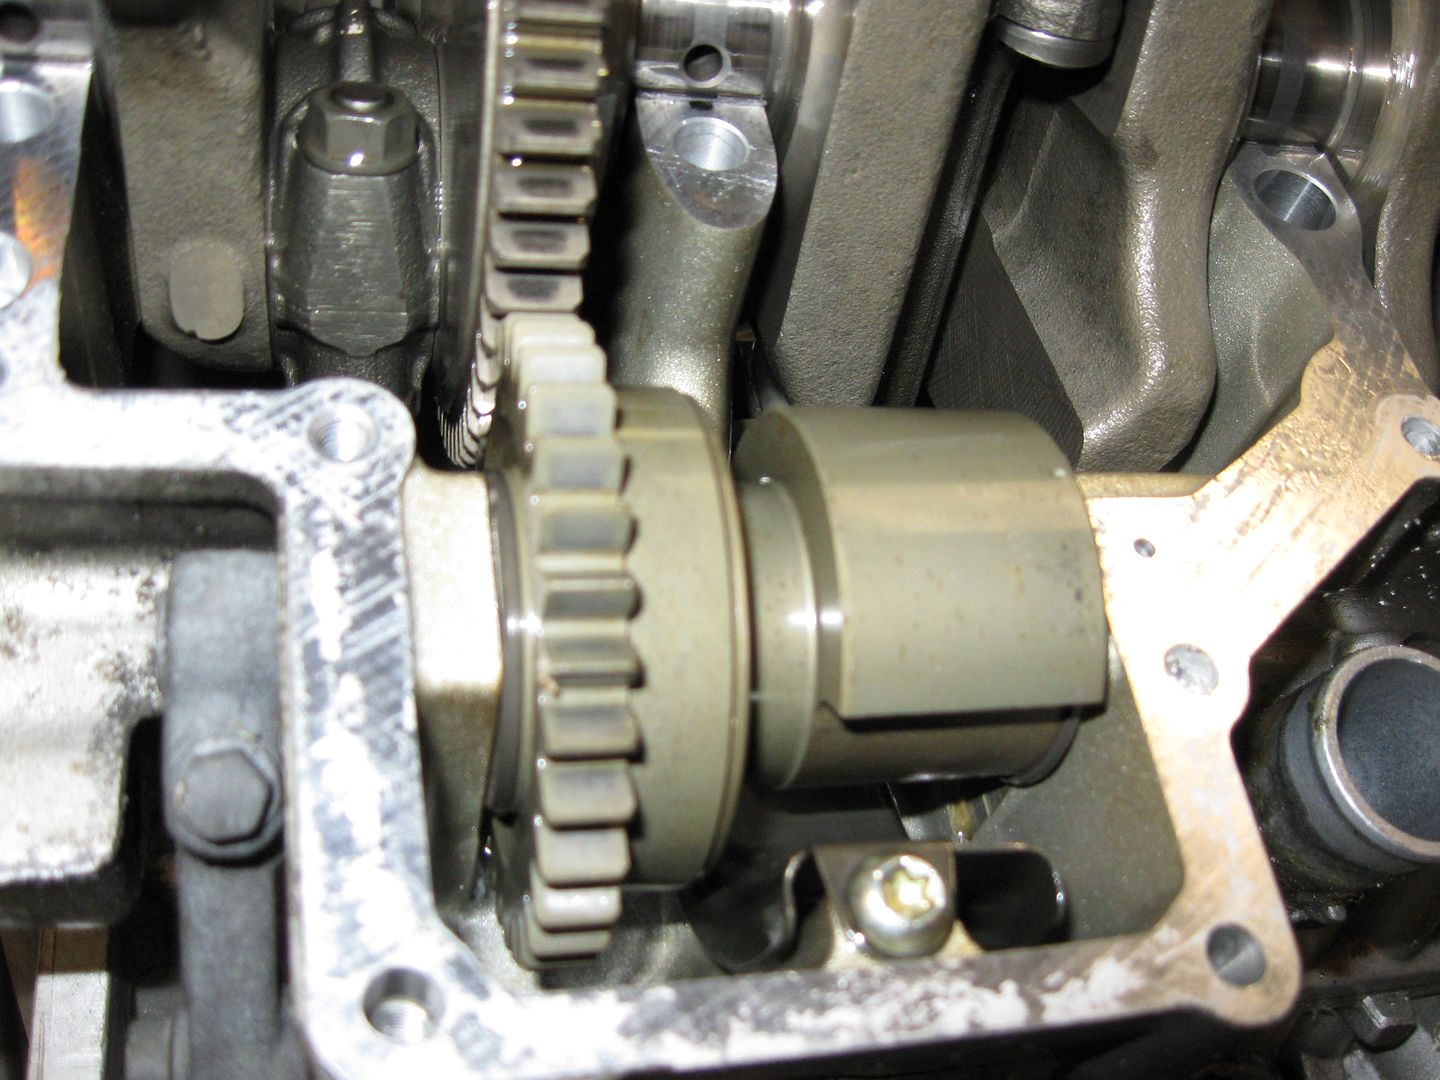
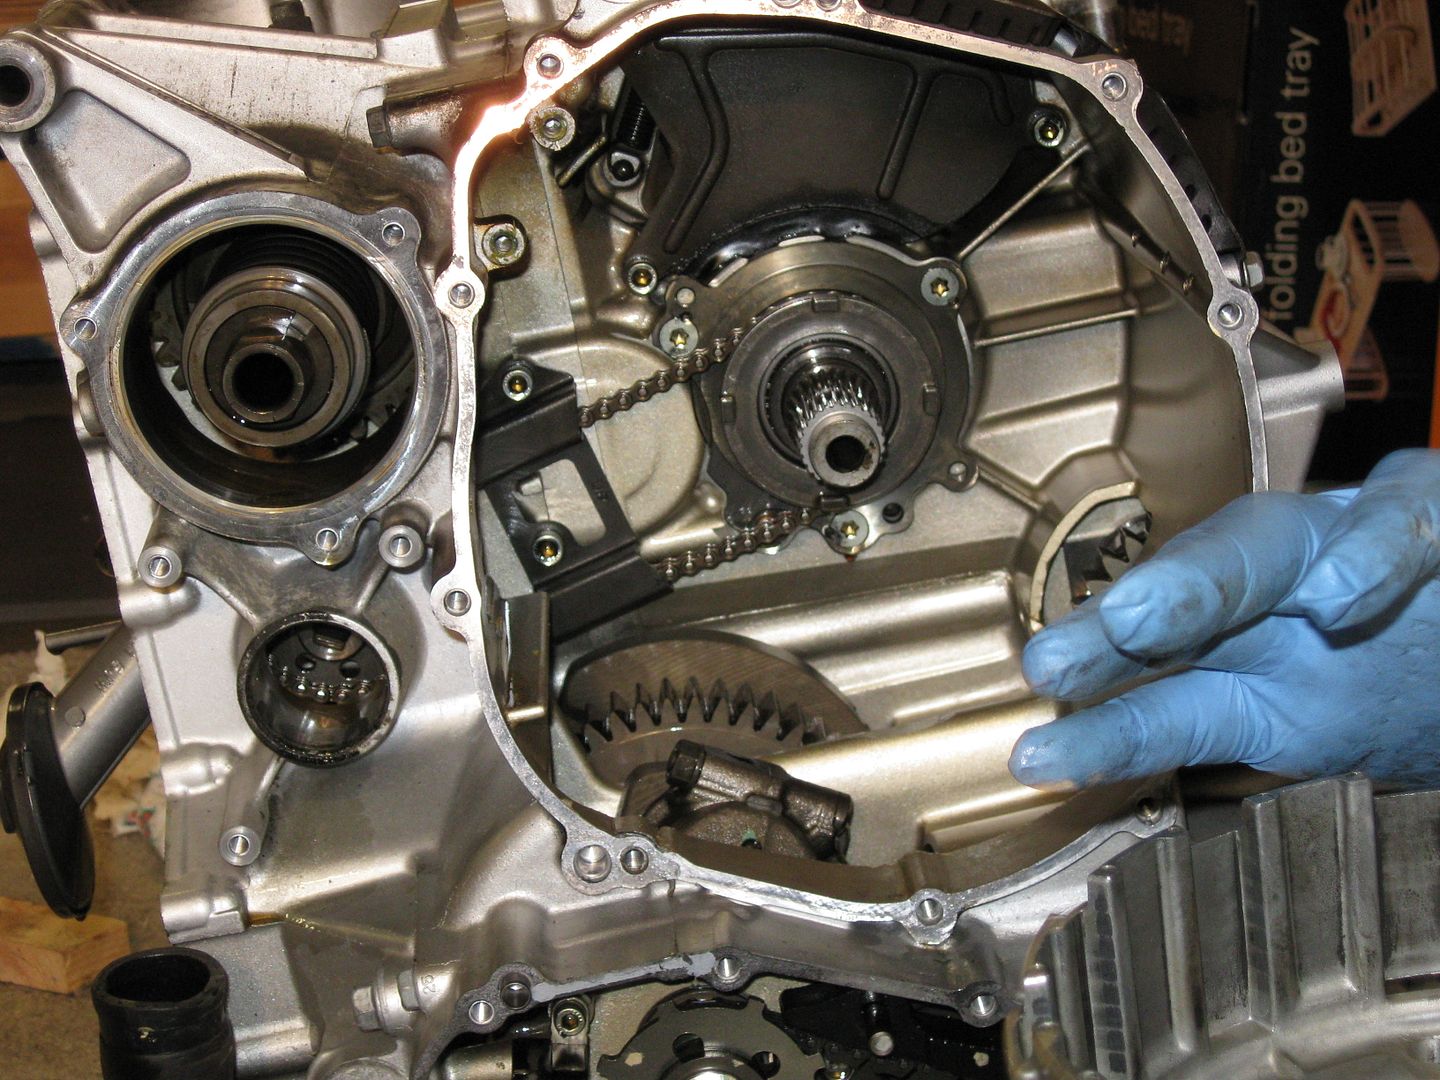
Let's catch up on some tear down pics - Once the clutch basket is removed, the drive chain for the oil and water pump is exposed.

FJR208.jpg


The guide Doug is removing, also acts as a tensioner.

FJR210.jpg


More gears! Where would we be without Gears? Like Velcro. I think of that everything I gear up/down from riding. Boots, jacket, gloves... .all have Velcro. Here we see (top of the pic) one of the counter balancers.
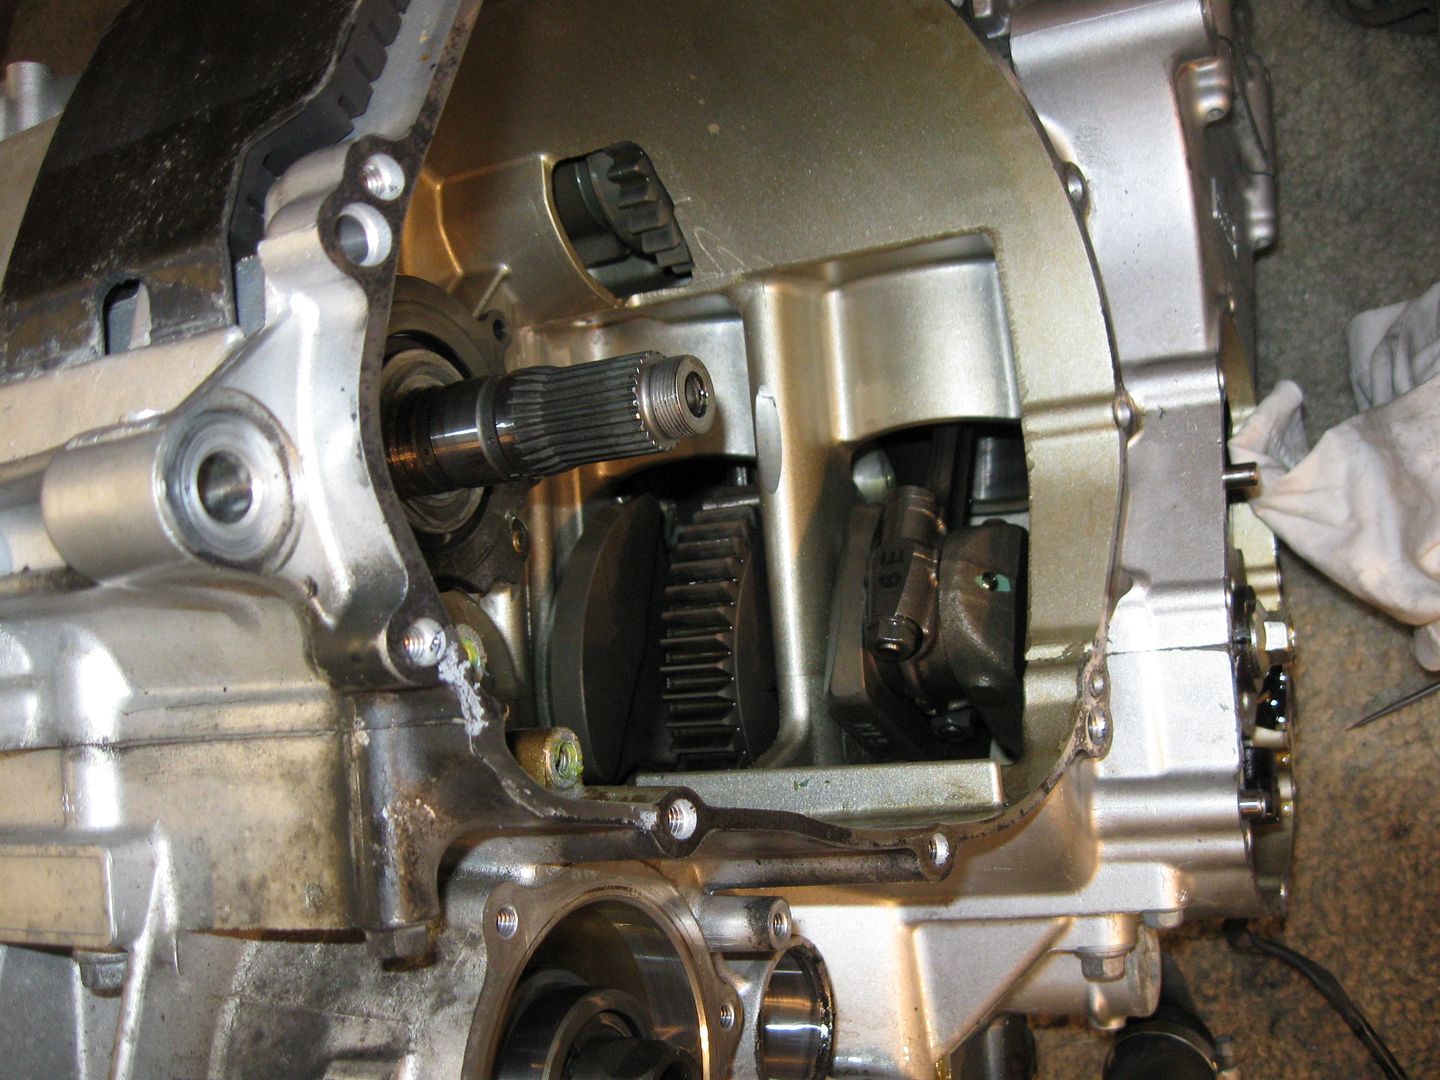
FJR212.jpg


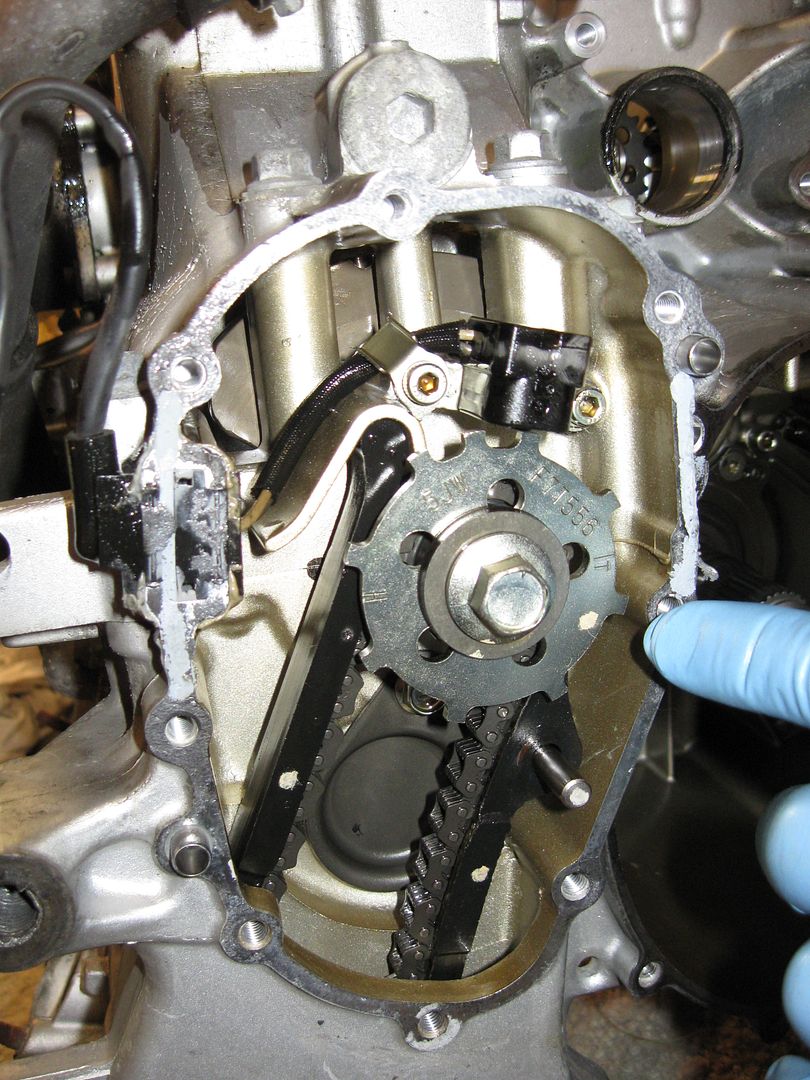
This chain must have a clock connected..... what? Oh! I thought that's why it's called a TIME-ing chain. (sigh - yeah, my humor is bad) I believe this is where the "Top Dead Center" marks are located. The "T" by Doug's finger is lined up with the line on the inside of the case.

FJR217.jpg


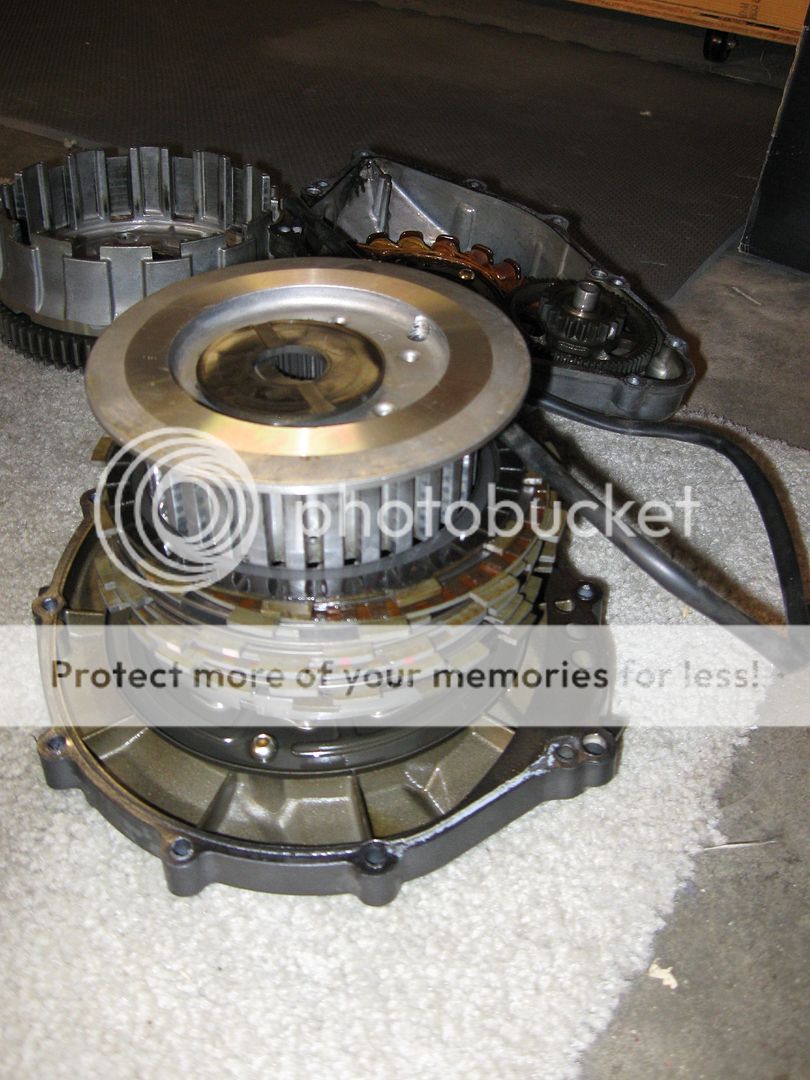
Keeping things in order as they were removed from the clutch basket. This was moved to the bench after the pic was taken. I just saw myself kicking it!
russian_roulette.gif


FJR218.jpg


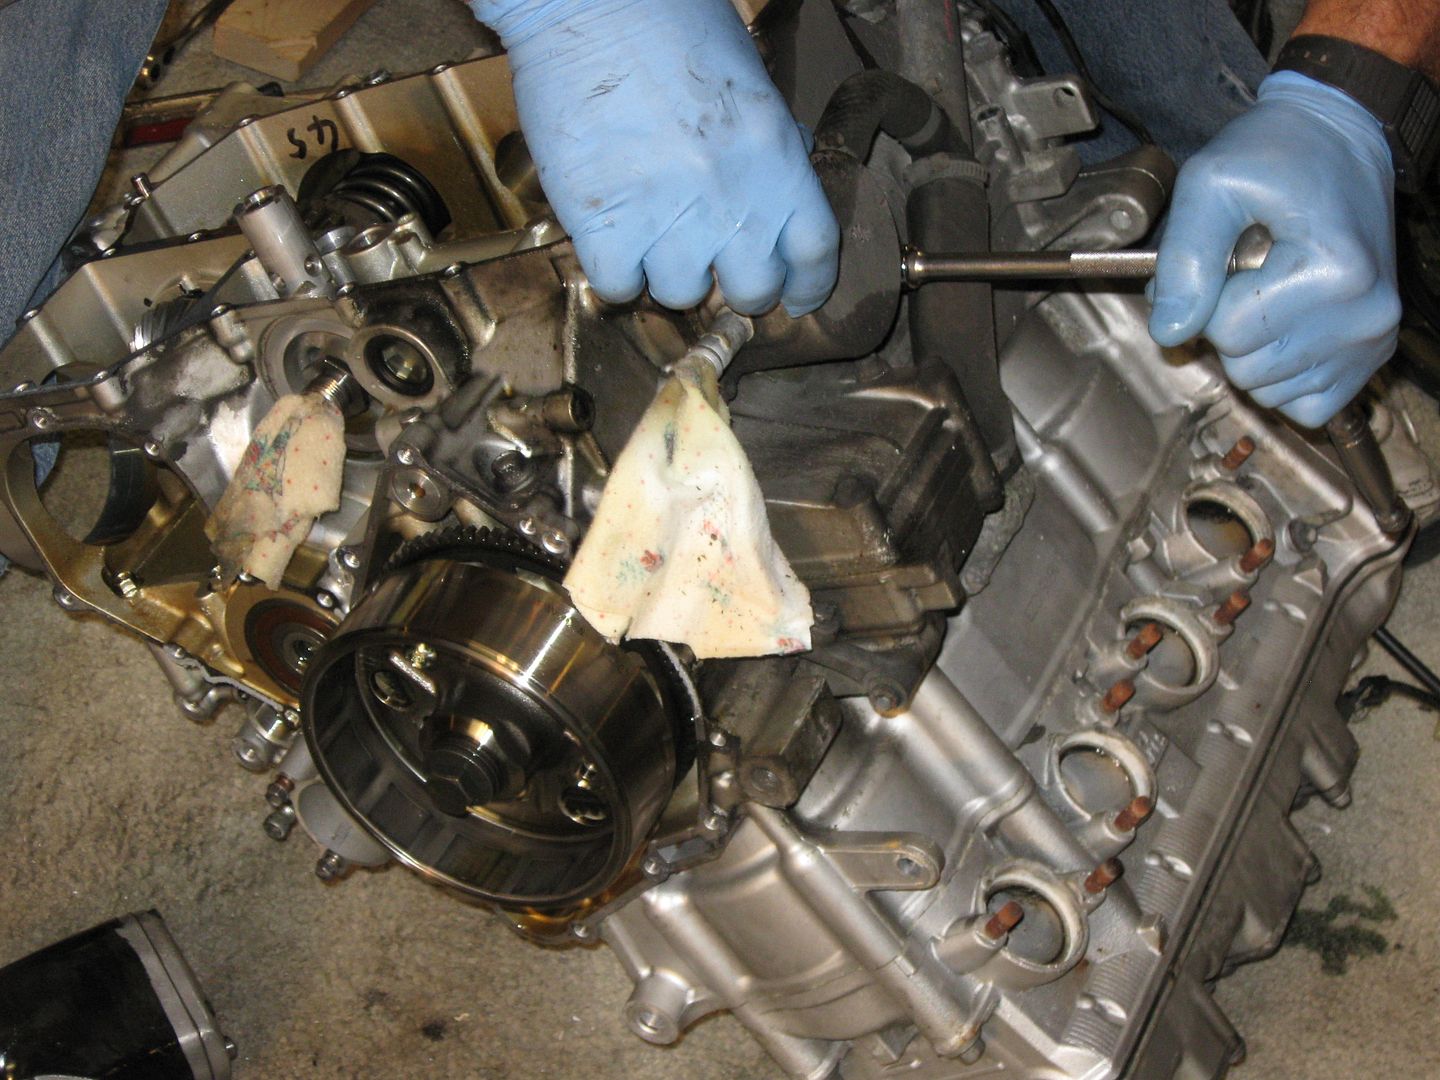
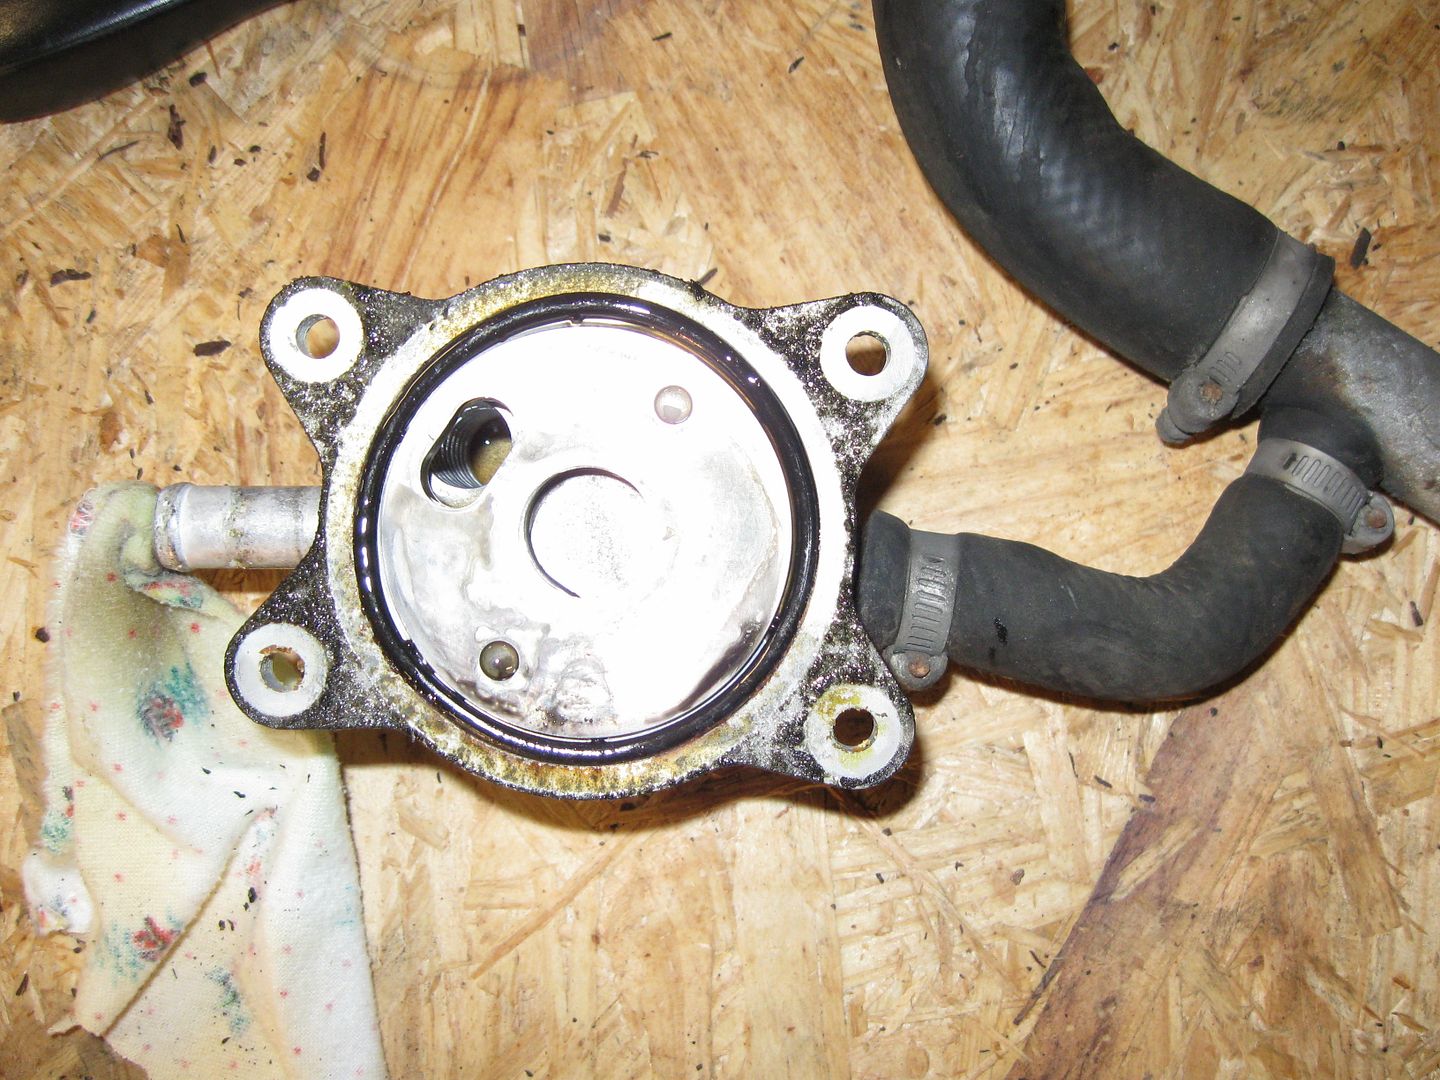
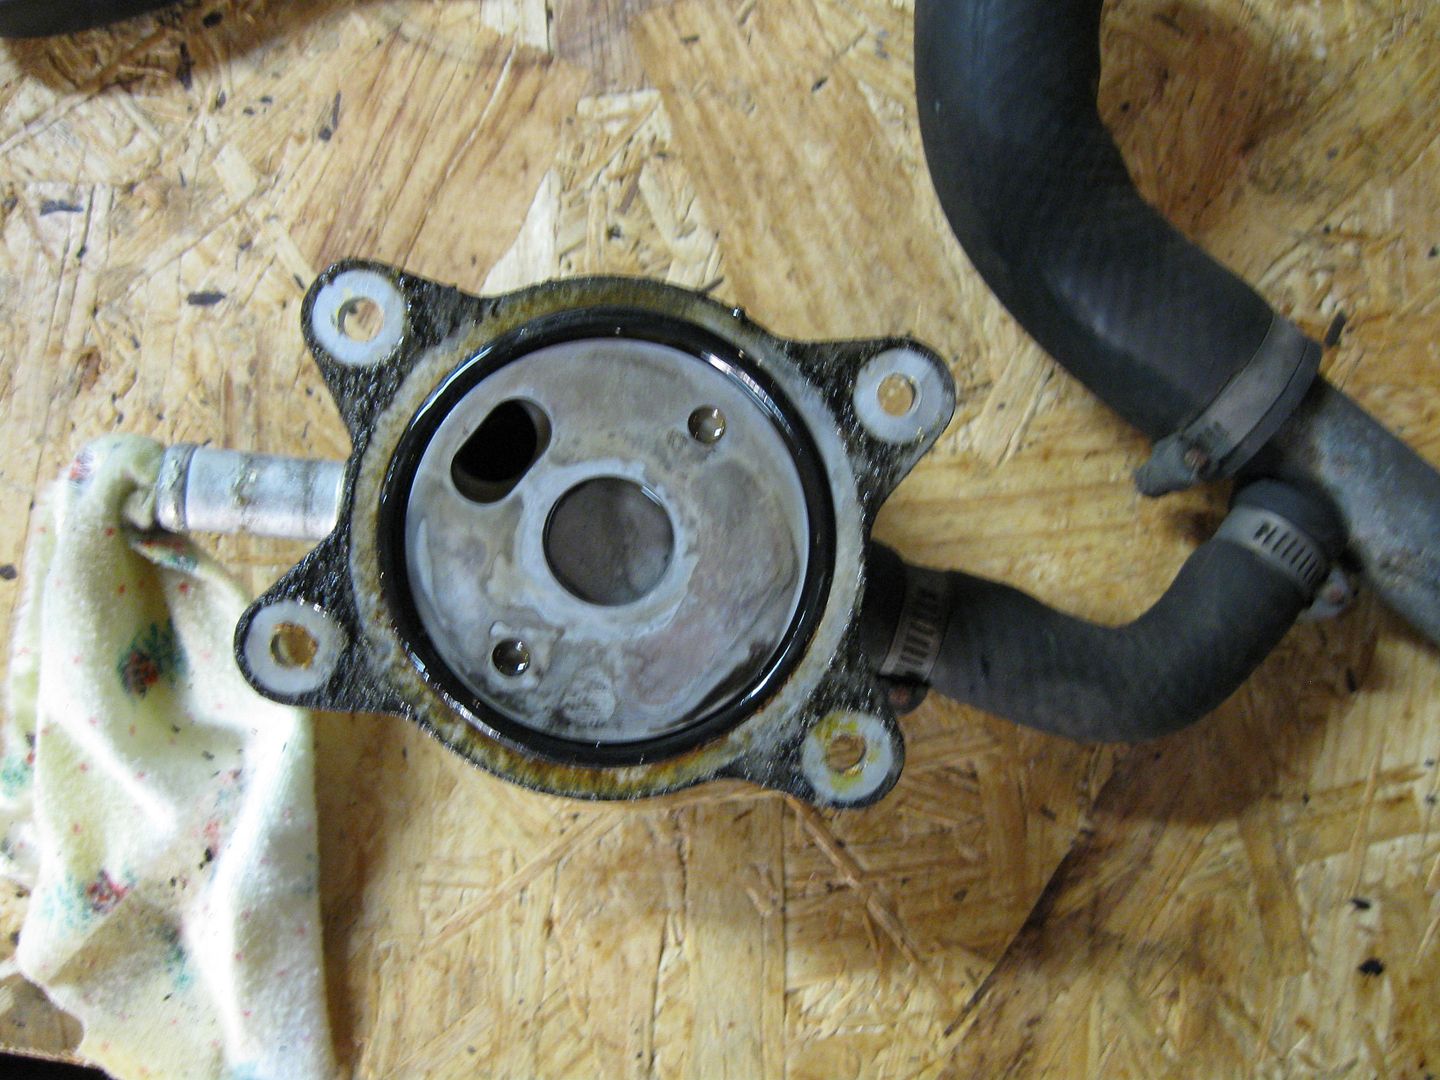
I know it didn't HAVE to come off, but the oil cooler came out as well. As this exercise started out as Academic, we both wanted to see if we could figure out how it worked!

FJR221.jpg


Pics here WITH flash and WITHOUT. One sort of caught the interior "ribs" or "fins" that's inside. The coolant runs through the outside of the cooler while oil is pumped through the inside. A pretty good design.

FJR222.jpg


FJR223.jpg


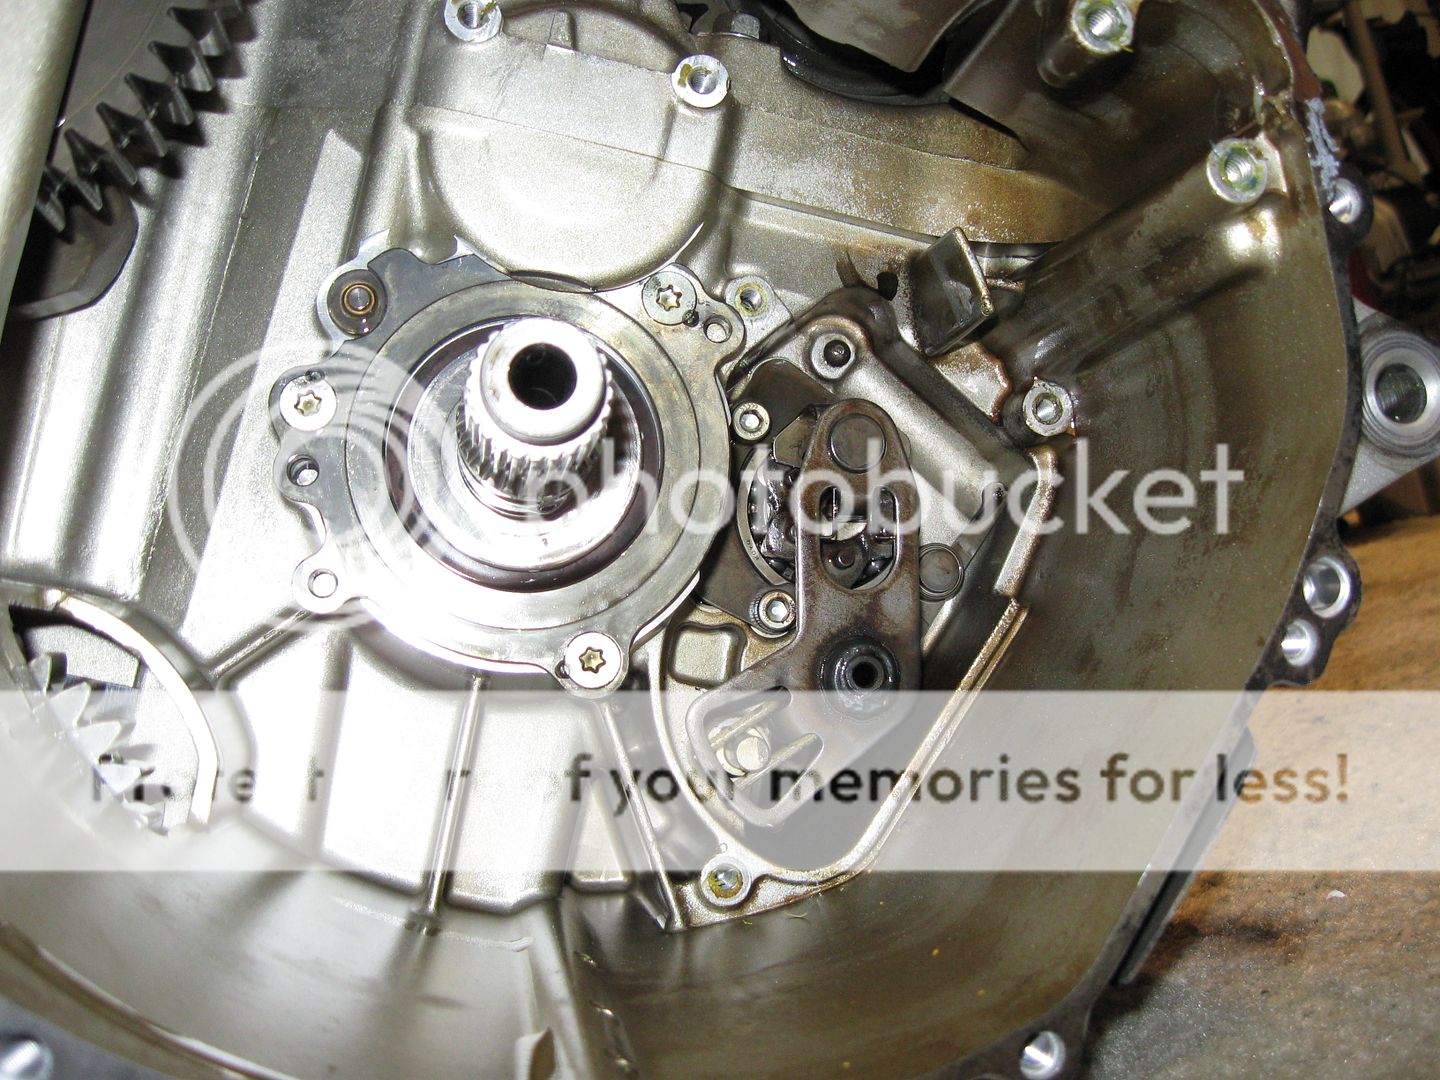
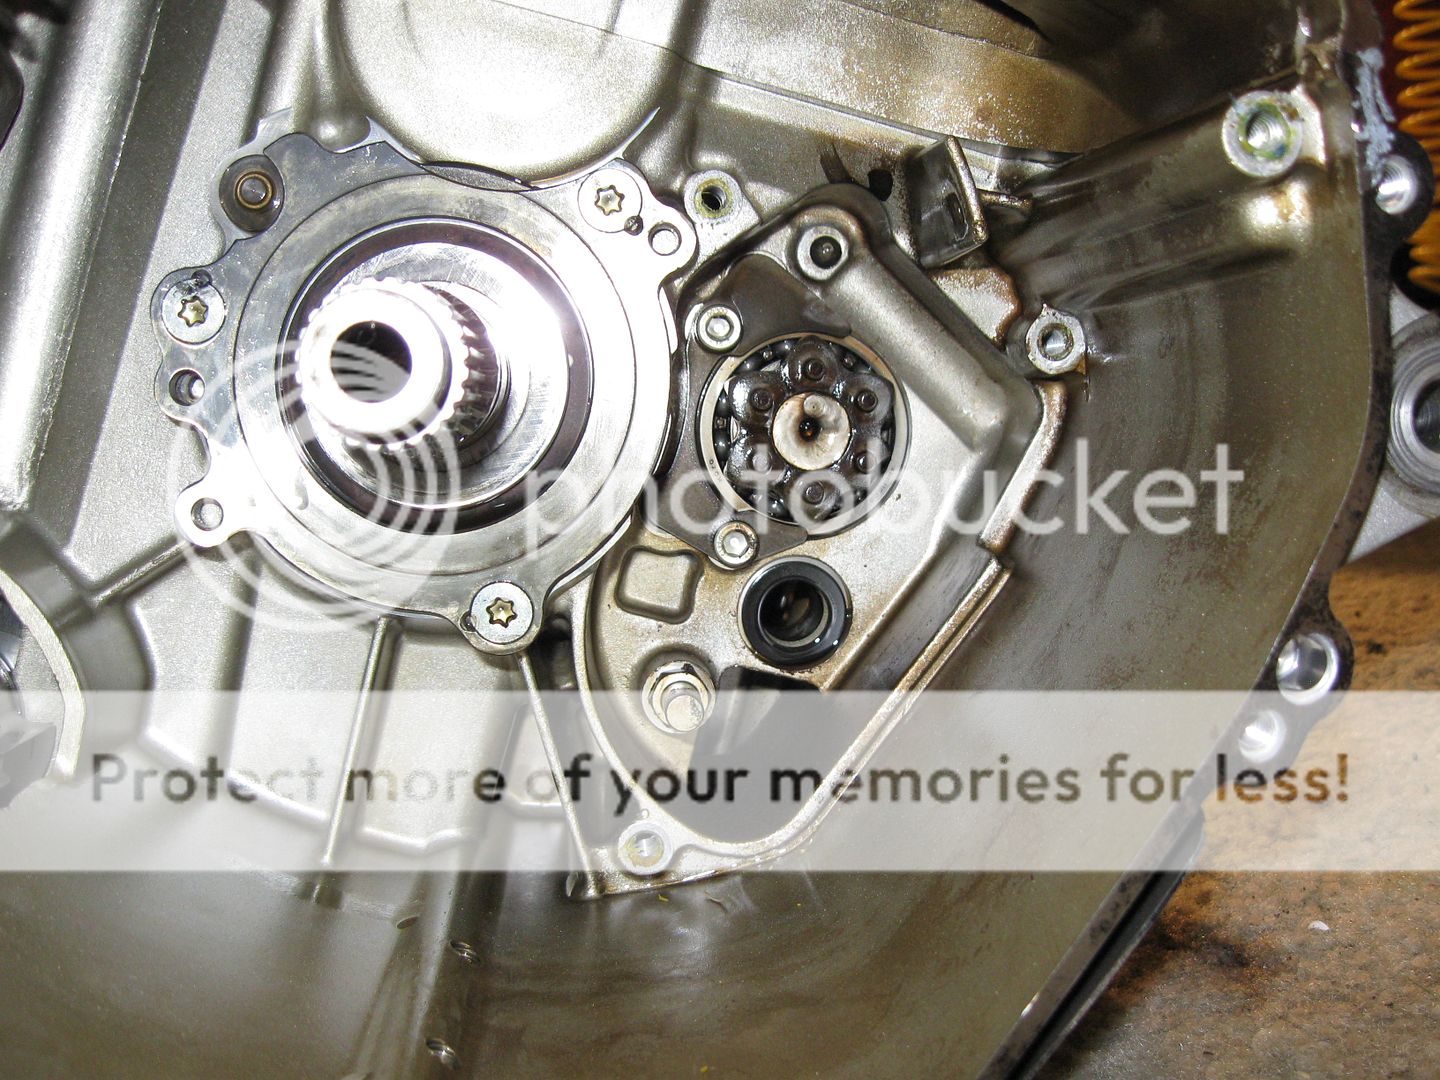
Moving on to the shifting mechanisms..... This is where the shifter tells the tranny what to do. It's also the place where the shift lever is told to return to it's previous position (i.e. via a spring). The shift lever goes through to the other side.

FJR227.jpg


I actually had to have Doug STOP and hold the shift lever for me so I could snap a picture.
banned.gif


FJR229.jpg


With the shift lever removed, you can see the little "star". This guys spins around and moves the shift drum to indicate what gear is next.

FJR230.jpg


So much for my mAd Organizational sK1lLz...
uhoh.gif
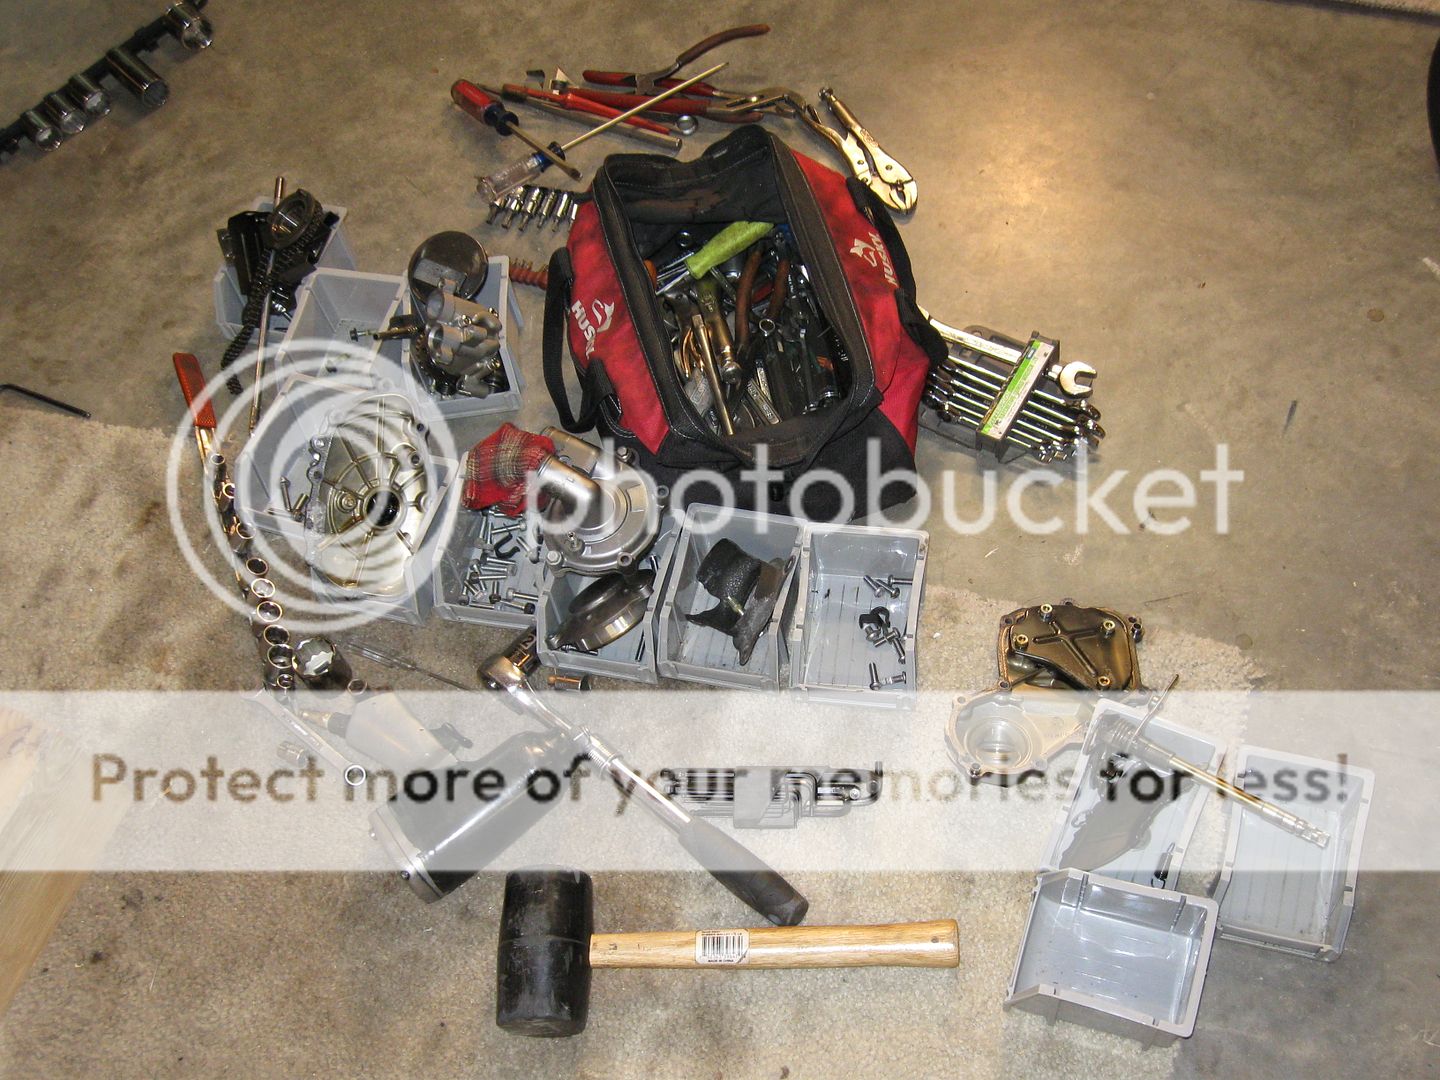
Doug has a "method" and categorization.... He's done this enough in the auto and moto arenas with out leaving too many parts behind.......
help.gif
heh... I do trust him.

Really!

FJR234.jpg


We are moving into the "bowels" of the transmission now. I'm going to stop here for today.

More will be coming soon! Tomorrow (Saturday) will be clean parts and prep for re-assembly time. Plus I may see about rigging up the tail to have a look at the swing arm bearings.

Thanks for tuning in!

 
Hey Paul, I think I read somewhere here that gunk on the butterflies MIGHT be from the crankcase breather.

More gears! Where would we be without Gears? Like Velcro. I think of that everything I gear up/down from riding. Boots, jacket, gloves... .all have Velcro. Here we see (top of the pic) one of the counter balancers.
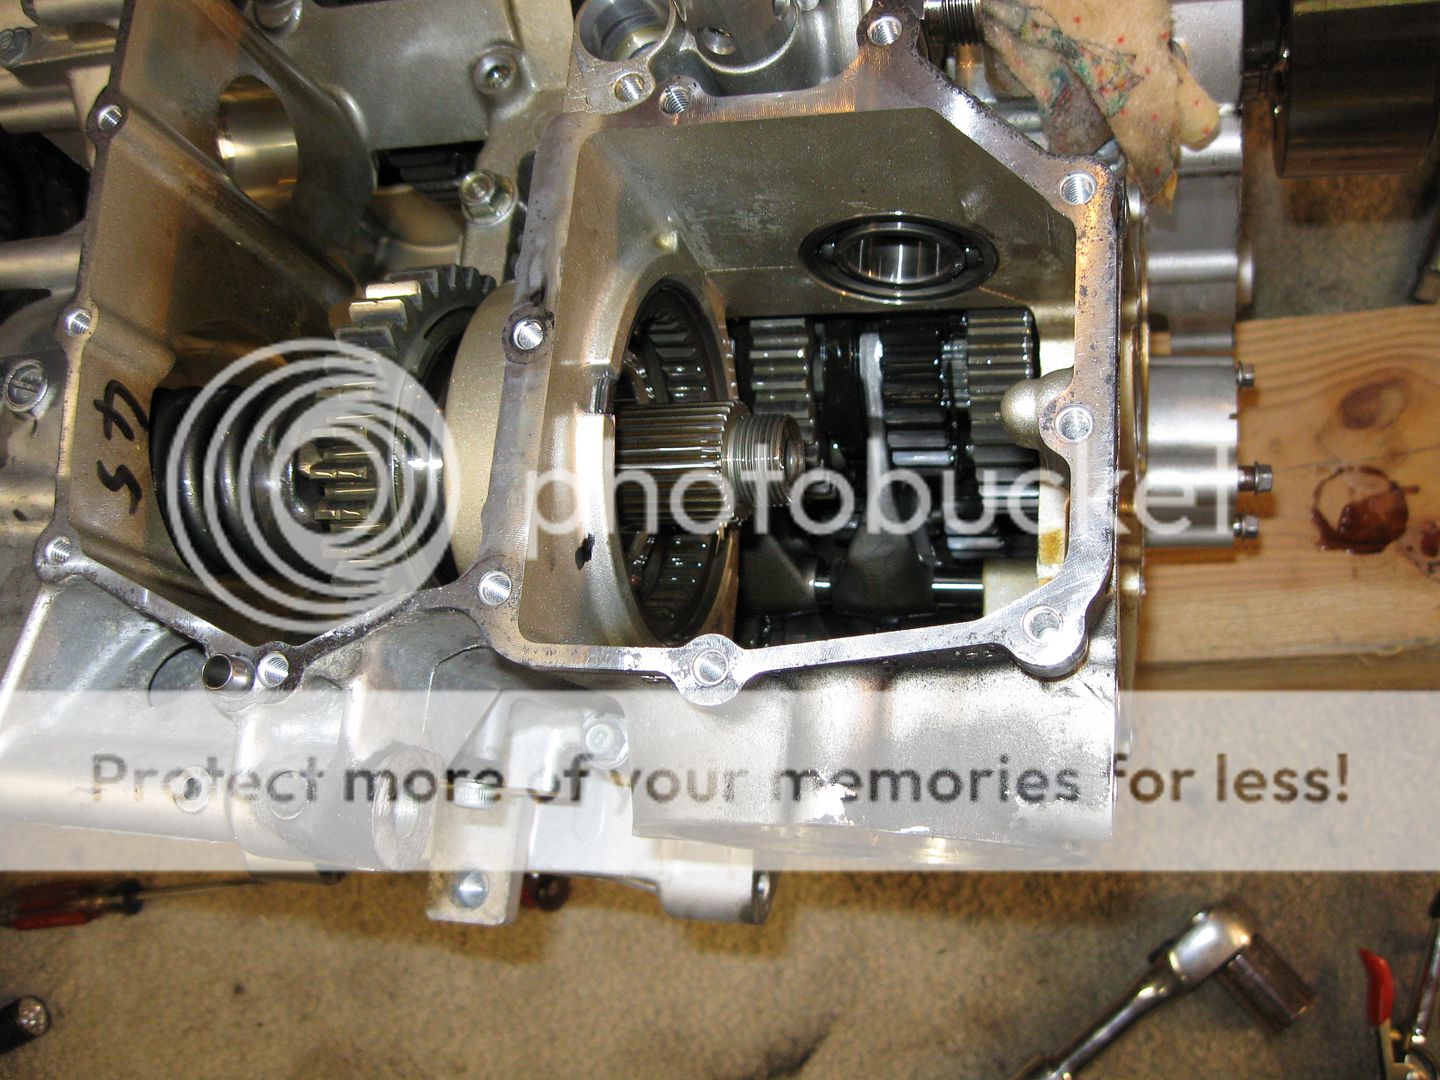
FJR212.jpg
If you fellers do anything that will cause either the front or rear balancer to move, note the orientation before letting the the balancer move. To align the balancer the FSM says to align the dot on the balancer with a seam in the engine case. The problem is, there are two dots but the manual only mentions one. DAMHIK. You DO NOT want to use the wrong dot.

On the 4 wheel side of things, the car guys say that the gunk on the bottom half of the throttle plate(s) is caused by back-streaming in the intake and affects only the lower part because the fuel heavy air settles low in the intake tract. This issue shows up in cars as well as bikes and is a known cause for idle speed issues. To the car guys point, changing the valve timing or lift can exacerbate the problem.

 
Last edited by a moderator:
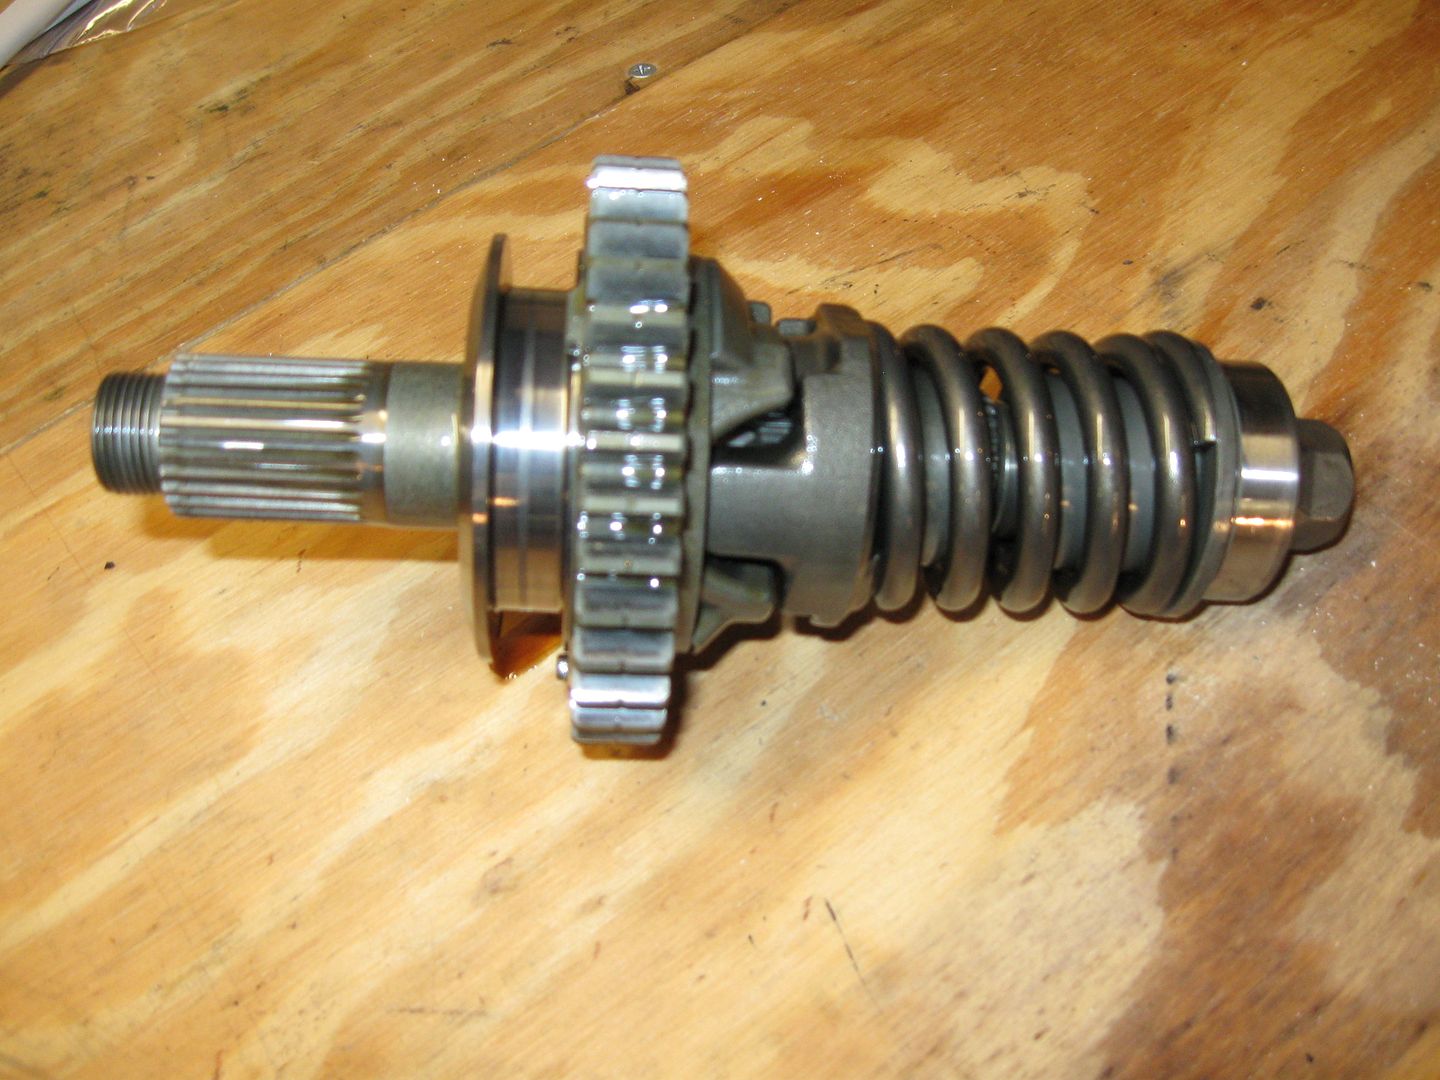
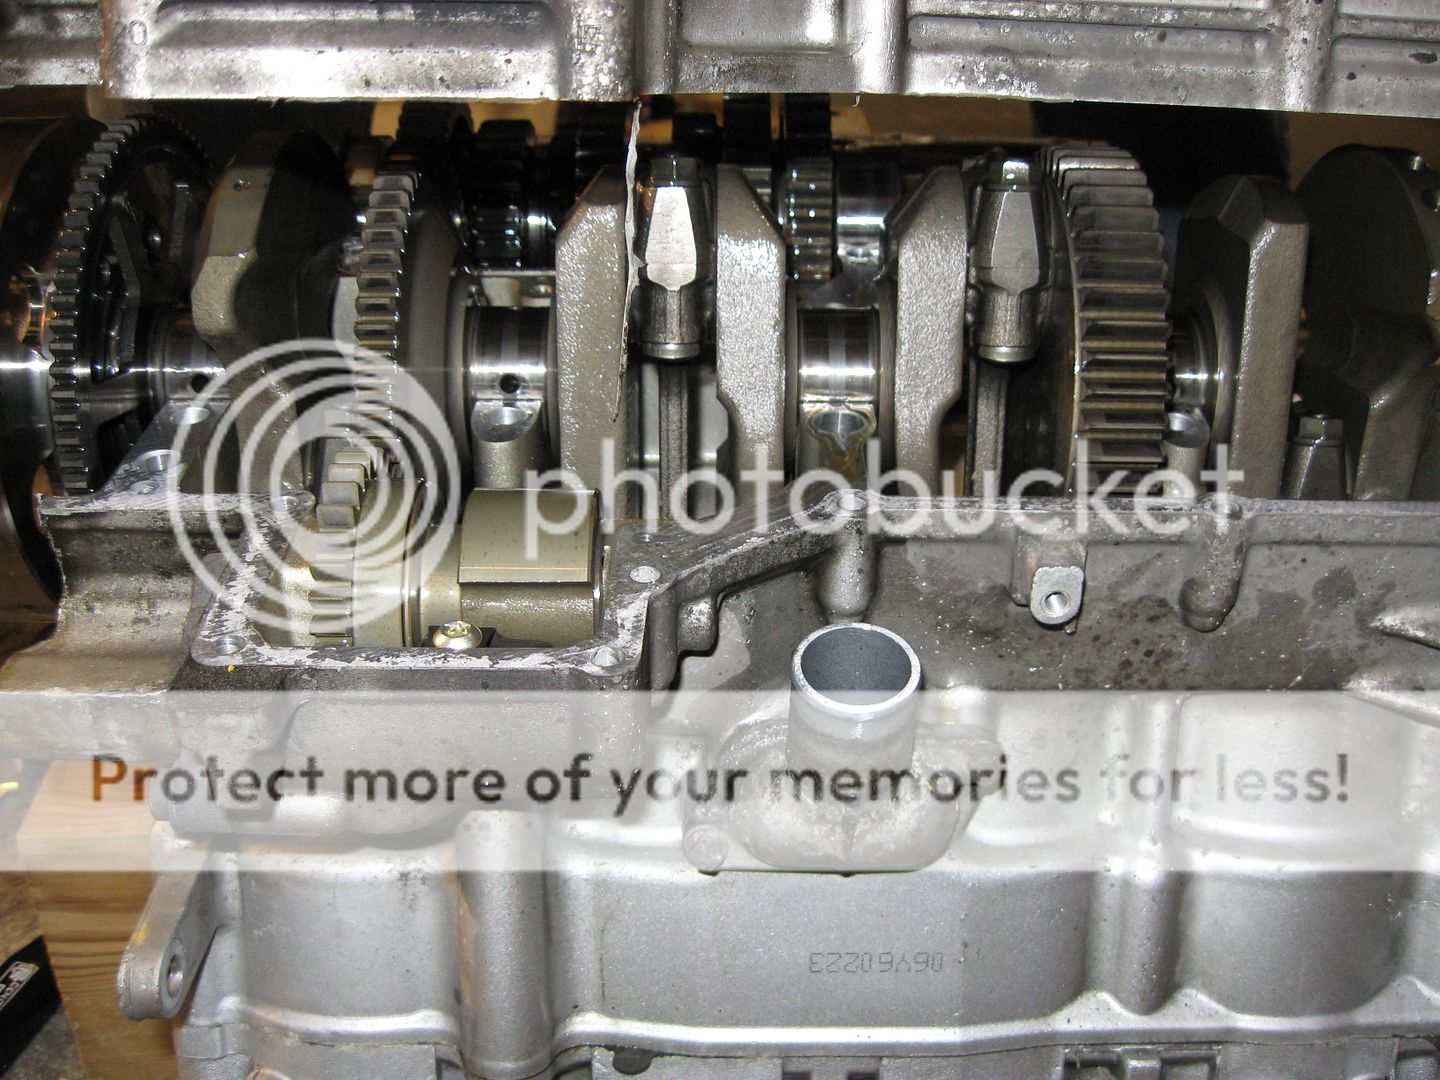
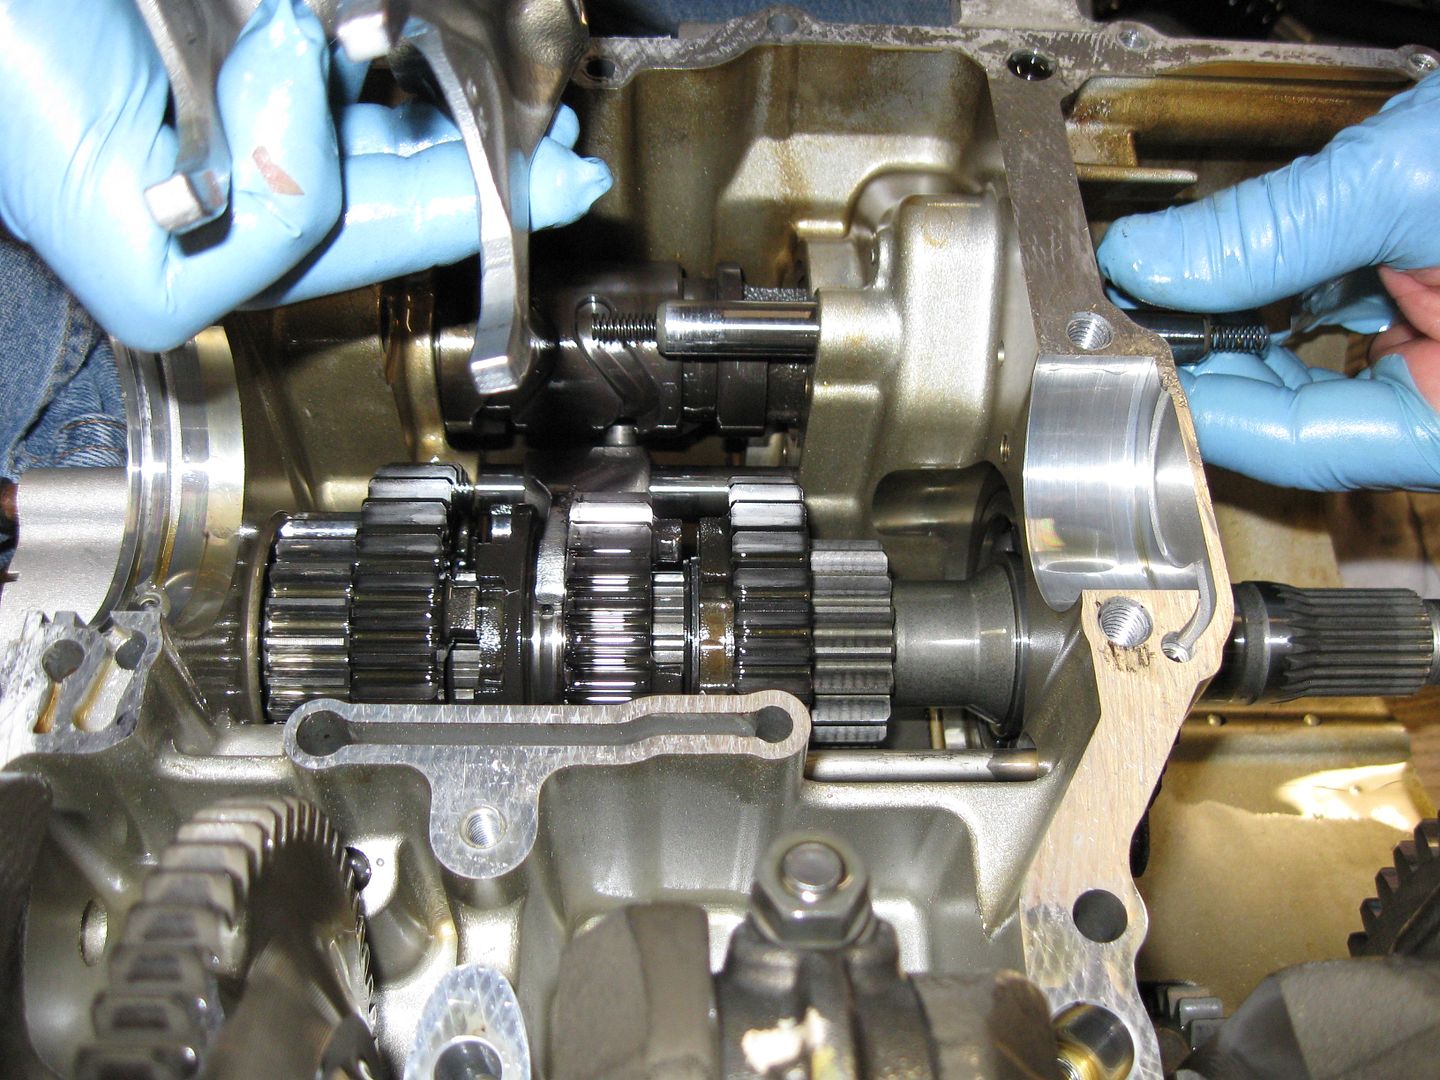
Good Sunday to you FJR Mates! As we continue the dis-assembly we were about to gaze in to the depths of the many spinning (,clanking,grinding and clattering) gears. The Patient, thoroughly sedated and clearly not going anywhere, lies on the floor. Surgery in progress and .... well, take a peek! Just visible is one of the shift forks and the shift drum. This drum moves the forks that slides the gears against each other at the right time to change gearing.

FJR235.jpg


Zoom out and see the more of the different gears. The big piece is part of the bevel gear. That will transfer the movement to the shaft and onto the wheel.

FJR237.jpg


That big piece removed here, making more room to see what is inside!

FJR238.jpg


Said big piece...... are keeping up with these Technical Terms?
dribble.gif


FJR239.jpg


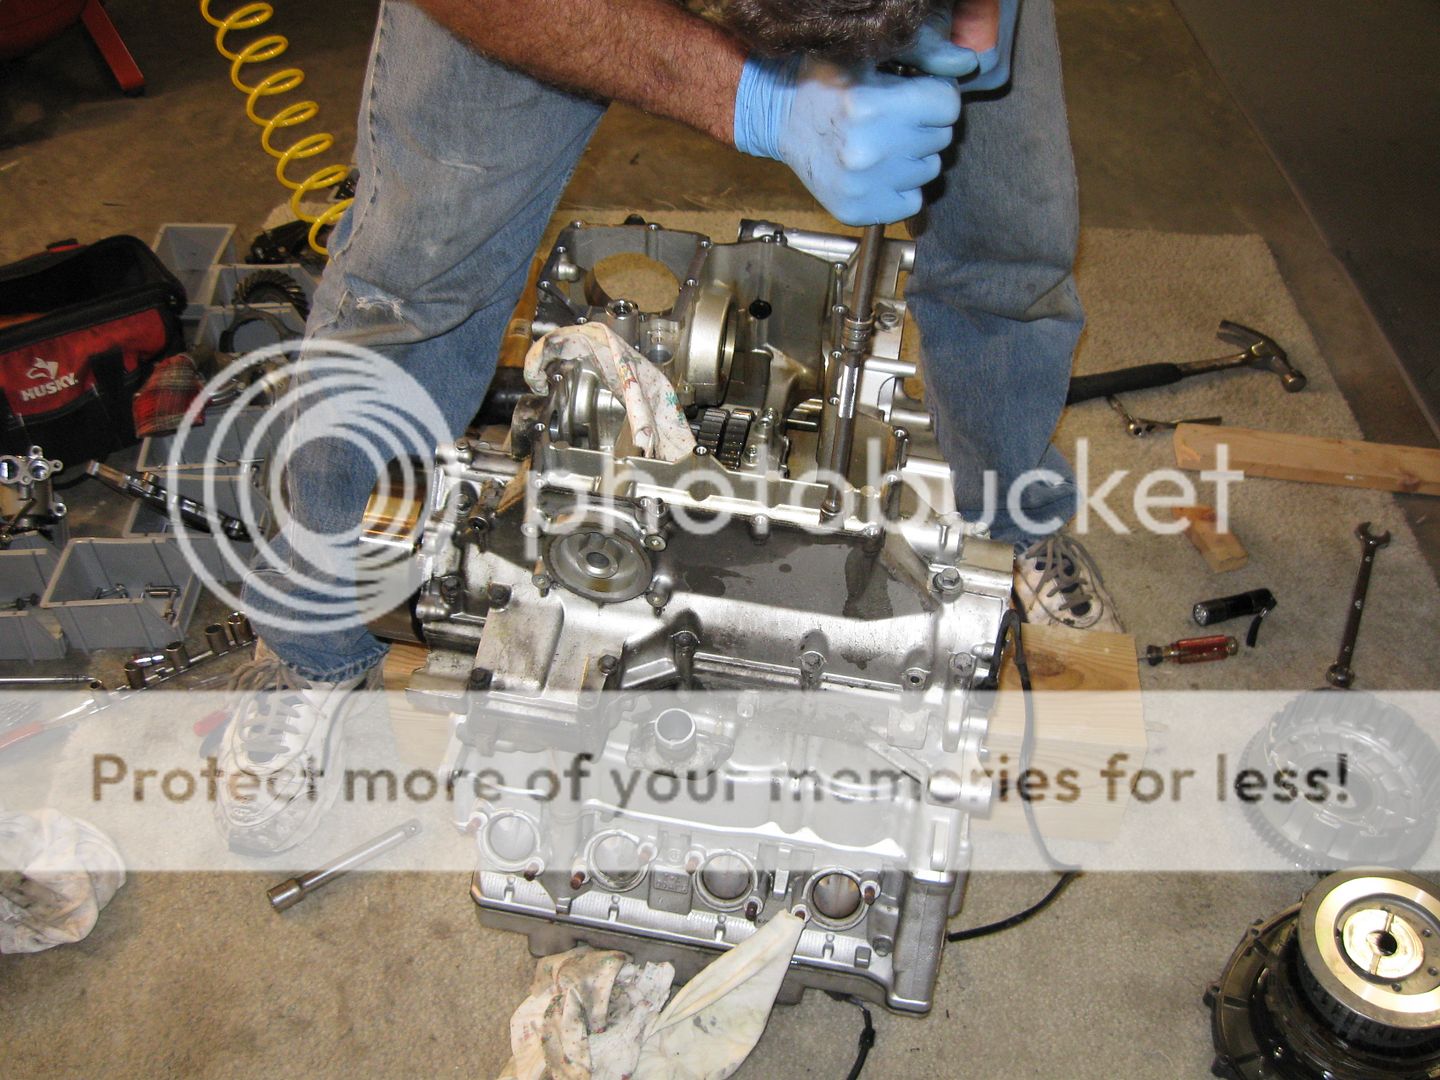
OK! (insert rubbing hands together) Now we start to break the bolts that hold the two parts of the case together!

SNAP!

SNAP!

FJR240.jpg


SNAP!

SNAP!

There's a certain pattern you need to use and only move each bolt a little each time after the break.

FJR242.jpg


Interesting Factoid: Each of these bolts holding the cases together need to be replaced according to the Factory Manual. (Something I FORGOT to add to my gasket order...
ranting2.gif
But I'm getting ahead of myself.)

Now!

We

Open

The

Case.................................................(creeeeeeeeeeeeek)

FJR243-1.jpg


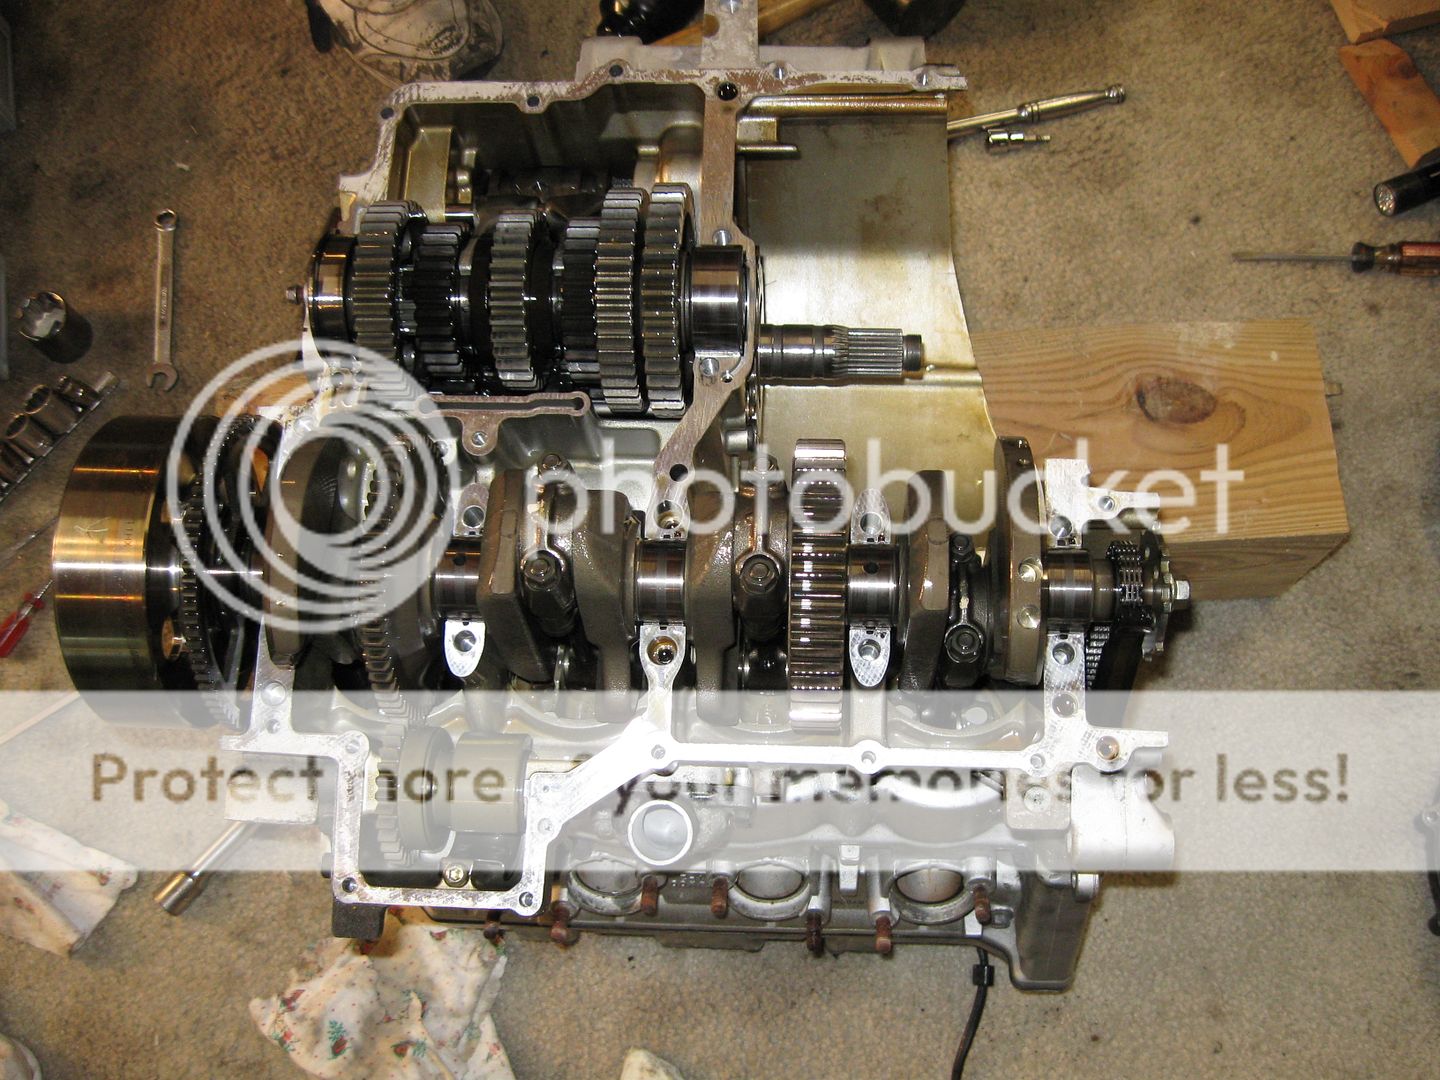
Tada!
rockwoot.gif


FJR244.jpg


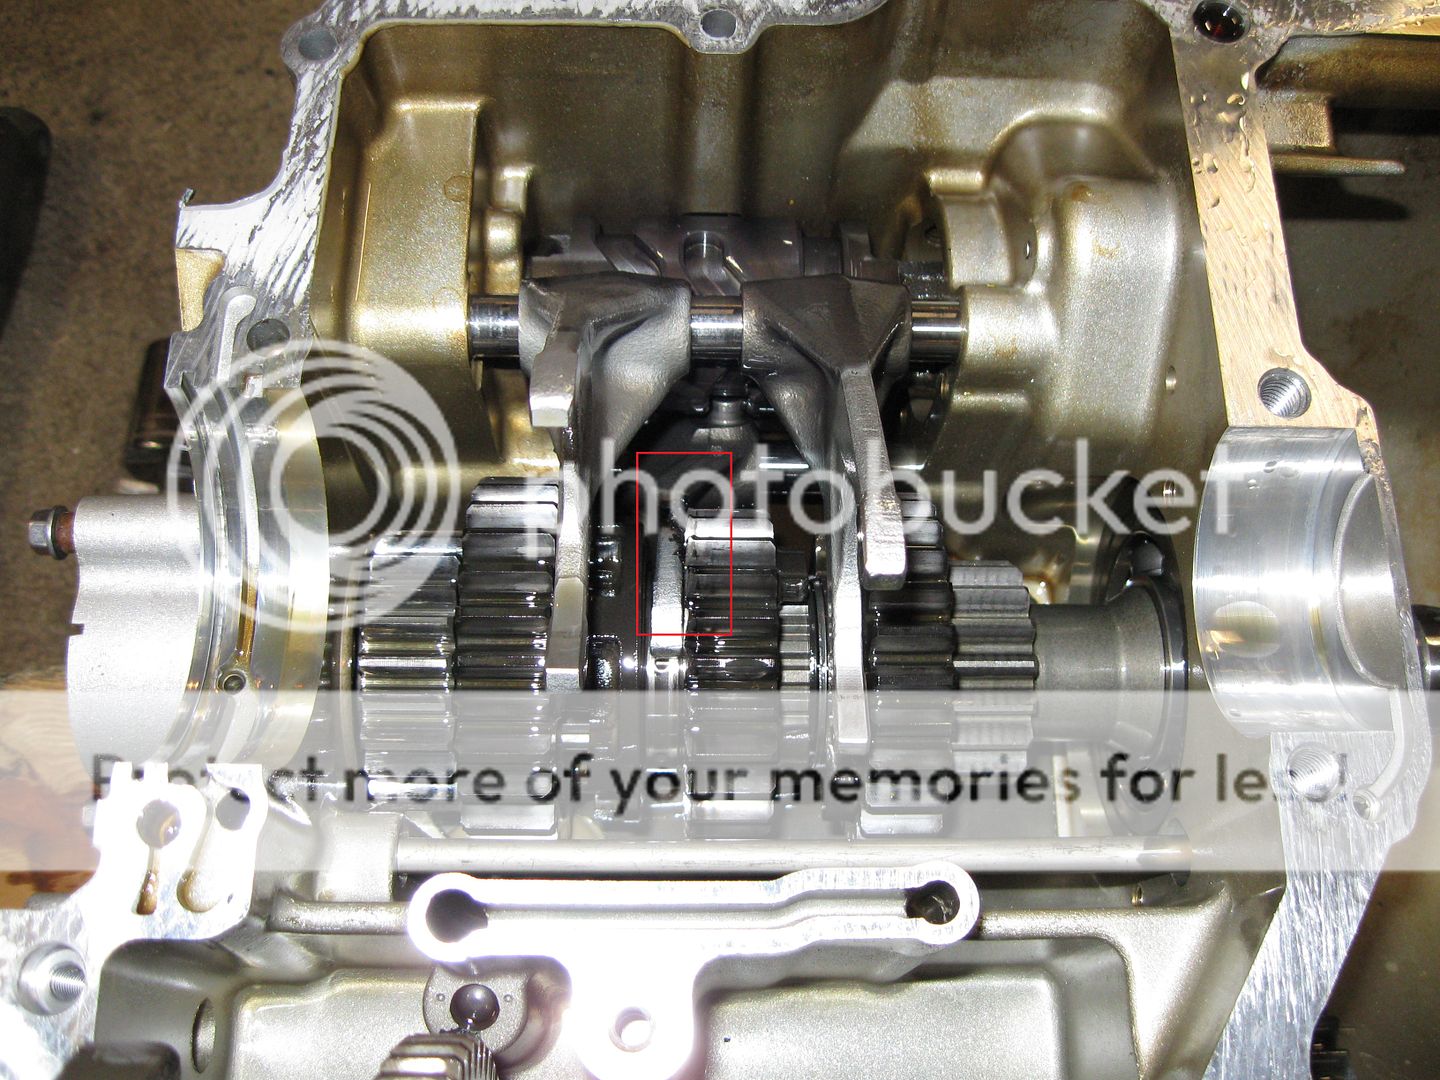
AND here's our trouble maker! Look closely at the red box....

FJR245.jpg


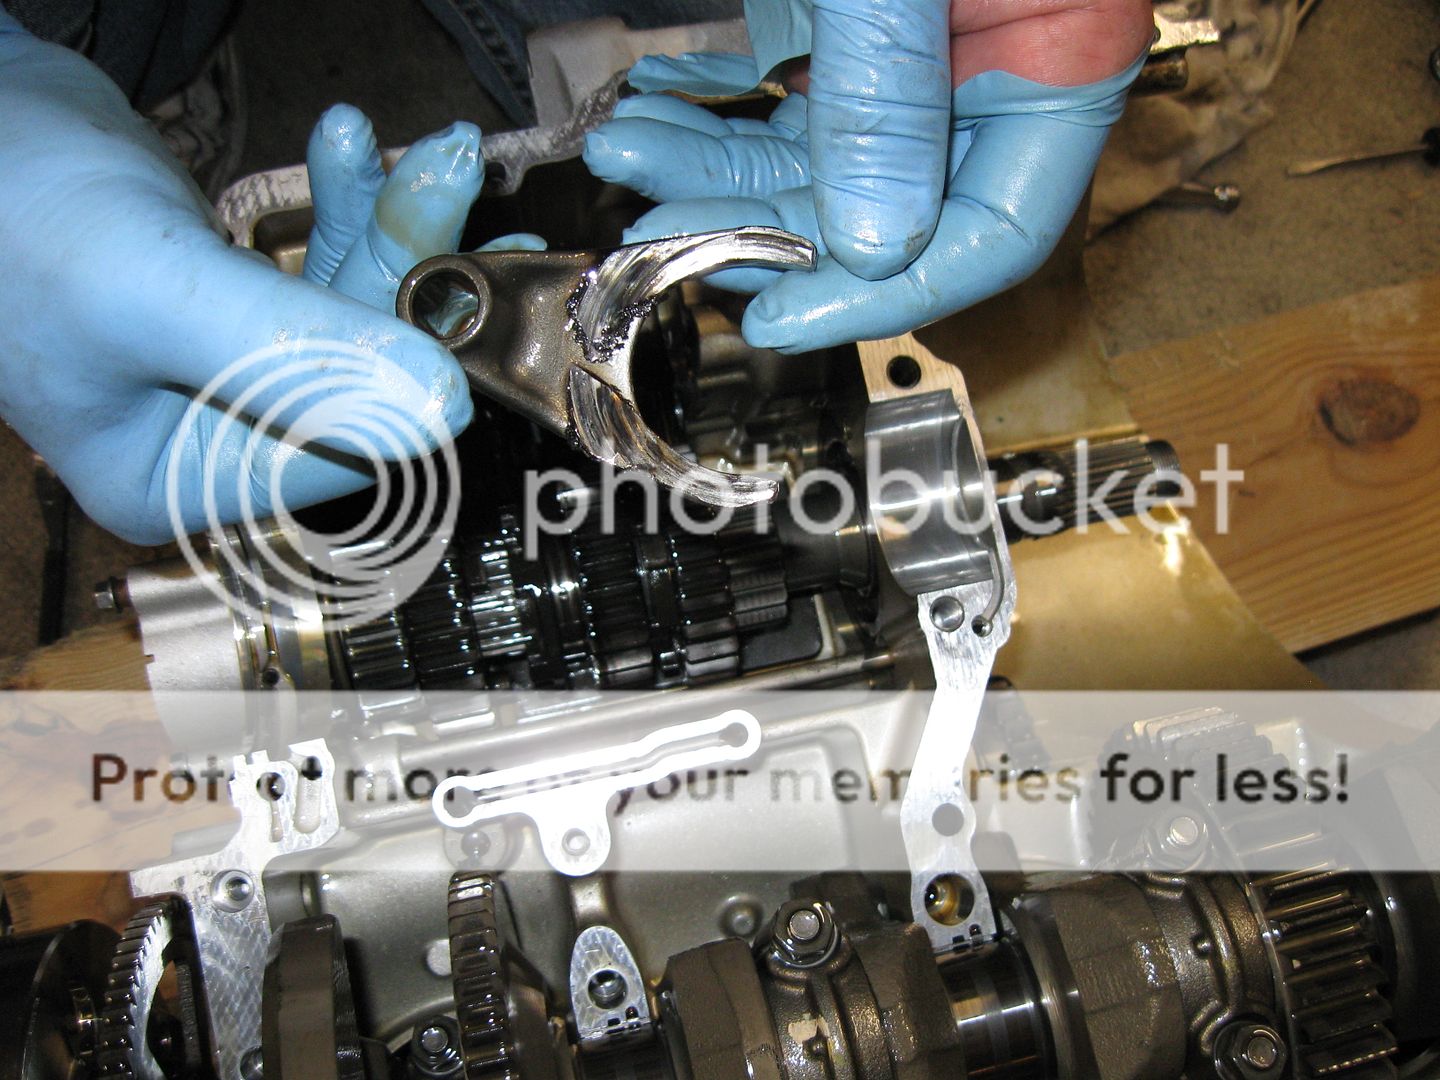
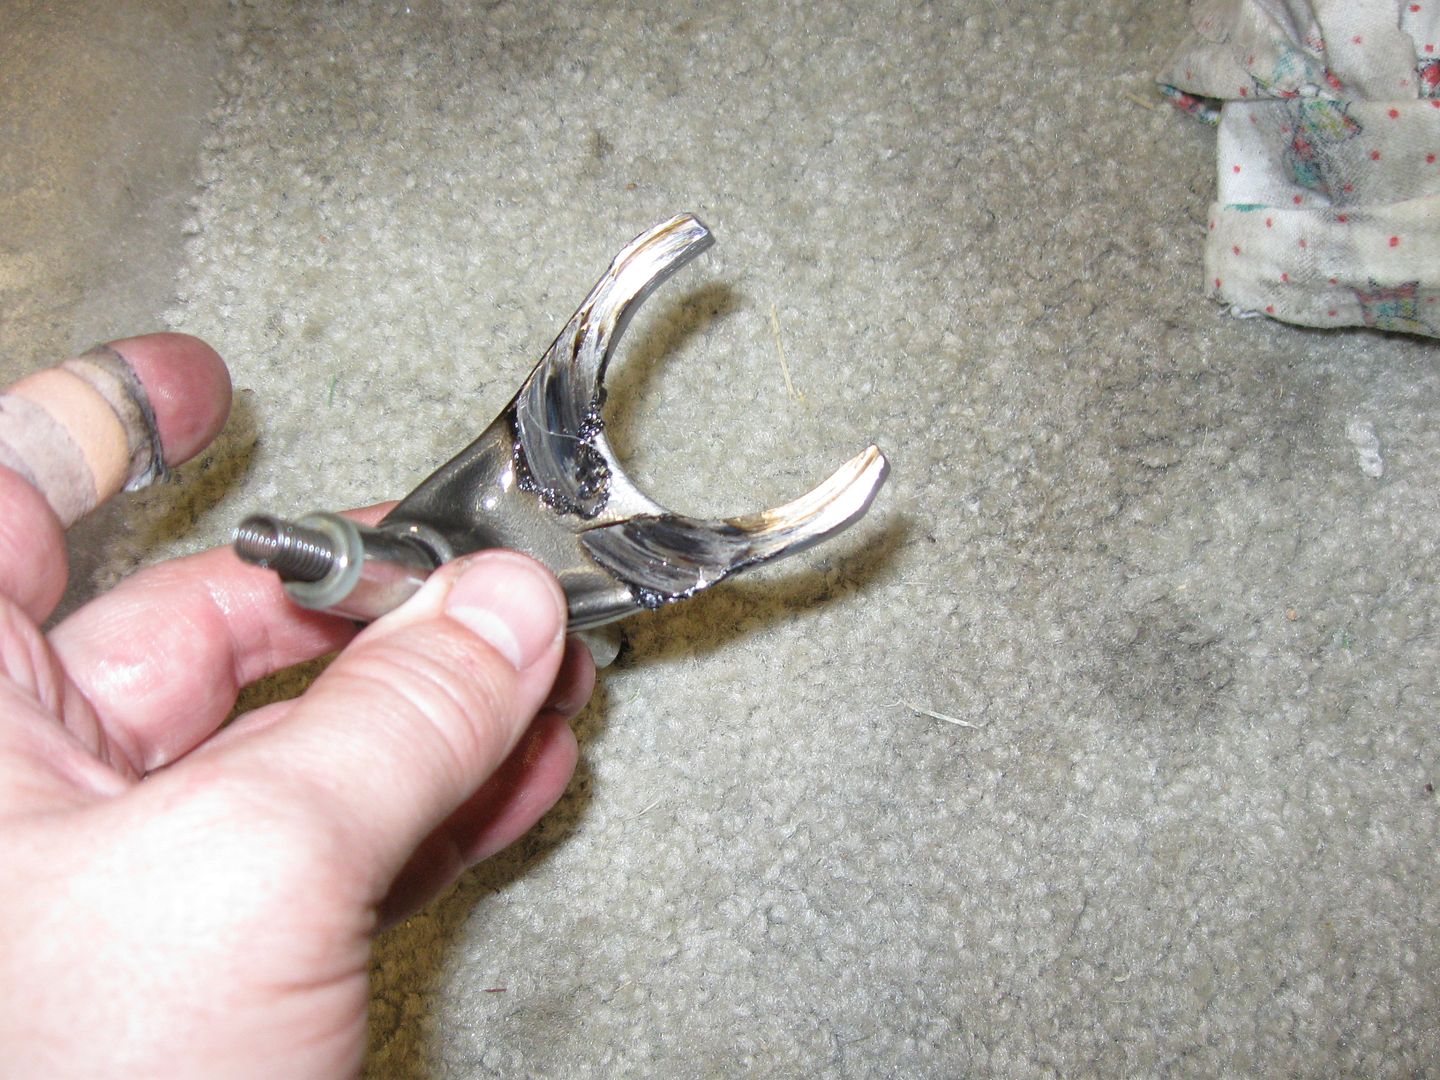
That lower center shift fork. Very similar circumstance that was mentioned earlier. Somehow that fork perhaps got jammed/bent and started to rub. That rubbing built up some heat and the problem grew.

FJR252.jpg


Here's the top set of gears.

FJR247.jpg


Pulling the other forks out.....

FJR249.jpg


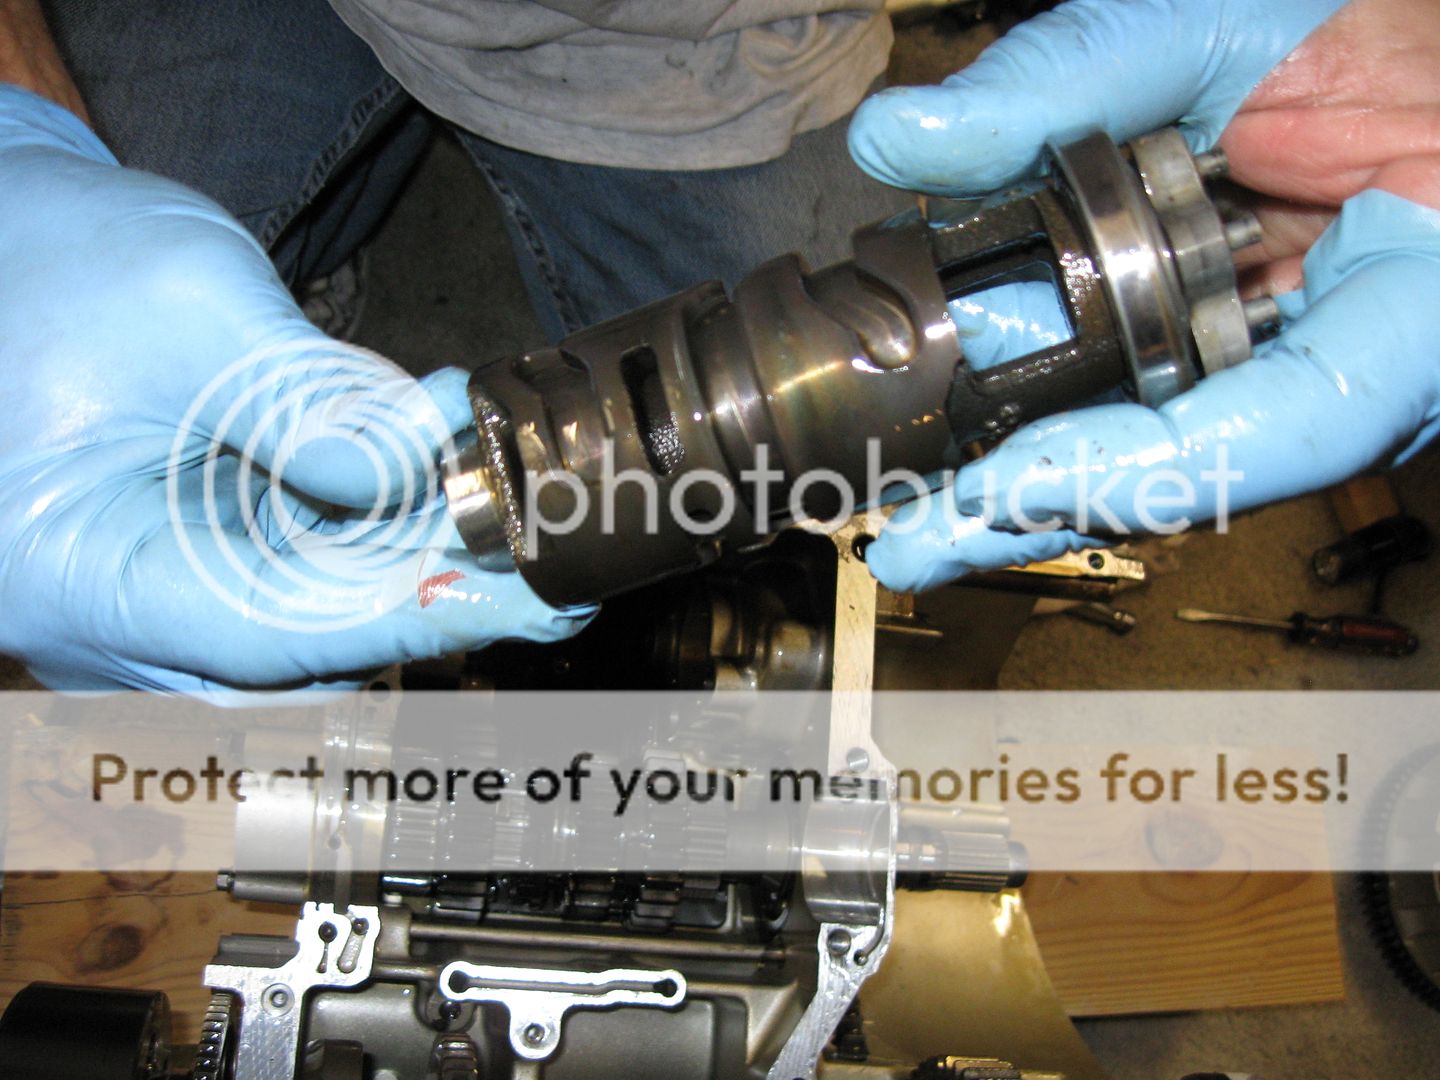
The shift drum is next.

FJR254.jpg


A shot of one of the counter balancers.
FJR259.jpg


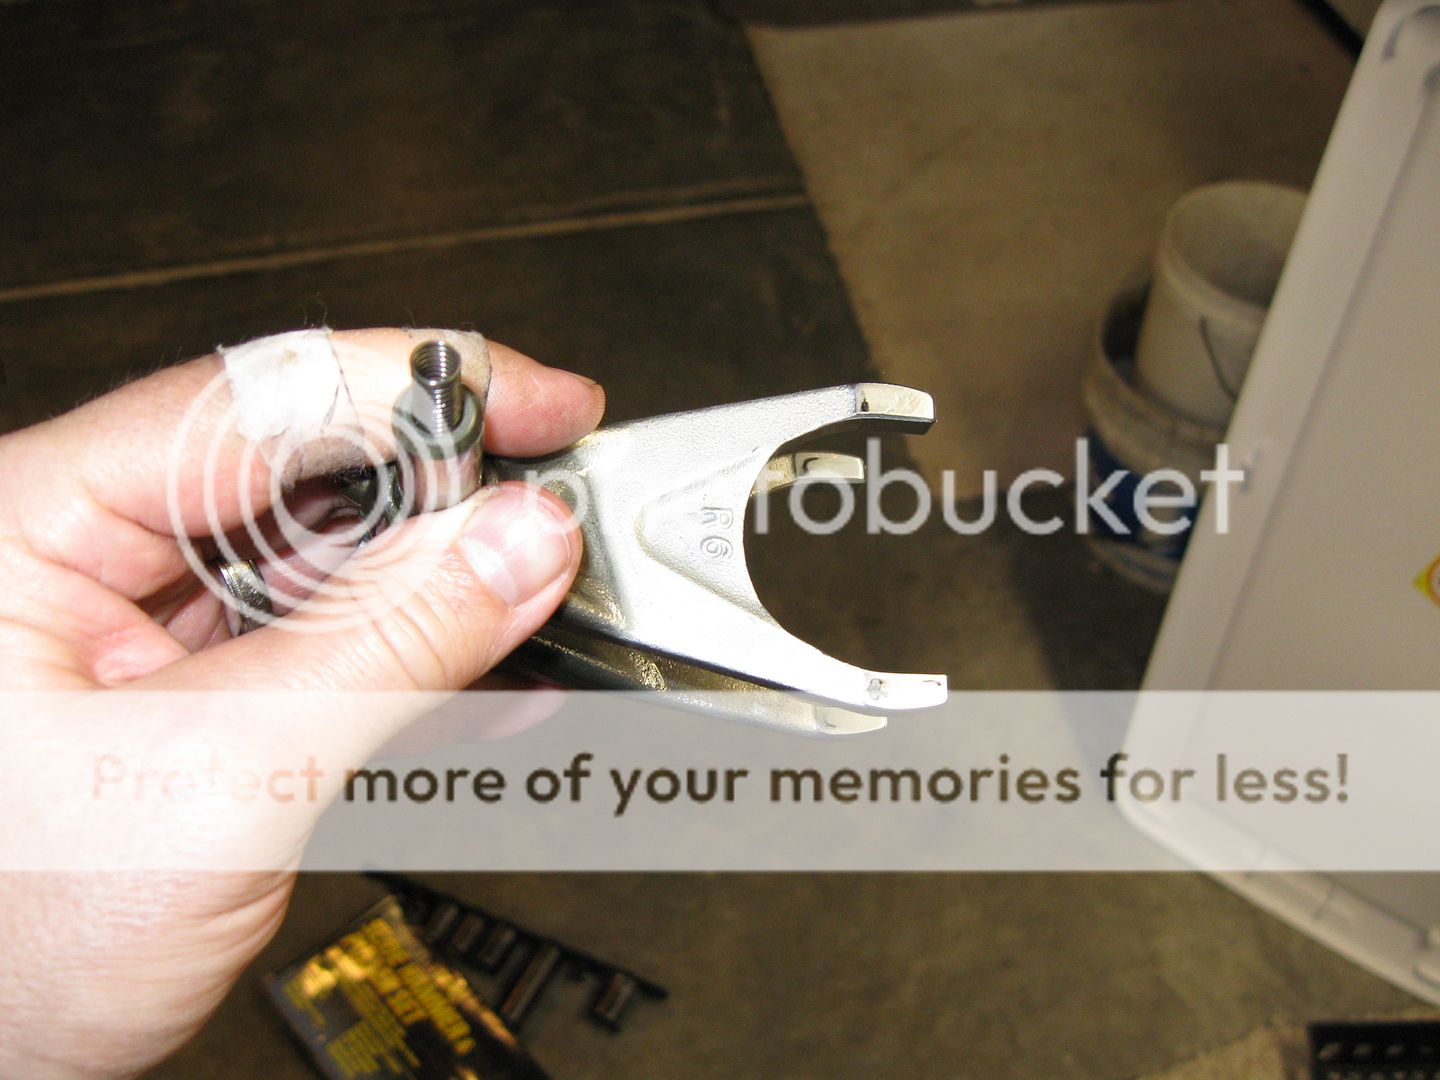
Another shot of the offending member, then the other set of forks (how they are supposed to look).

FJR262.jpg
FJR264.jpg


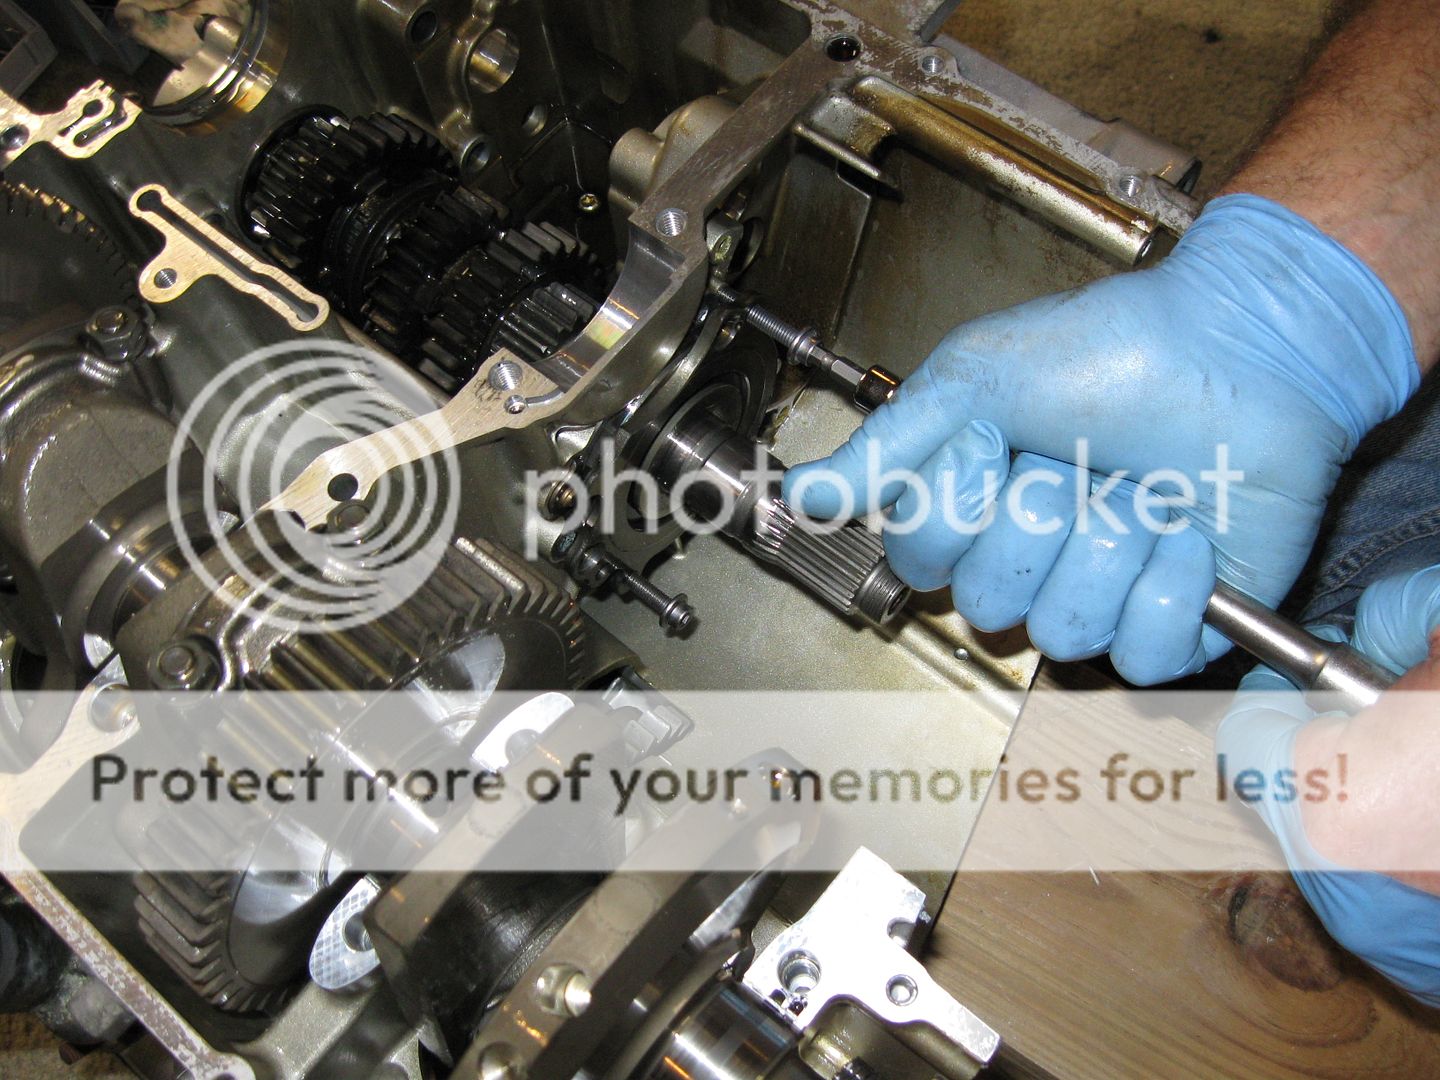
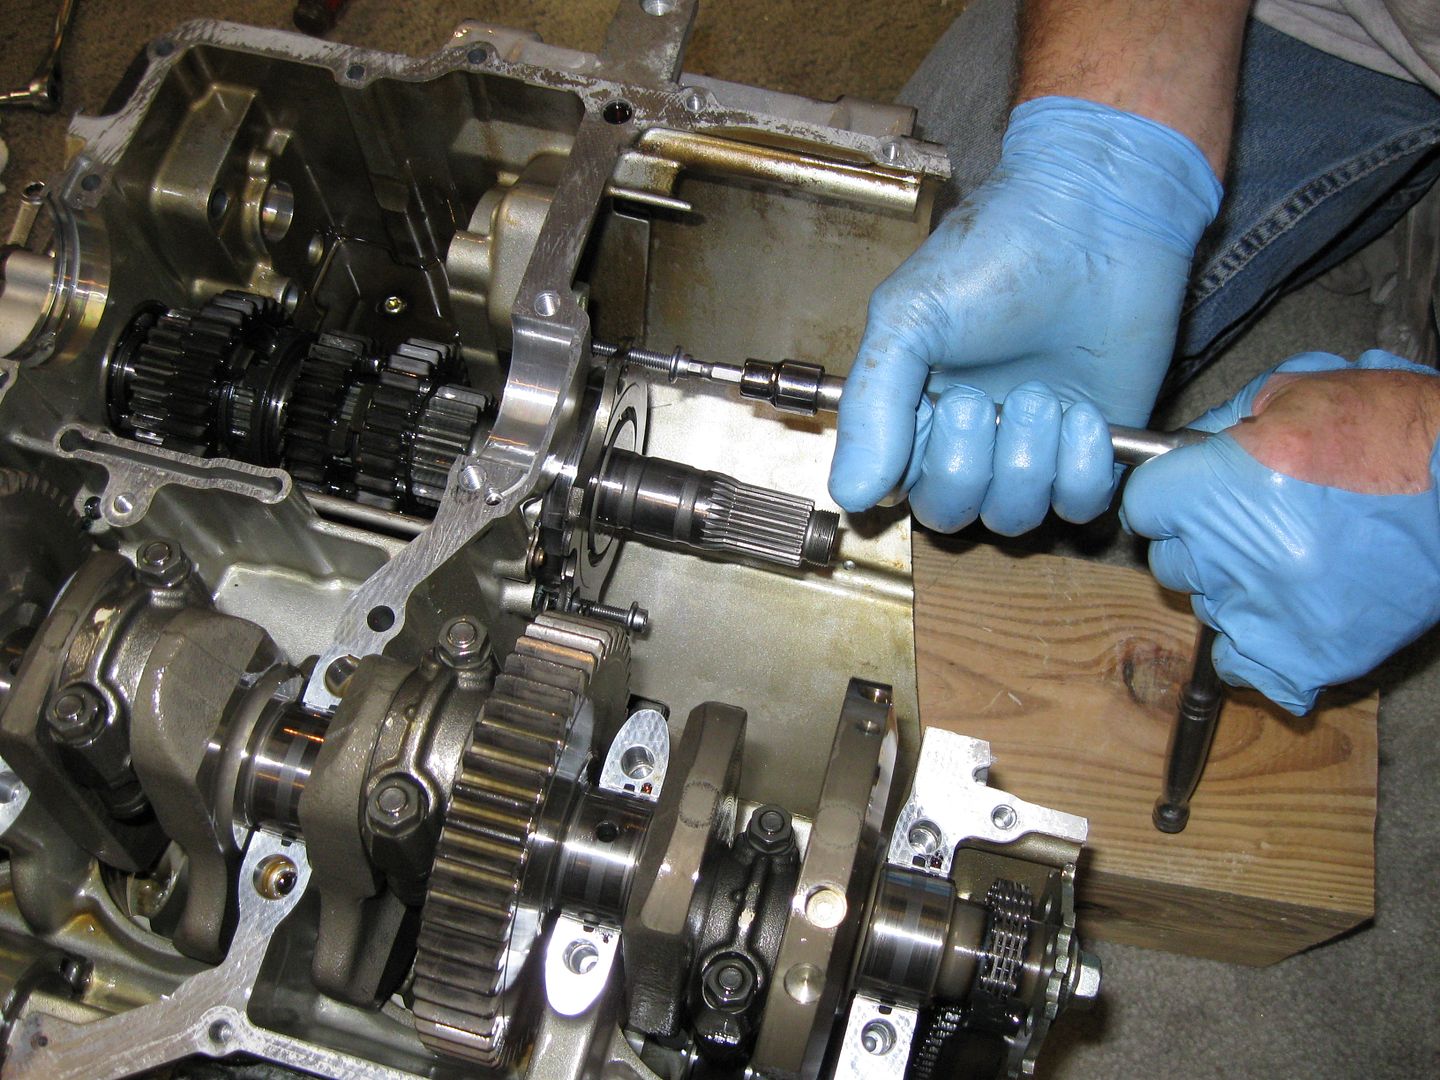
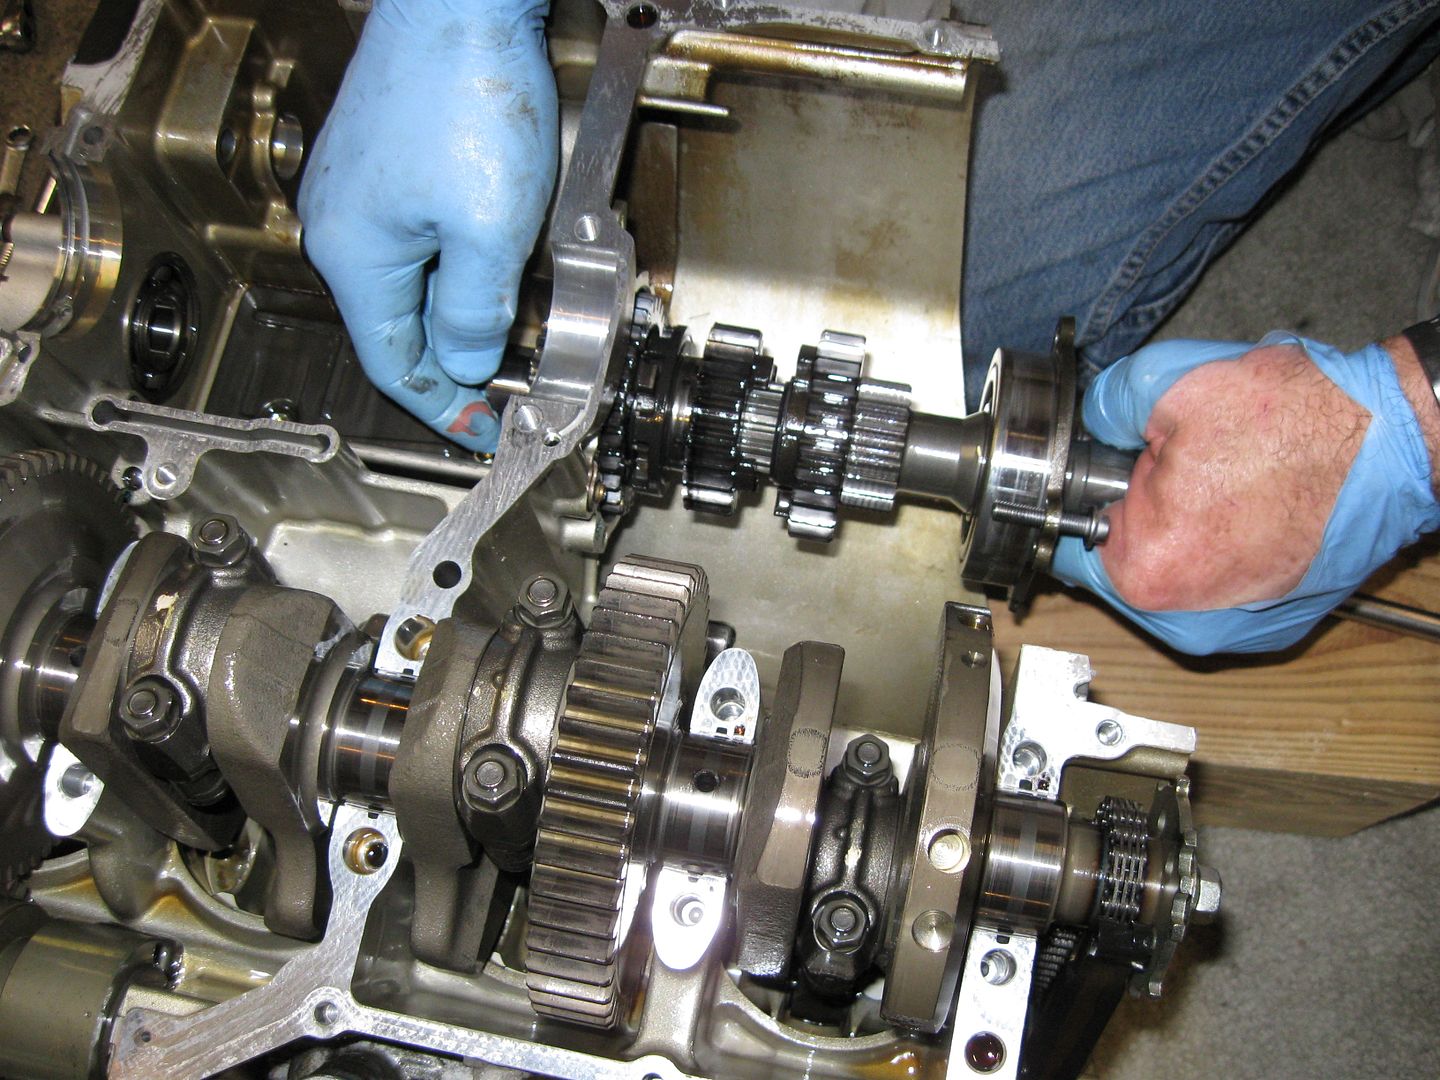
The lower set of gears come out by removing the allen bolts, then screwing them in another area. This pushes the assembly out.

FJR265.jpg


FJR267.jpg


FJR268.jpg


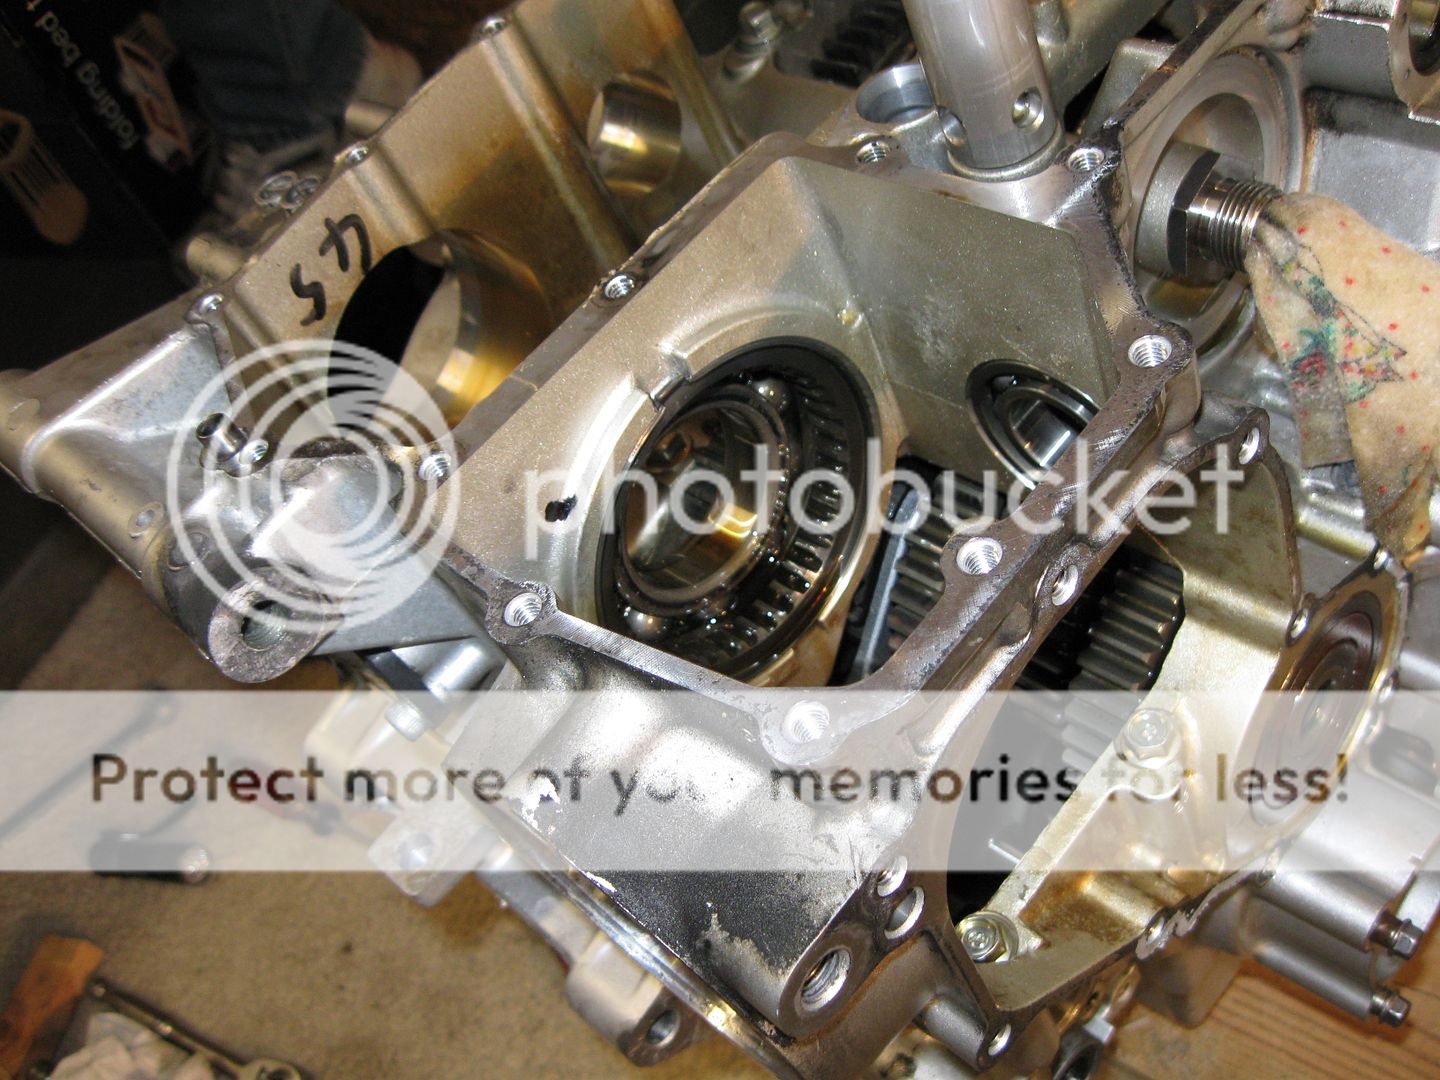
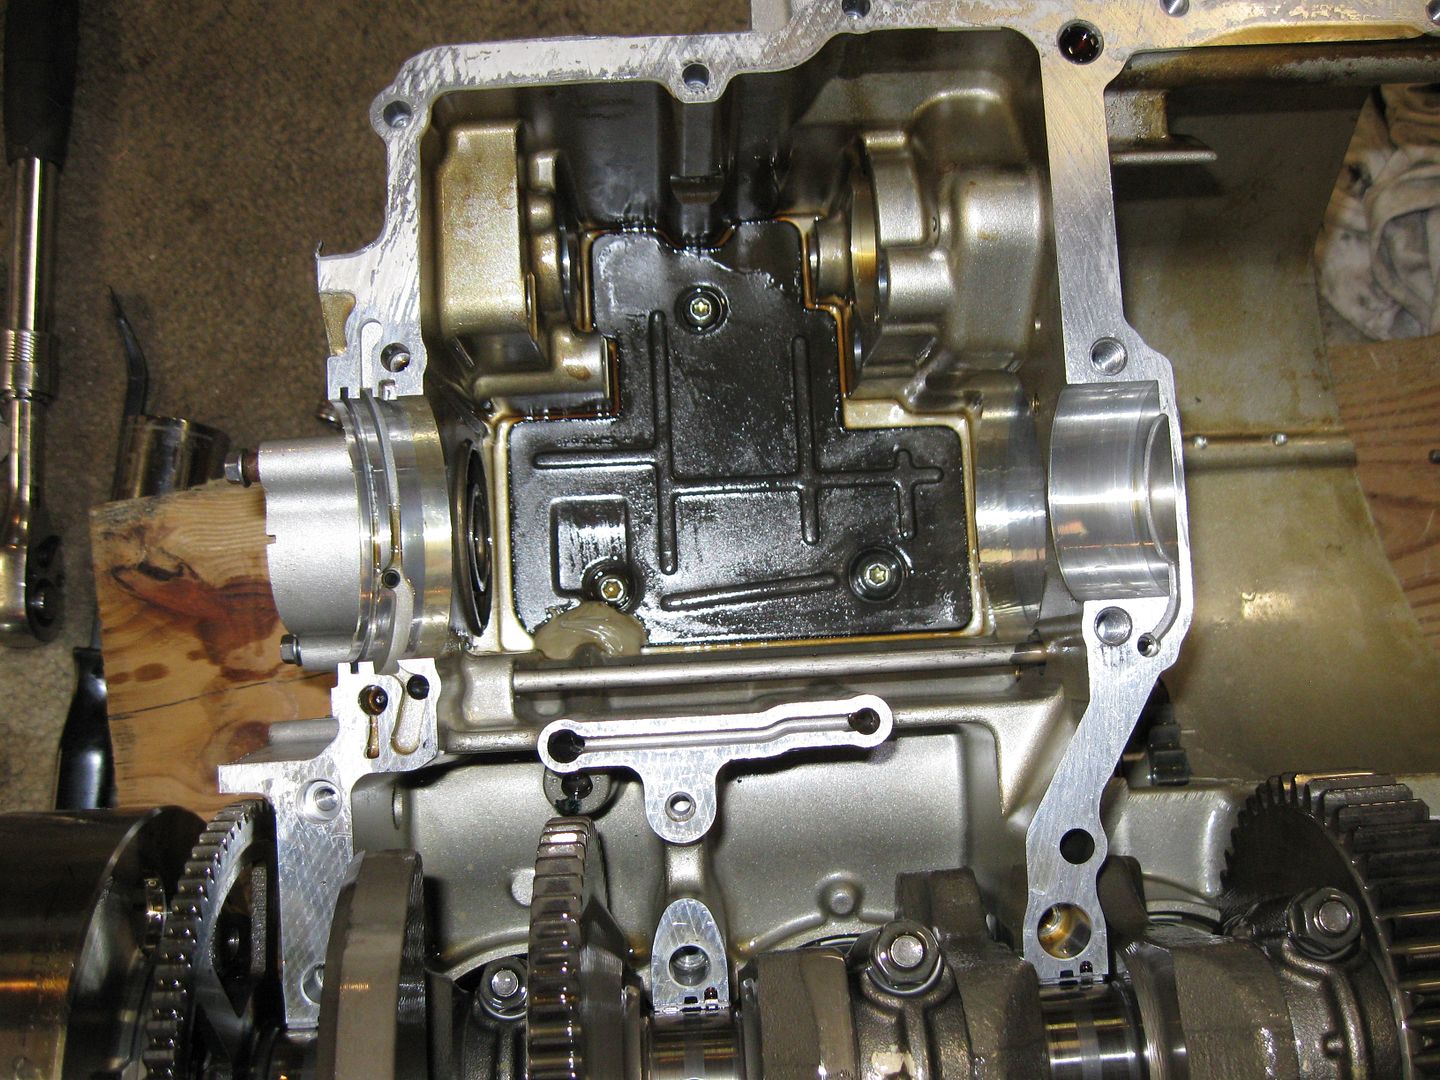
And now we have an empty transmission!

FJR269.jpg


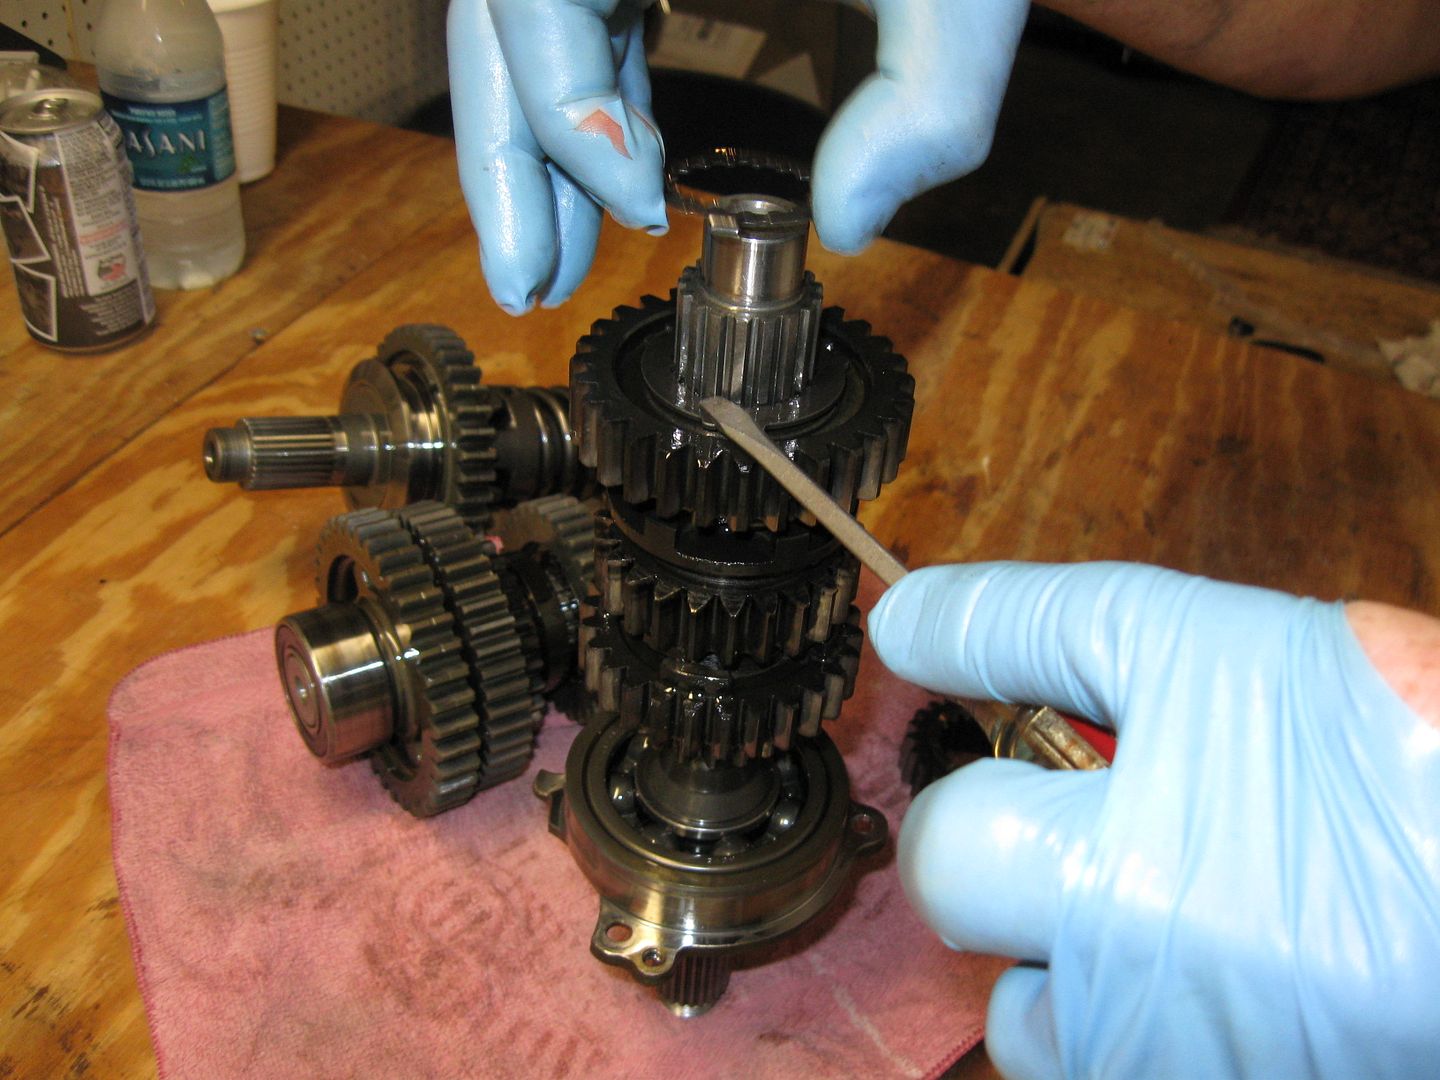
We take a breath.... and jump right into taking the gears apart and inspecting them.

FJR272.jpg


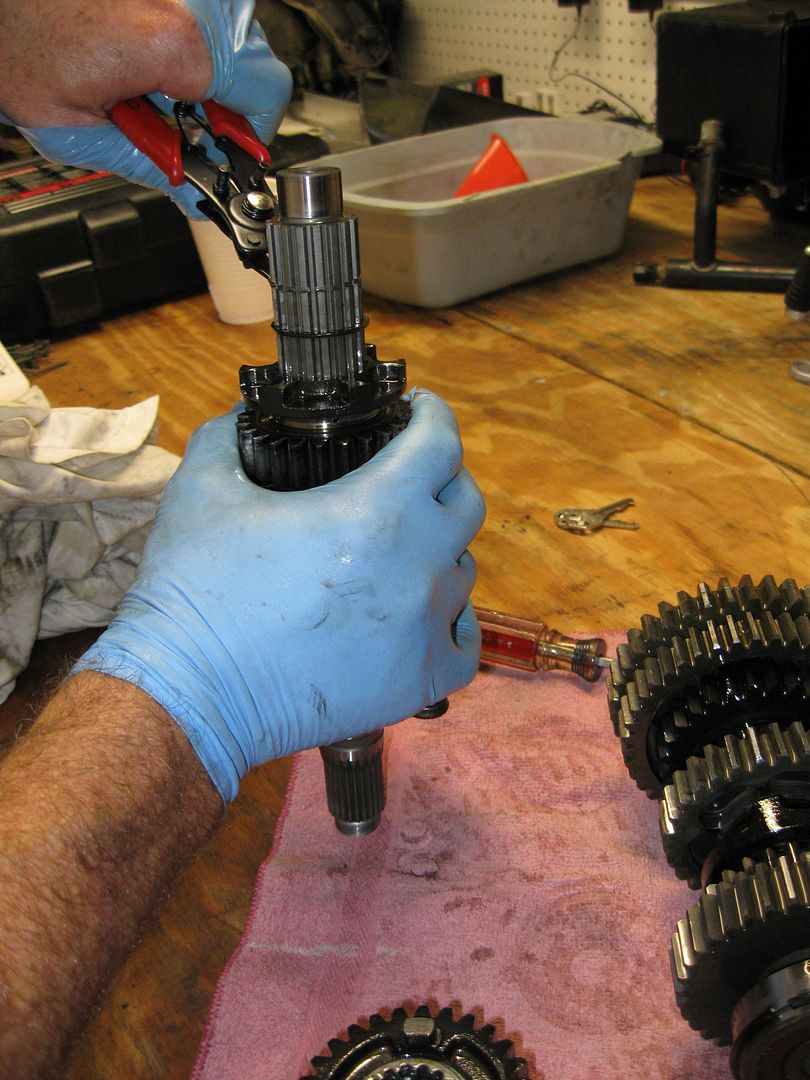
This circlip was a bugger to get out. I love my Harbor Freight tools. But sometimes you can tell the quality is down slightly. Here Doug is making due with my HF C-clip pliers. We could have used a slightly larger and beefier set.

FJR273.jpg


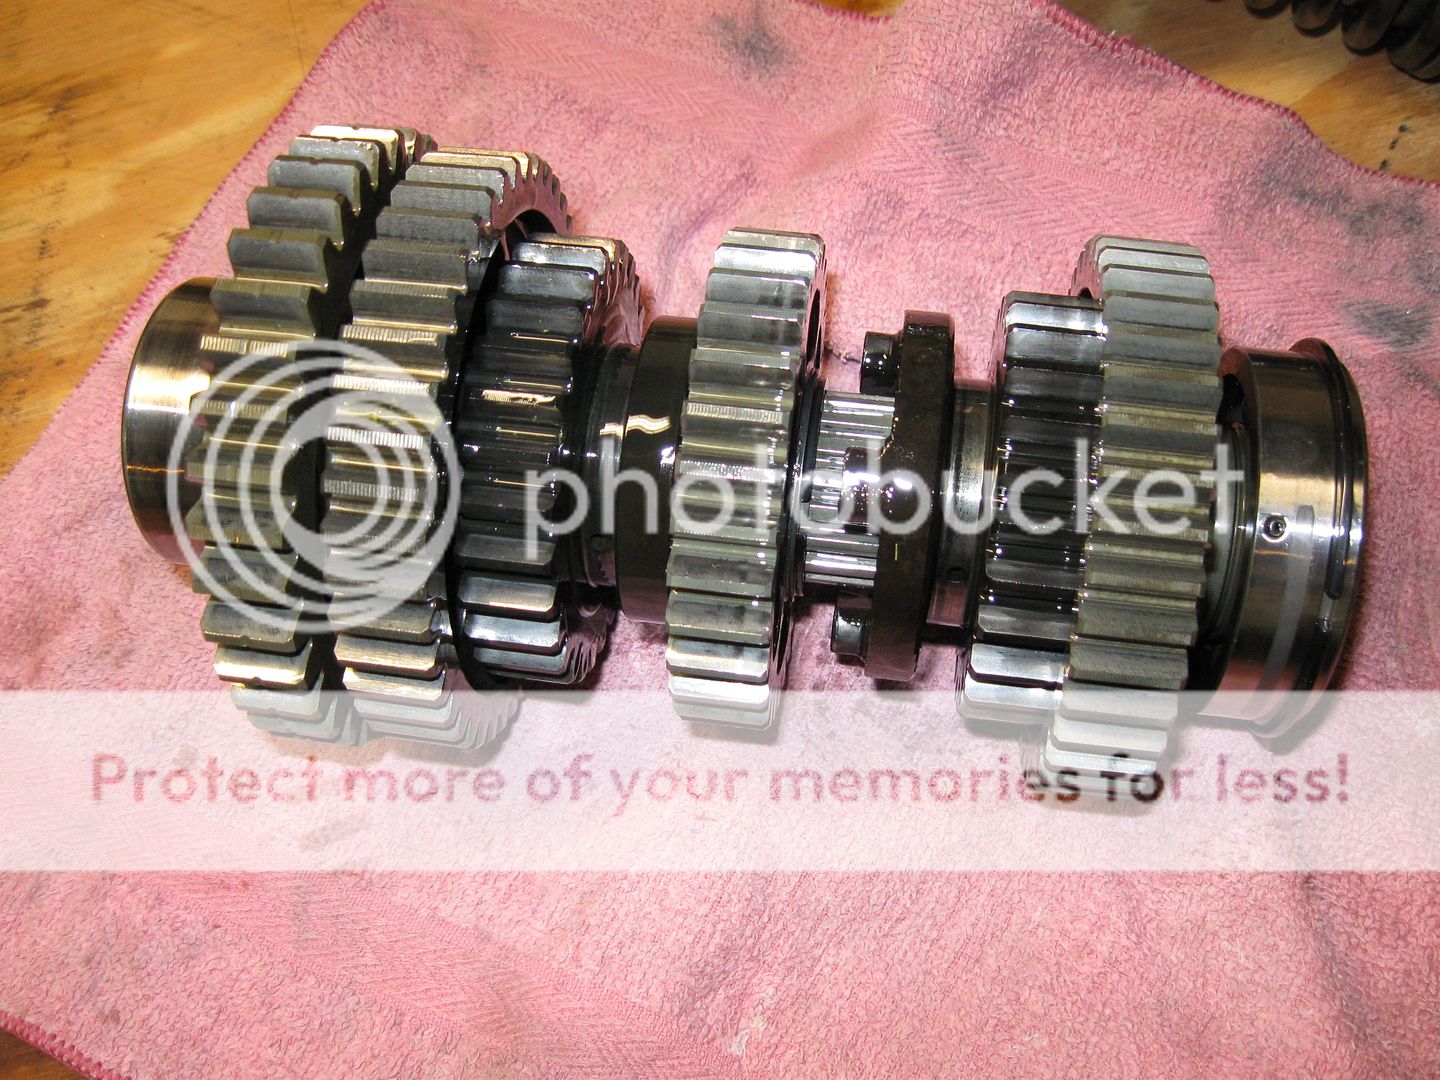
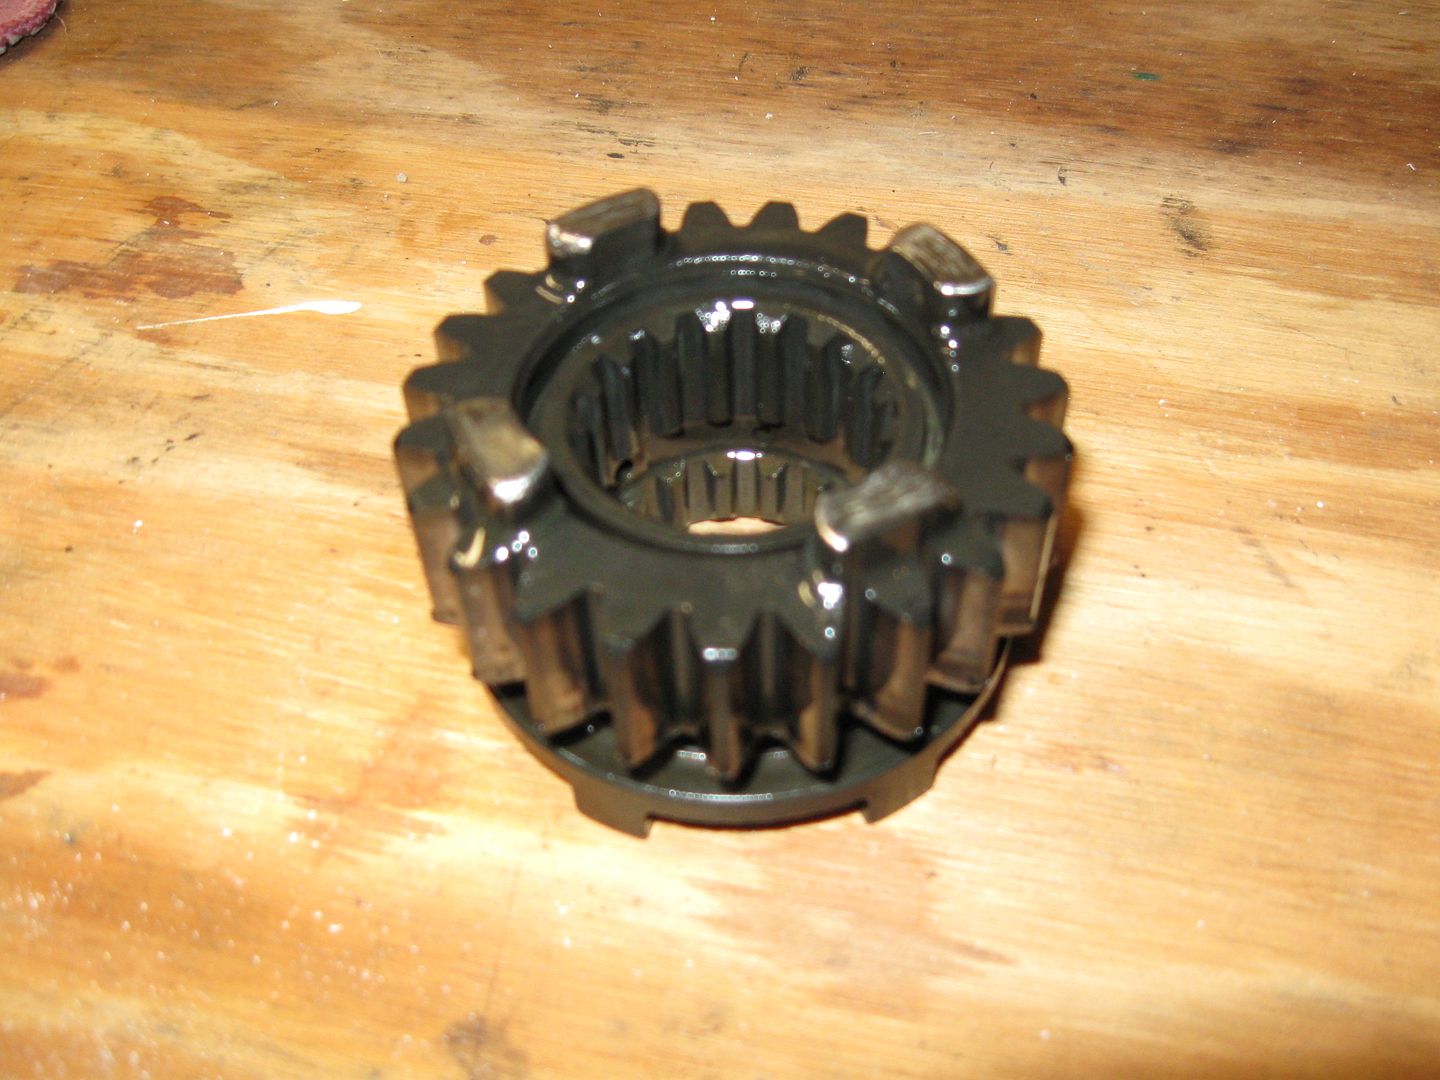
You can see the knackered up gear here. When the fork got worn, the gears started moving around and allowed them to clatter together. This rounded the edges off a bit. Several of these were worn down.

FJR275.jpg


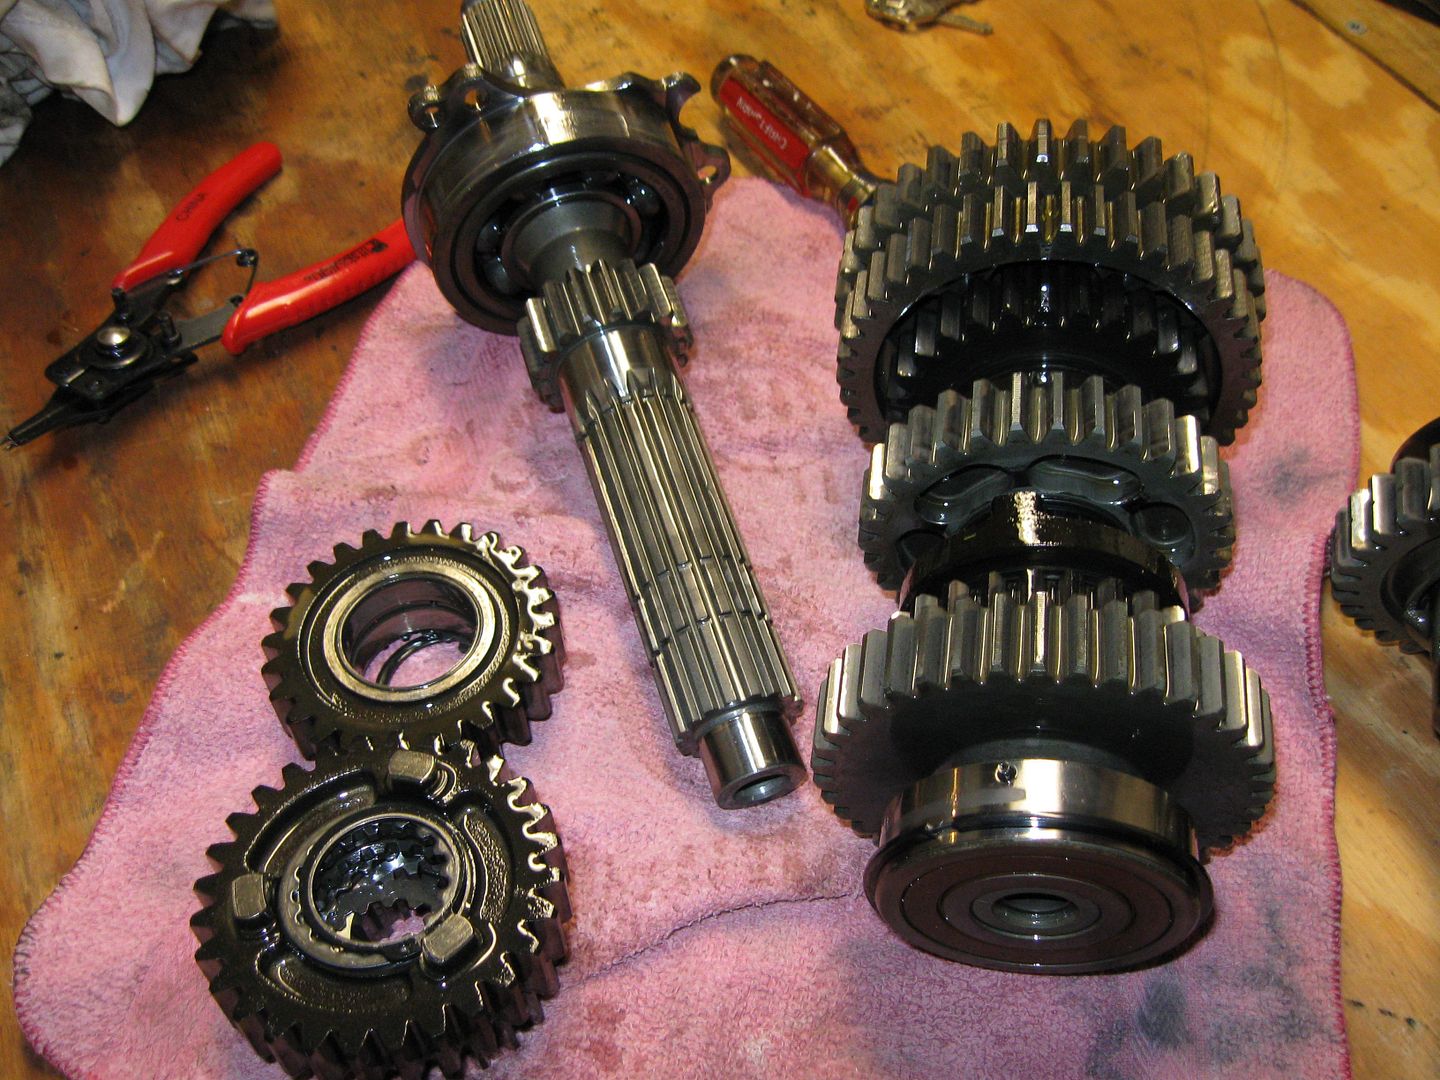
The old set of gears. At this point Doug and I decided to go ahead and see about ordering a replacement set of gears and forks.

FJR277.jpg


A new set of gears and forks were purchased from an 06 FJR off Ebay. I've also compiled a list of gaskets, o-rings and a few other parts and an order was placed today..... although I forgot the case bolts.

So, in the mean time I've been cleaning surfaces. Scraping and wiping down, careful not to get gunk inside parts.

Doug also helped me lift the bike up onto a pair of jack stands to facilitate the removal of the center stand. That way I can get to the swing arm bearings and parts myself.

Next weekend, my Son wants to ride up from school (in College Park, MD) to go for an all day ride with me. I'm really looking forward to that. Sadly, the FJR won't be ready. So the old Concours will have to do.

My progress may slow a bit. But I've got a few more pics from this weekend to put up though.

Thanks for tuning in!

 
That lower center shift fork. . . . . Somehow that fork perhaps got jammed/bent and started to rub.

Any theories why?

 
I'll be damned, it's not the shift fork I was thinking! (L7). Not sure which gears that fork engage/disengage, but it's not 2nd gear. Now I'm wondering what issues the previous owner had before the ultimate failure.

 
Top