Winter Project - Reviving a Wounded FJR

Yamaha FJR Motorcycle Forum

Help Support Yamaha FJR Motorcycle Forum:

This site may earn a commission from merchant affiliate links, including eBay, Amazon, and others.
Oh please do not use the term Dohickey!!!! SHHHH The KLR guys might hear you.. I think they have it copywrighted.

(Prior KLR owner... been there, done that)

if you begin to type KLR Doohickey into google.. you wont get past the first d and google will fill in the rest ;)

(it's actually a little interesting)

 
Isn't the USPS great that way. I ordered a PC-8 and other bits and pieces from Eastern Beaver for my FF50 install and had to go through the whole find the notice, pickup the next day - only it wasn't there, had been sent out for 2nd delivery attempt - and return Monday. Not bad for something that could have been left at the door Thursday for installation on what looks to have been the last reasonably decent weekend of the season.

 
Oh please do not use the term Dohickey!!!! SHHHH The KLR guys might hear you.. I think they have it copywrighted.(Prior KLR owner... been there, done that)

if you begin to type KLR Doohickey into google.. you wont get past the first d and google will fill in the rest
wink.png


(it's actually a little interesting)
Oops.... I forgot about that detail. A lot of Concours Owners have KLRs and am familiar with the term. Coincidence indeed! Wow, that was not planned. I just couldn't spell out Hoo-jee-wad-jer and thought Whatchamacallit was a little cliche. Dag... I even used Green!

For the record, I received no compensation, nor do I collect any royalties for the use of "that word" and meant no harm or disrespect to our Venerable Kawasaki KLR Clan!
good.gif


Hehehe... I did my doohickey.. brand new bike 500 miles on it.. i had bits of its motor spread all over the shop :) but i felt better afterwards.

I loved my KLR and miss it dearly... no room for two bikes and only one *** :)

Your Pictoral is amazing! Thank you for all of your hard work...I hope i never need to reference it, but it is awesome to see whats really in that pretty metal box :)

 
I'll be damned, it's not the shift fork I was thinking! (L7). Not sure which gears that fork engage/disengage, but it's not 2nd gear. Now I'm wondering what issues the previous owner had before the ultimate failure.
Original owner here: regarding your question about issues leading up to the transmission crapping out. It may sound crazy, but there were literally no issues, until there was one. No weird noises, odd behavior, gears not shifting positively, literally nothing.

Then one day on my ride home to work, I shifted from 5th -> 4th to pass several cars in the HOV lane and BAM there was a lot of clattering and the bike felt like the clutch was slipping, but with a lot more jarring throughout the vehicle. I rolled off the throttle, shifted back into 5th and rolled back on the throttle and the bike carried on like normal. I made it the rest of the way home without much fuss. As I got closer to home (i.e. off the highway), it definitely started clattering/acting up when I was leaned over in turns OR when I would give it more than say, 1/2 throttle. As long as the bike was upright and the throttle was babied, the bike wouldn't act up.

As for which gears that fork engages, I would guess 4th. I remember 4th gear was a lot sloppier shifting from 3 -> 4 than any other gear.

 
Last edited by a moderator:
I'll be damned, it's not the shift fork I was thinking! (L7). Not sure which gears that fork engage/disengage, but it's not 2nd gear. Now I'm wondering what issues the previous owner had before the ultimate failure.
Original owner here: regarding your question about issues leading up to the transmission crapping out. It may sound crazy, but there were literally no issues, until there was one. No weird noises, odd behavior, gears not shifting positively, literally nothing.

Then one day on my ride home to work, I shifted from 5th -> 4th to pass several cars in the HOV lane and BAM there was a lot of clattering and the bike felt like the clutch was slipping, but with a lot more jarring throughout the vehicle. I rolled off the throttle, shifted back into 5th and rolled back on the throttle and the bike carried on like normal. I made it the rest of the way home without much fuss. As I got closer to home (i.e. off the highway), it definitely started clattering/acting up when I was leaned over in turns OR when I would give it more than say, 1/2 throttle. As long as the bike was upright and the throttle was babied, the bike wouldn't act up.

As for which gears that fork engages, I would guess 4th. I remember 4th gear was a lot sloppier shifting from 3 -> 4 than any other gear.
Thanks for the information, Paul! At the risk of insult, may I ask if you always used the clutch when shifting? What kind of oil were you using?

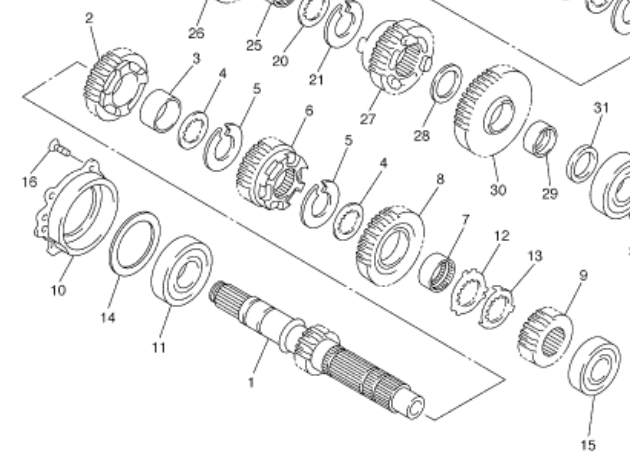
Now it's starting to sound like a possible assembly error on mama Yama's behalf. Streethawk, on this fiche:

2007Trans_zps76748743.png


Can you remember/account for the c-clips and spacers #4 & #5 (2 each) on the main shaft that limit the movement of gear #6 (the one moved by that trashed gear fork)? Is it possible the thrust washer and c clip were reversed on one side, and the c clip was used as a thrust washer? If that happened, say some 60,000 miles of use may have destroyed the c clip; made it disappear, and now gear #6 is no longer captured, and free to slide back and forth on the spline when one leans the bike? IIRC, you said your friend had trouble removing one of the c clips?

Can you take pictures of that hardware? Just trying to figure out the root of this never seen before trans issue.
Just went out and verified that the parts fiche is correct compared to my '06 trans. In the case of gear 6, the circlips are inboard, and being used as thrust washers for that gear. However, if you're missing one of the circlips, that may explain the issue the bike was having.

 
Can you take pictures of that hardware? Just trying to figure out the root of this never seen before trans issue.
We did check all the Circlips and hardware on each gear. Everything was accounted for. This pic may be telling.

022.jpg


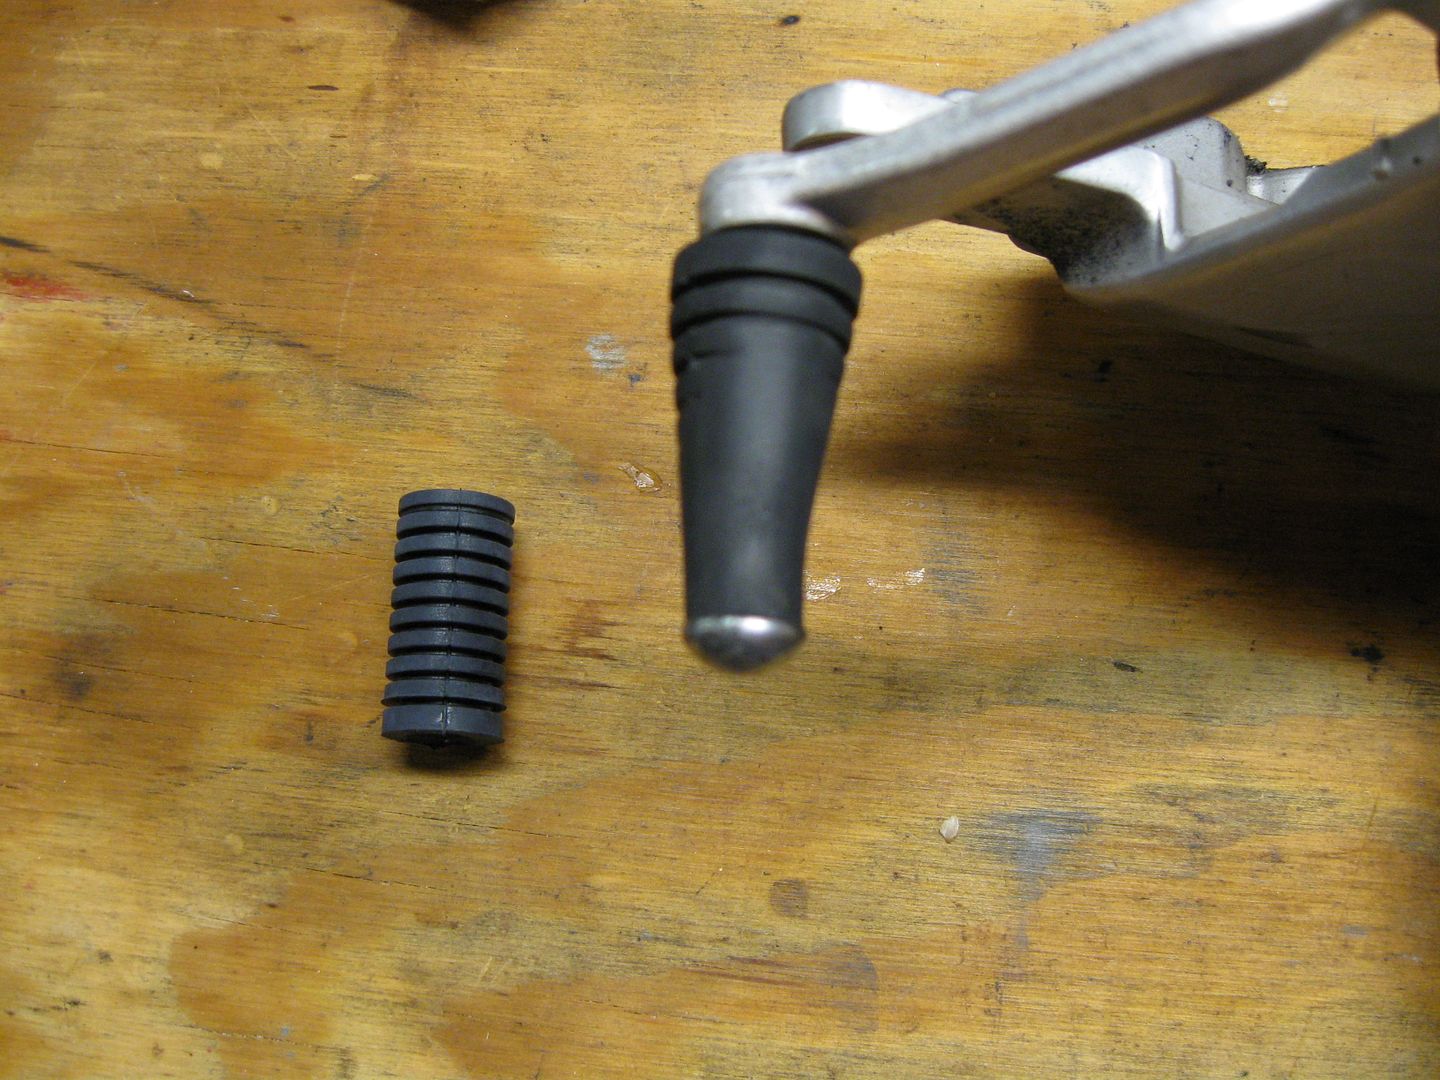
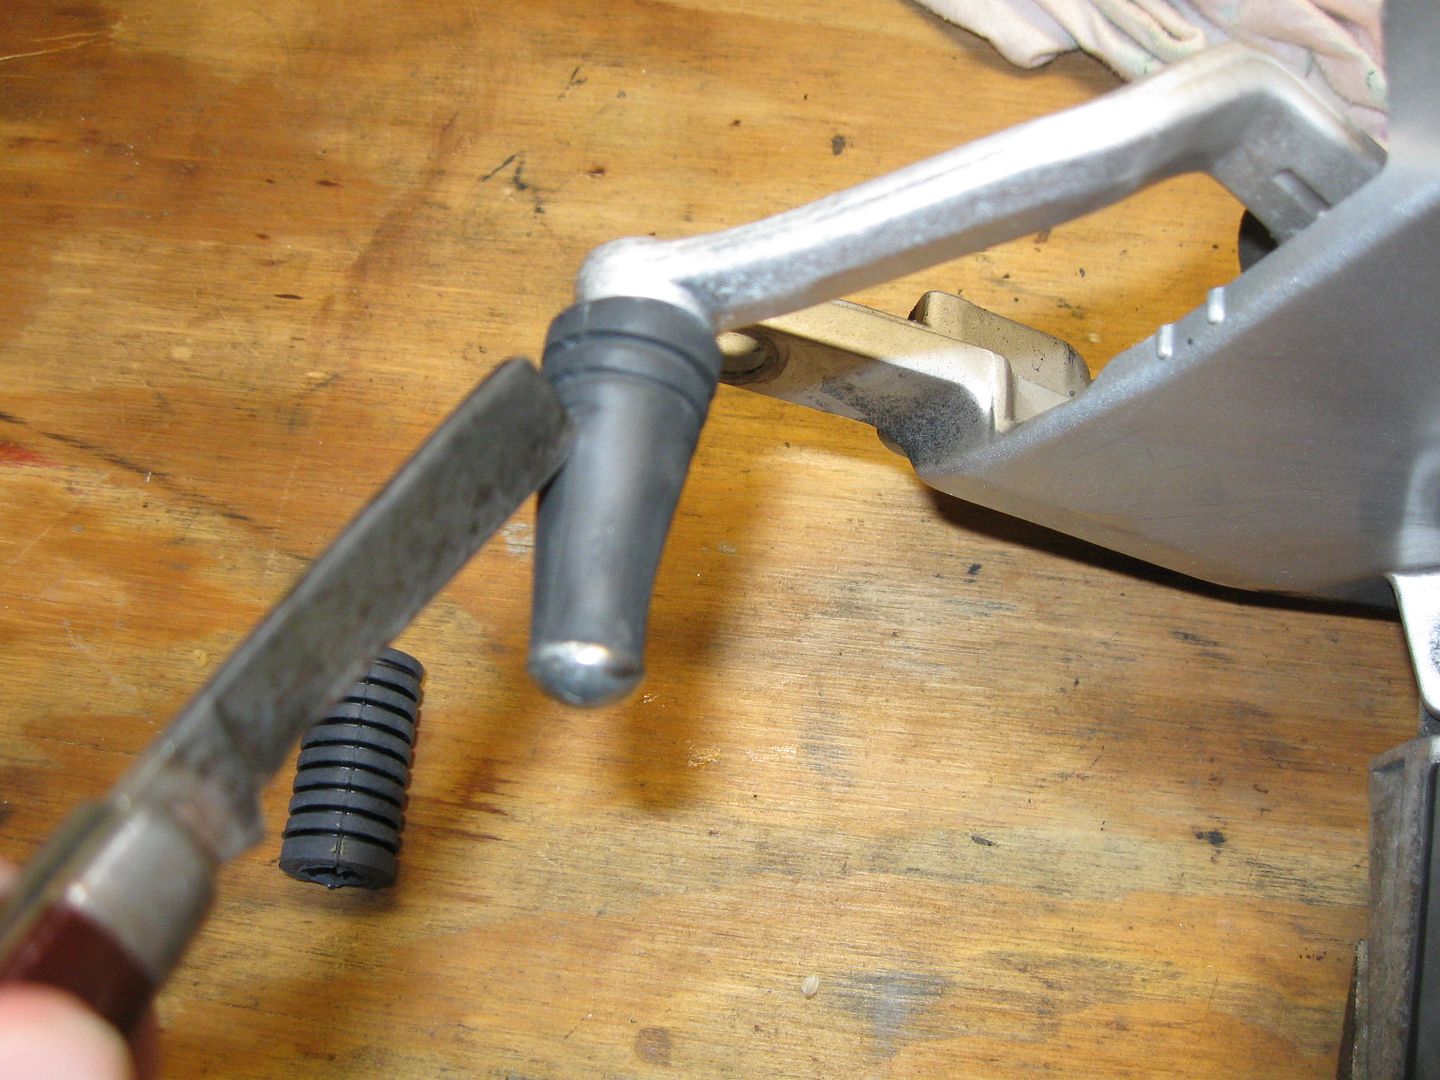
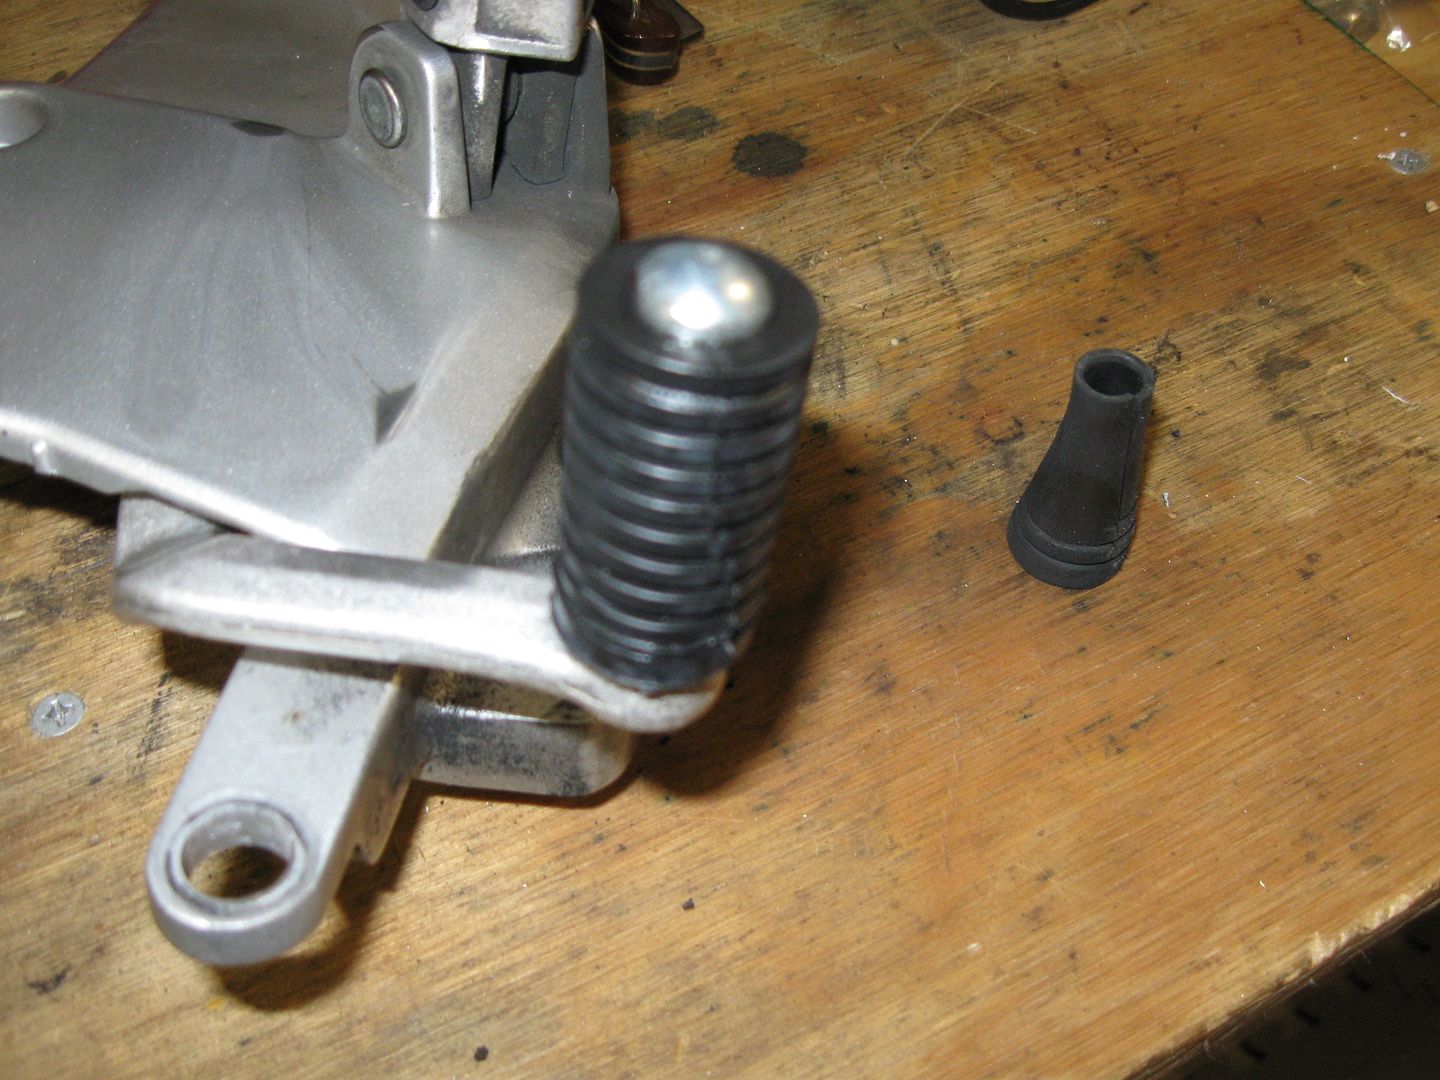
Perhaps the wear on the shift rubber meant that a slight pressure was being applied to the shift lever which eventually lead to something rubbing, heating up and warping? Pure speculation on our part, this COULD mean absolutely nothing.
dntknw.gif


Regardless, that peice was removed.....

023.jpg


And replaced with shiny new from the Tuning Fork Company! (excuse the cheap point and shoot camera.... or the Photographer
poster_oops.gif
)

054.jpg


But that's not ALL I did yesterday...... I dragged the block out of hiding:

001.jpg


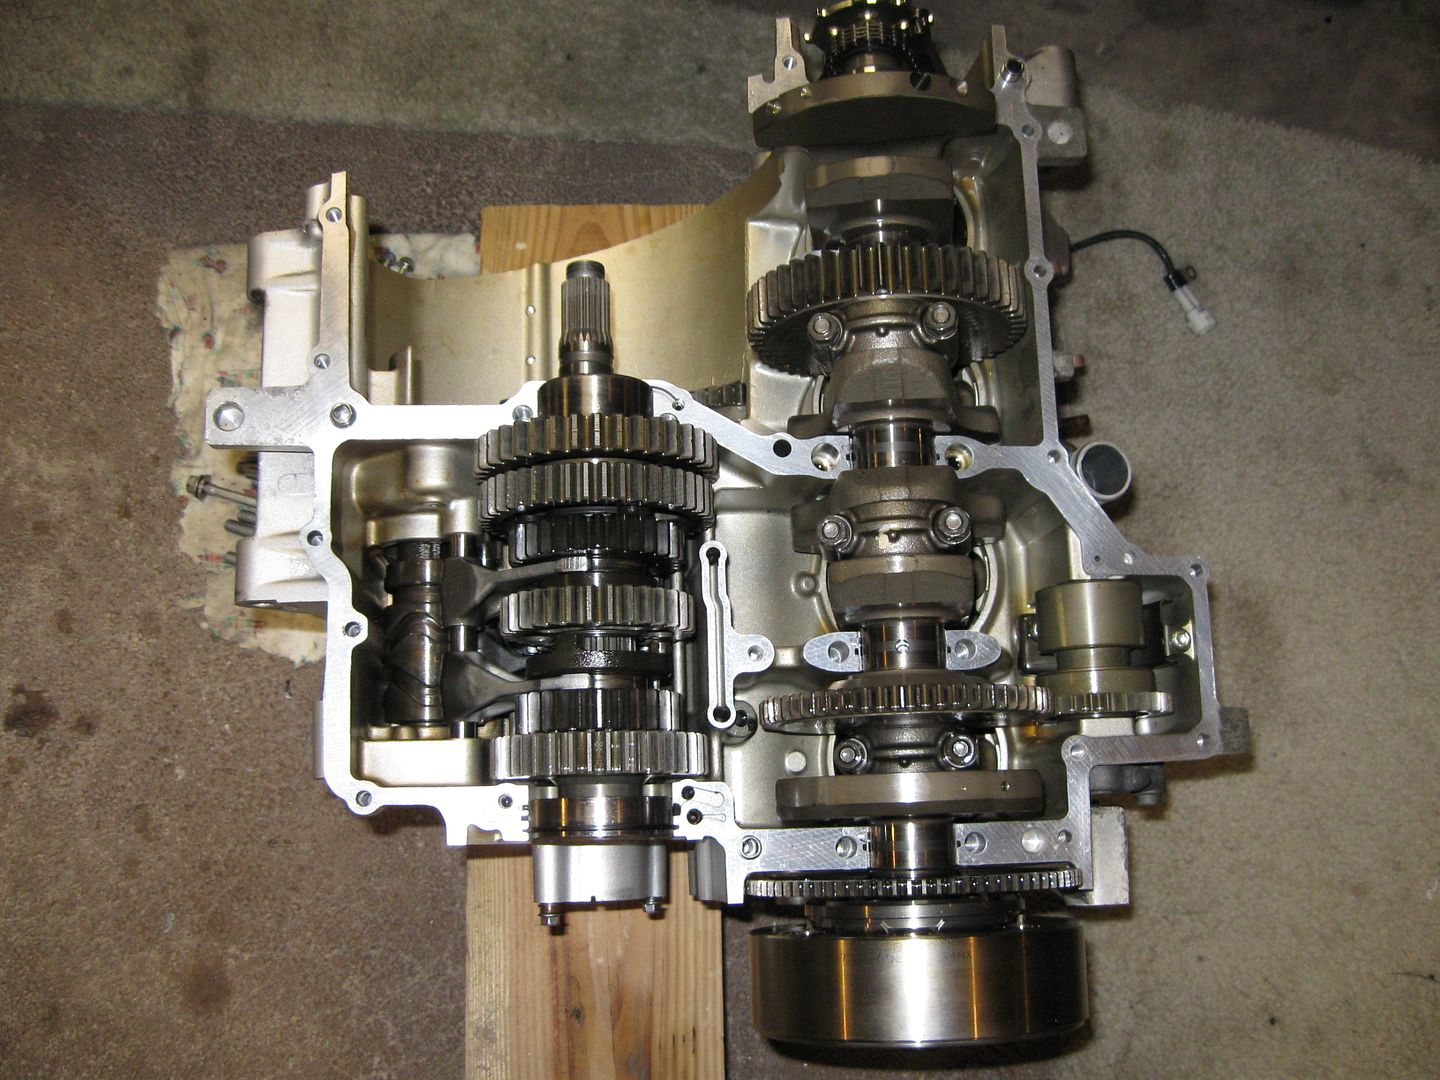
And removed the cover......

002.jpg


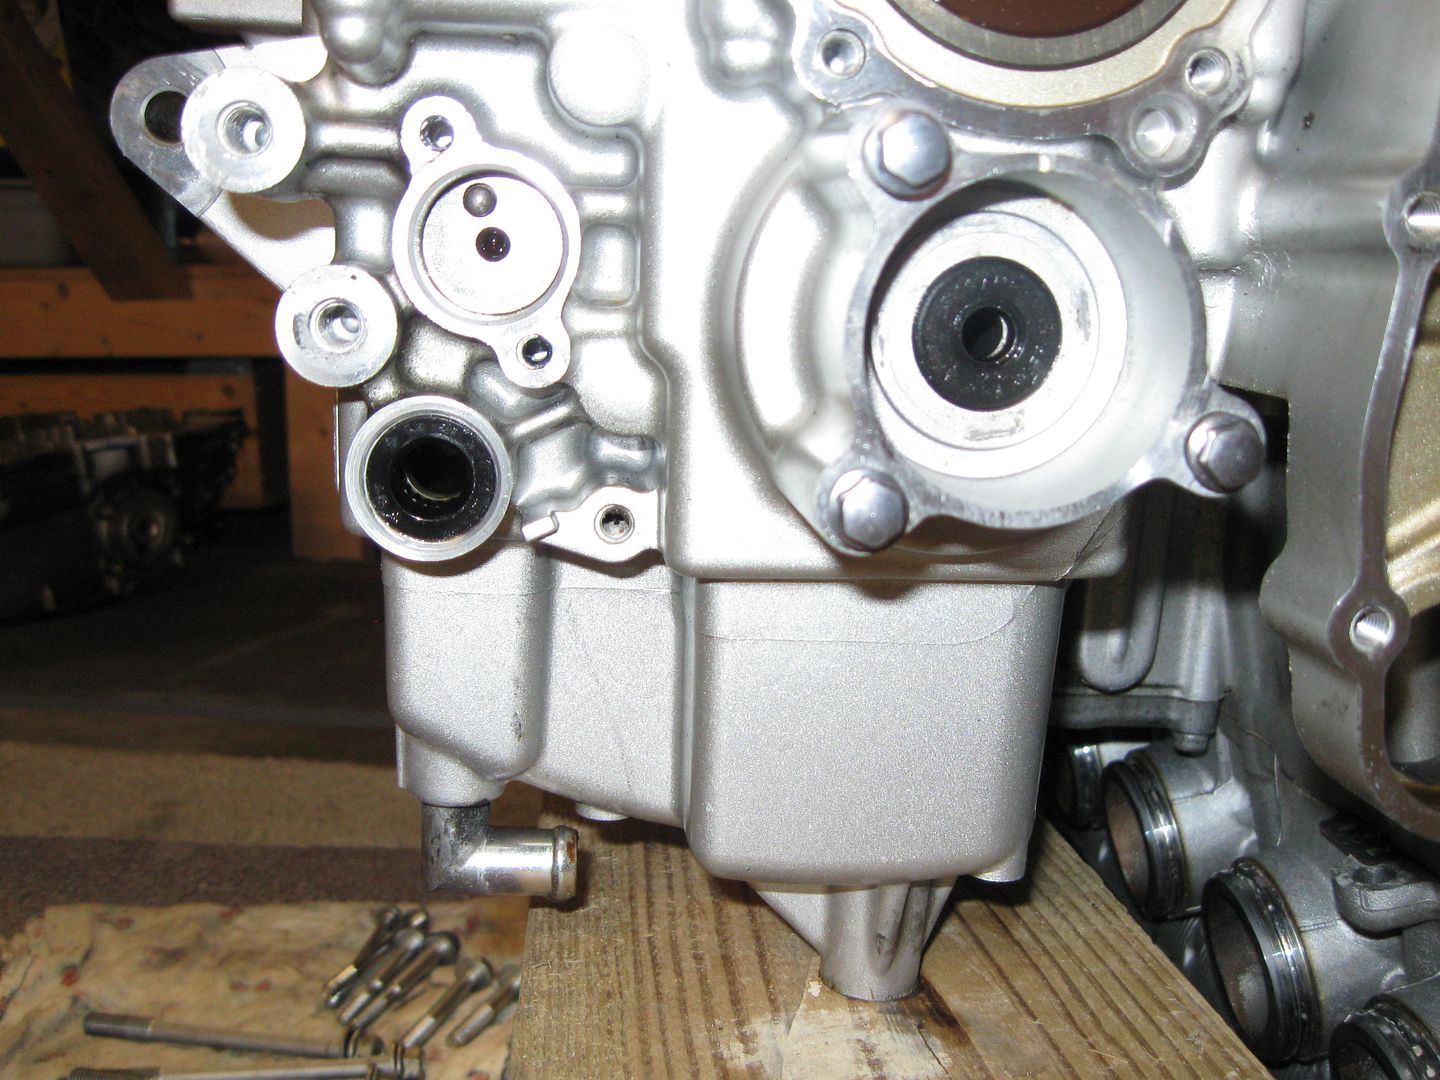
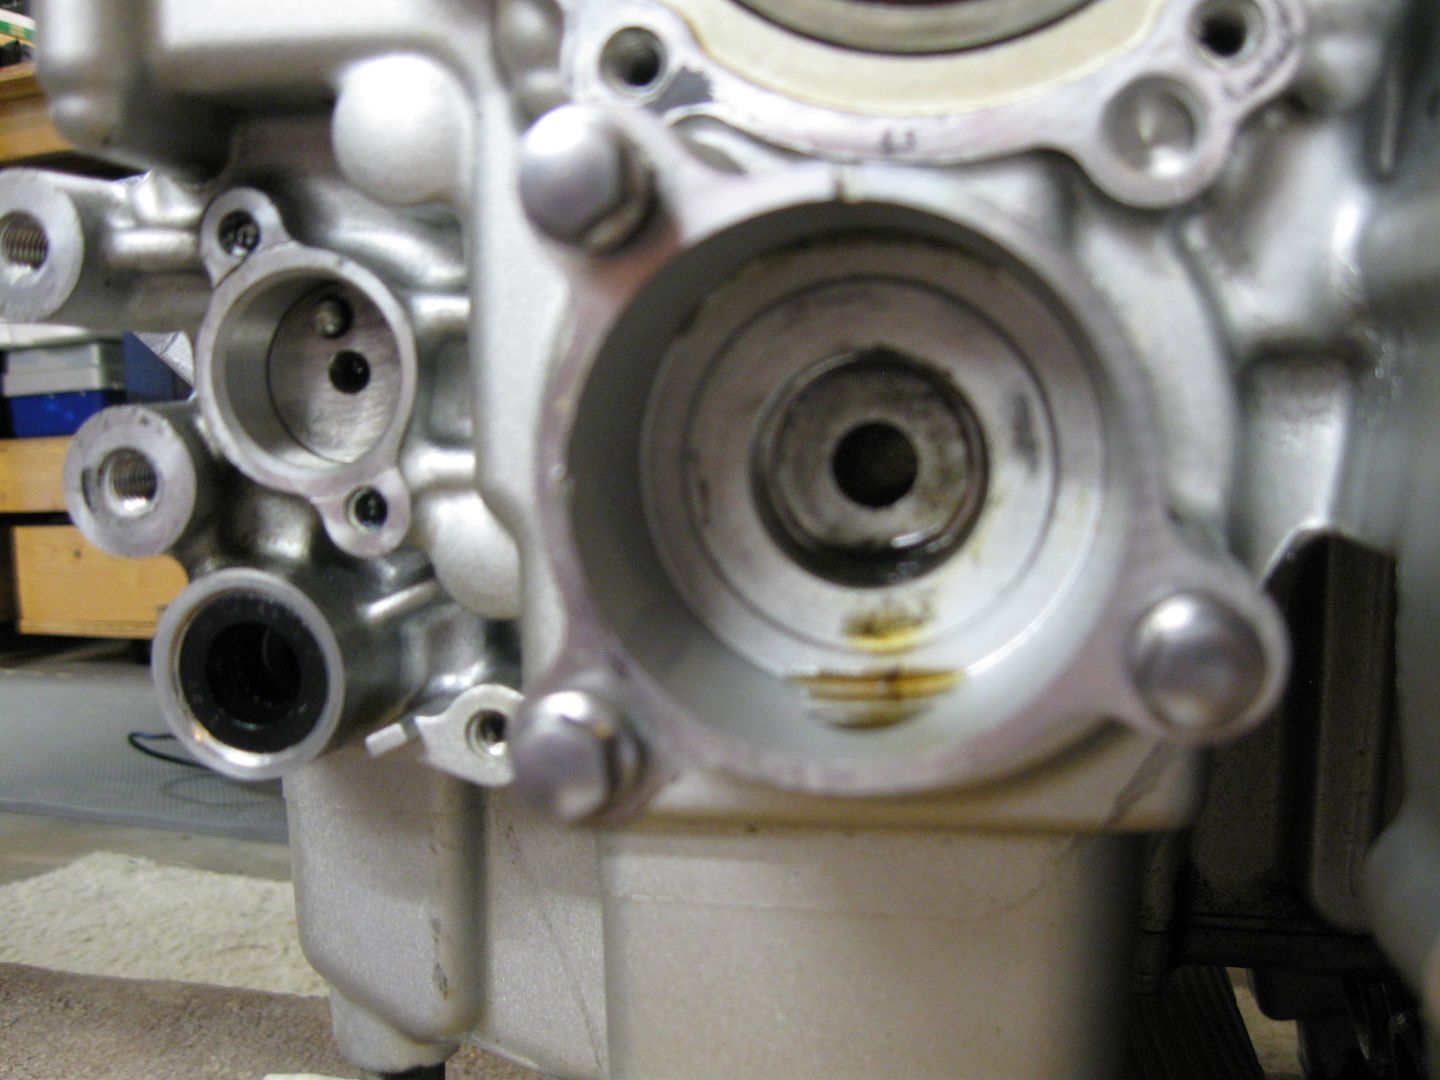
Let's start by pulling some seals and getting new ones put in. These two guys were fine, but I thought "60K miles, it's all apart anyway and the seals aren't expensive".

003.jpg


Ok.... now what can I use to get that thing out? No....no....no..... where IS it?

005.jpg


There's that thing! I was looking for that last week! No. No....... THERE! That'll do!
rolleyes.gif


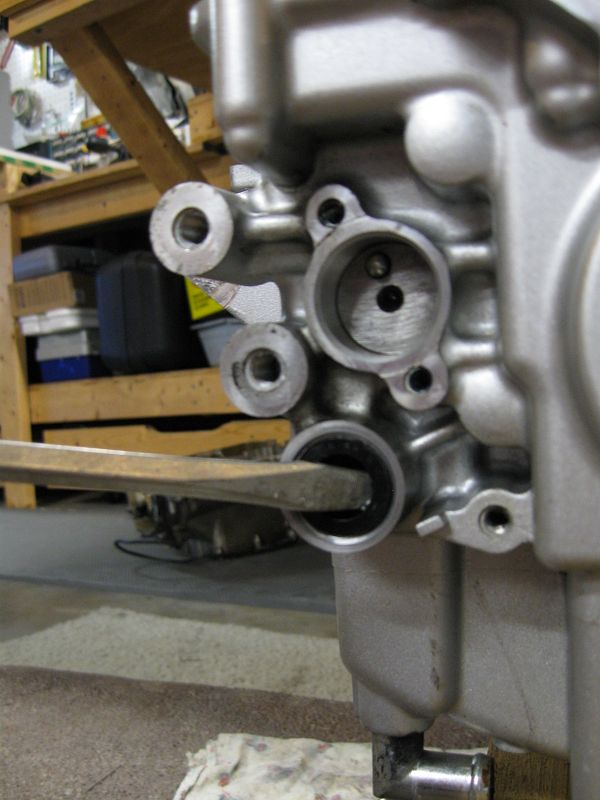
I wound up just pulling both with a flat head screw driver. They both came out pretty easily.

009.jpg


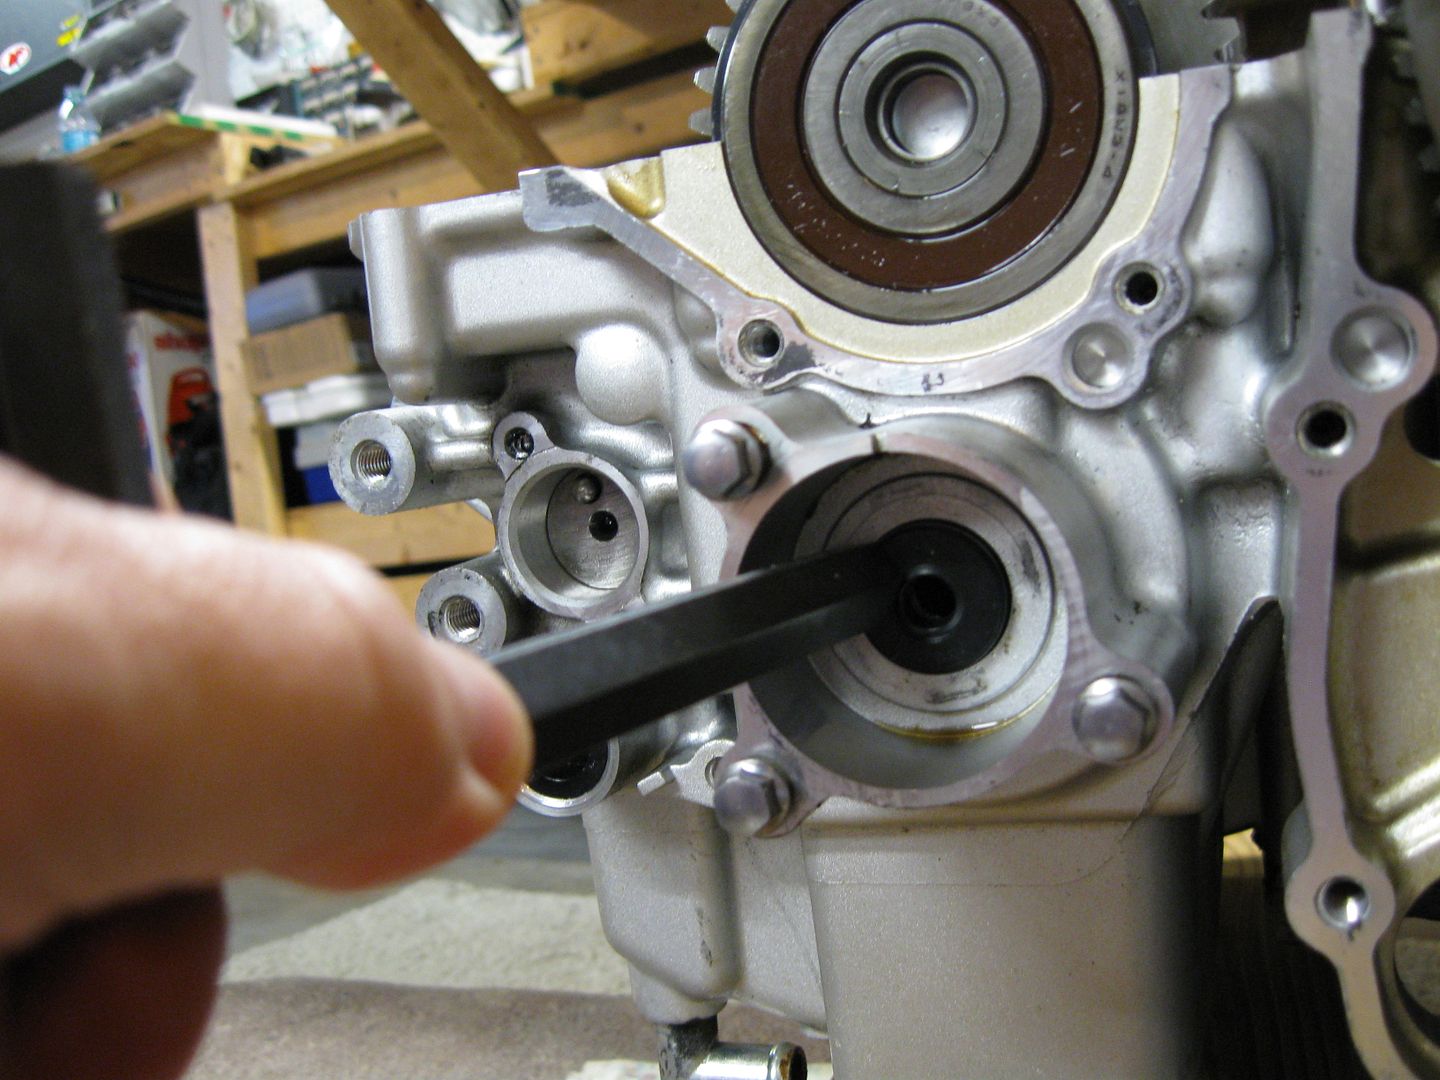
I pressed the new seal in with a big allen wrench butt. I put just a tiny amount of oil on the outside.

010.jpg


012.jpg


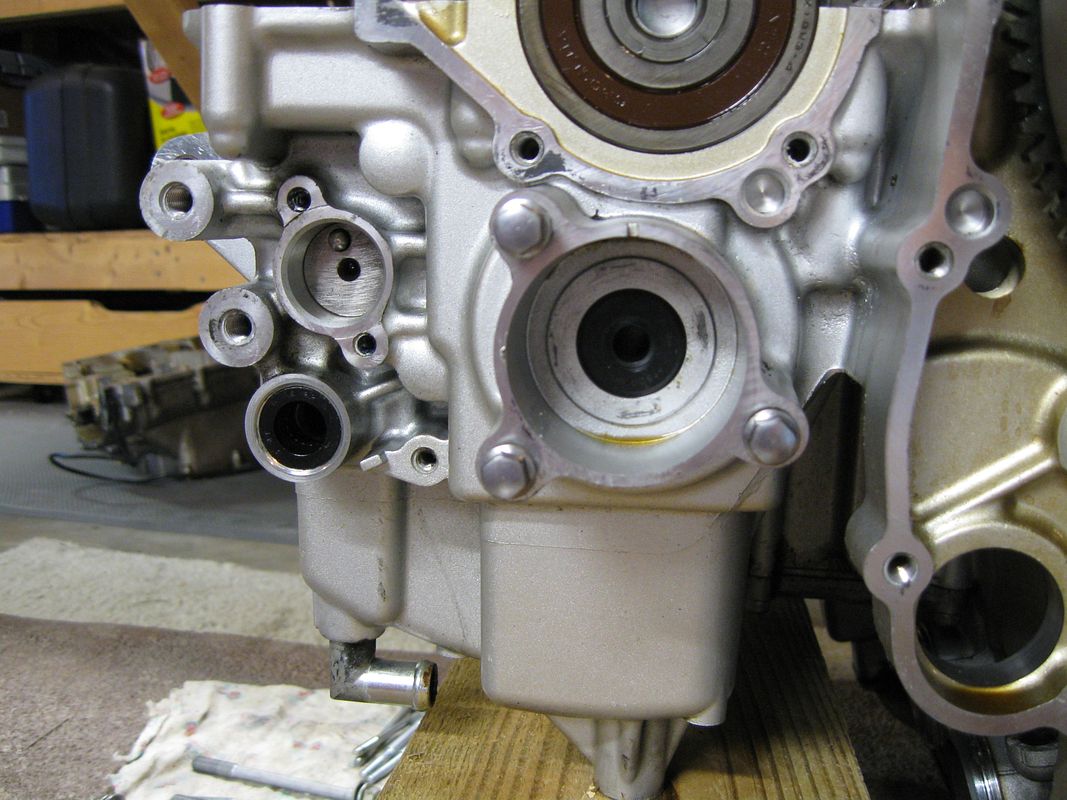
Rinse and Repeat

018-1.jpg


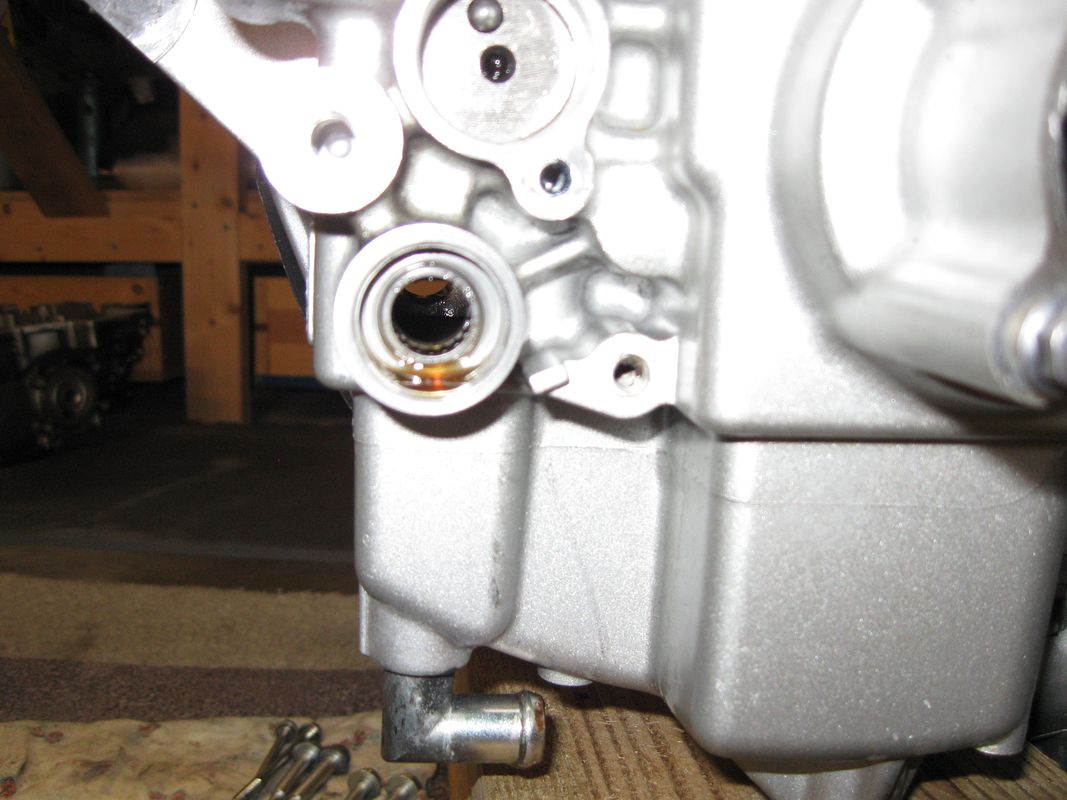
Each area was cleaned up after the seal came out. The picture is immediately after removal.

020.jpg


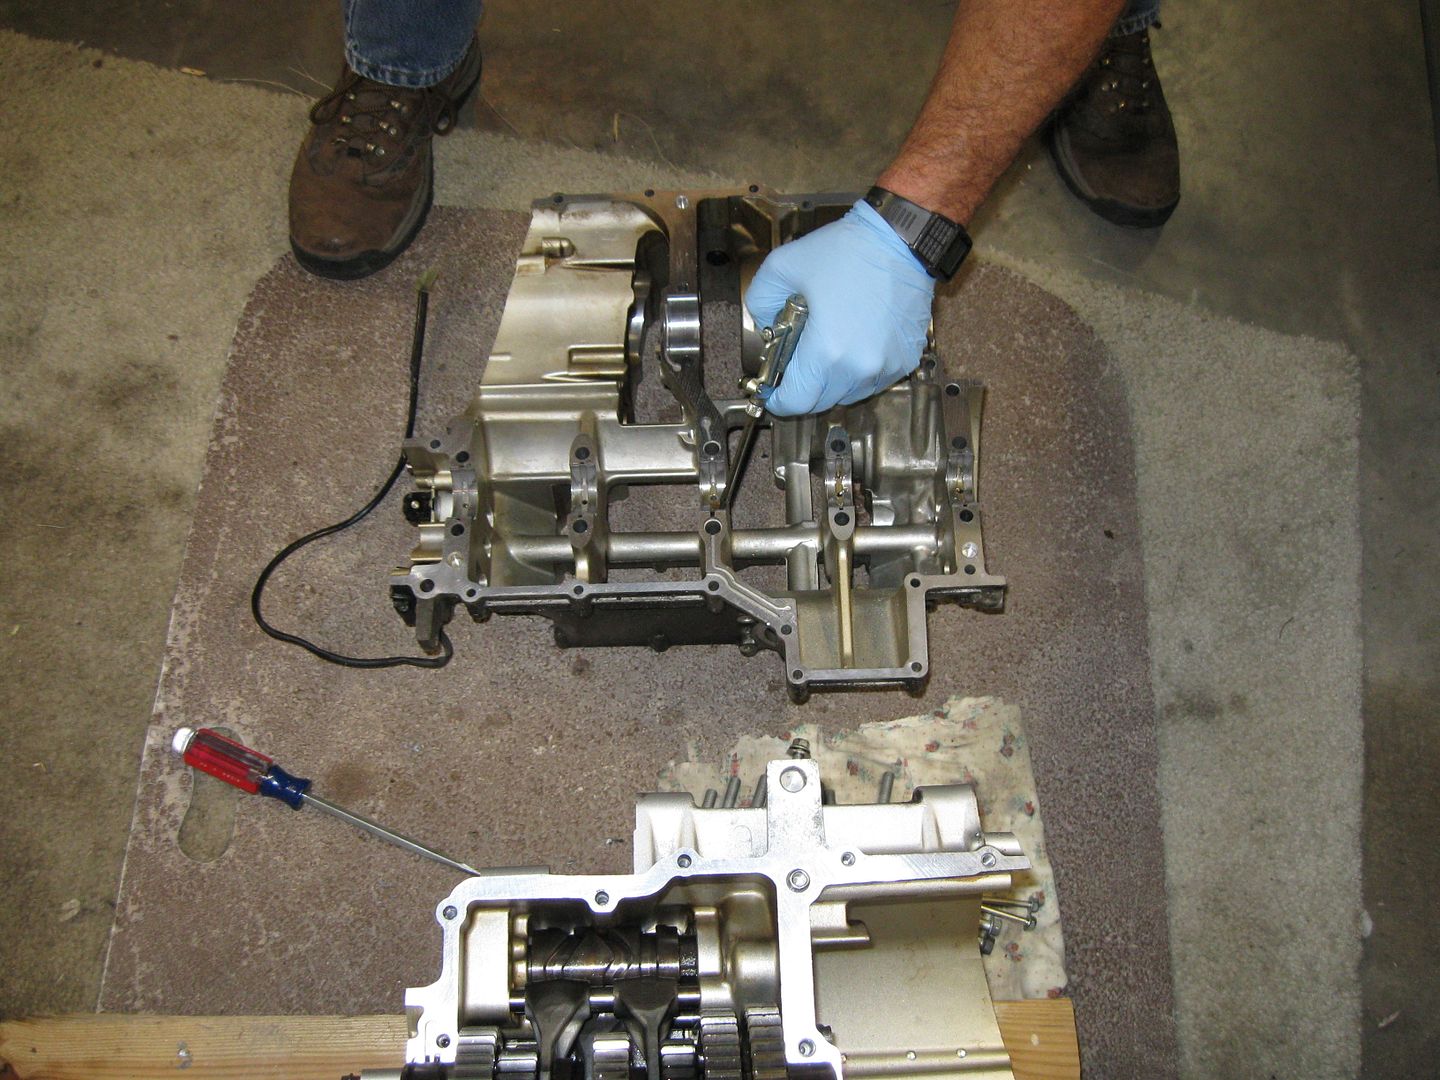
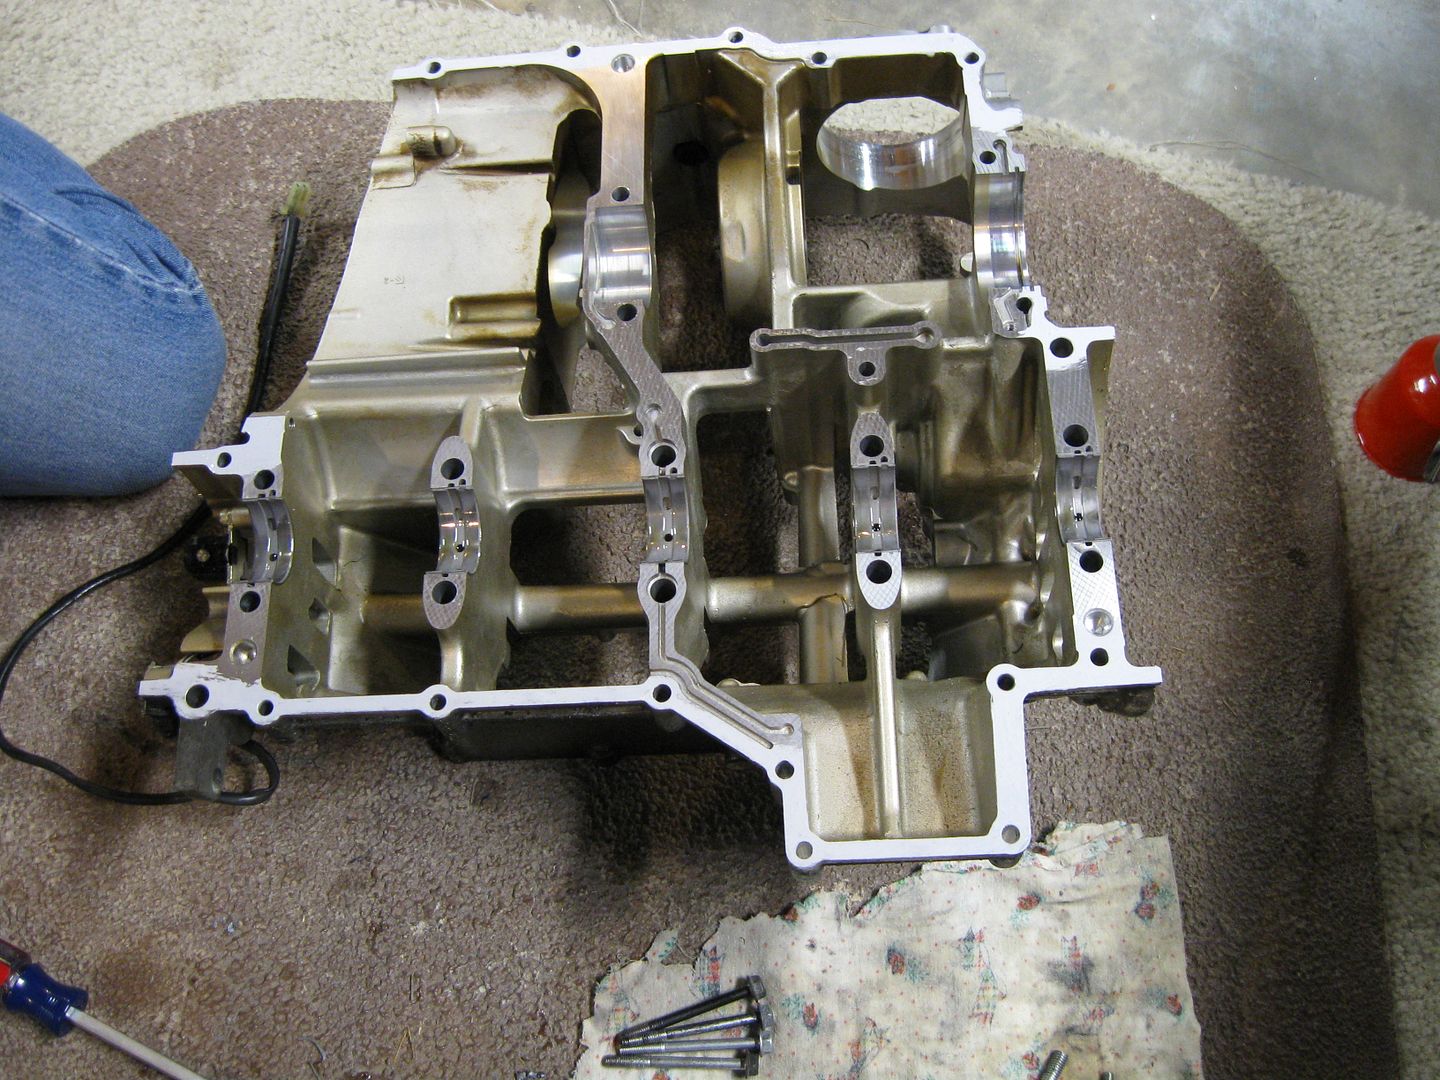
Now it got more interesting! Doug is prepping the cases for re-assembly. A little bit of oil is put around the main bearing areas (my terminolgy) to lubricate prior to initial startup.

024.jpg


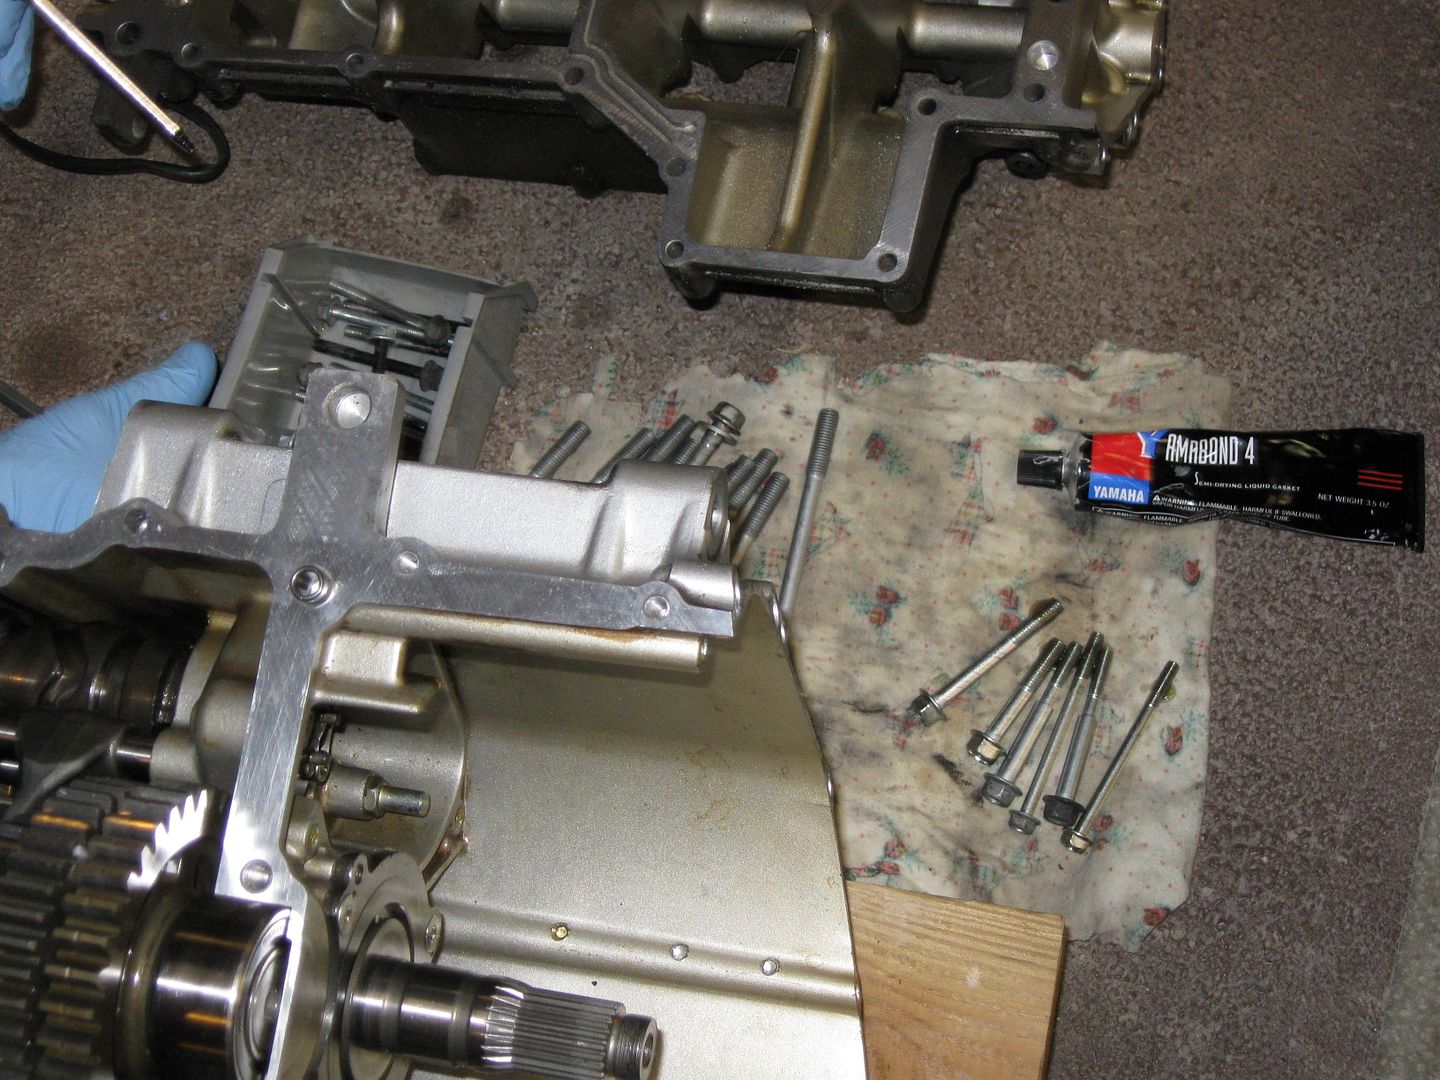
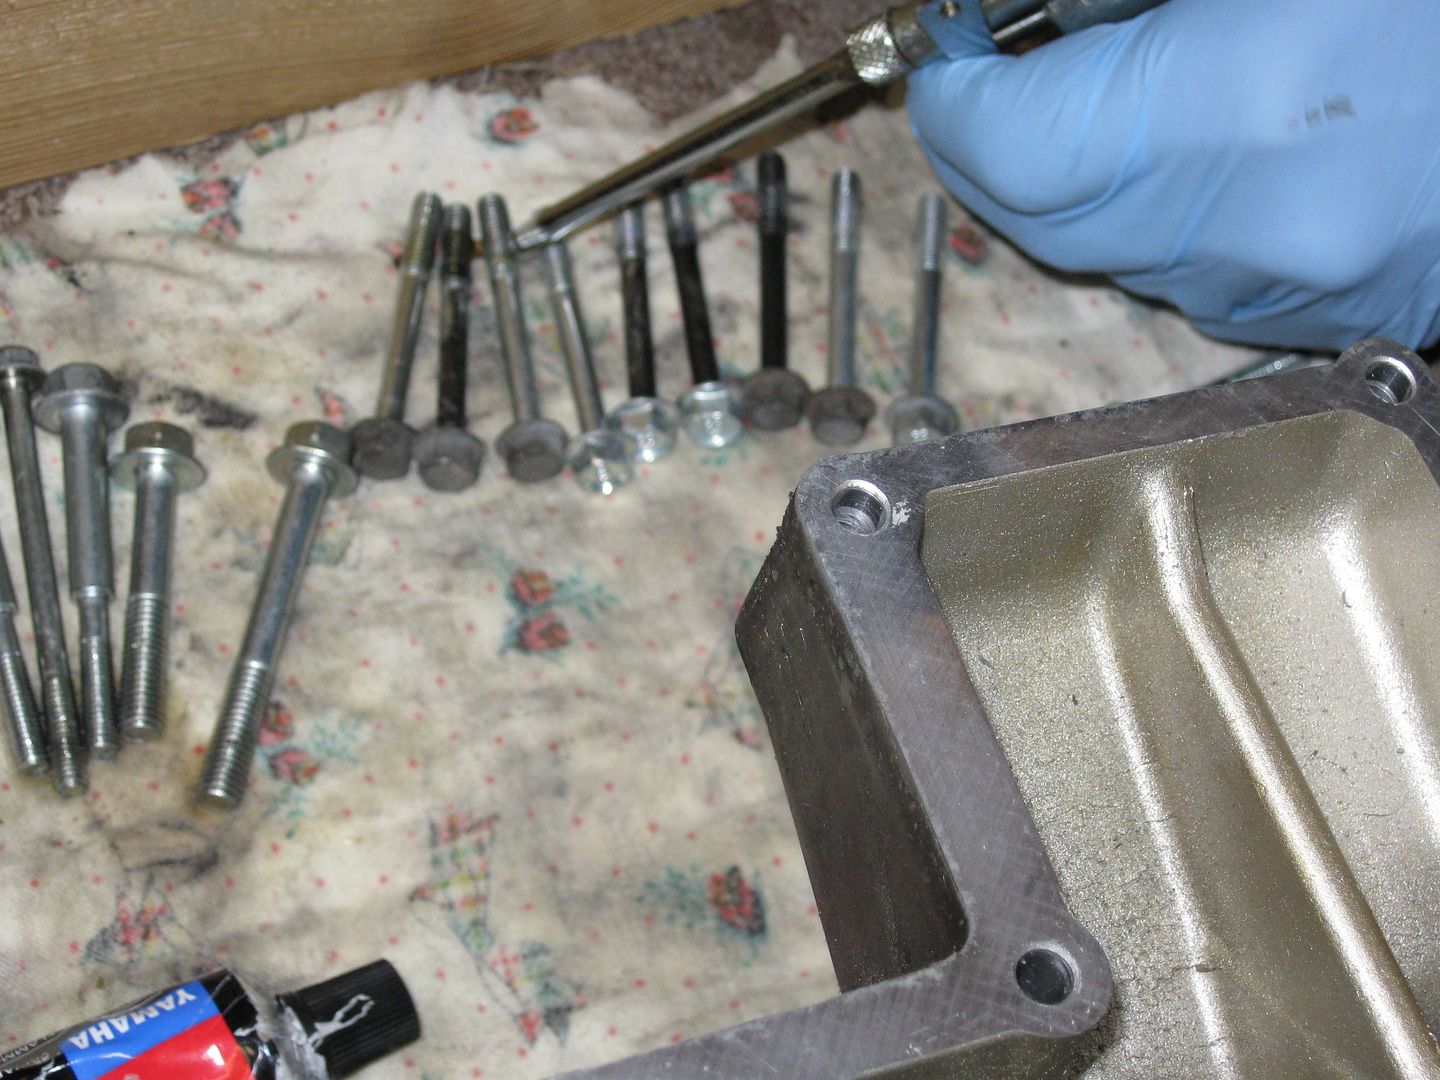
Bolts are at the ready as well as the good Ole Yamabond!

025.jpg


026.jpg


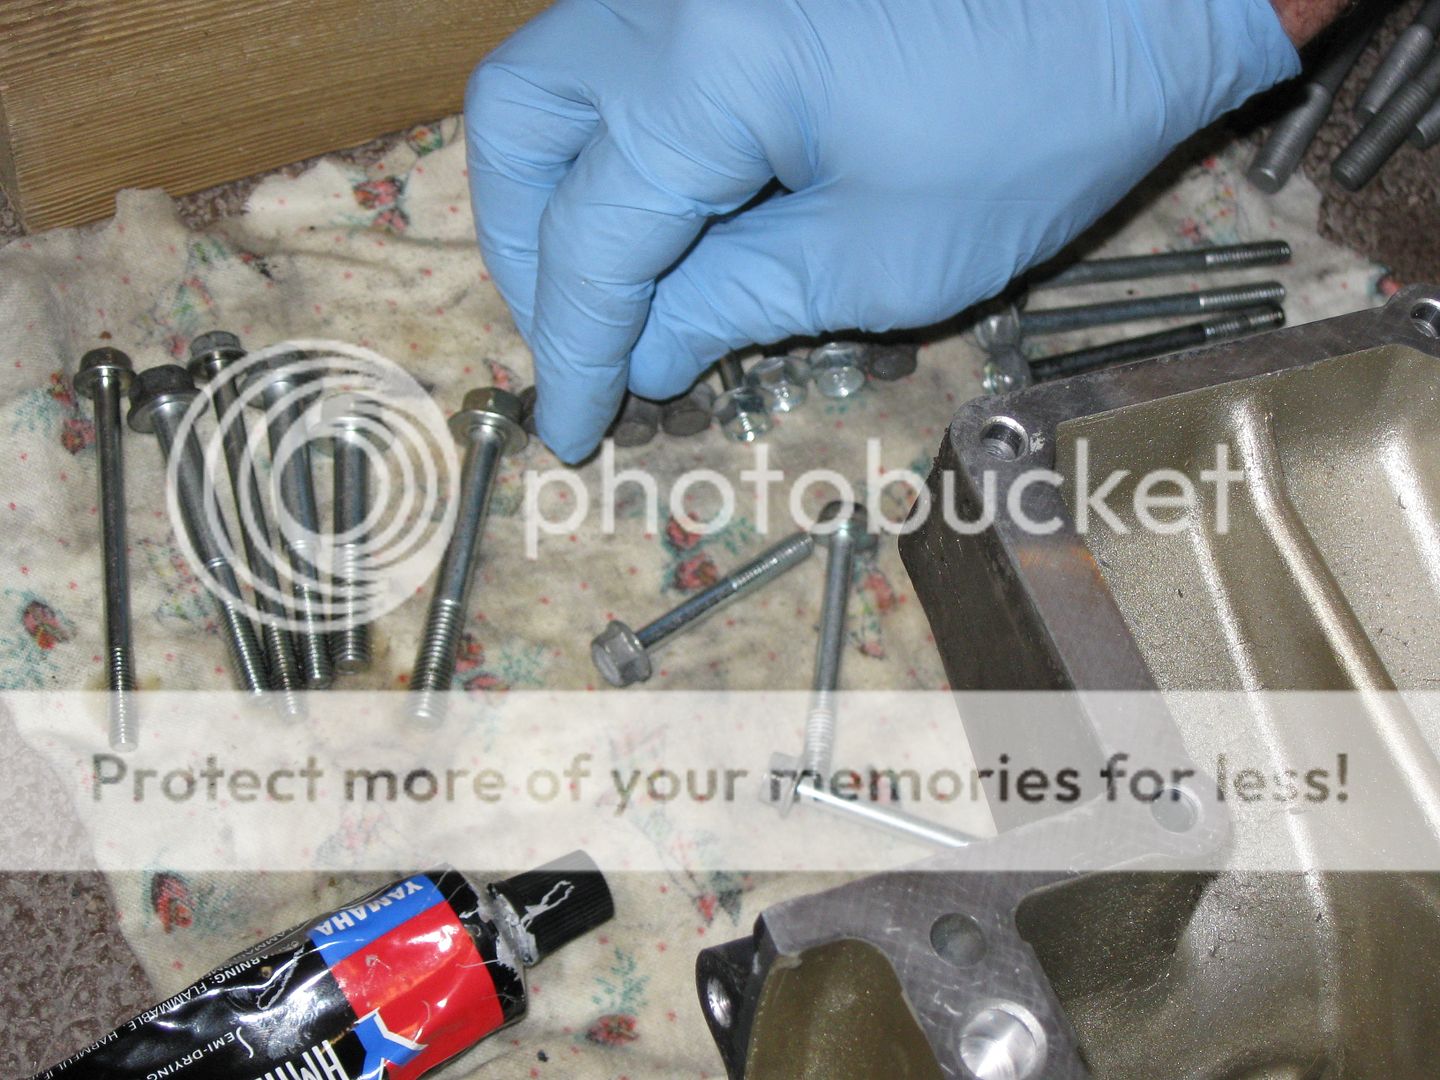
Each of the smaller bolts got a bit of oil as well to keep them from seizing. (not that they should ever need to come out again!
rolleyes.gif
)

027.jpg


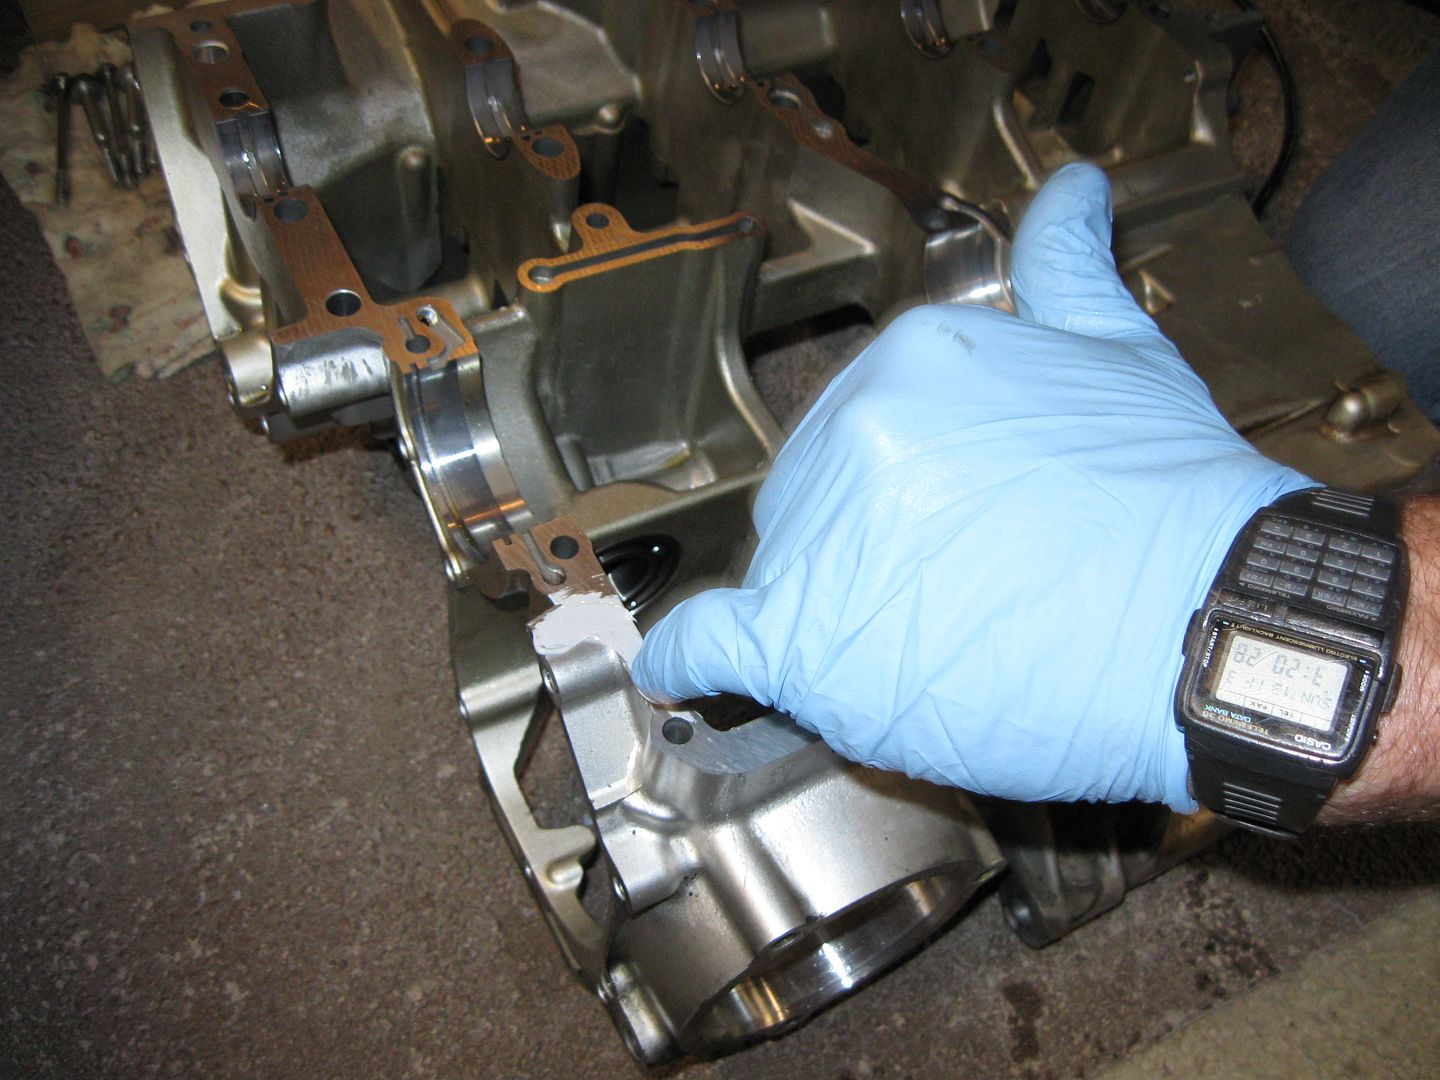
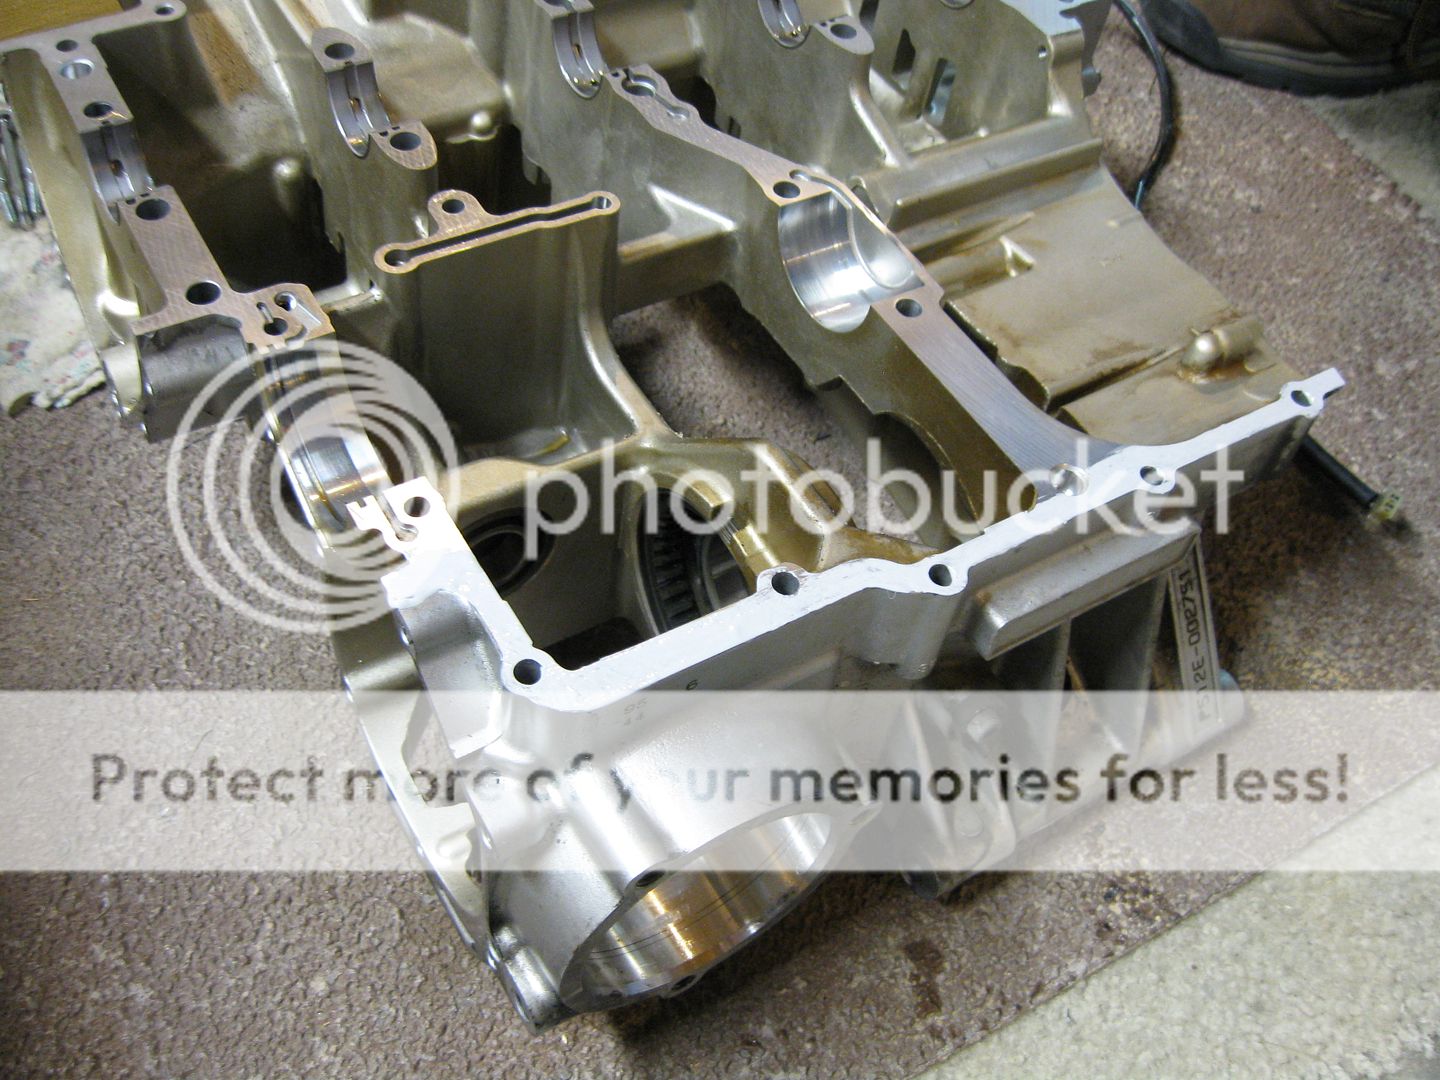
Fingerpainting? I don't THINK so! But it does look like it! There are specific areas the Yamabond gets applied to.

028.jpg


029.jpg


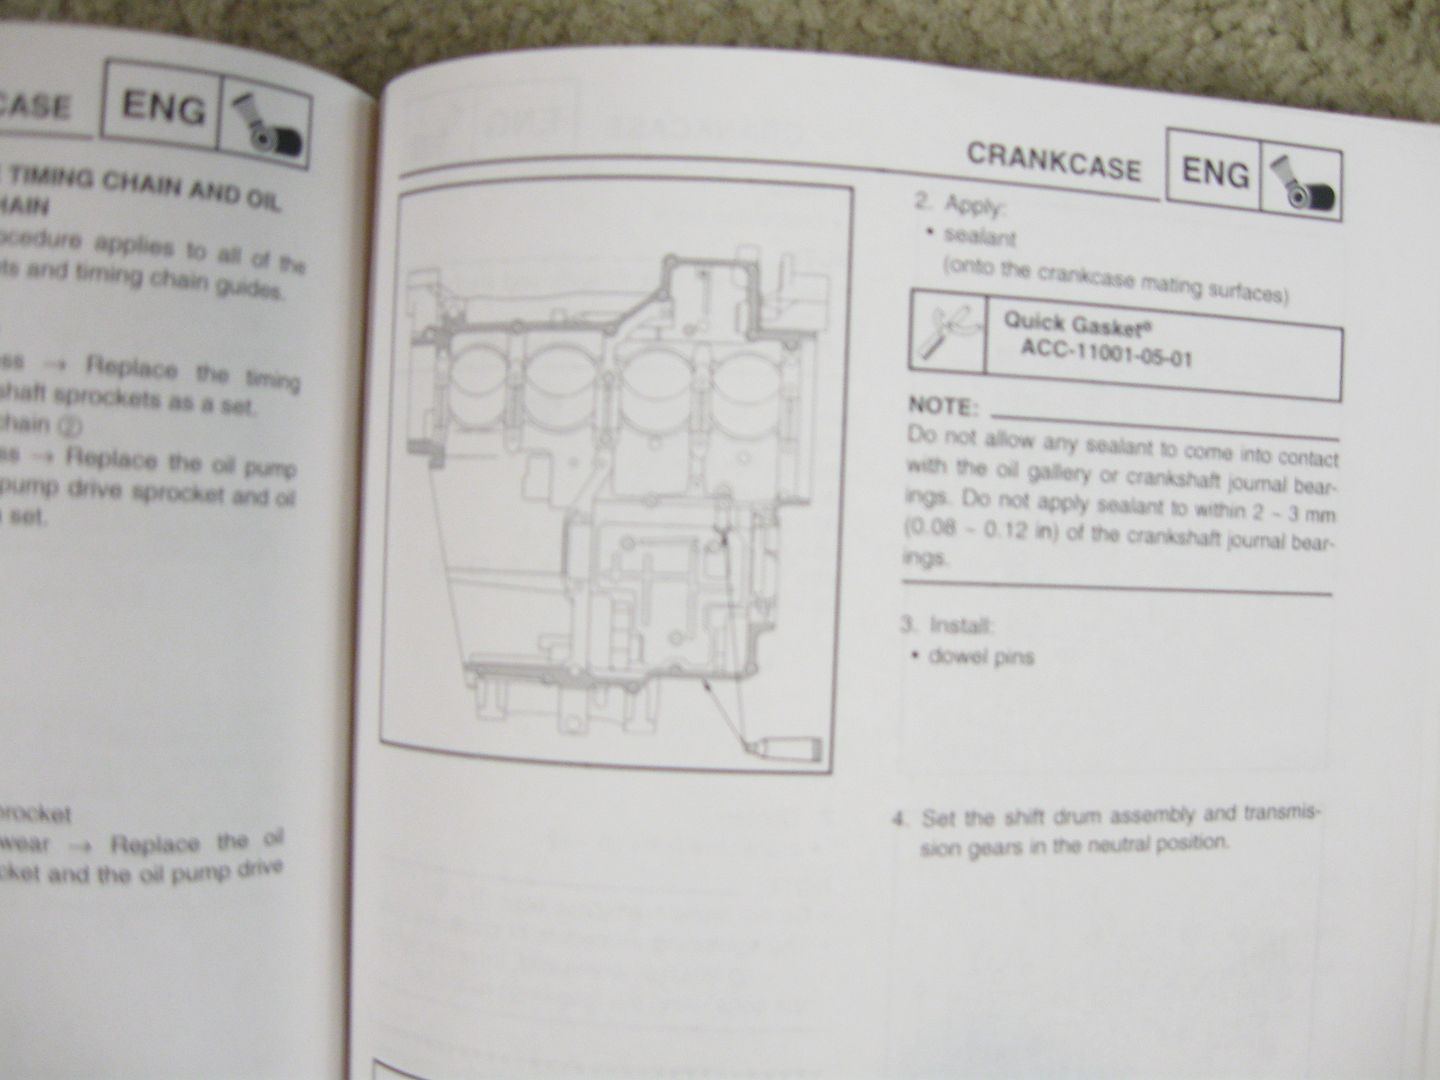
It's hard to tell, but the darker gray areas of the diagram are the only areas the Yamabond get's applied.

030.jpg


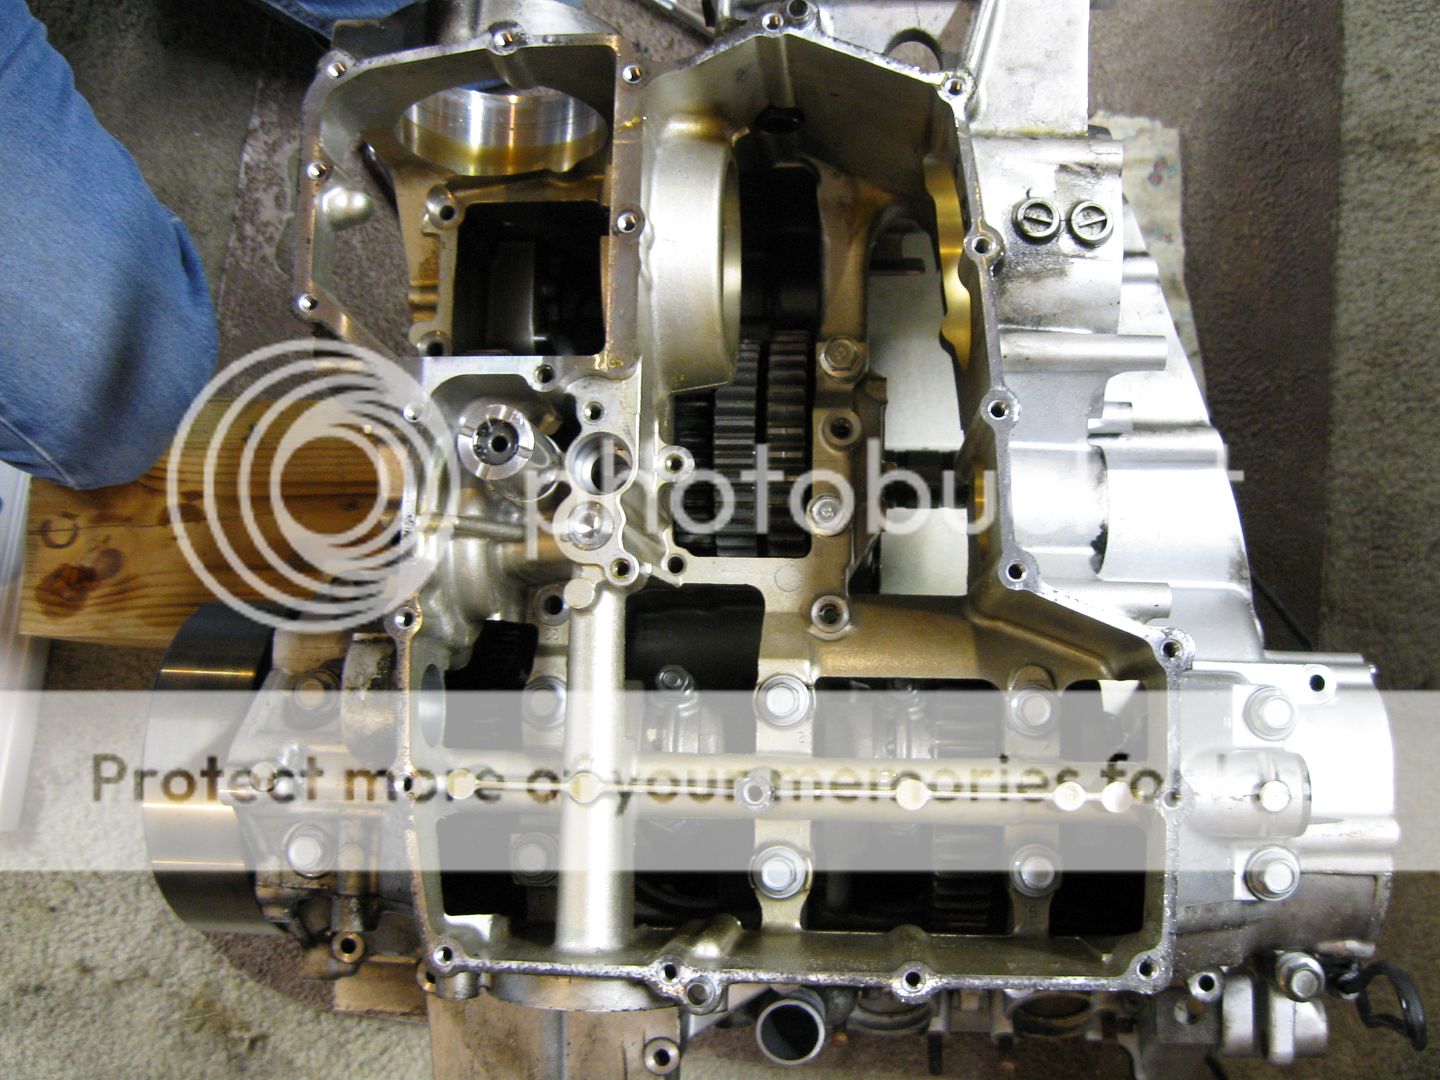
Bottom "half" all prepped and ready to join!

031.jpg


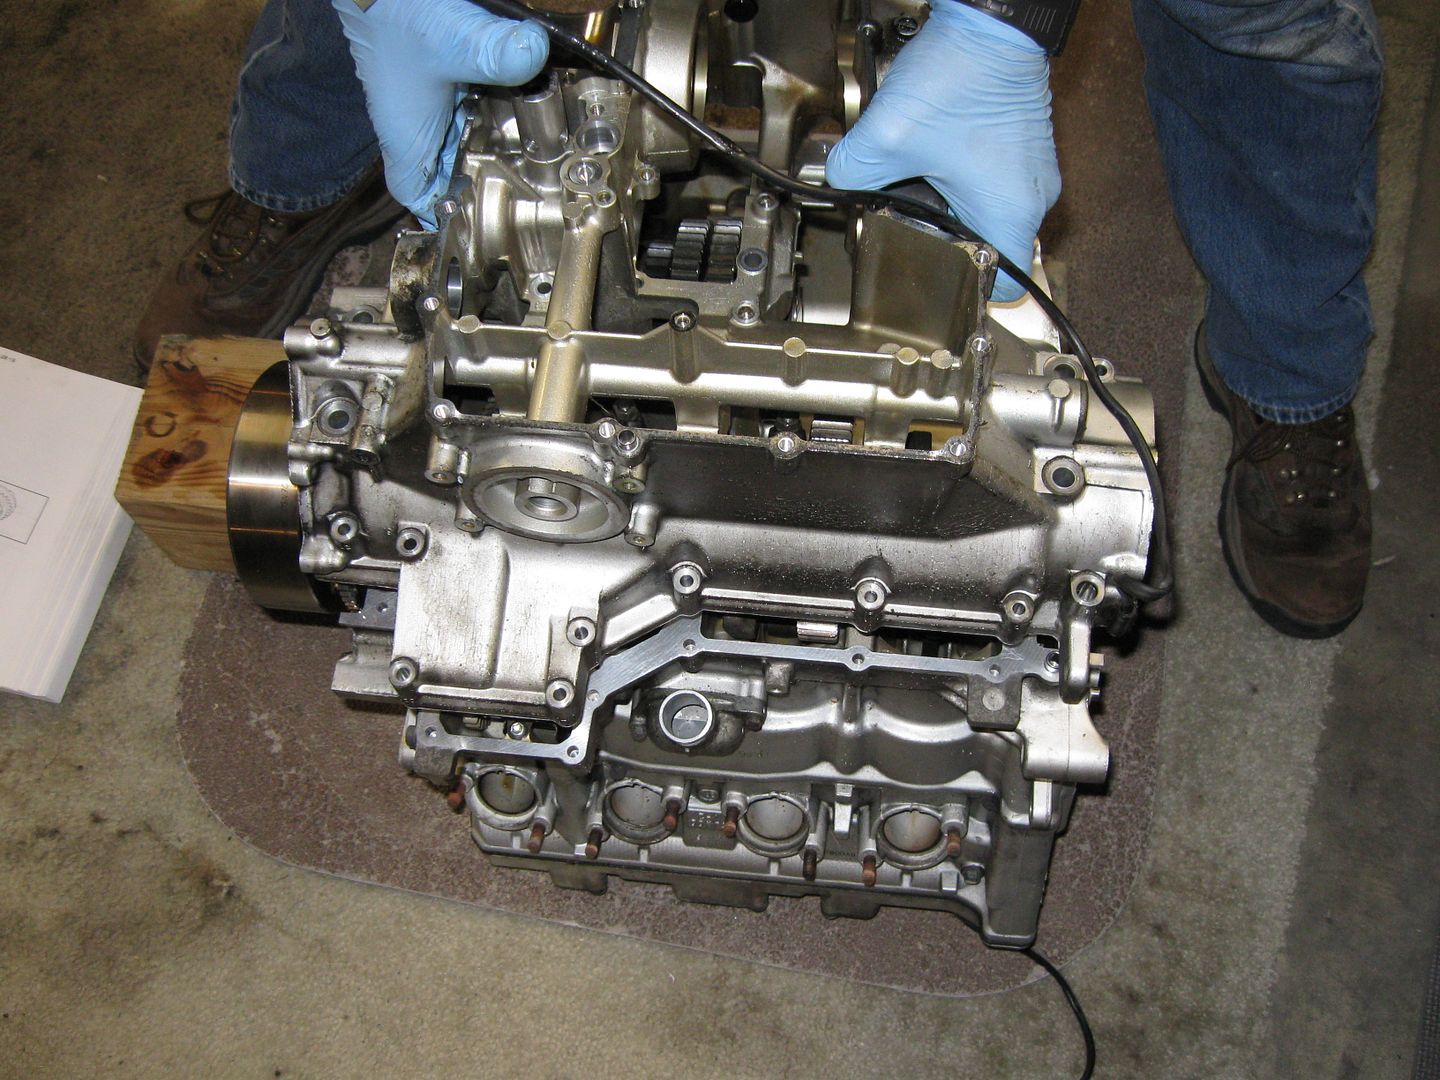
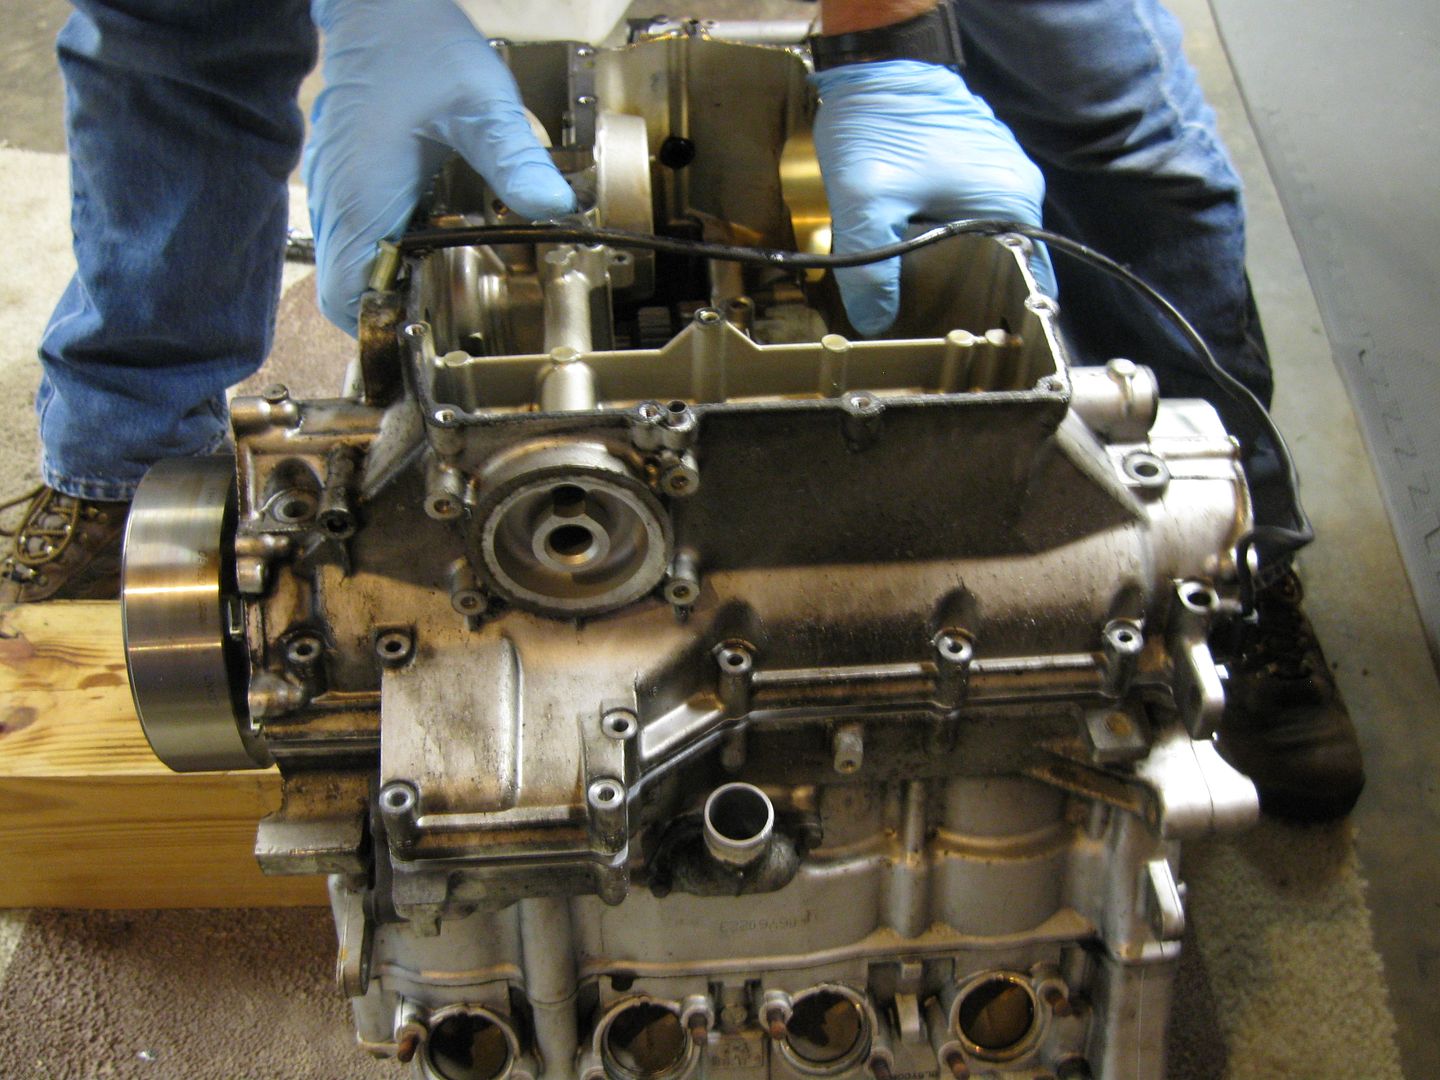
Lowering into place................. easy....................easy....................

032.jpg


And Connect! Really it was easy!

033.jpg


In days gone by when buying a used car, one way to tell if the mileage was correct or not was by looking at the peddles for excessive wear! That very low mileage vehicle would probably not have badly worn rubber pads? I know you are not concerned about this being the case now, just an observation.

 
I have never seen that much wear on a shifter rubber! While mine doesn't look like new after 105,000 miles, its nowhere near that worn. Either the guy rested his foot on it all the time or its been HARD to shift for a long time.

 
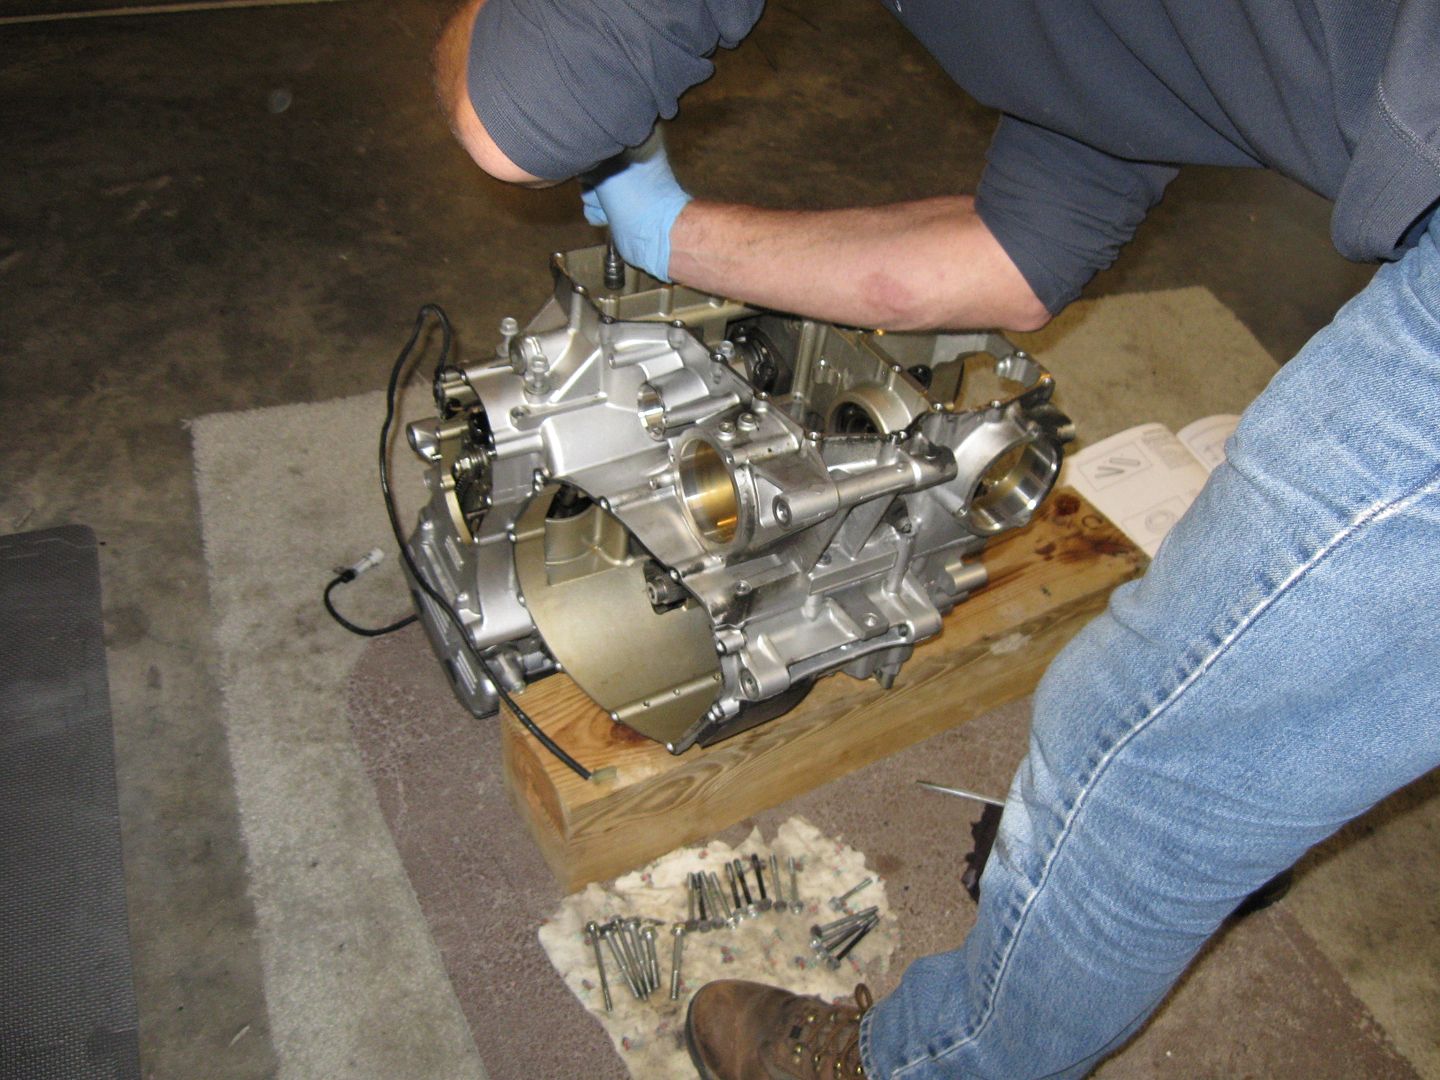
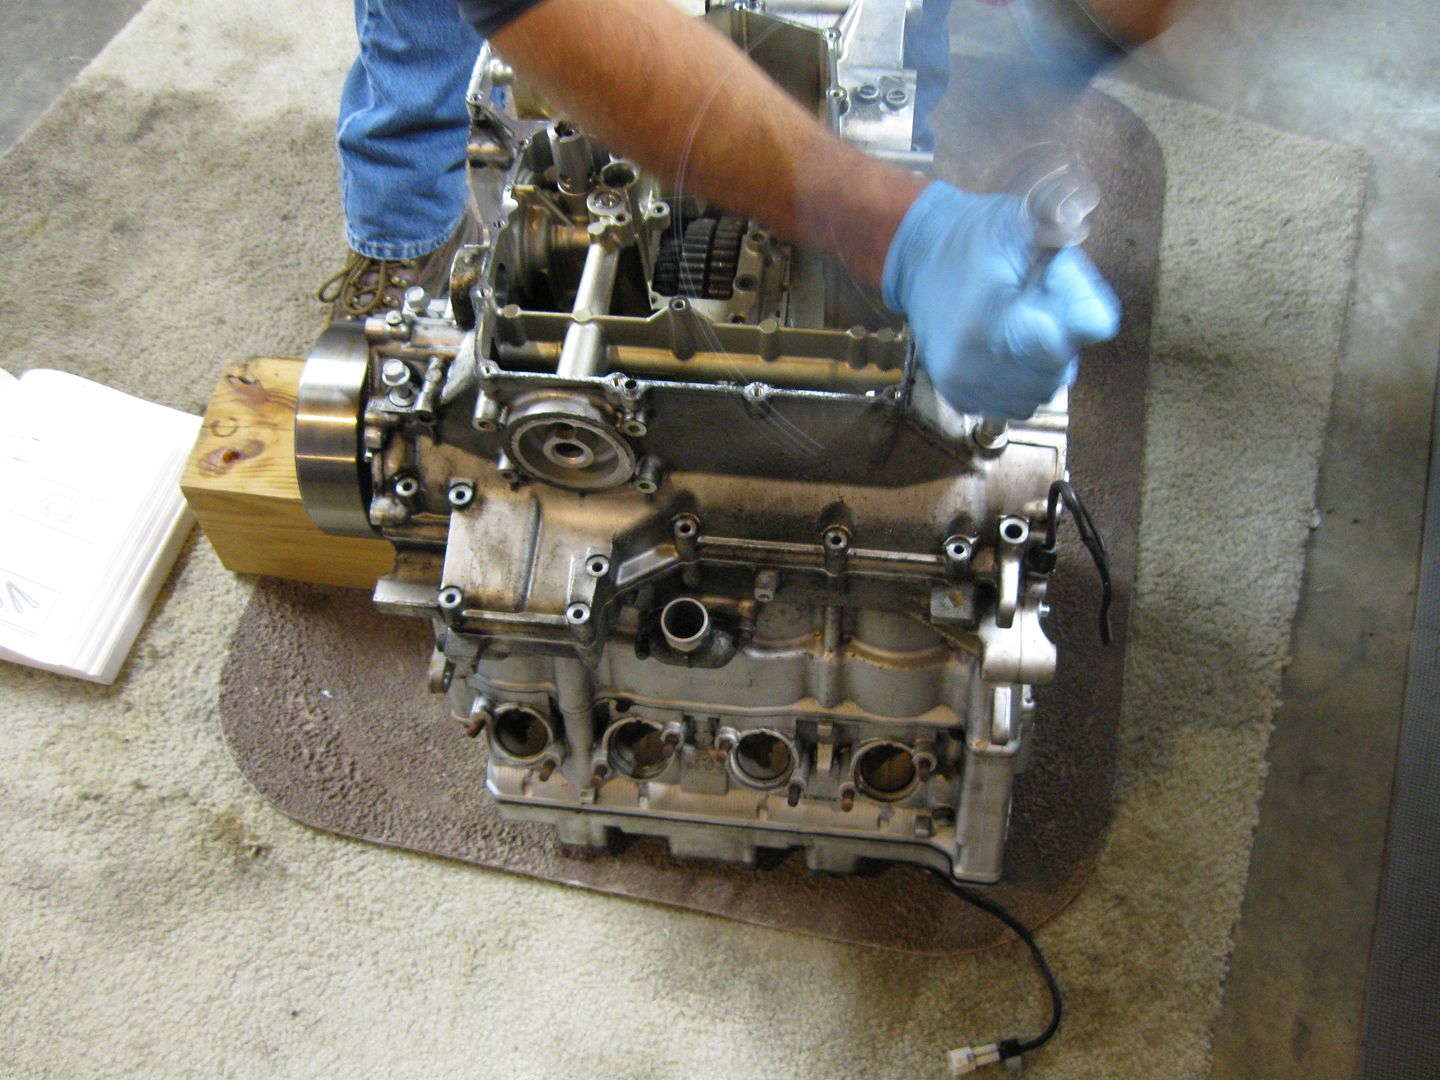
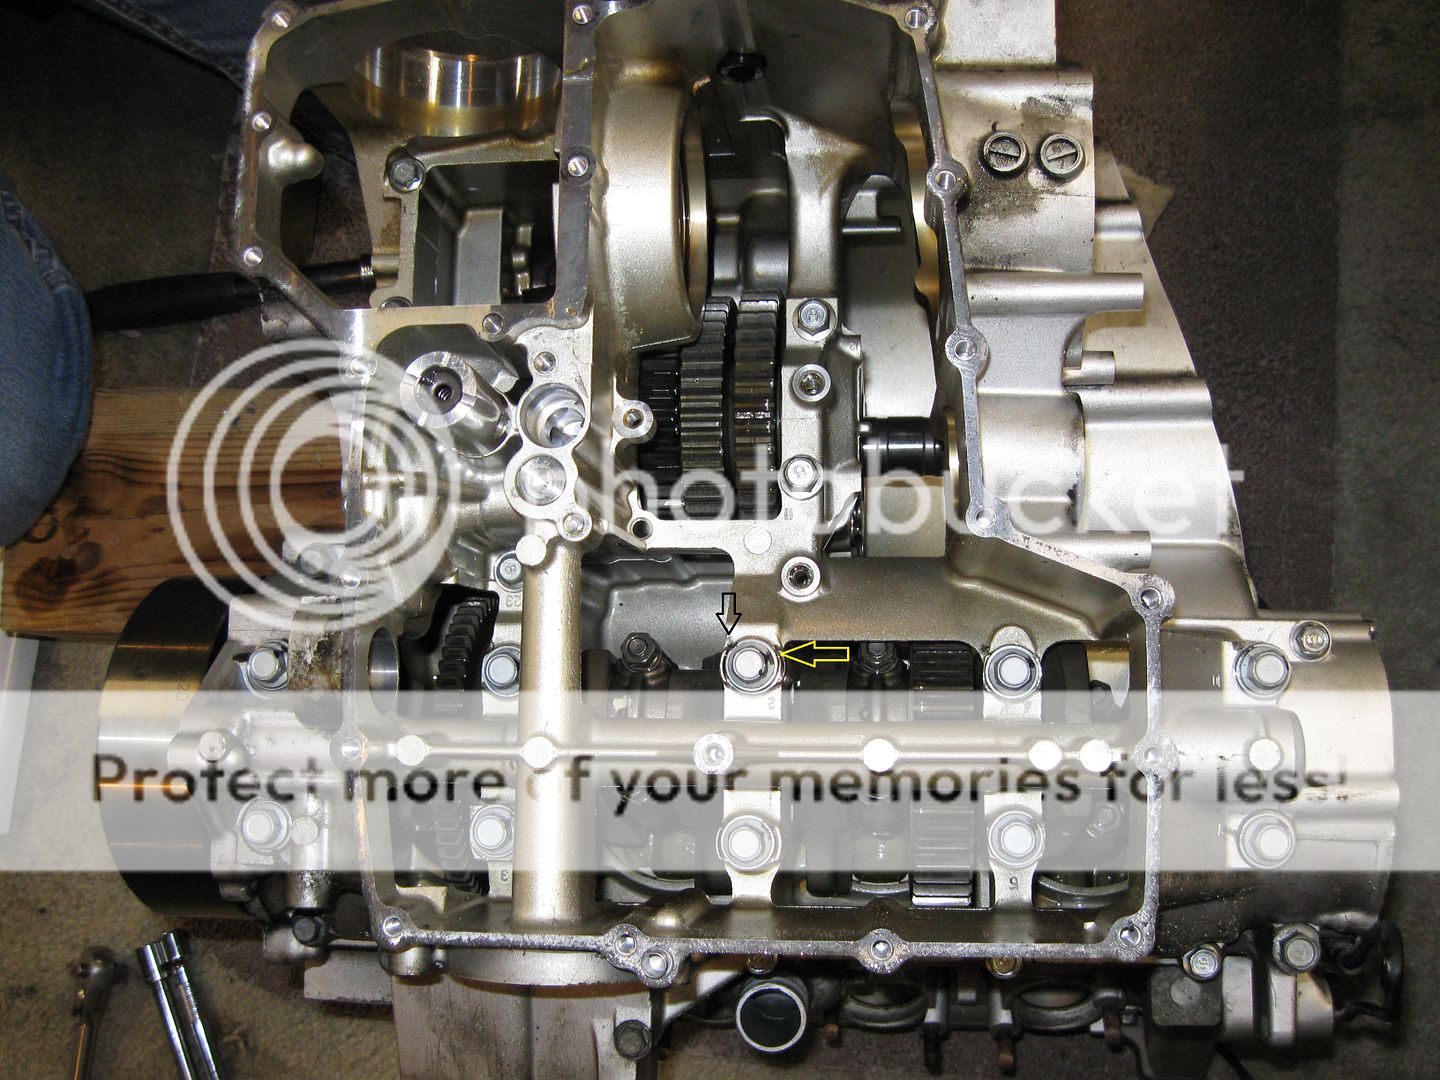
Once the two peices were put back together, all the bolts were put in and spun down to "hand tight" no torque. The main 10 bolts along the crank (the 10 I had to replace per the manual) are the first to be tightened.

034.jpg


Here, my cheap point and shoot camera catches Doug spinning the wrench... ooooo - aaaaaaahhhh. Like I've said before, I stand clear and just take pics when he gets like this! (Well, and occasionally give him a beer!)

036.jpg


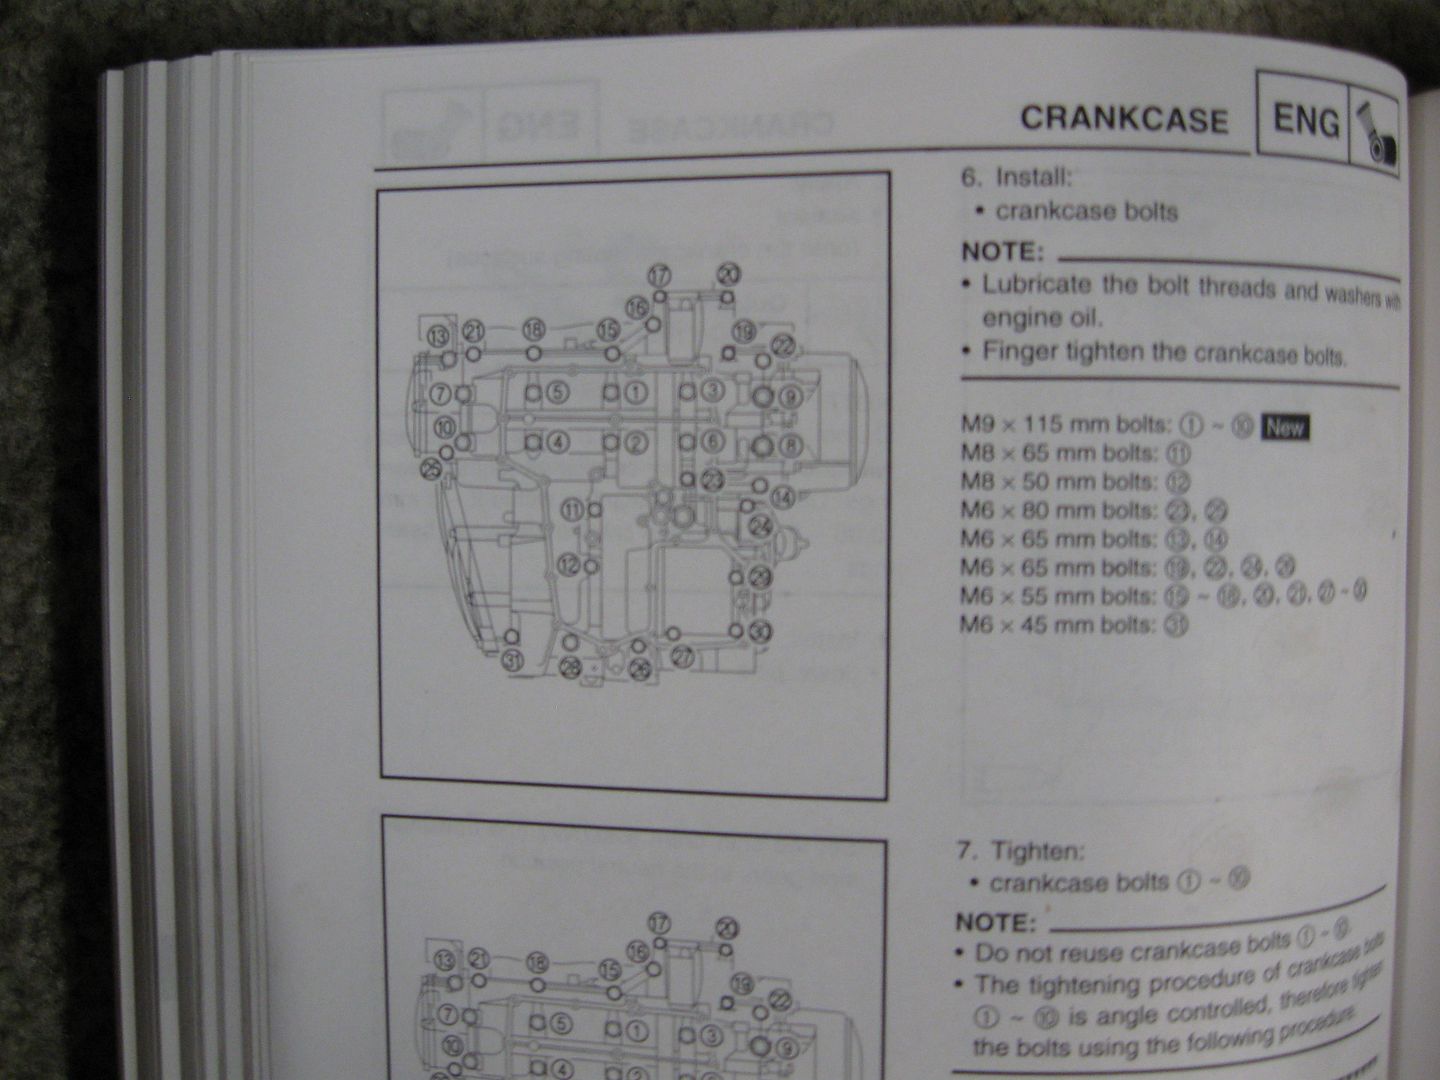
EACH bolt has to be tightened in a specific order as well.

038.jpg


Back to the main 10! I'll attempt to describe the procedure.

039.jpg


They are supposed to be tightened/torqued in a certain order (as stated) and only a certain amount on each bolt. Each bolt area is numbered. Doug marked each bolt with a marker.

042.jpg


I marked the next one with Arrows. The first turn on each of these is about 120 degrees (guess) The black is where the turn started and the yellow arrow is where the first turn ended.

045.jpg


Thus each bolt was turned THEN torqued to the proper spec...... until! (cue Horror Movie Music!)
uhoh.gif


052.jpg


A missing bolt! NNooooooooooooooooooooooooooo!
ranting2.gif


We did find a replacement out of Doug's "stash" motorcycle bolt bucket.
scare2.gif
And we made sure the missing one went on the outside. (sigh) It matched up and everything is good.

That's all we got done as we took a while turning the shop upside down and over looking for the missing bolt. I'm sure I'll find it in the Spring of 2017 or something.

Progress!

 
I'll be damned, it's not the shift fork I was thinking! (L7). Not sure which gears that fork engage/disengage, but it's not 2nd gear. Now I'm wondering what issues the previous owner had before the ultimate failure.
Original owner here: regarding your question about issues leading up to the transmission crapping out. It may sound crazy, but there were literally no issues, until there was one. No weird noises, odd behavior, gears not shifting positively, literally nothing.

Then one day on my ride home to work, I shifted from 5th -> 4th to pass several cars in the HOV lane and BAM there was a lot of clattering and the bike felt like the clutch was slipping, but with a lot more jarring throughout the vehicle. I rolled off the throttle, shifted back into 5th and rolled back on the throttle and the bike carried on like normal. I made it the rest of the way home without much fuss. As I got closer to home (i.e. off the highway), it definitely started clattering/acting up when I was leaned over in turns OR when I would give it more than say, 1/2 throttle. As long as the bike was upright and the throttle was babied, the bike wouldn't act up.

As for which gears that fork engages, I would guess 4th. I remember 4th gear was a lot sloppier shifting from 3 -> 4 than any other gear.
Thanks for the information, Paul! At the risk of insult, may I ask if you always used the clutch when shifting? What kind of oil were you using?

Now it's starting to sound like a possible assembly error on mama Yama's behalf. Streethawk, on this fiche:

Can you take pictures of that hardware? Just trying to figure out the root of this never seen before trans issue.
No offense/insult taken. I would shift with or without the clutch - no rhyme or reason for why I would switch back and forth. I would typically apply a bit of pressure to the shifter before a gear change, when I was shifting without the clutch. I guess that would explain the worn shift pad? As for the oil - 'erm I forgot. Whatever weight the factory called for - non-synthetic Yamalube.

 
Last edited by a moderator:
Well I flew solo this weekend and didn't feel like I got much done. I had some interesting finds and one minor annoyance/set back! I'm a little paranoid of putting the engine back together only to leave something out and/or putting something on only to find out I should have done it in a different order.... SO I concentrated on prepping the covers for the gaskets. Then moved onto working on the swing arm.

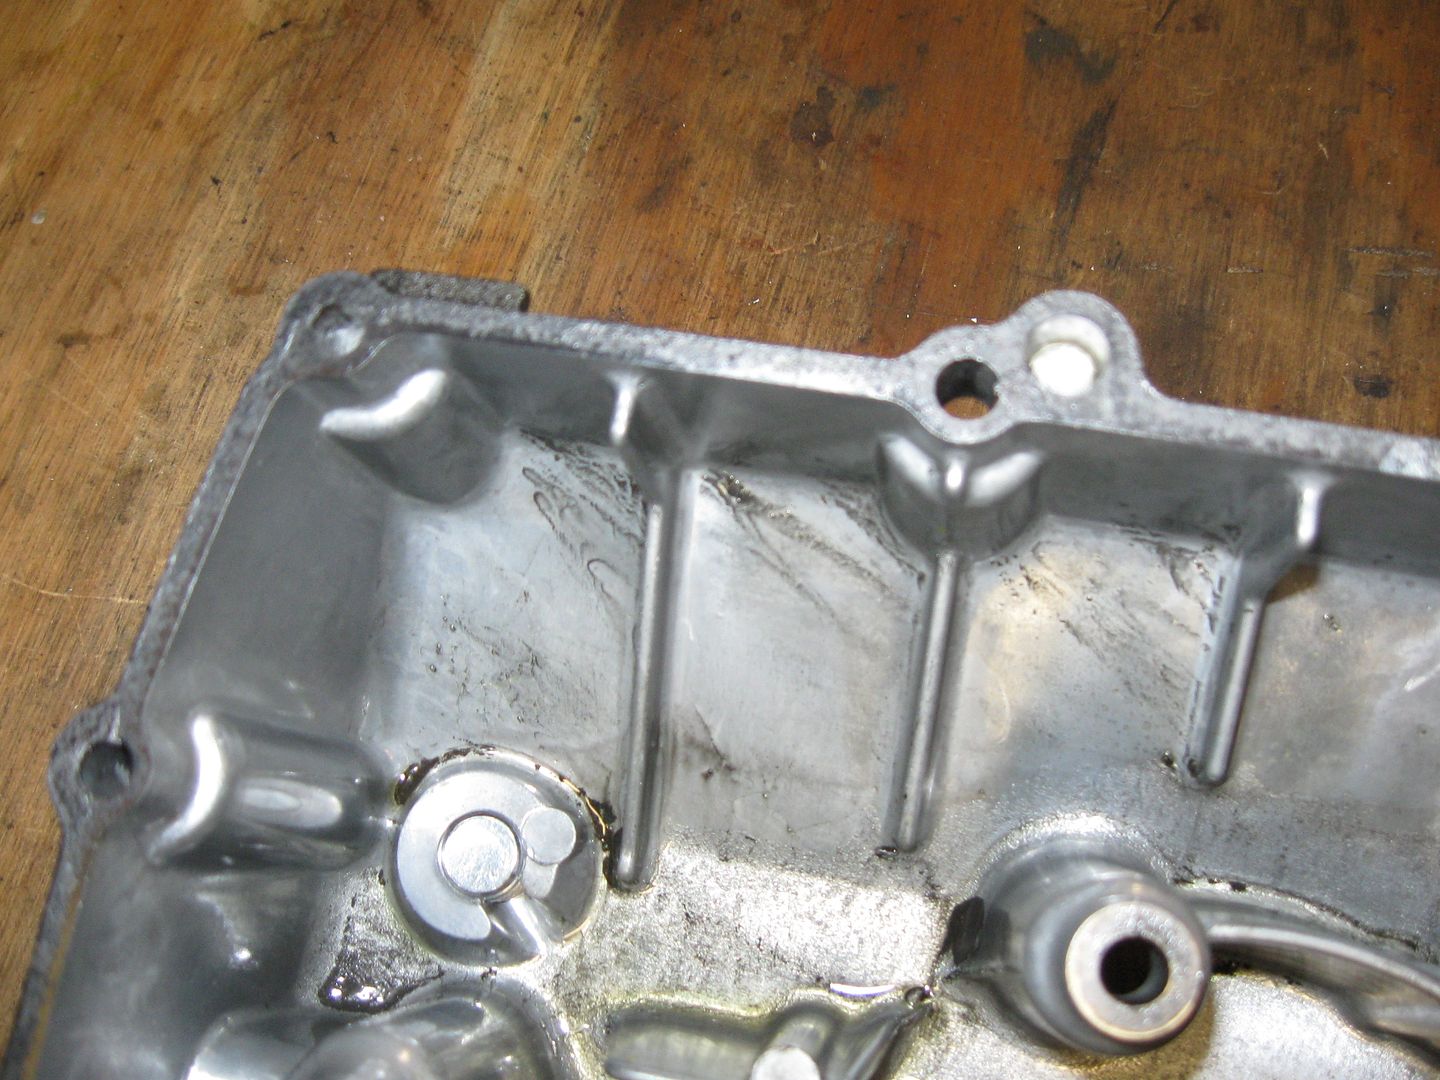
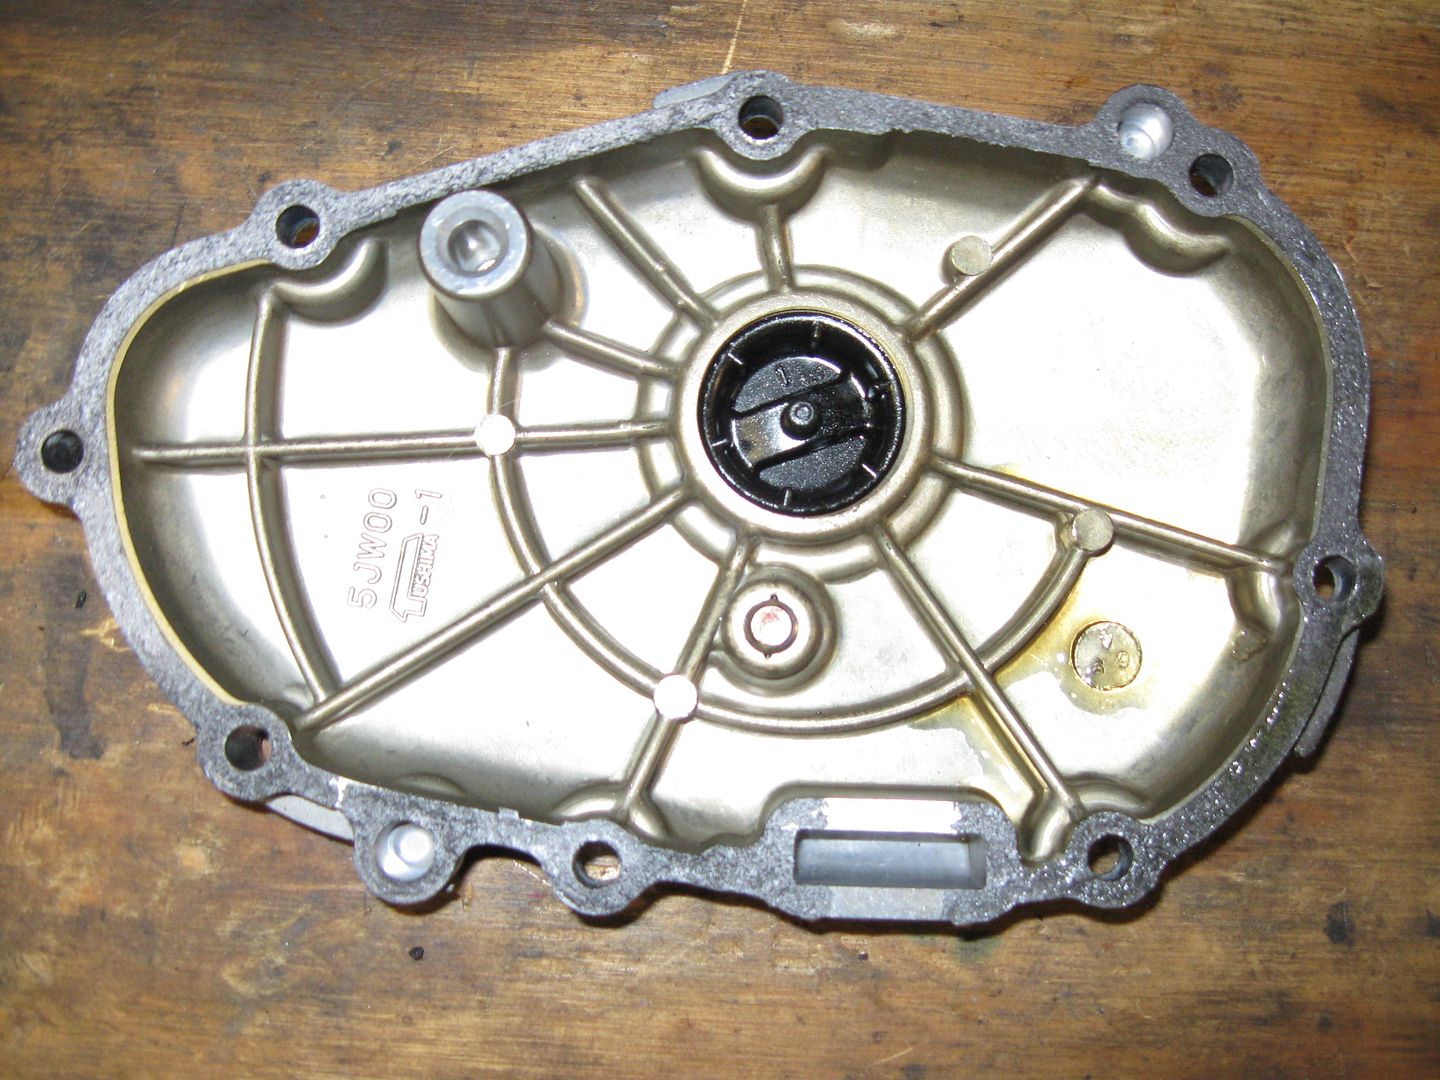
Most of the covers are just before and afters.... not much to show when you're just scraping and cleaning the edges.

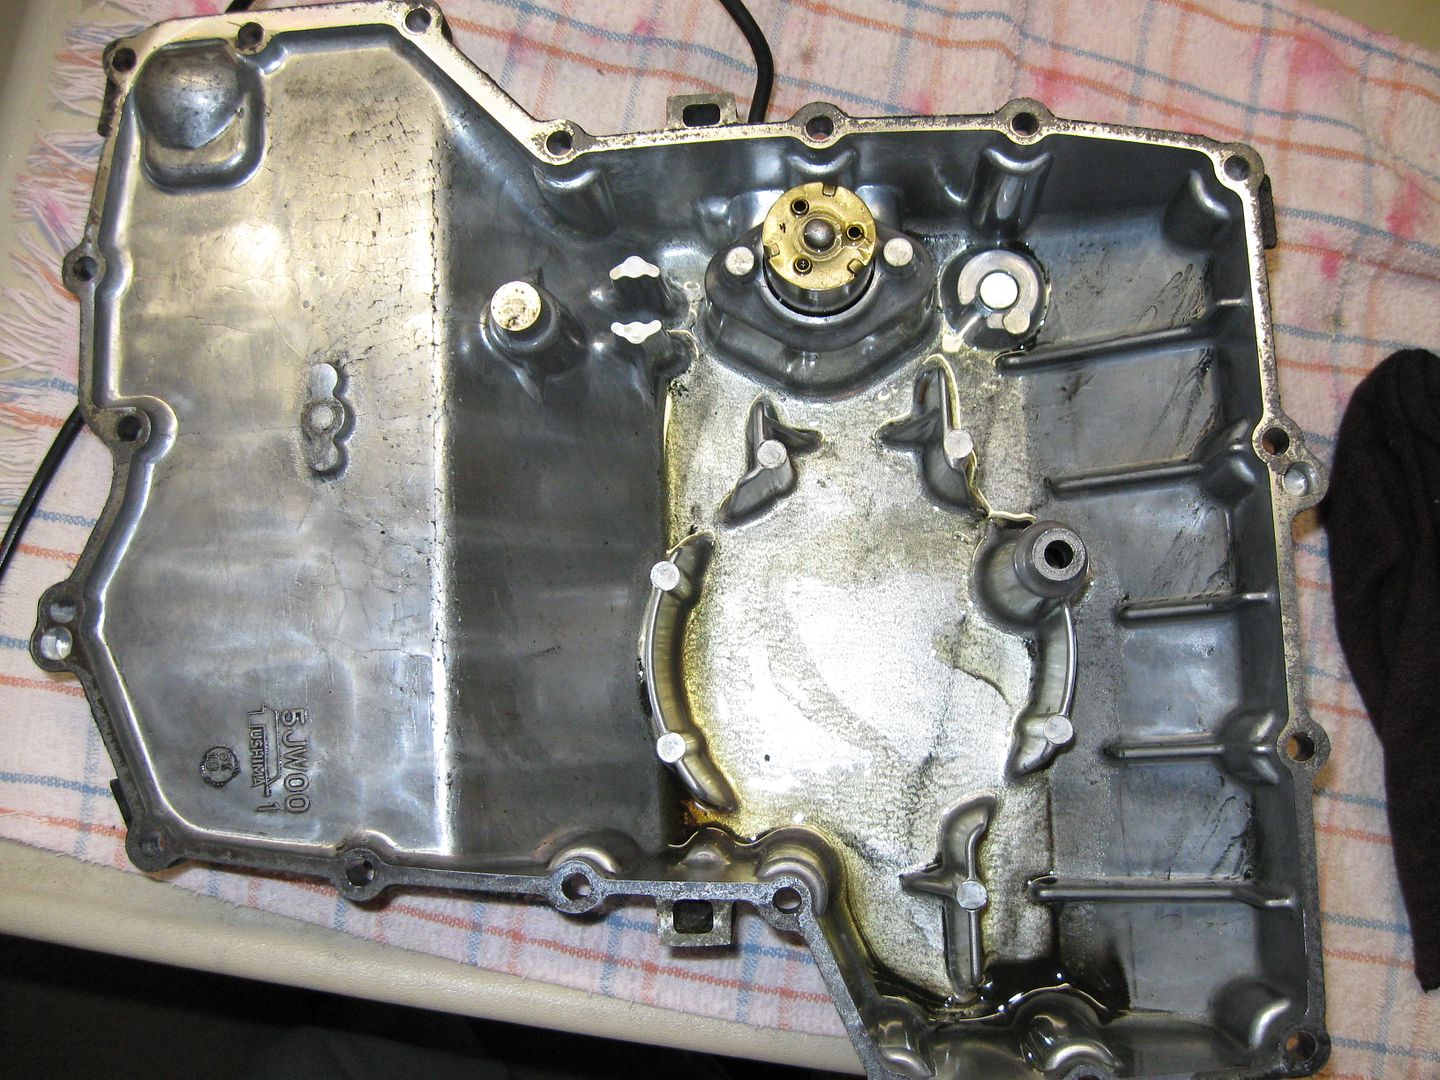
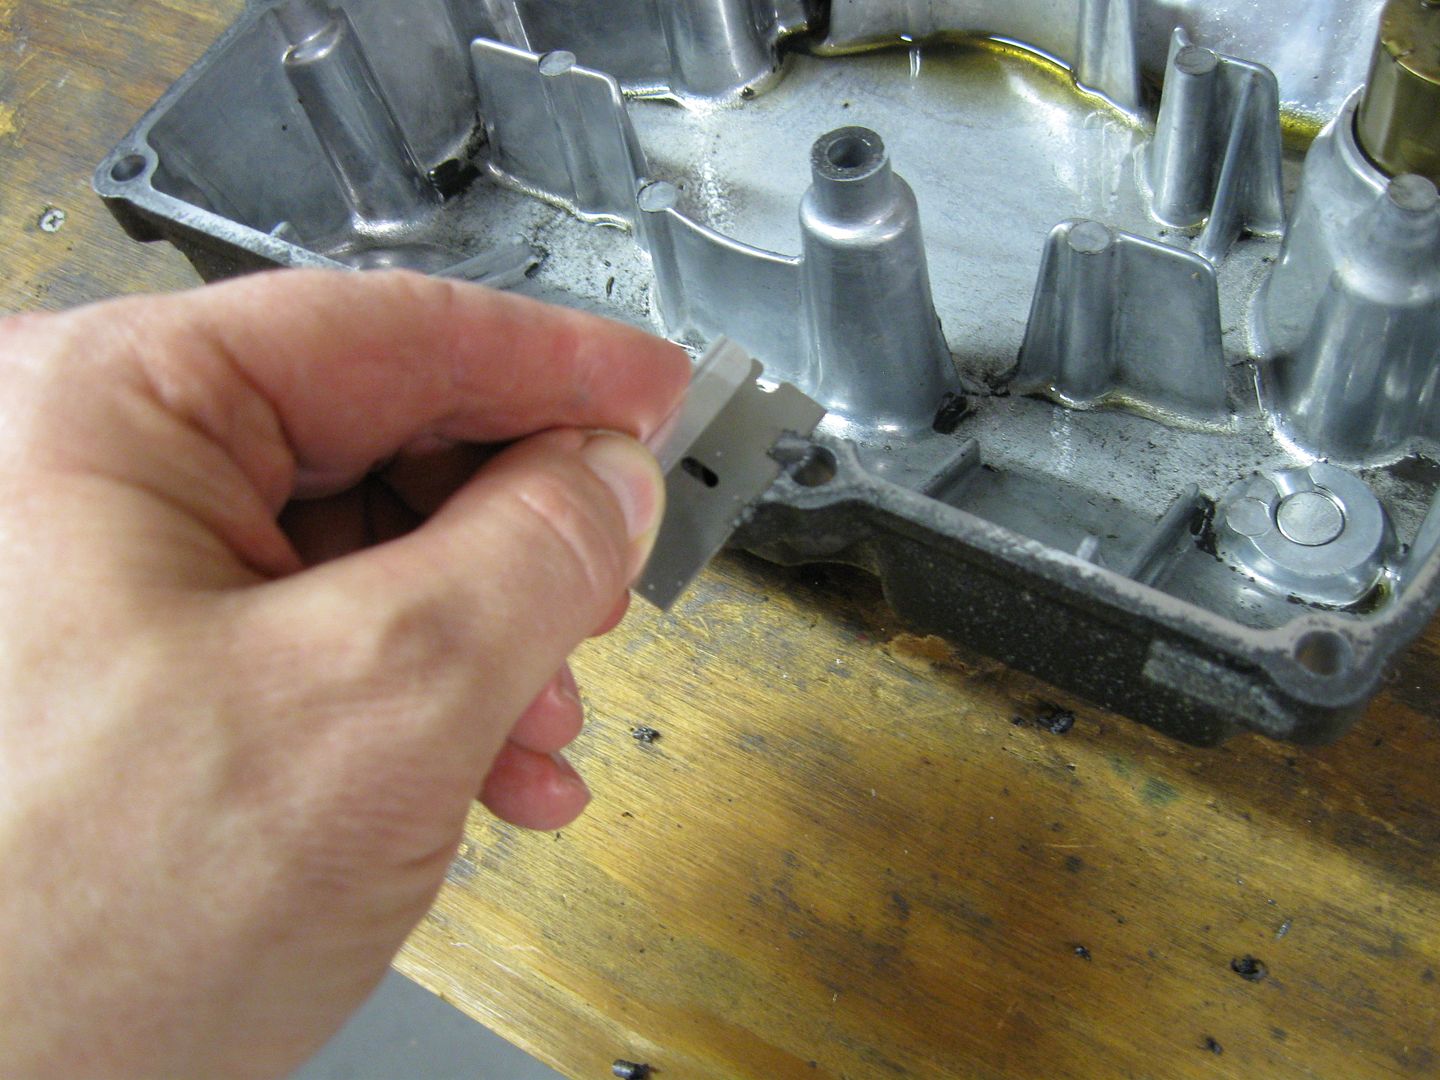
I started out with the oil pan.....

FJR001_2.jpg


Again my point and shoot fails me. The edges have parts of stuck gasket on them...

FJR002_2.jpg


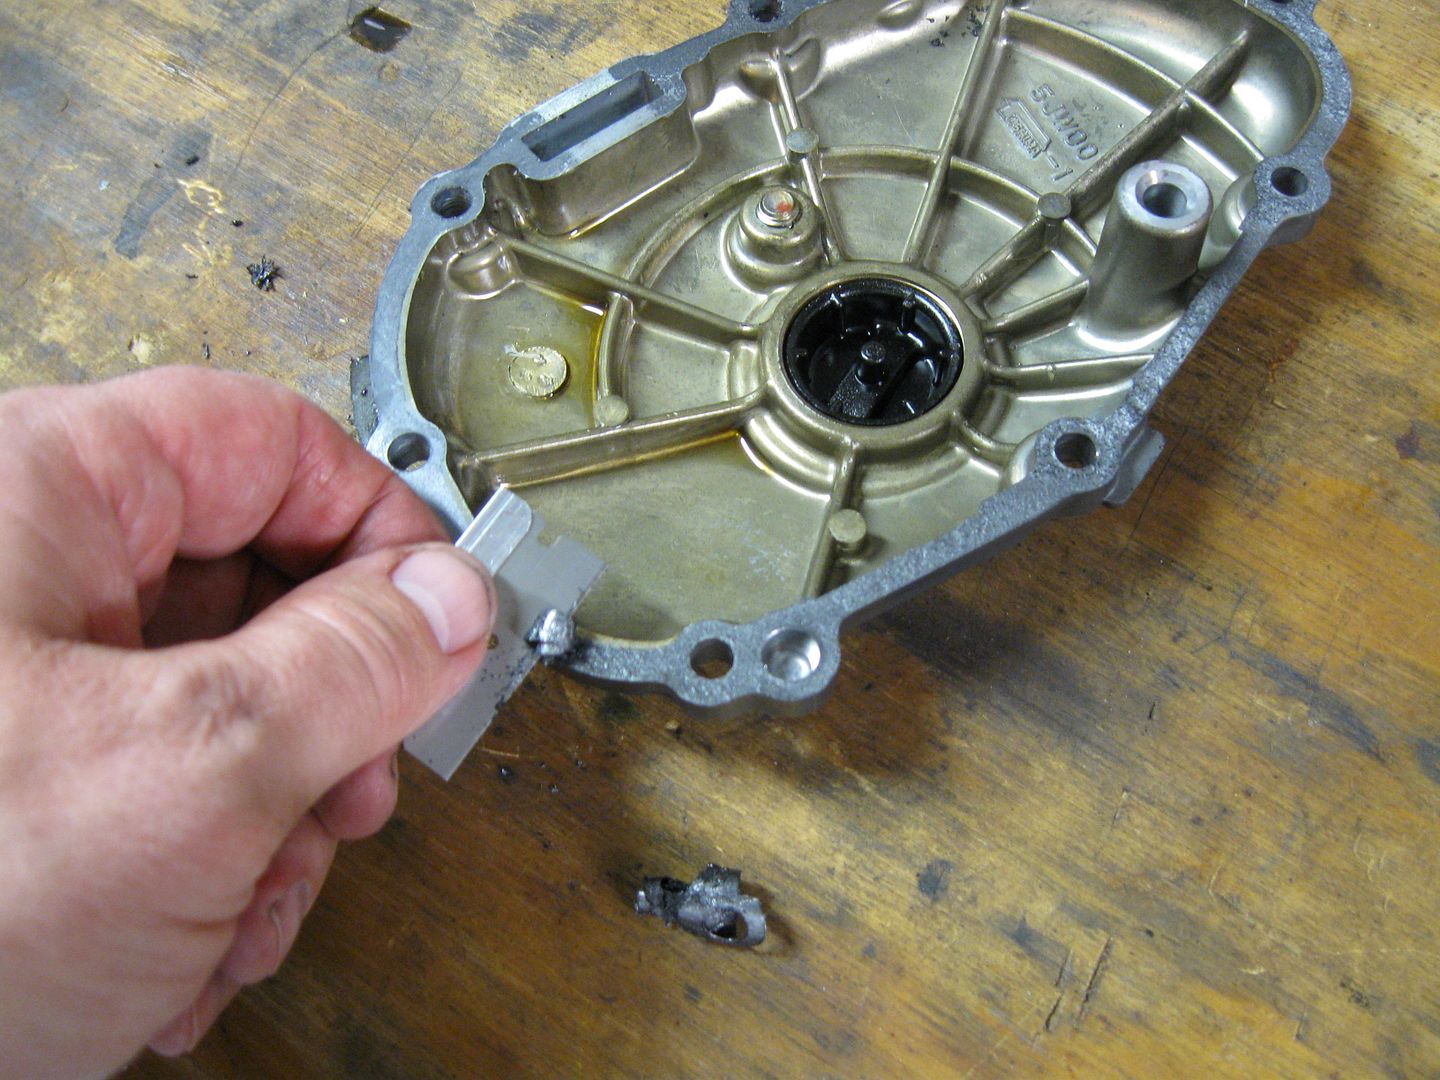
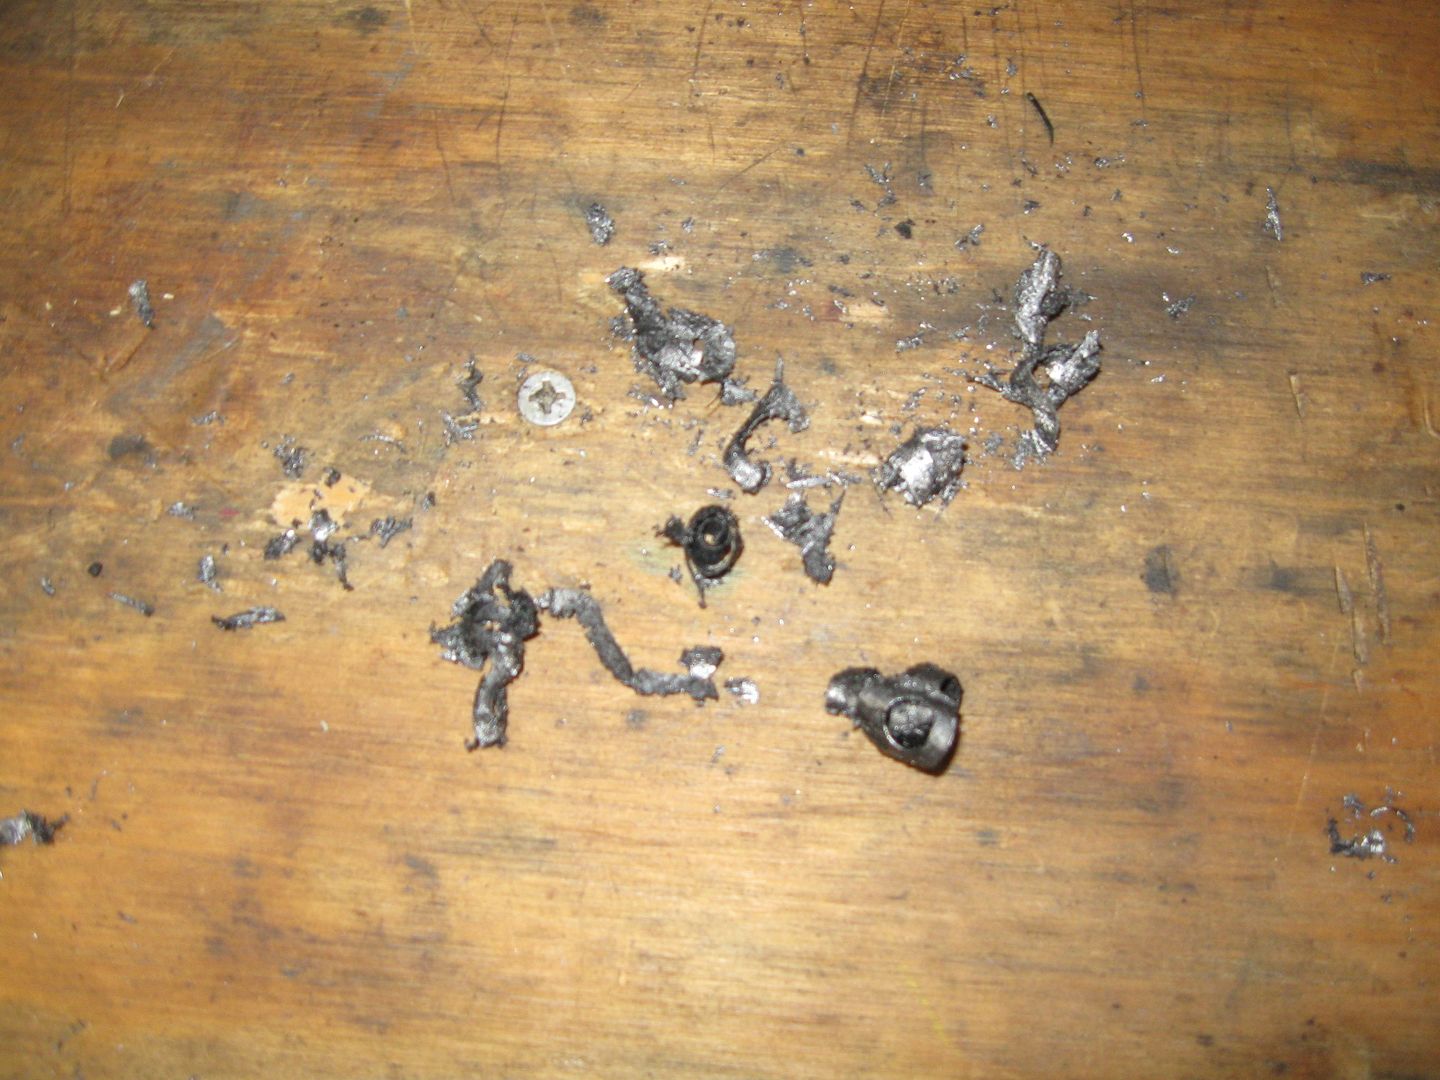
So grab a razor blade and start scraping..... and scraping..... and (rinse and repeat!)....

FJR017_2.jpg


I WAS about to clean the inside of the oil pan BEFORE I started on the edges... um duh!
nono.gif
Something said I would be dropping little bits in there anyway. So I waited until the edges were done, THEN cleaned up the bottom! (He CAN be Taught!
graduated.gif
)

FJR018_2.jpg


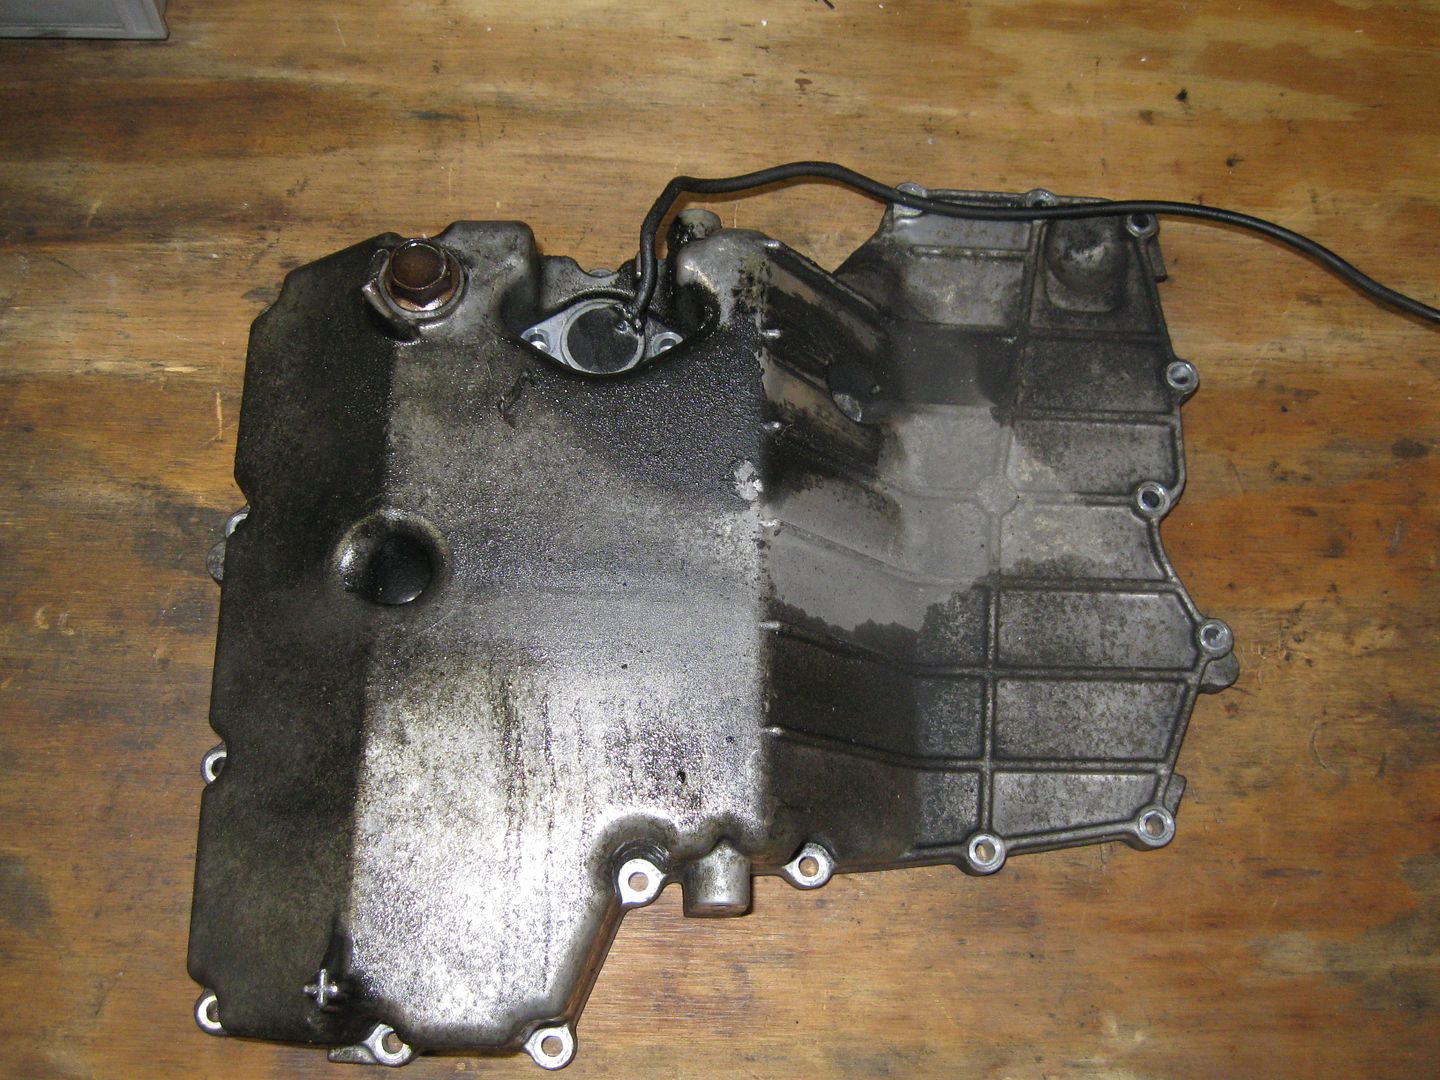
Fa-Lip it over and ...... EW!
stun.gif


FJR019_2.jpg


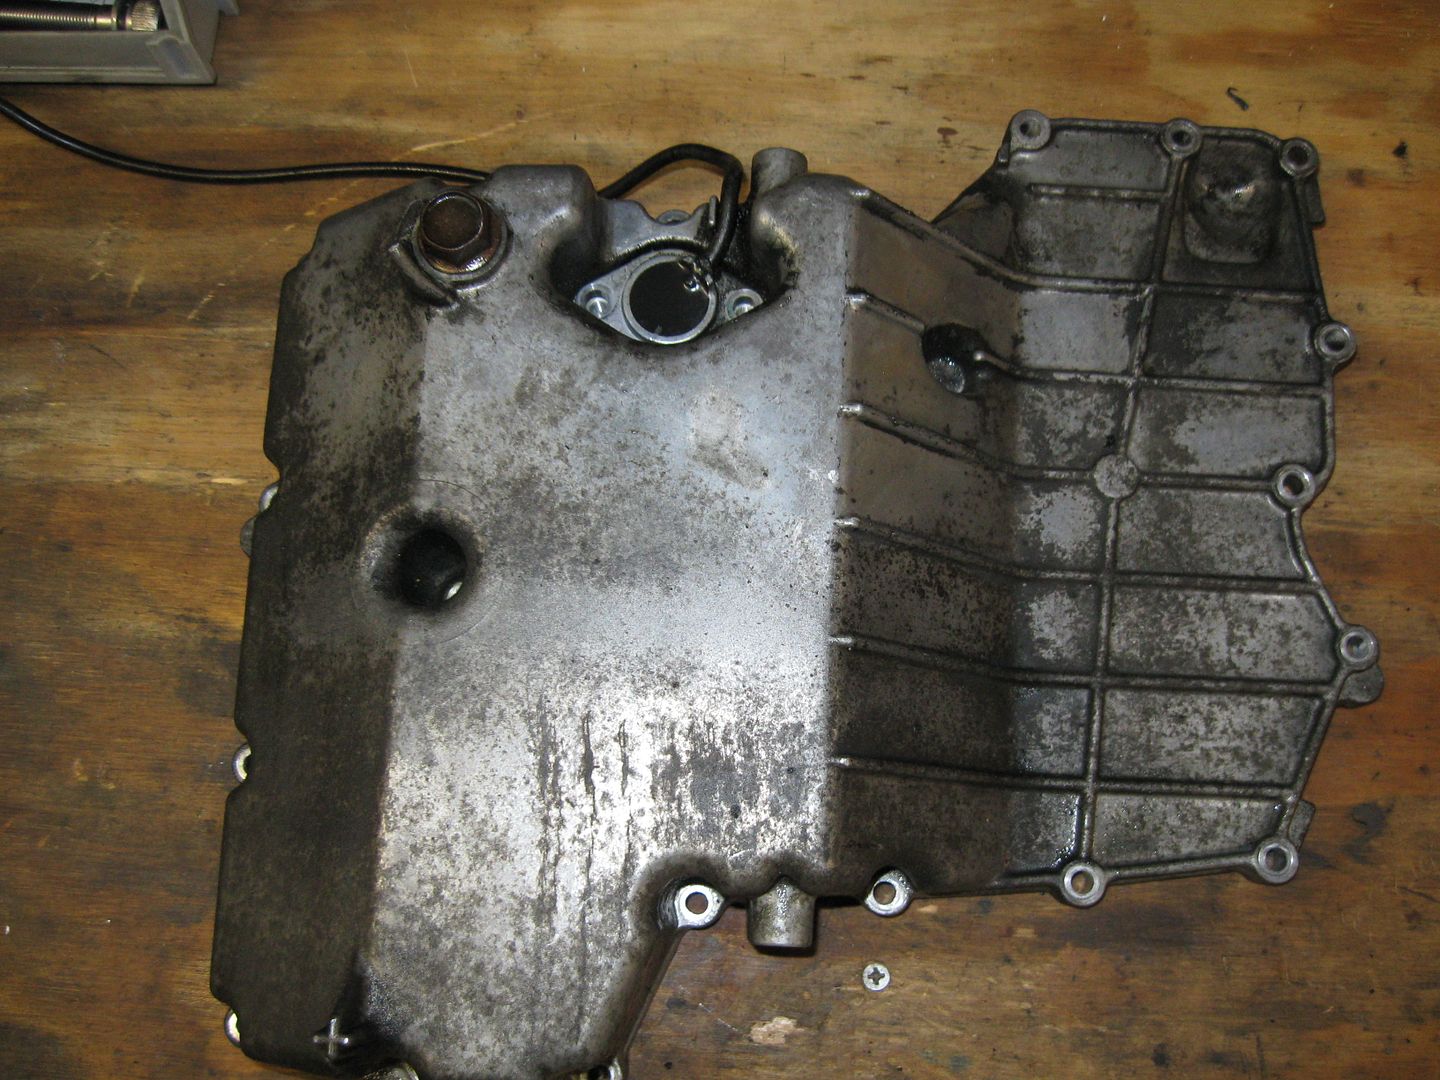
I didn't knock myself out on this side. It won't stay that way long AND no one see's it. But I did "degrease" it some -

FJR020_2.jpg


Some of these covers had the gaskets peel off in one piece!
rolleyes.gif
Well, bits were left behind. I'm not going to chance trying to reuse. That's just CrAzY Talk!!
uhuh.gif


FJR021_2.jpg


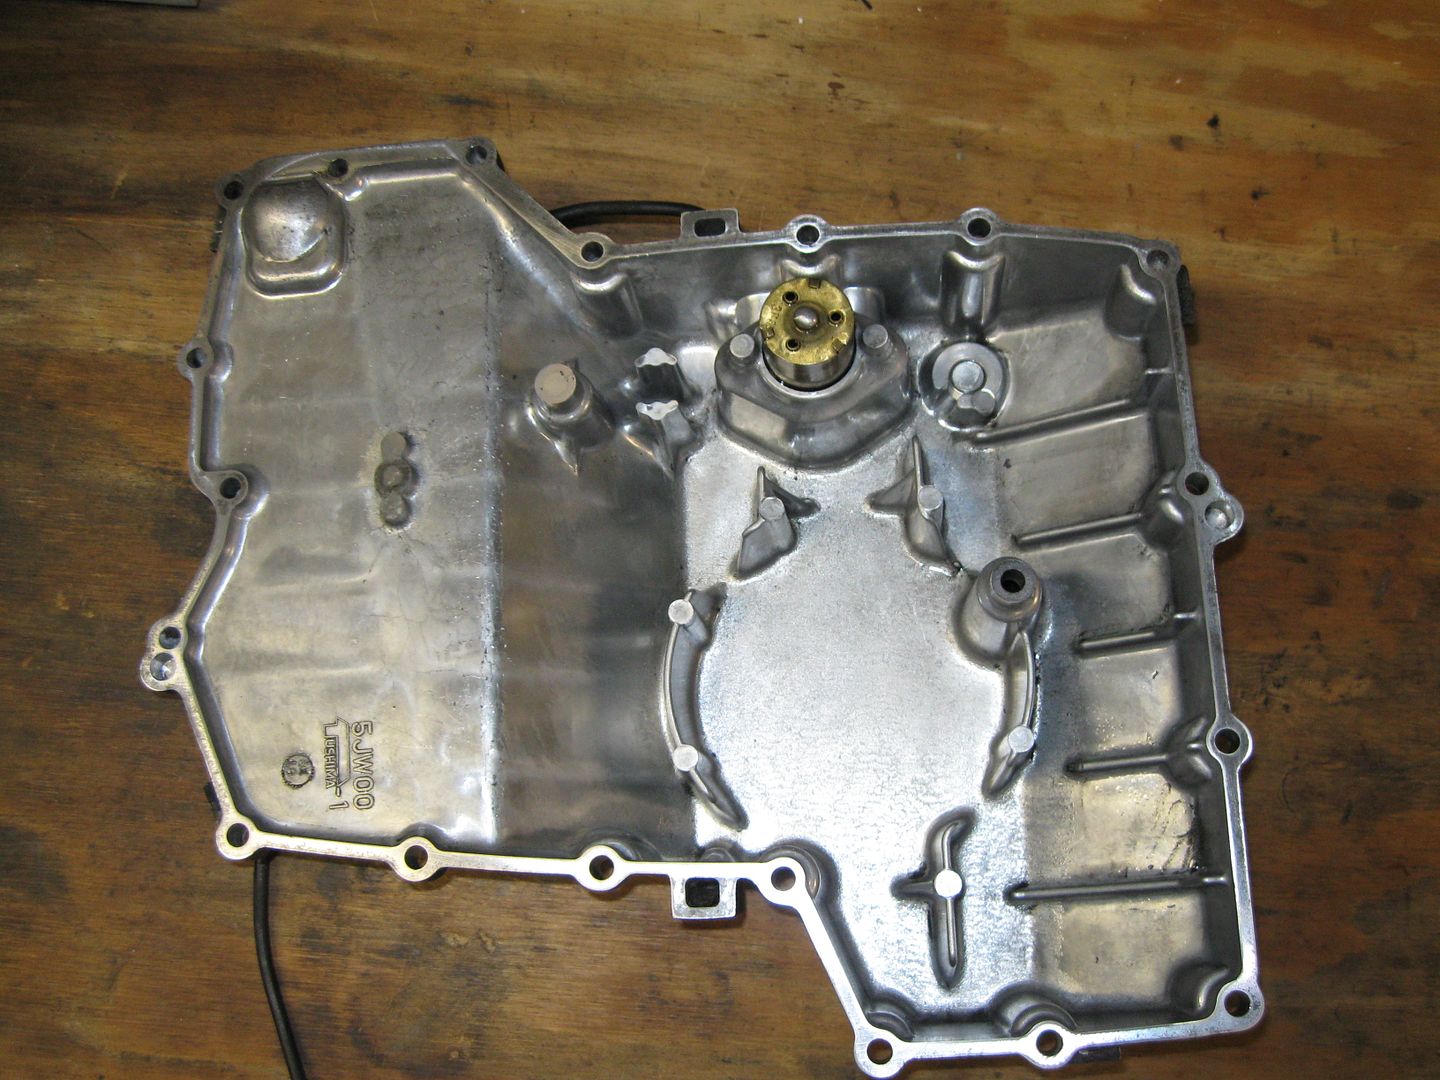
So I scraped.... that little blade did great. I only had three left and the one did the job thankfully.

FJR023_2.jpg


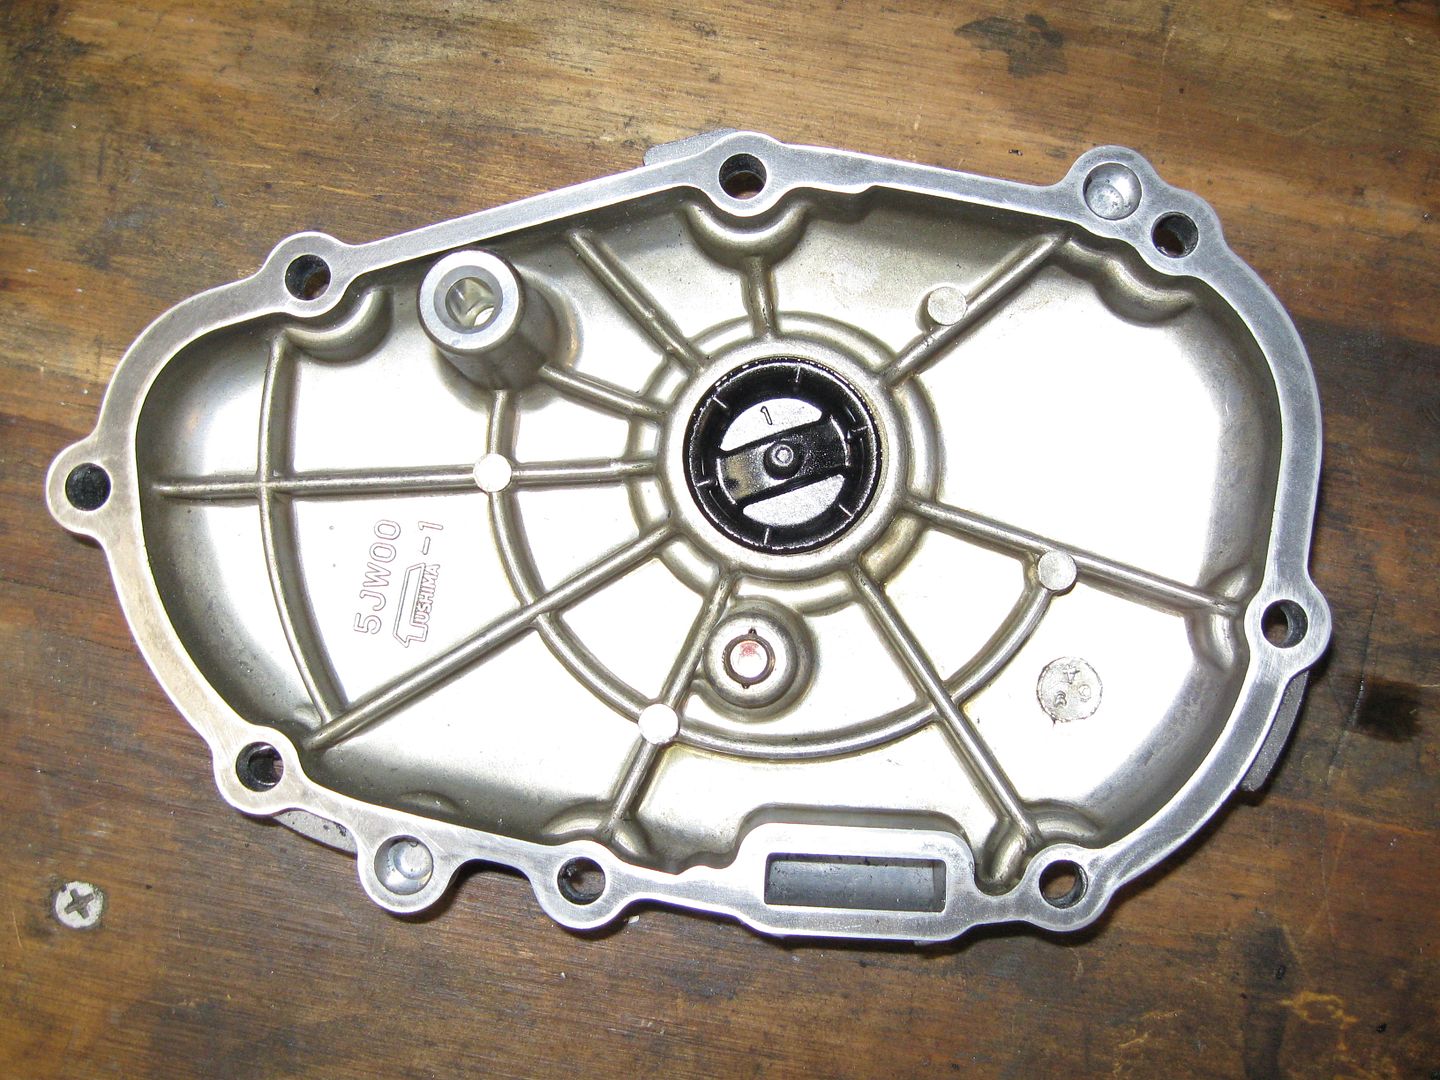
And BAM! ---
sorcerer.gif
Shiny!

FJR024_2.jpg


What was that about re-using the gaskets?

FJR026_2.jpg


Come on! There's a challenge there! We make it work. We CAN REBUILD IT! (insert Million Dollar Man Theme Music- nananananananaaaaaaa)

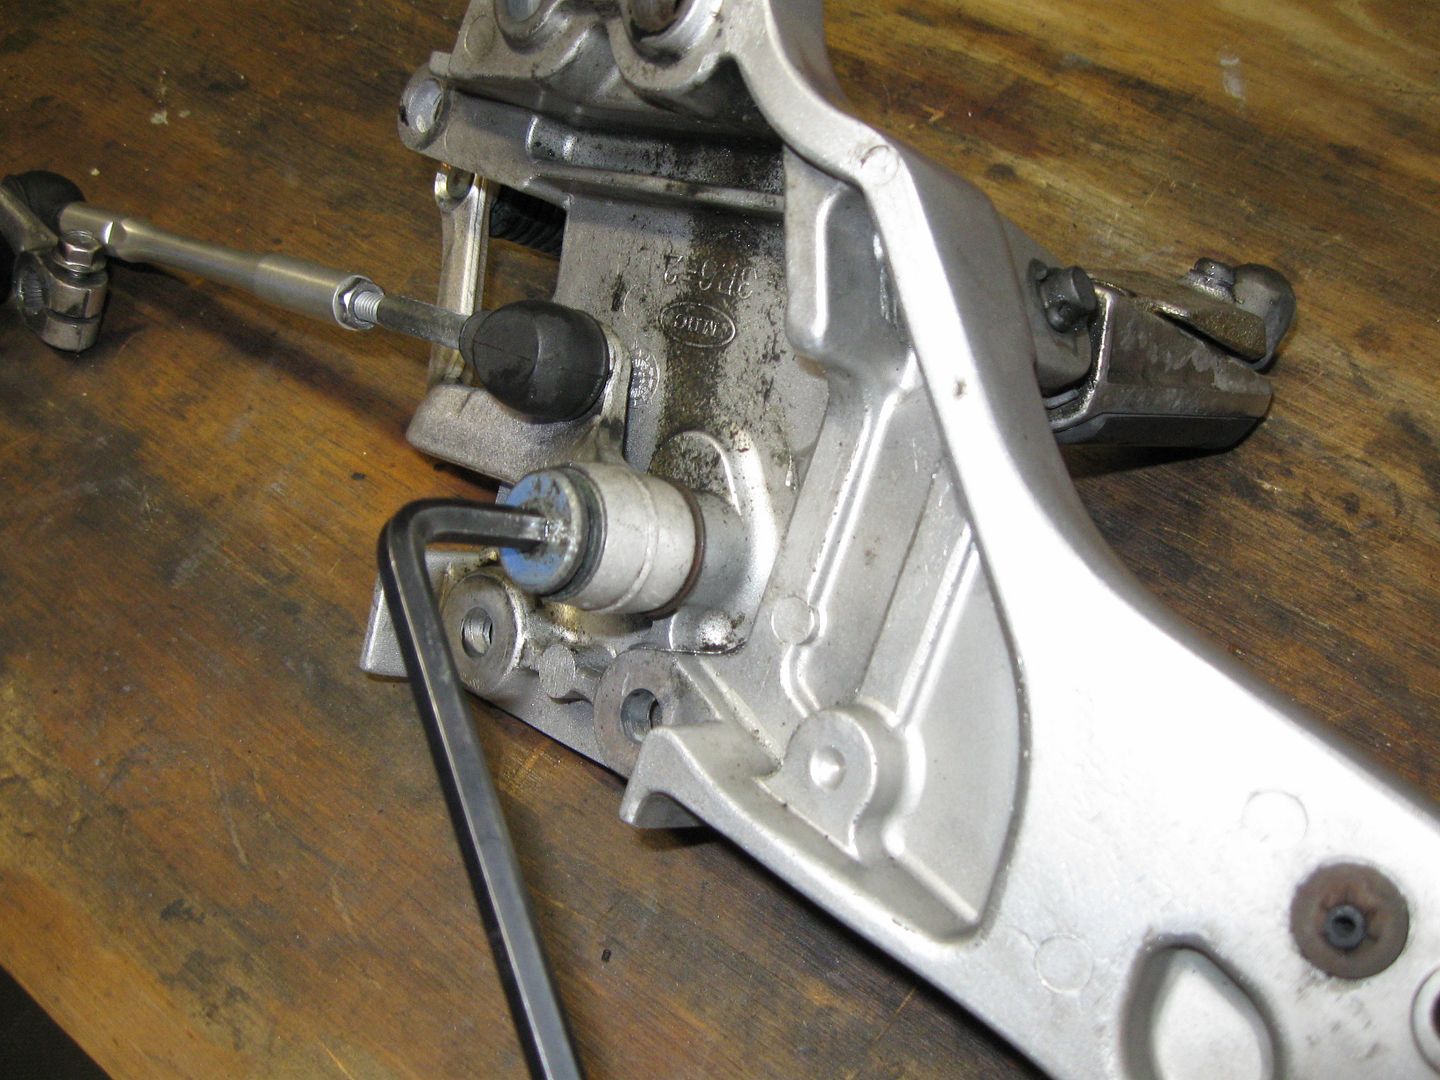
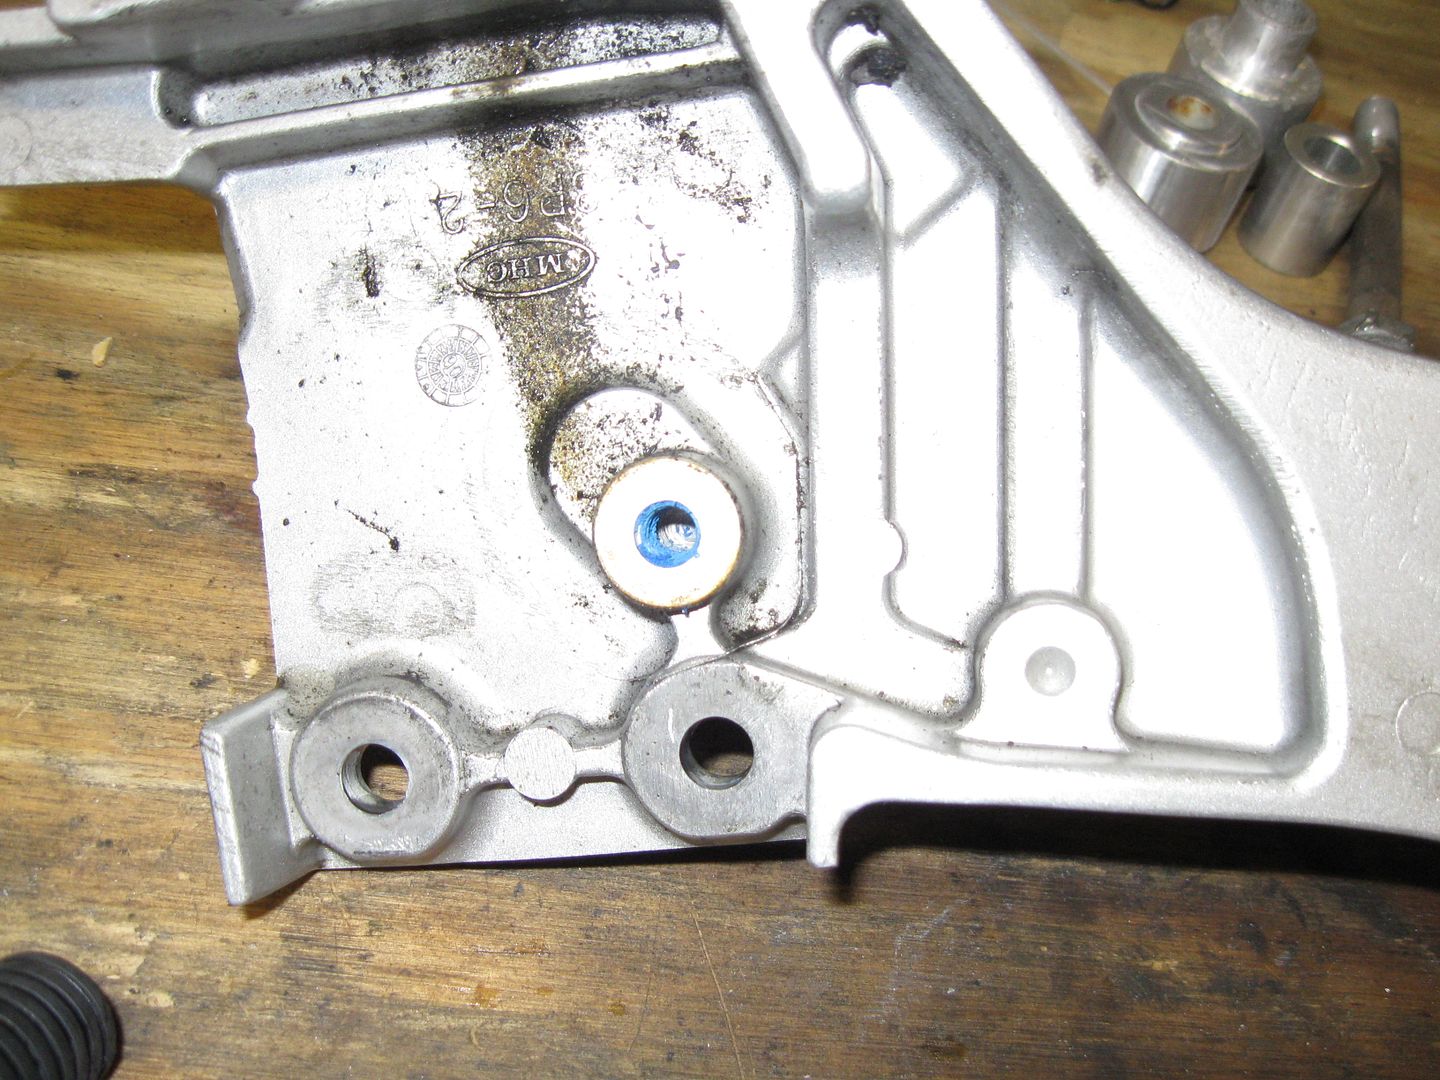
Ok. I hope I'm not boring. I then moved onto the shift linkage. It wasn't binding or anything but I just thought (like with most of this project) "While it's apart...!"

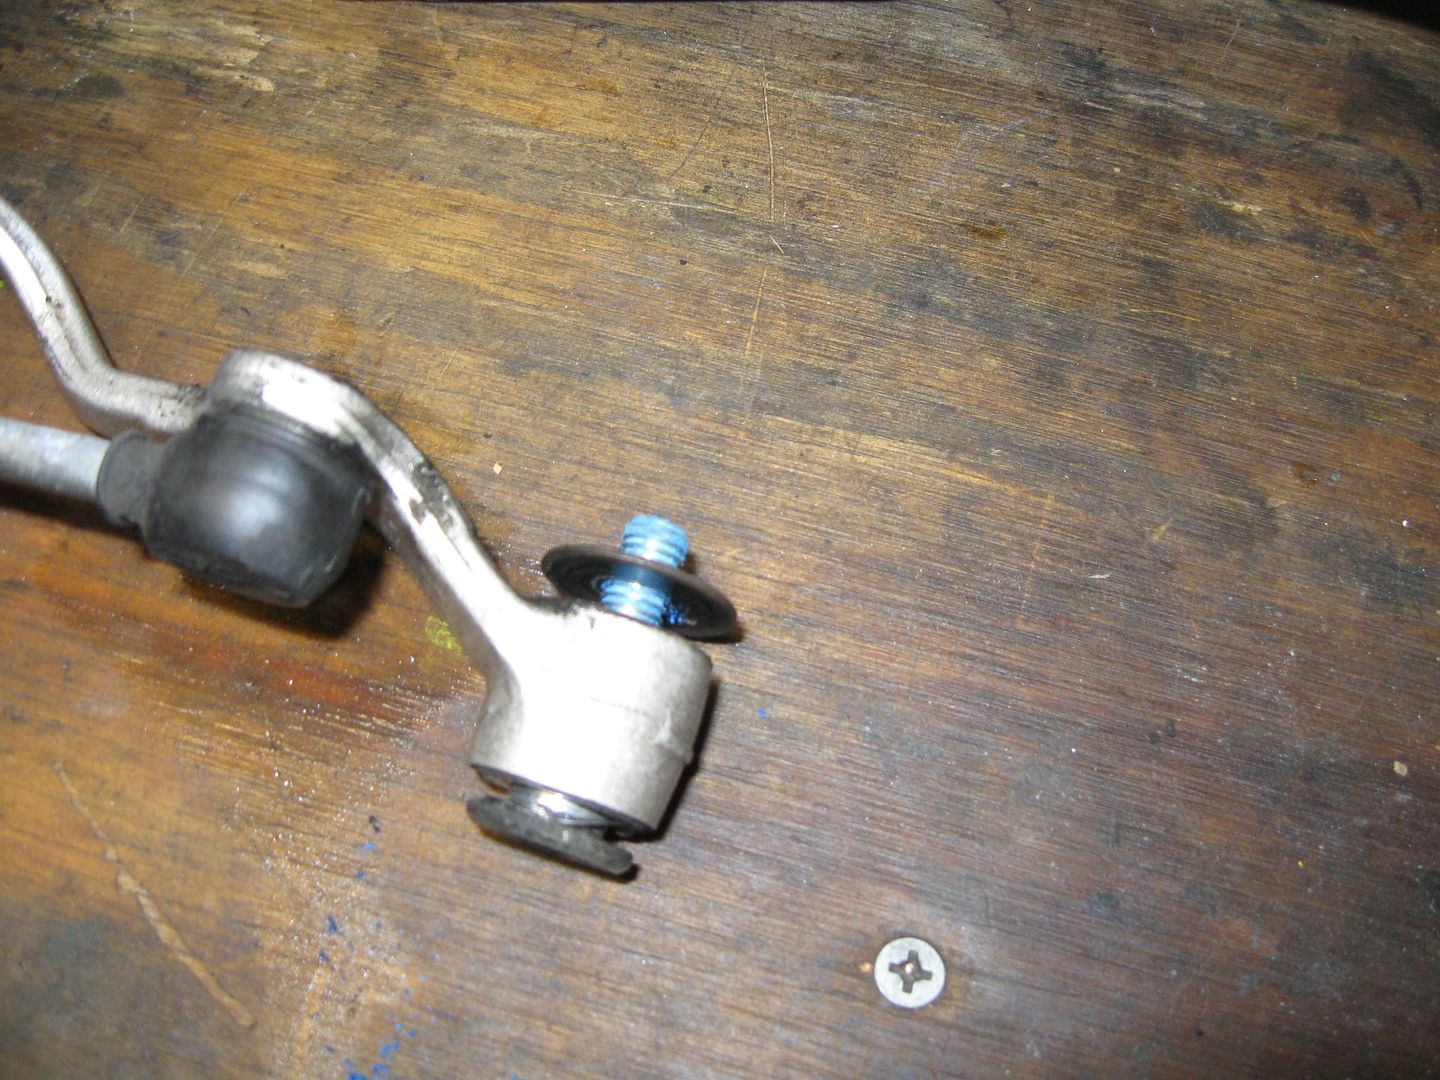
This bugger has loc-tite on it. Soon to be the Bane of my existence! (later)

FJR003_2.jpg


But he came off ok and I surveyed and cleaned up the blue stuff

FJR004_2.jpg


Remember where we parked! I mean remember how things go back together now!

FJR005_2.jpg


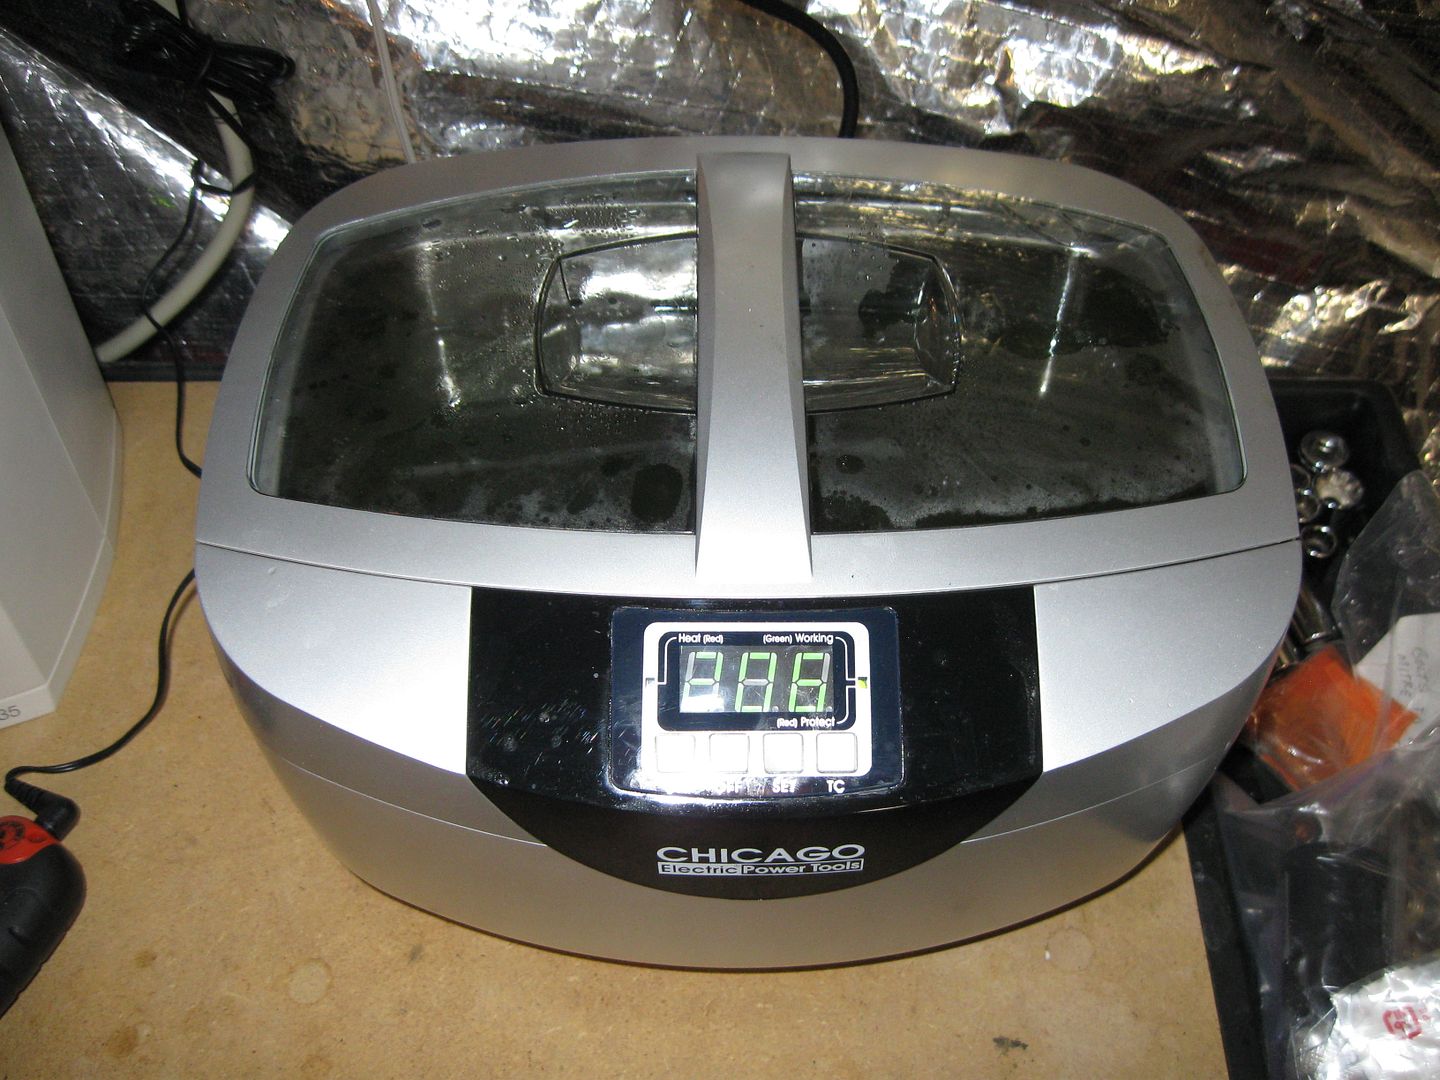
I imagine there was grease in there at one time. It just looked gunky now. Soooooo.....

Into the DRINK!
Snorkle.gif
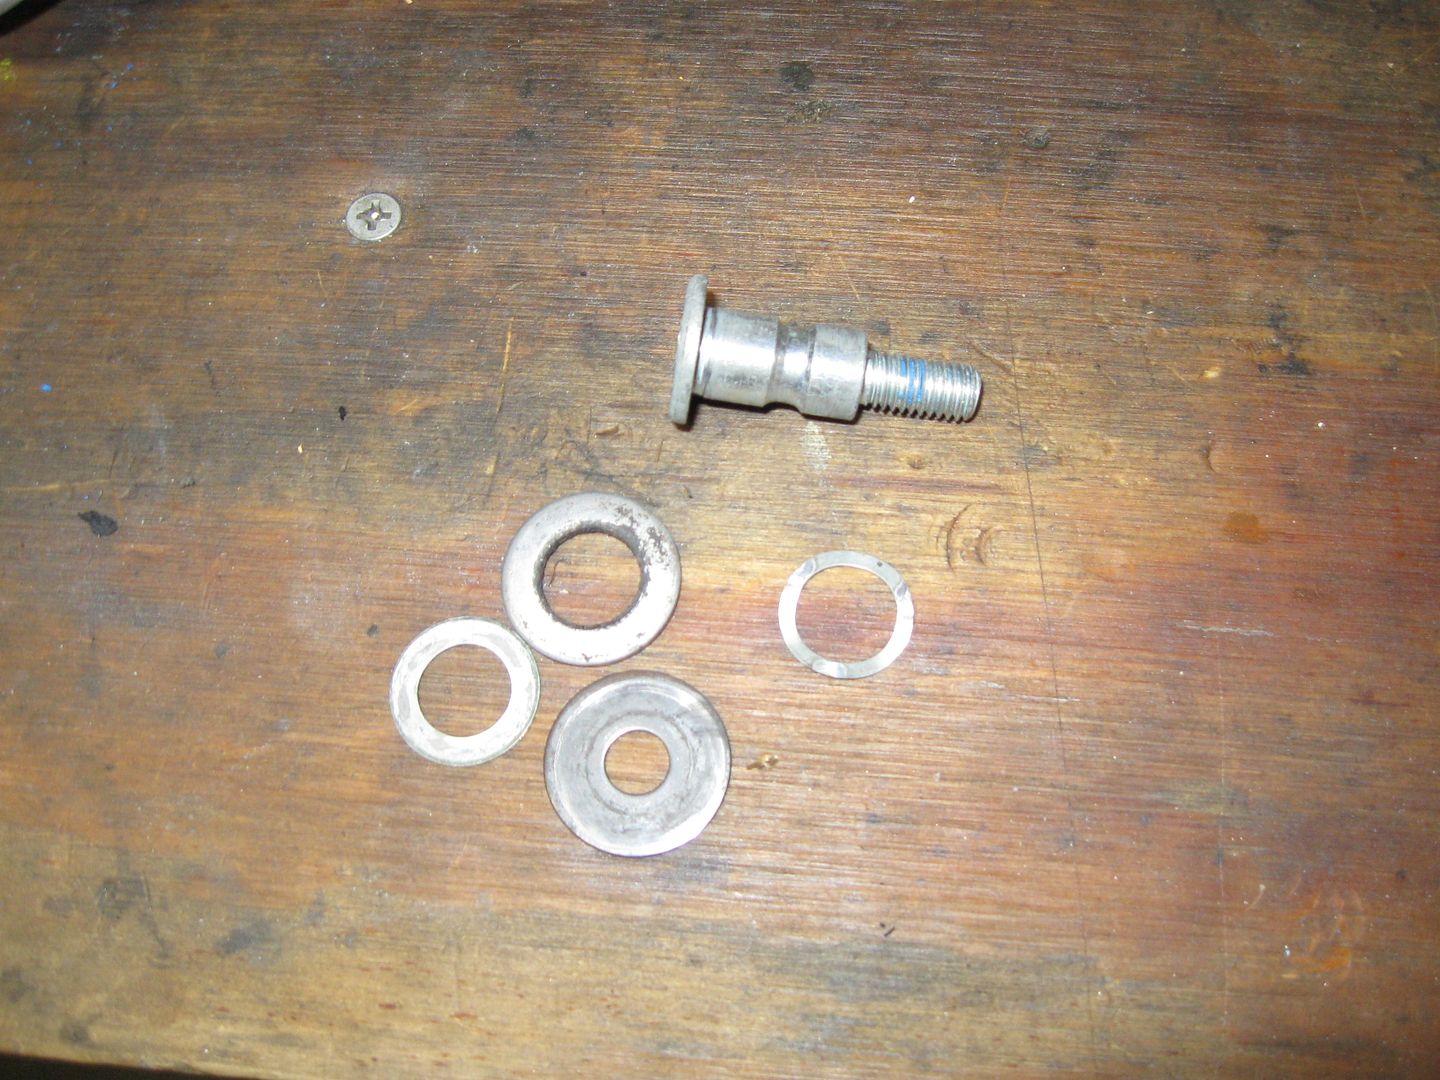
Complete with vibrations and heat! It's like a Bolt and washer SPA treatment!!

FJR011_2.jpg


A few cycles and Ta-Da!

FJR012_2.jpg


OMG! They reproduced in there!! (sigh)
mega_shok.gif
The big washer with the big whole is from something else. He got left in the bath too long. Mmmmmm wrinkley!

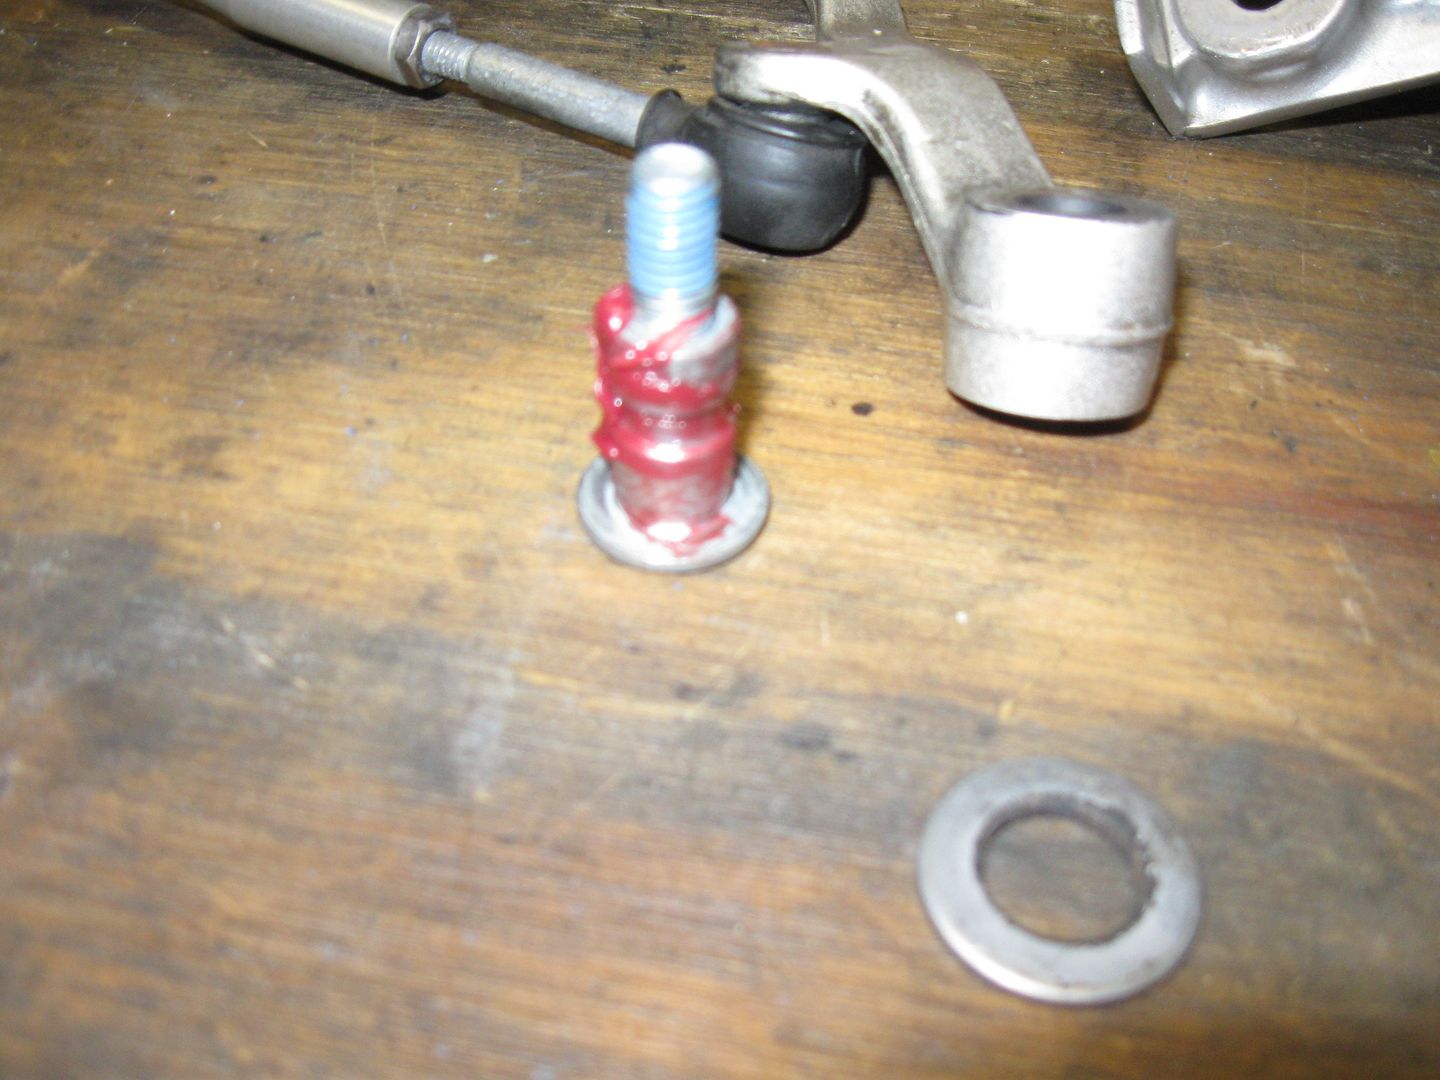
The bolt got greased up..... uh oh... this is bordering on N ot S afe F or W ork! Alright, keep the mind out of the.... oh never mind! Most of us just live there. We'll just deal with it!
dirol.gif


FJR013_2.jpg


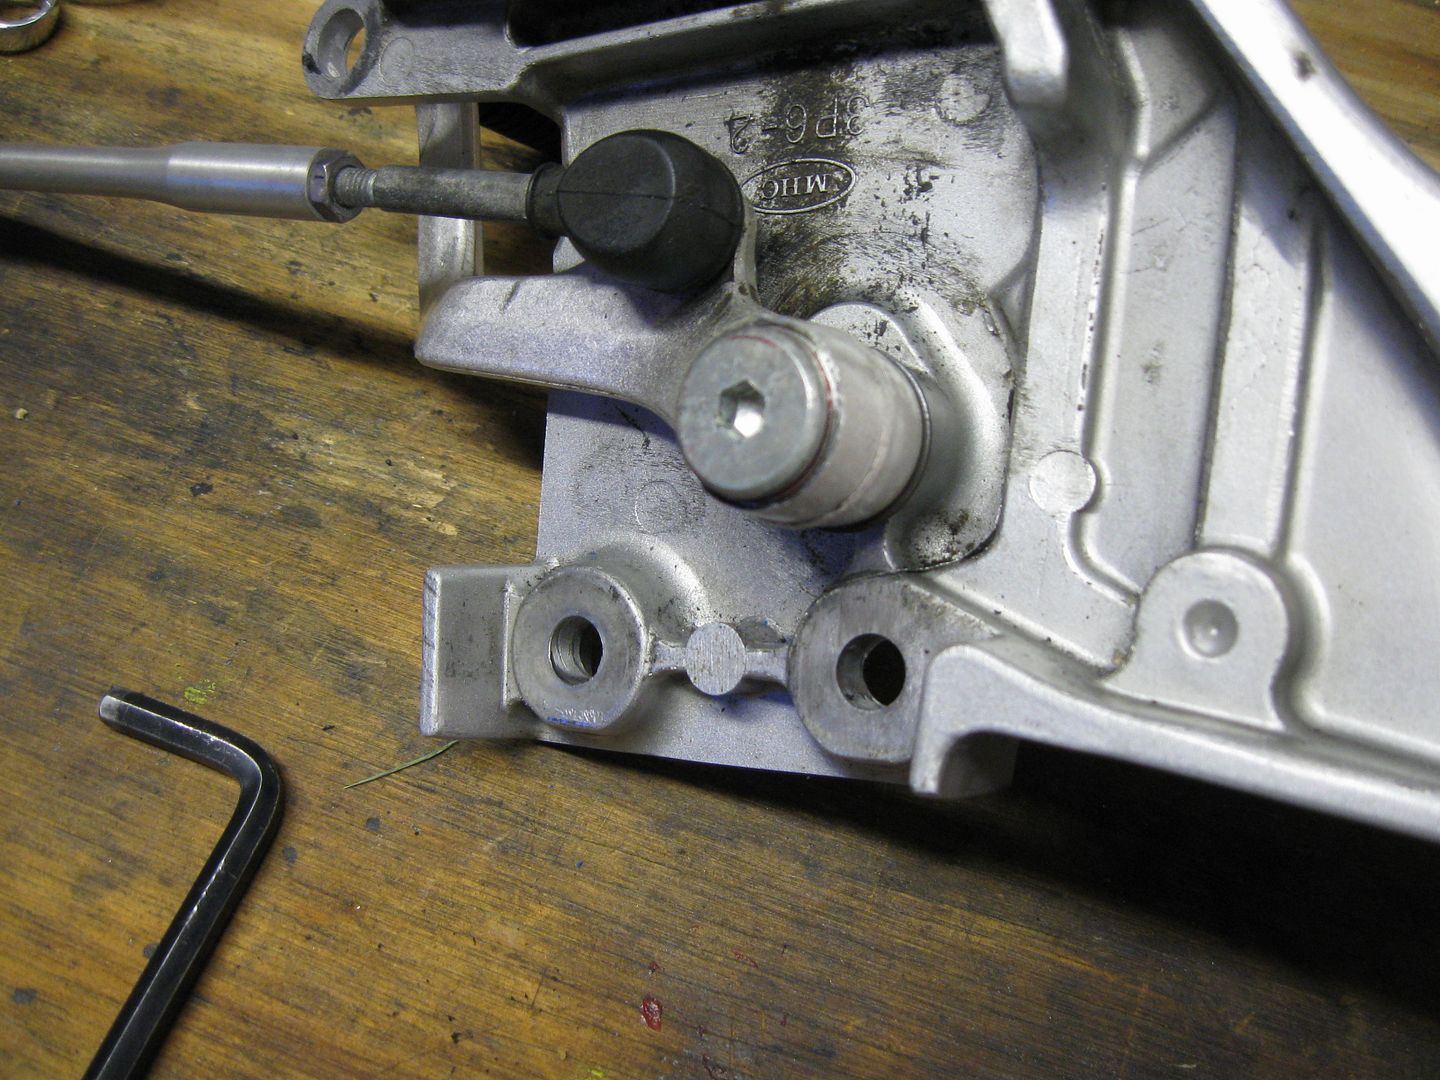
And put everyone back together as I found it. But just cleaner and well lubricated.

FJR015_2.jpg


She's ready for another 60+K miles of shifting goodness!

Continued...............

 
Make sure the bolt for the shifter pivot isn't too tight. If the little spring washer is compressed too much, you will be taking the shifter off again.

(Don't ask me how I know)

 
Last edited by a moderator:
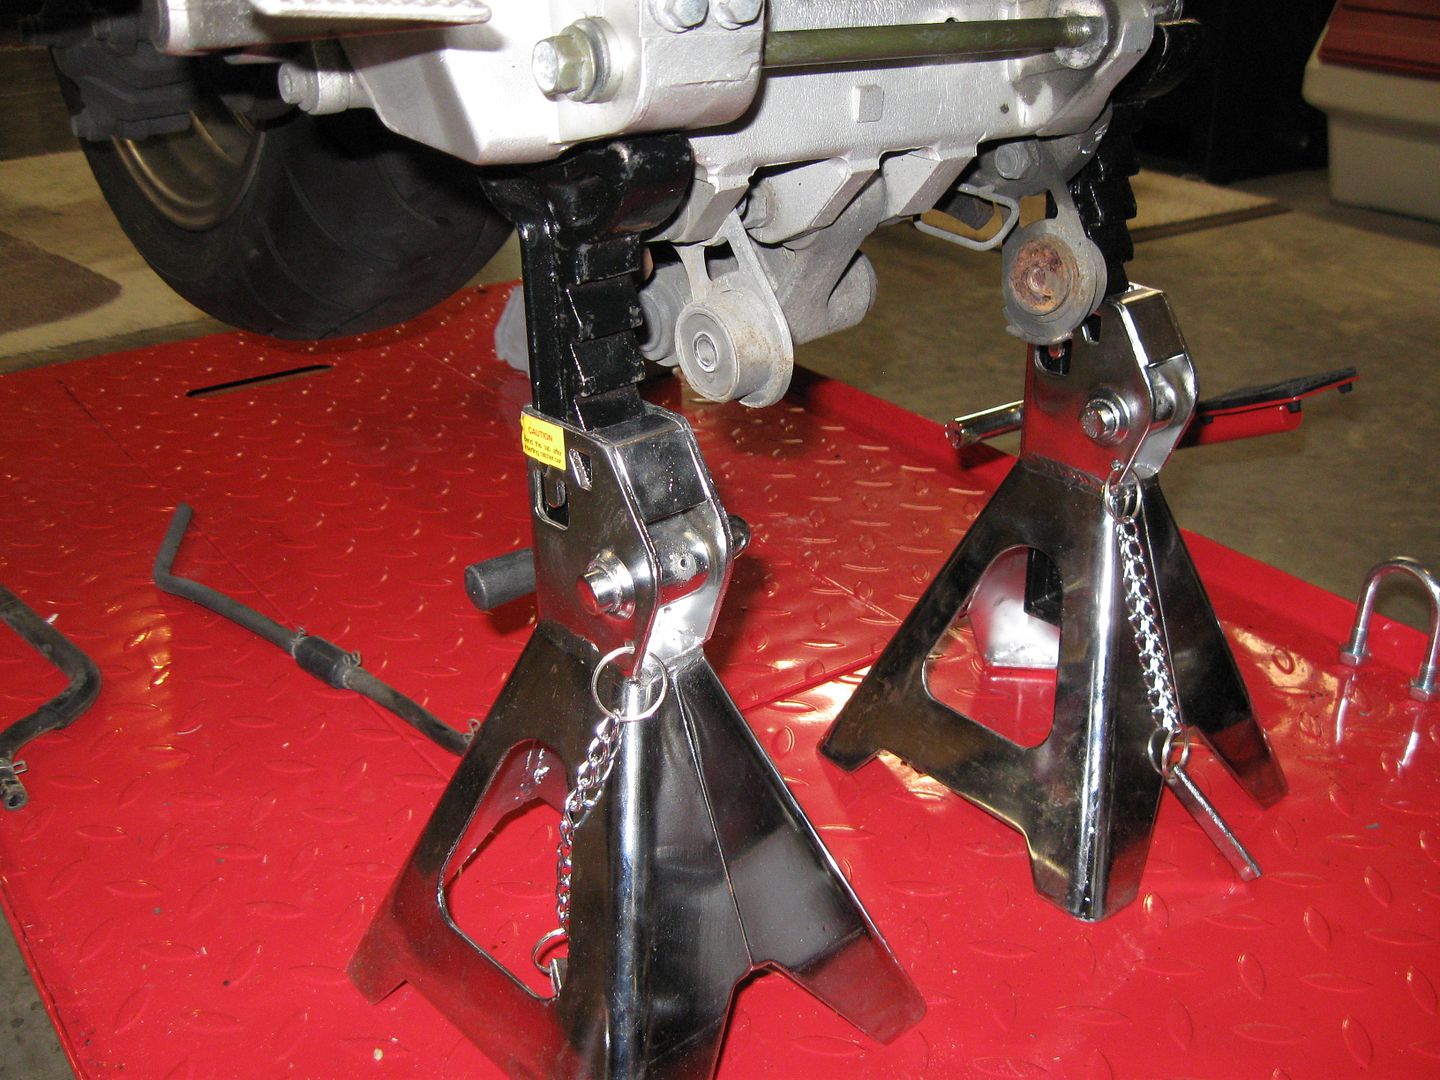
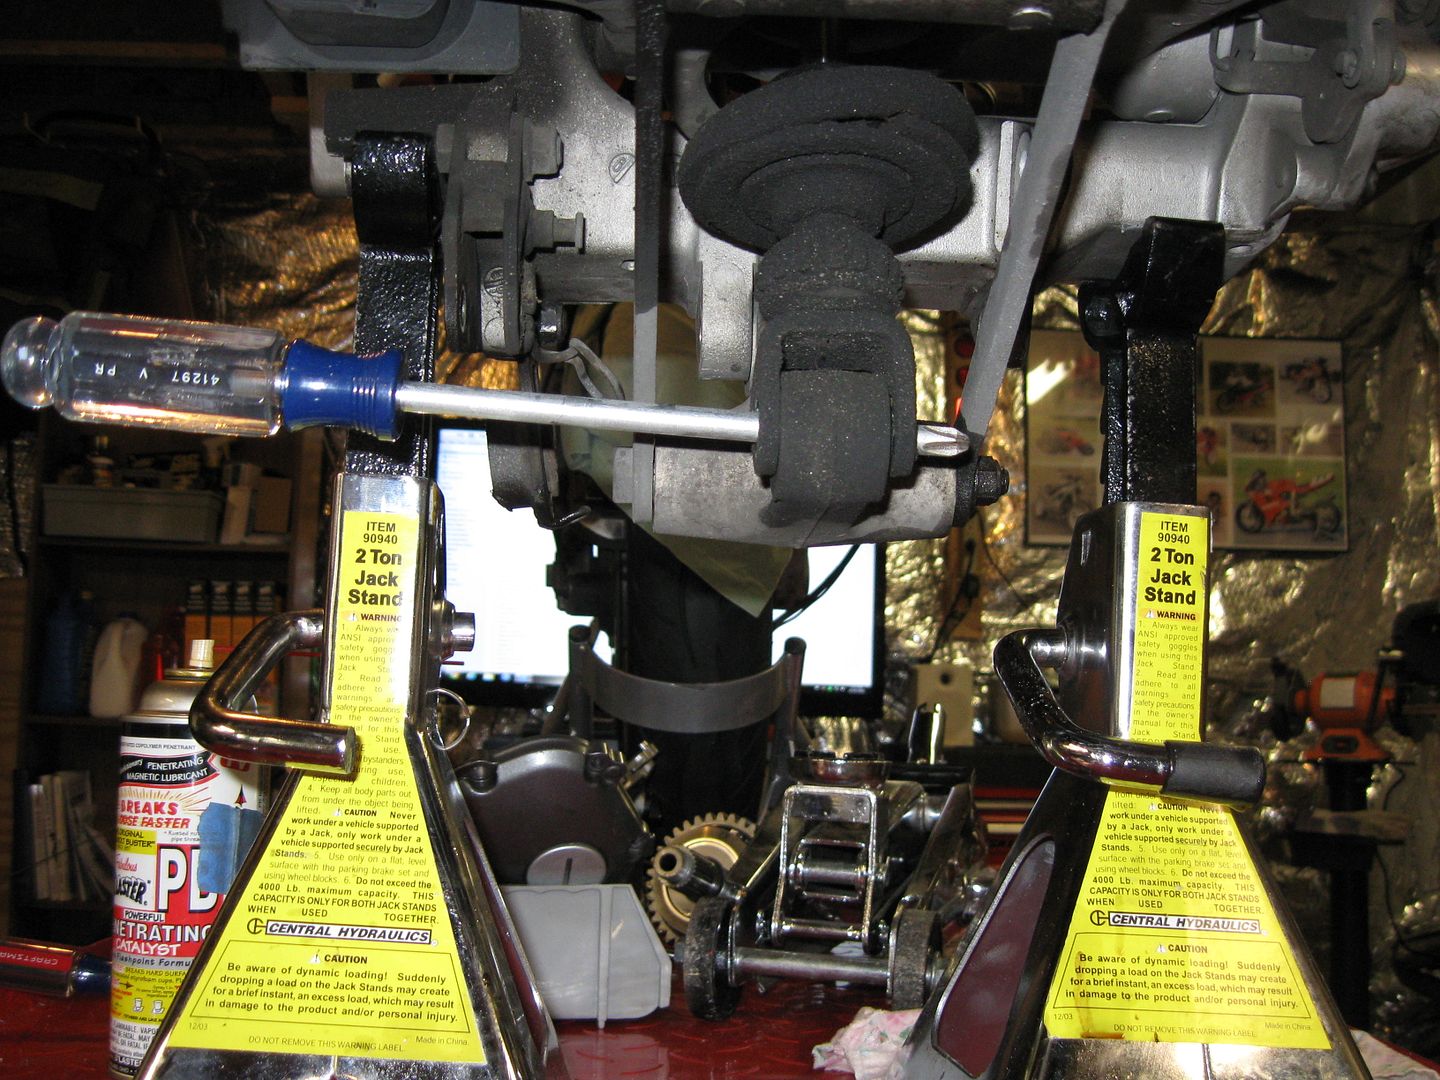
You may remember the bike-er-frame got put up on jack stands to help facilitate the removal of the centerstand and ultimately the swing arm linkage.

FJR029_2.jpg


Well, I said earlier, "he can be taught" and to be taught.... I need to learn... which means, puzzle time!

Look hard for a moment and it comes to you. It didn't me so, I had to move some things around and ...... well, take a look see!

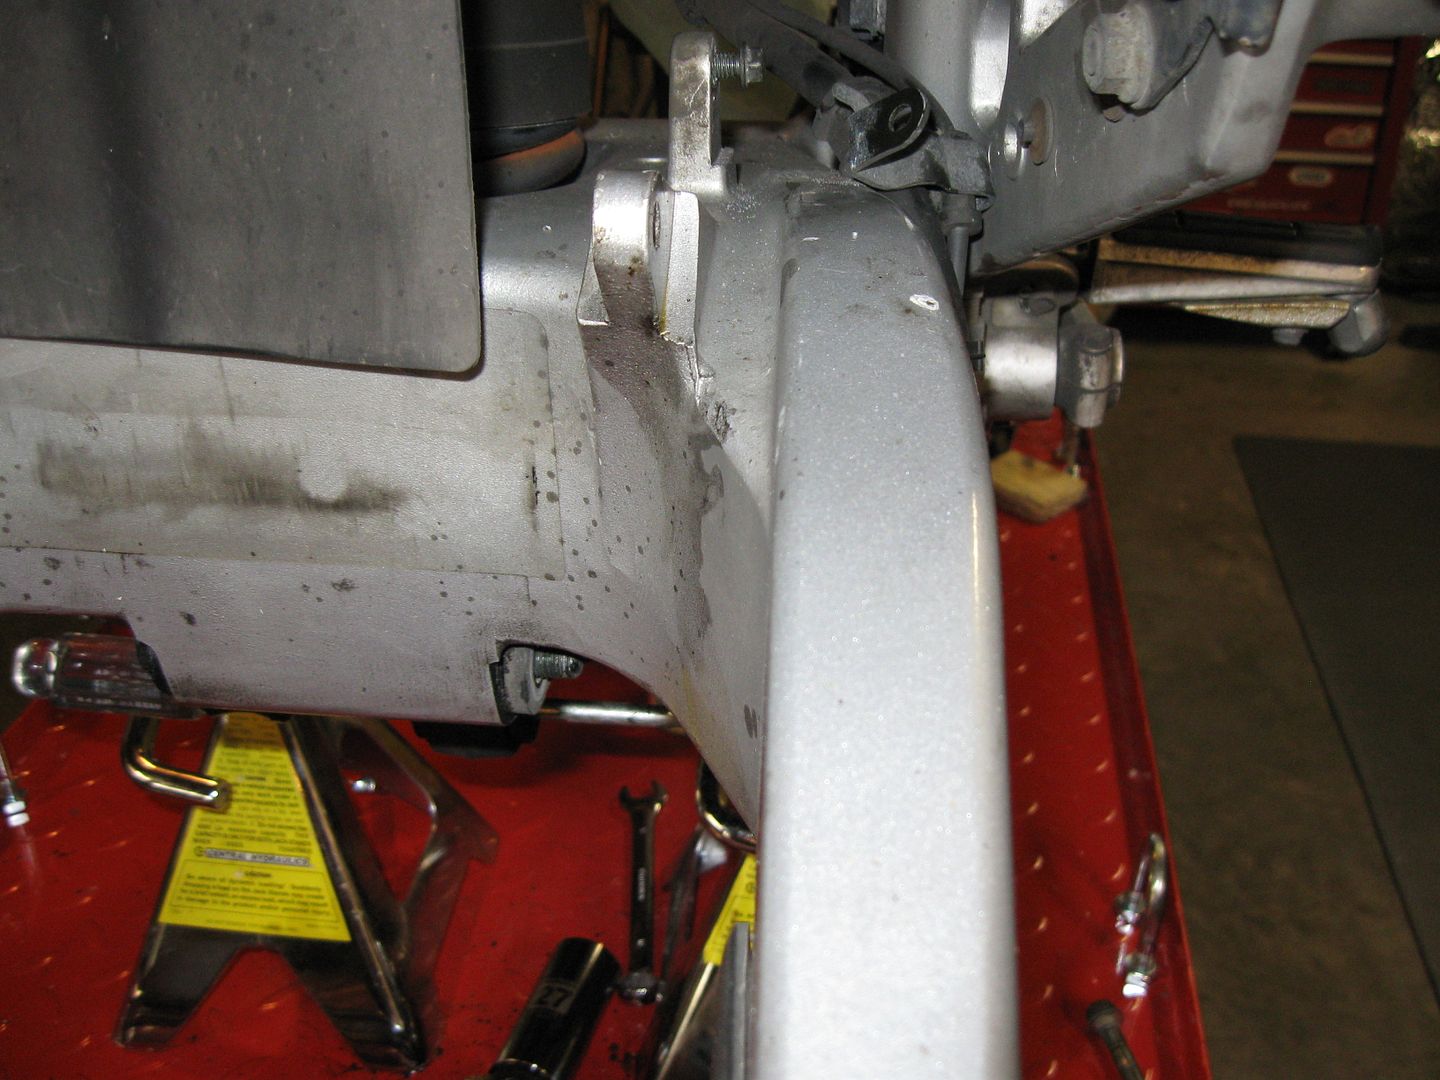
Here's a shot of the under side.

FJR031_2.jpg


Centerstand bracket....mmmmK. Bolts and stuff there.................

I need to remove that bolt and............... OH- - - - - K. I see the problem!
fool.gif


FJR035_2.jpg


I'll come back to that. In the mean time the centerstand was removed.

FJR049_2.jpg


Suspension Mod of the Month I must say! EVERYONE will be doing this soon I'm SURE!!
bike.gif


FJR054_2.jpg


Just a holder while I remove other bolts. As I said, it was puzzle to me.

What? Shop Manual? You mean the book on the bench behind me? OH THAT THING! Well, if I used that now.....I'd um...... well, I would get grease on it! Yeah! and if that happens it'll.... well, you know, it'll lower it's re-sale value - er -something like that!
crazy.gif


SHUT UP!
headbonk.gif
I hear ya'll giggling. (sigh)

So, the wheel had to come off.

FJR036_2.jpg


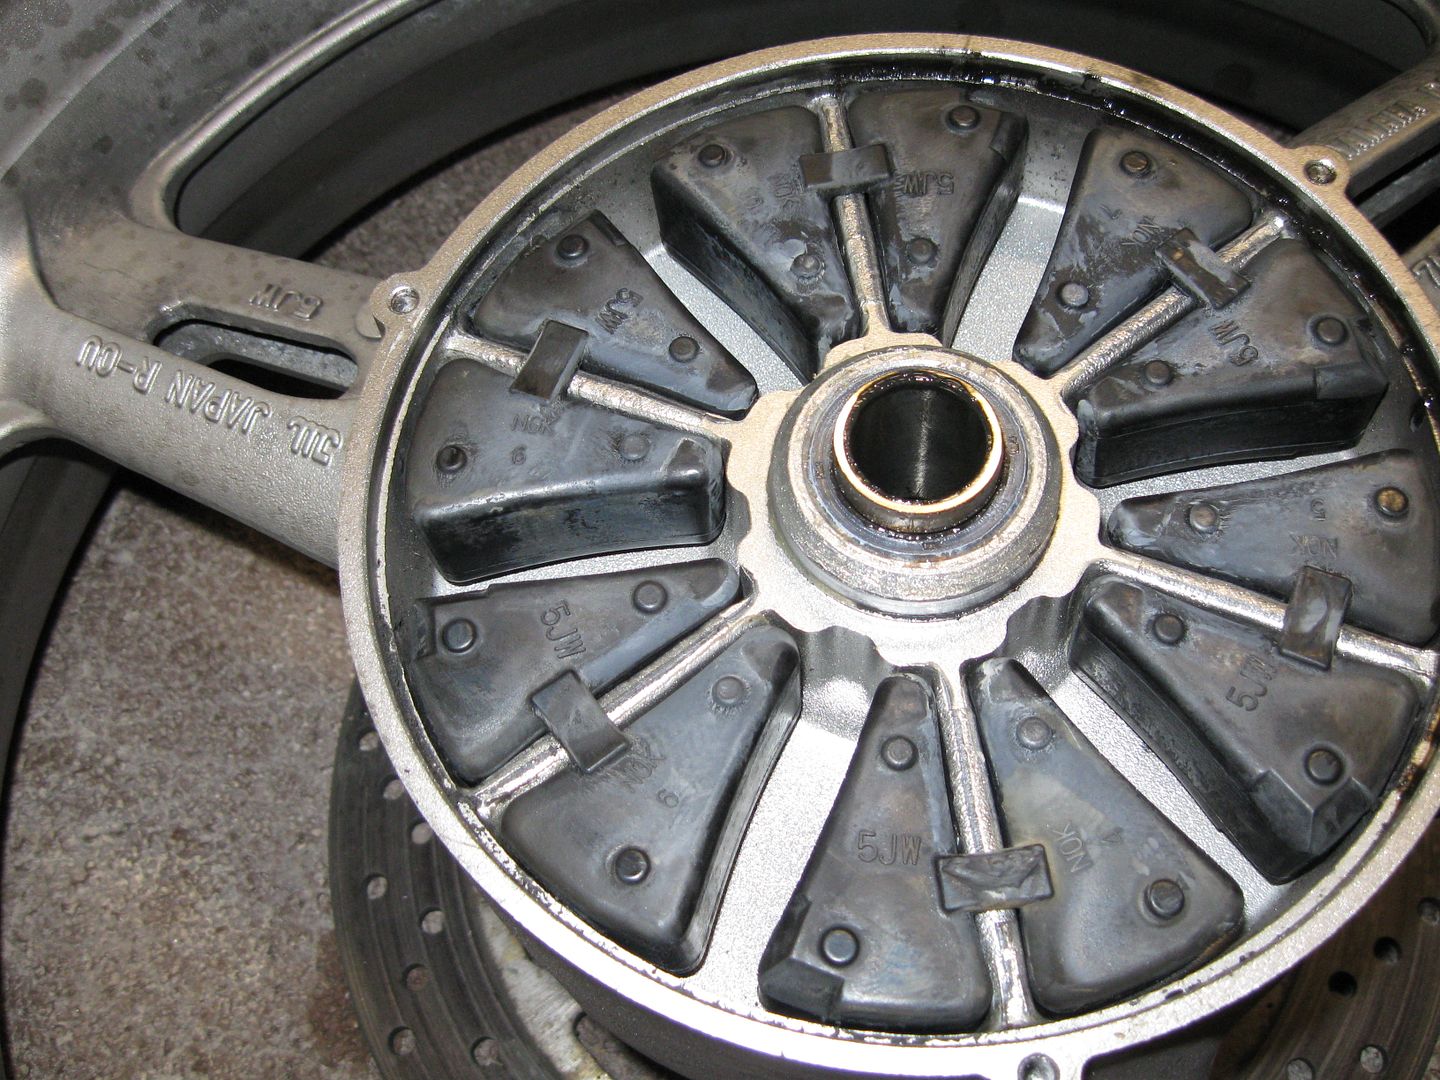
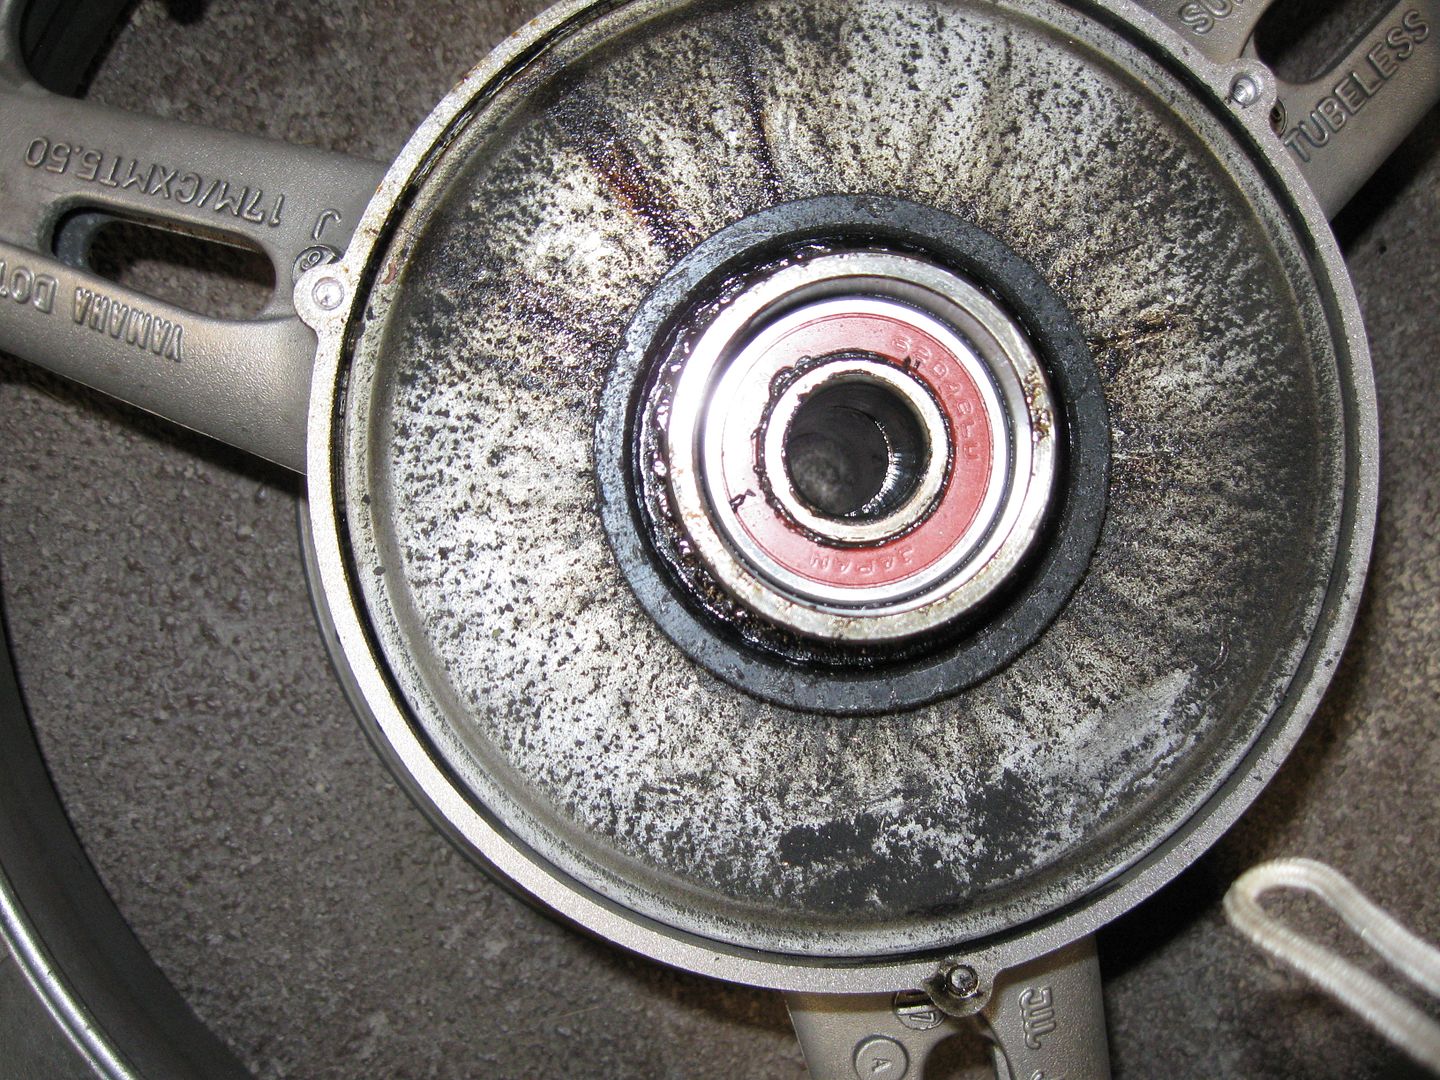
And I noticed in said earlier ignored book that there is something under those three little screws! What I call a cush drive or dampers. I wanted to see if they were in good shape.

FJR037_2.jpg


Cue Bane of my existence!!! The short of it? Well, take a look!

FJR041_2.jpg


What's wrong with this picture? Top right looks ok..... the other two? Not so much! Yep, Loc-Tite. (note: As the manual calls for) I tried to remove the screws and one moved a bit and I almost stripped it but..... NO! SNAP goes the head! The other was less forgiving. I attempted an impact screwdriver and .... BAM! Right off! I try not to swear.... but this is what the rear wheel got -
finger.gif
.

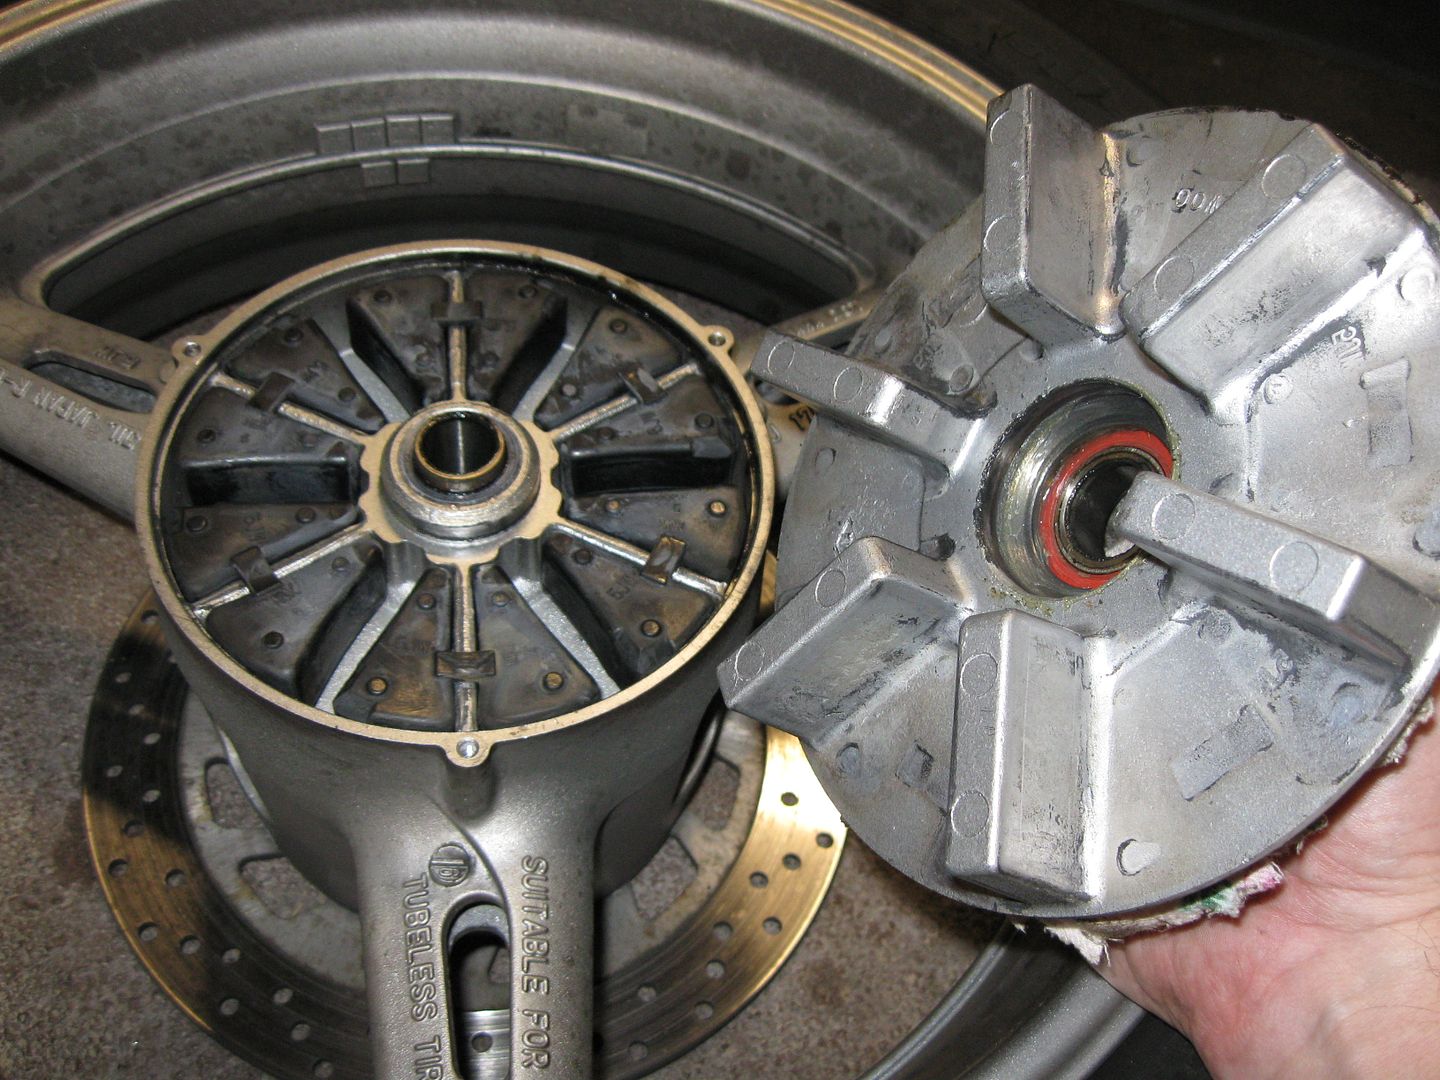
Ok, so a drill and tap is in my future. Film at 11.... in a few weeks most likely. Well, the ring is off, let's see what's inside!

FJR042_2.jpg


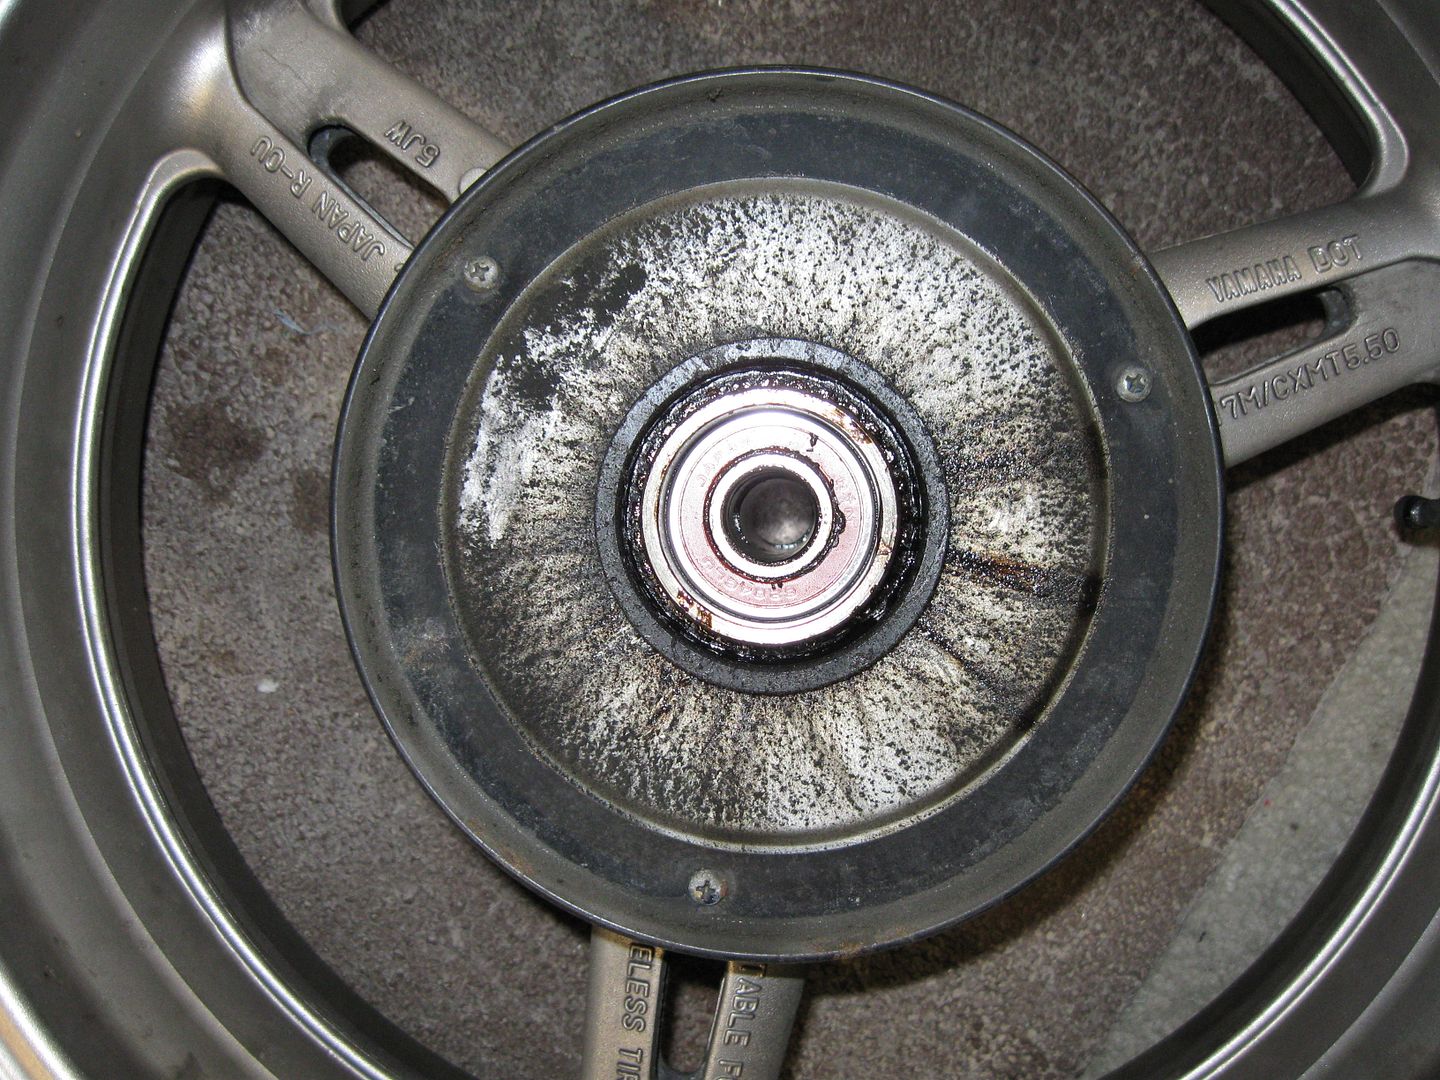
Dang near new looking to me! Here's what the "lid" part looks like:

FJR043_2.jpg


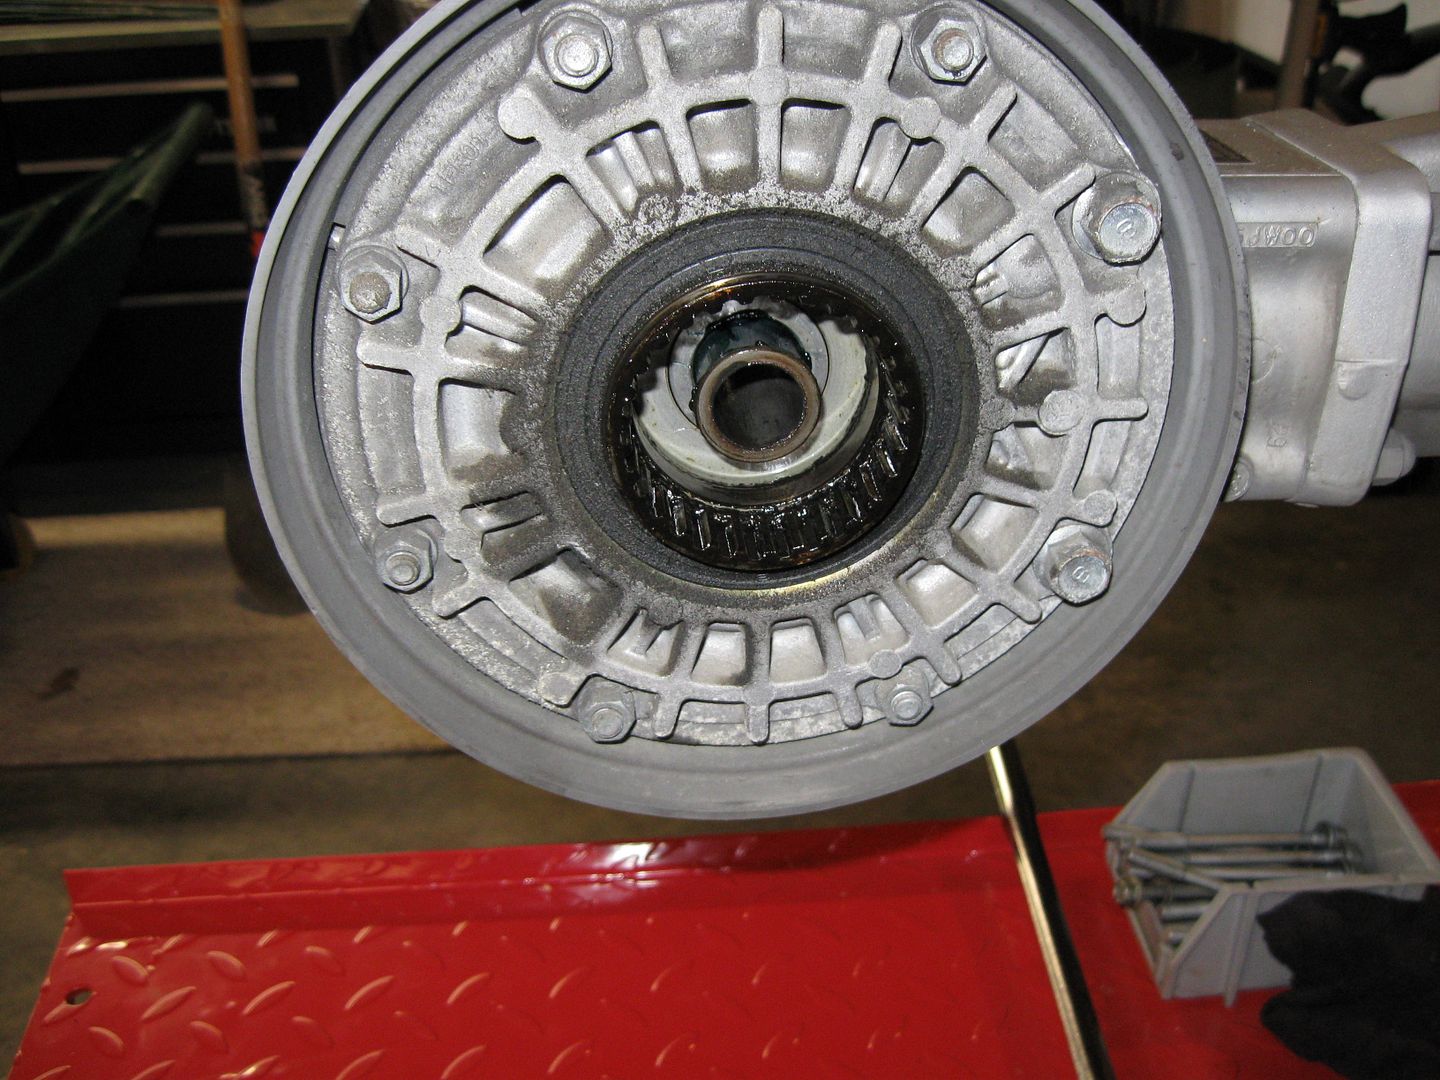
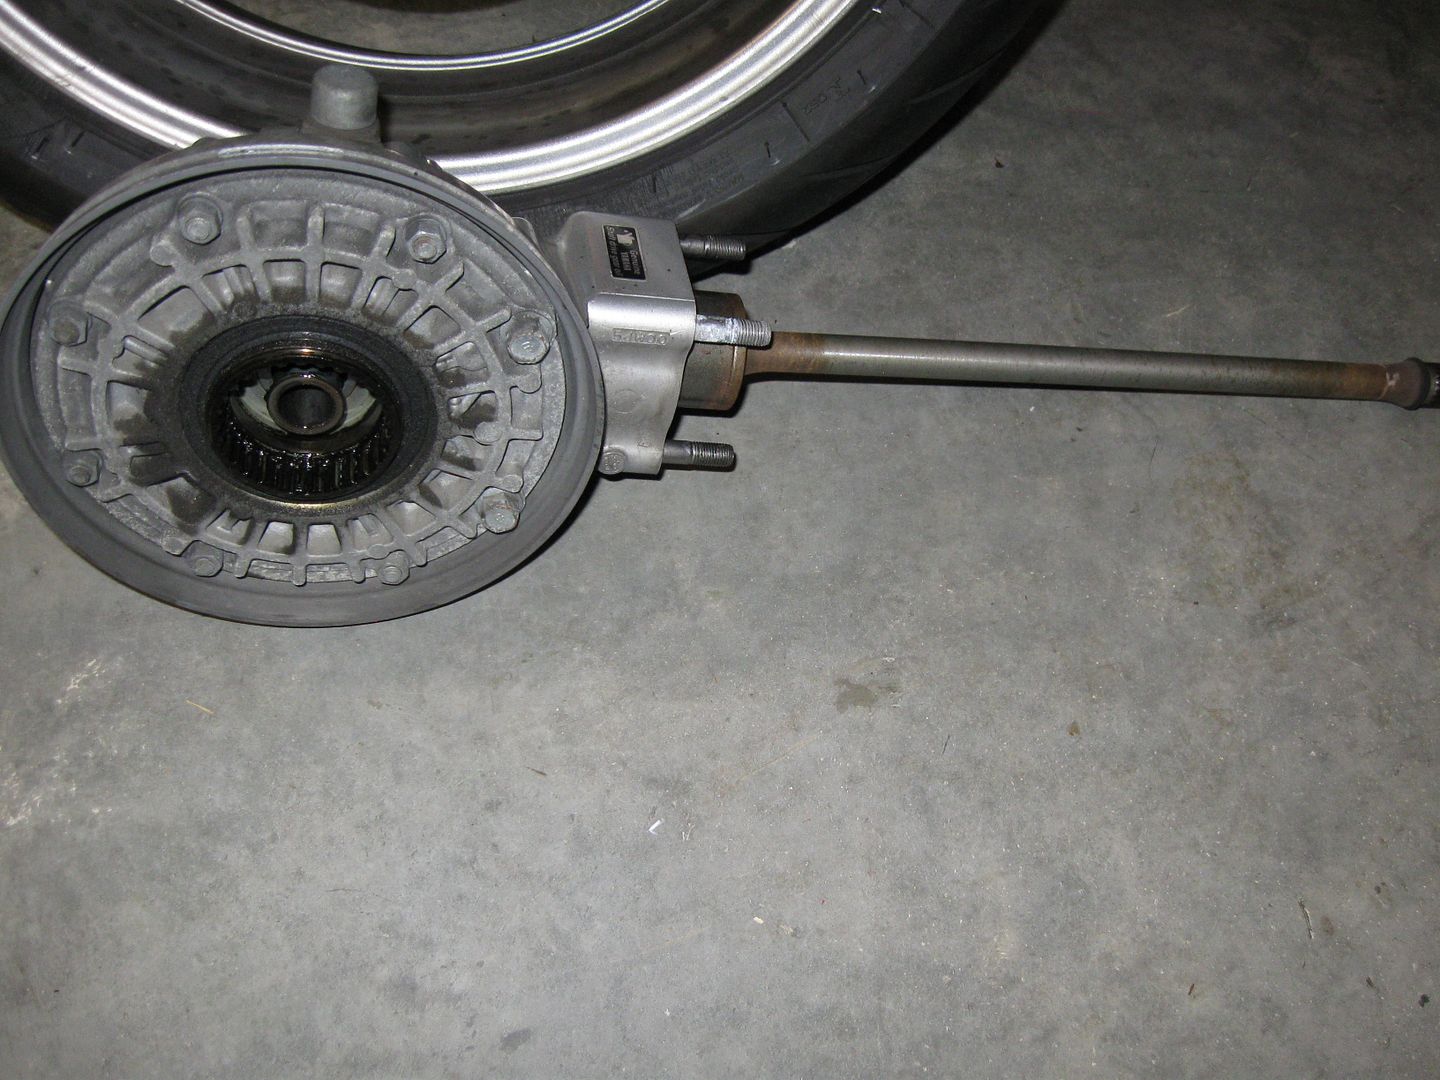
So the final drive piece comes off without any drama and I set that aside:

FJR048_2.jpg


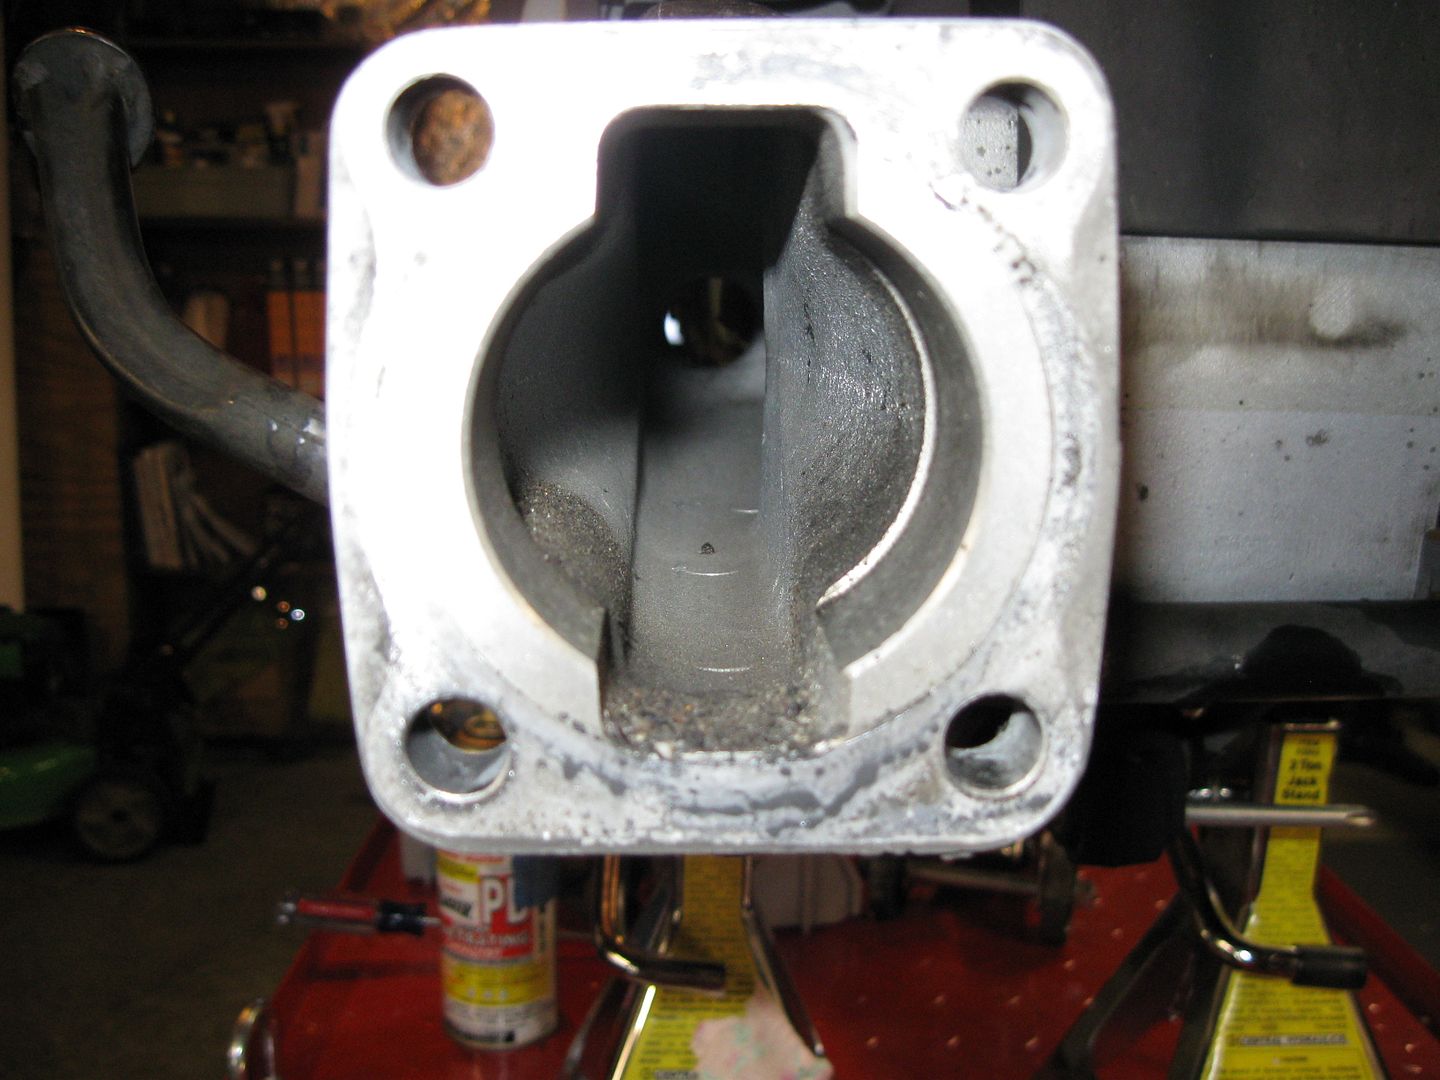
Take a stare down the business end of a shaft drive!

FJR047_2.jpg


Yeah, it did nothing for me too.
unknw.gif


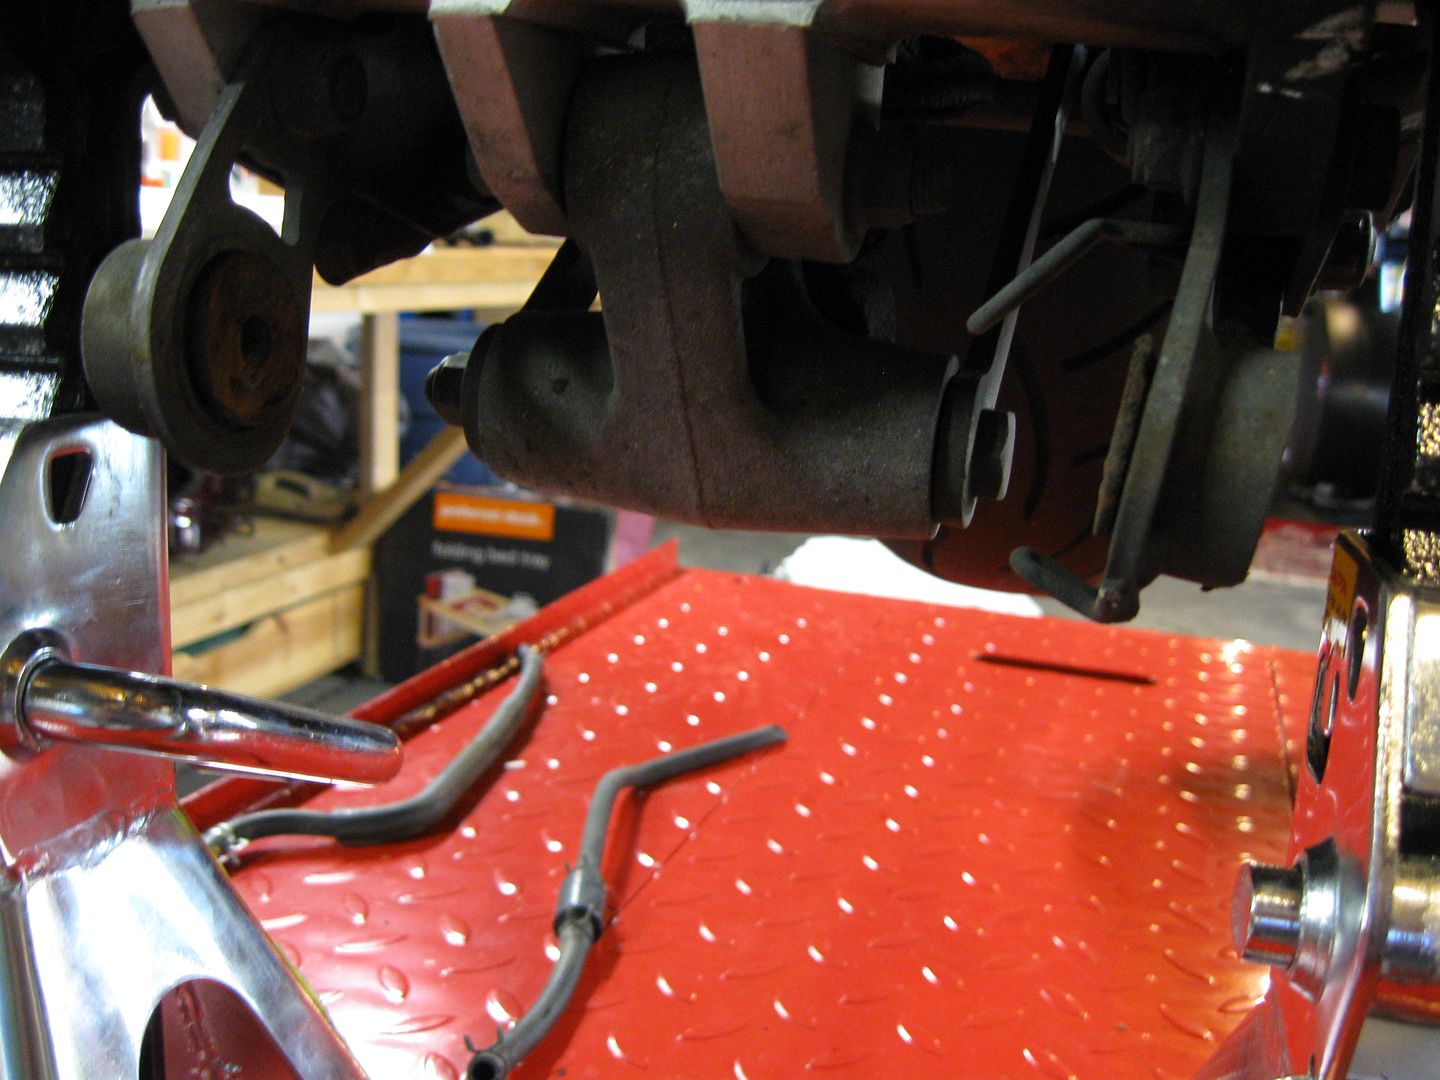
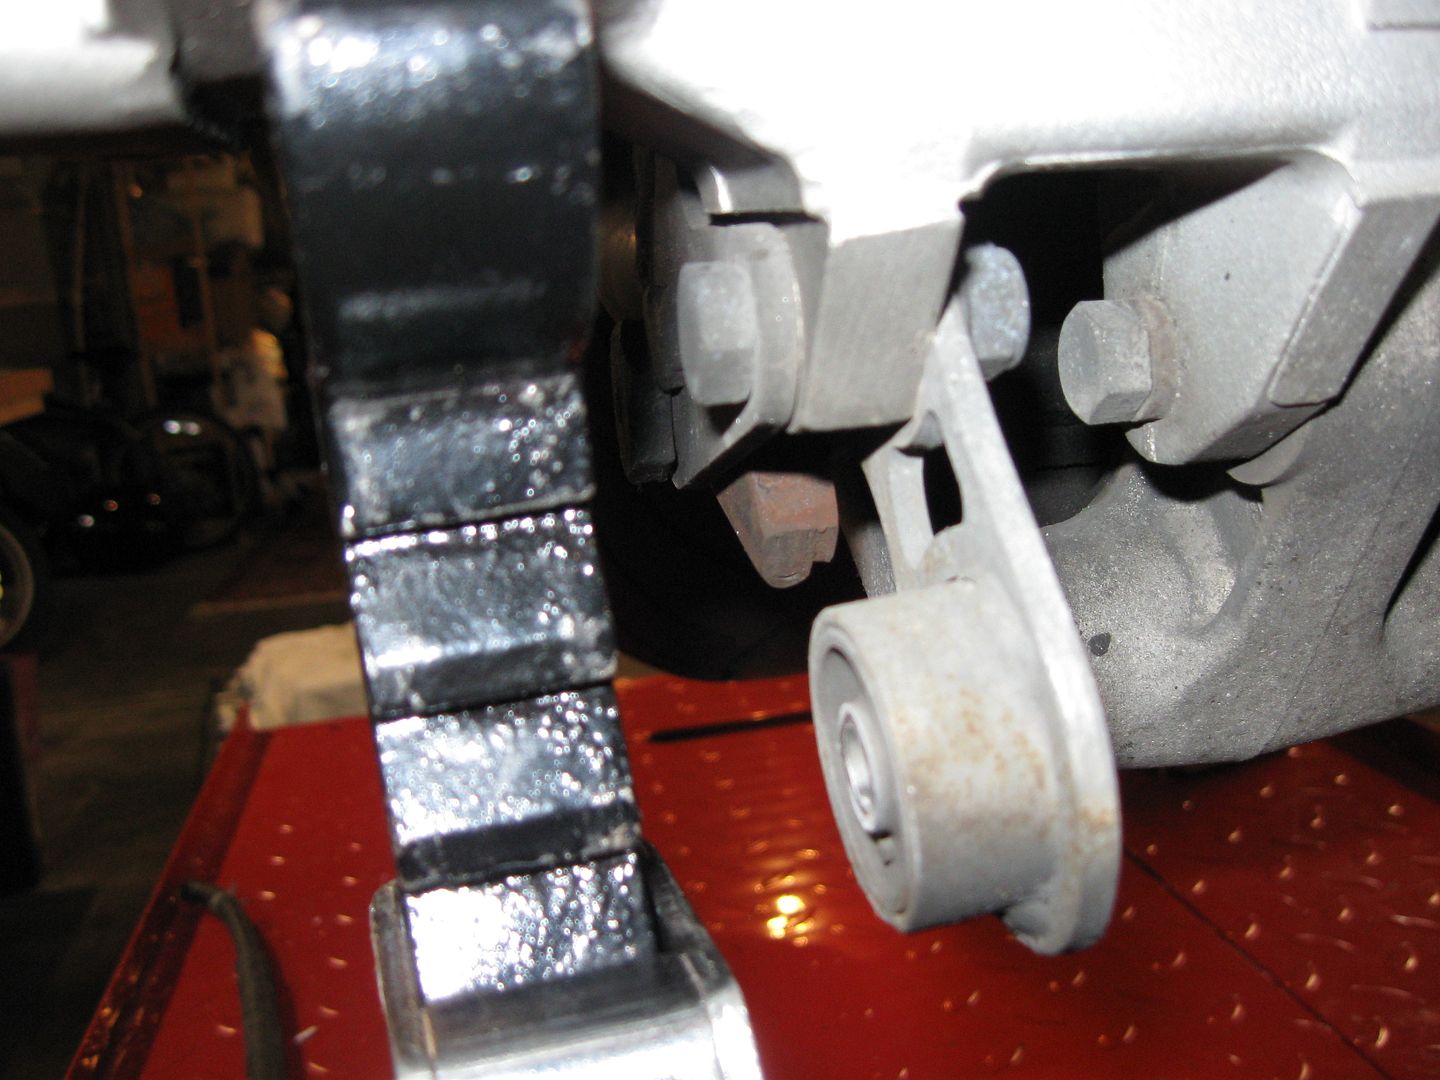
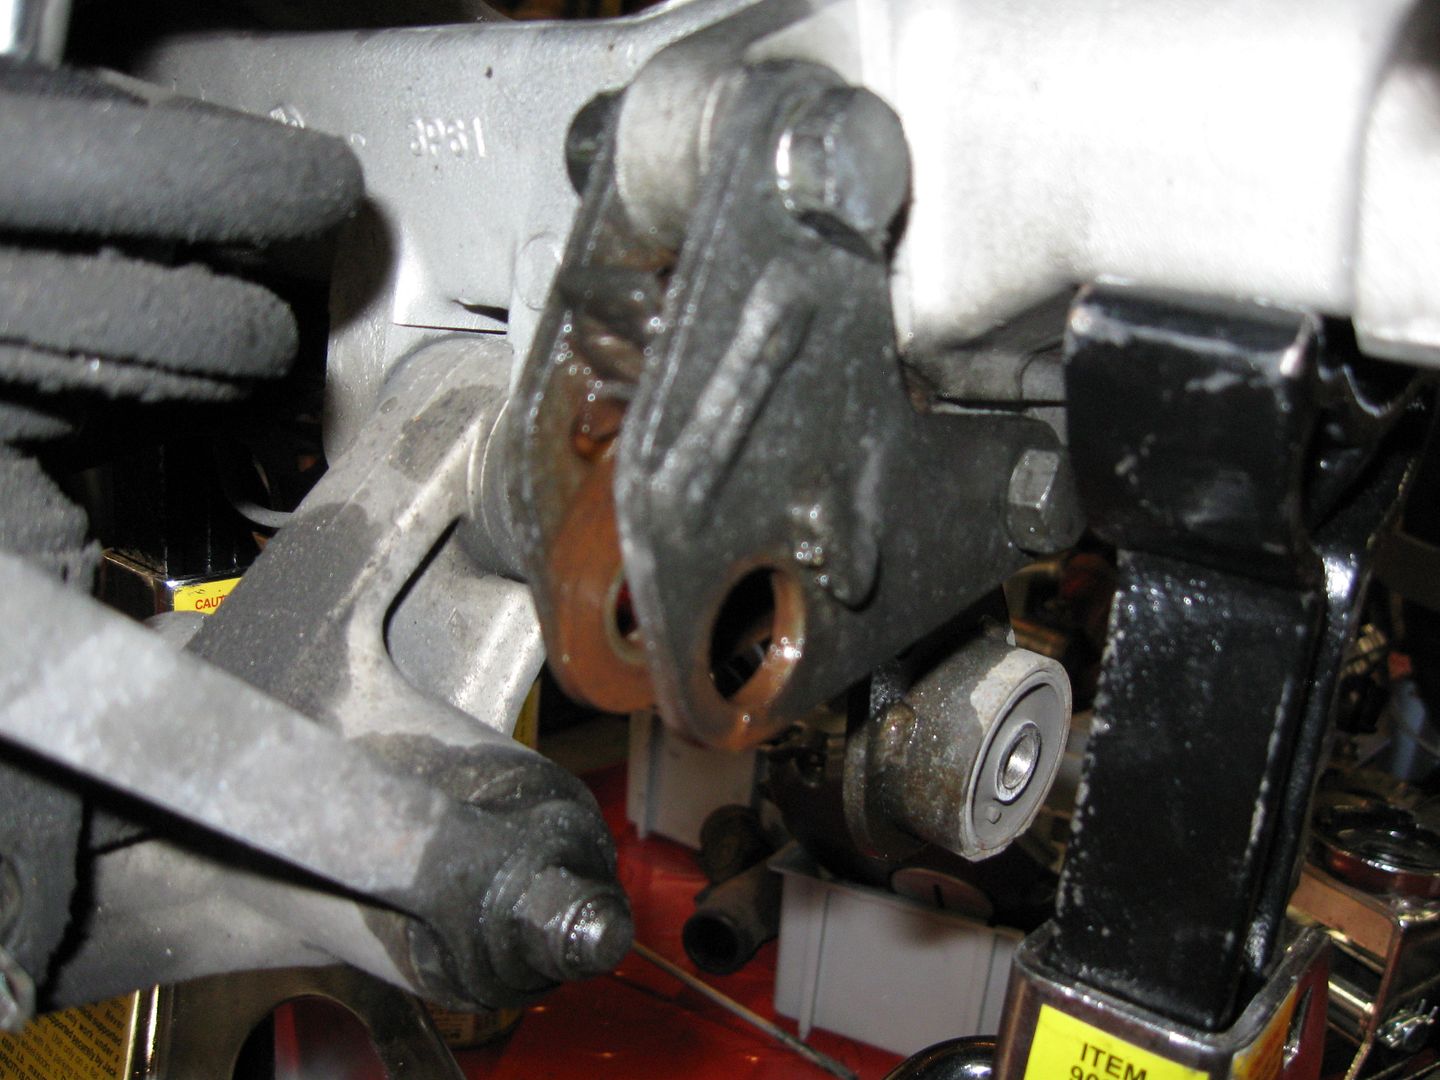
With the wheel off, I moved the brake and anti-lock brake lines/wires out of the way. I had to remove the bracket.

FJR055_2.jpg


That's about where I left it. There's a few more parts that got removed and I'll pickup there on my next post.

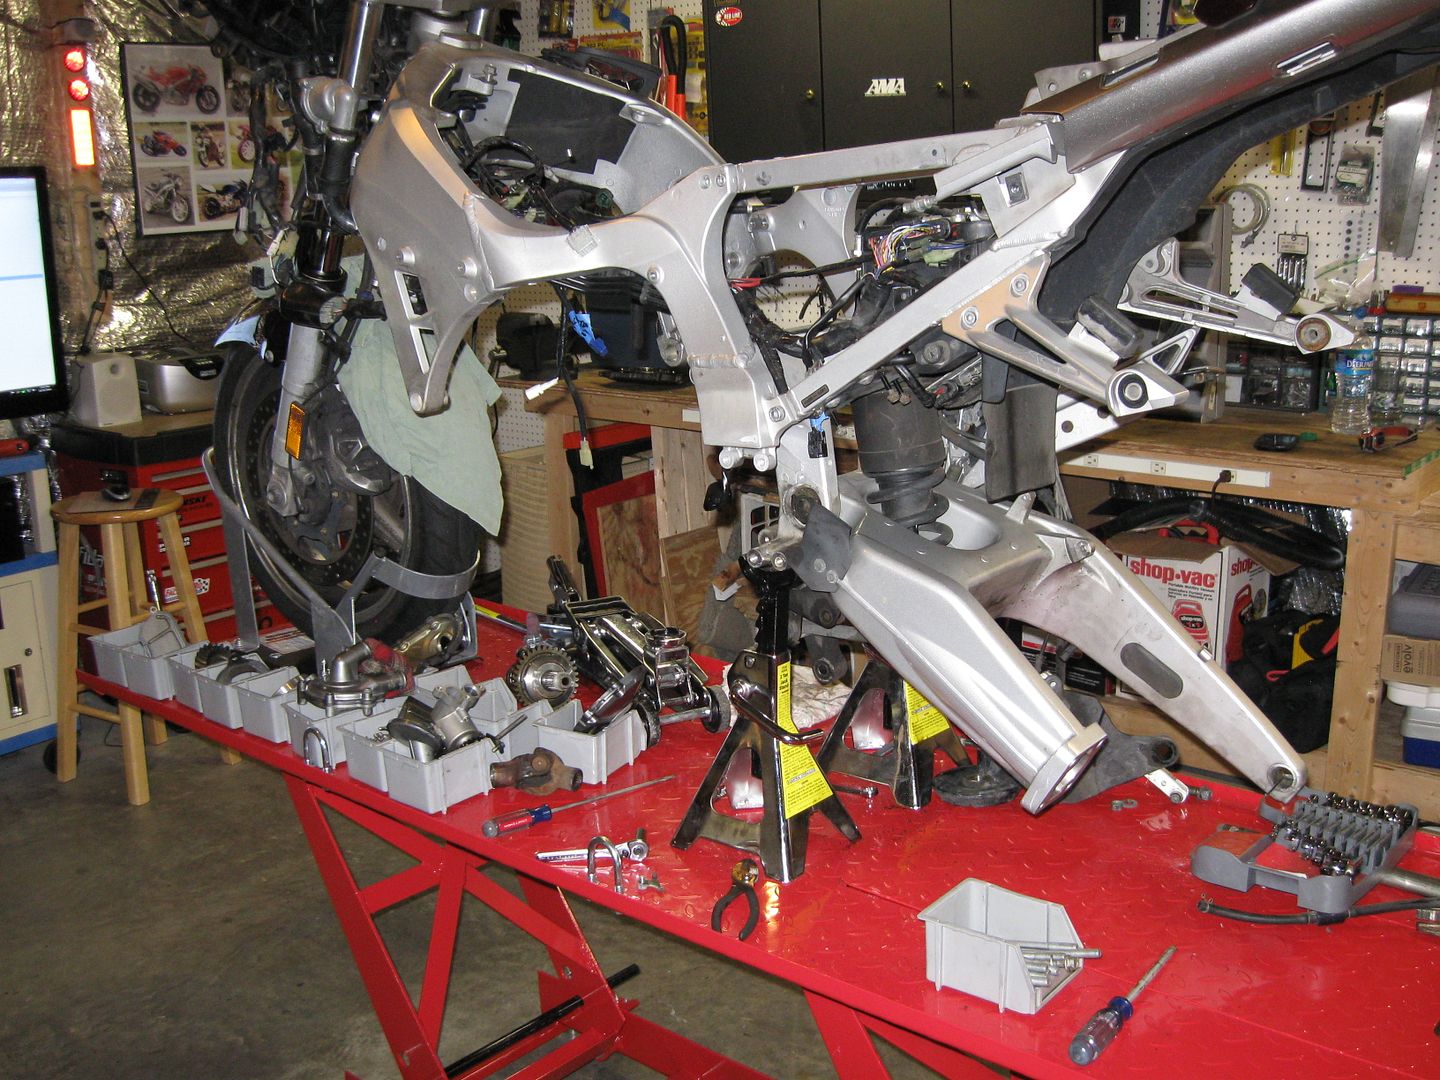
I took a look at the empty shell of what .paul spent about 5+ years and 60K miles riding, stood back and thought "What have I gotten myself in to?!"
uhhuh.gif


FJR074_2.jpg


It's a process. A labor of love. An education. And I'm REALLY looking forward to my first ride when it's all buttoned up!!

By the way, Doug did stop by Monday evening after he spent all day on the brakes of two cars and fighting Volvo Turbo oil leaks and surveyed what we have to do. He said of the engine "This will all go back together in about an hour or so."
nerd.gif


I don't doubt him, but I'm not going to time it either! I keep telling him, I want it done correctly! Not quickly!

Thanks for tuning in to another installment.

 
I was totally with you until you took the FD apart. I wanted to scream, "NOOOOOOOOO!!!" But it was too late anyway. Oh well, good stuff either way. Nice job, good pics, and great thread. Can't wait to see it running!
 
Last edited by a moderator:
Top