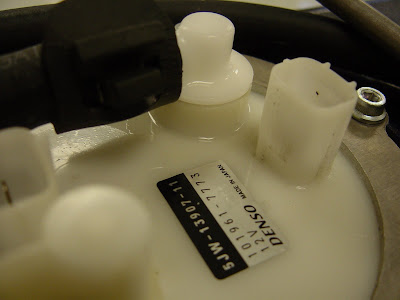
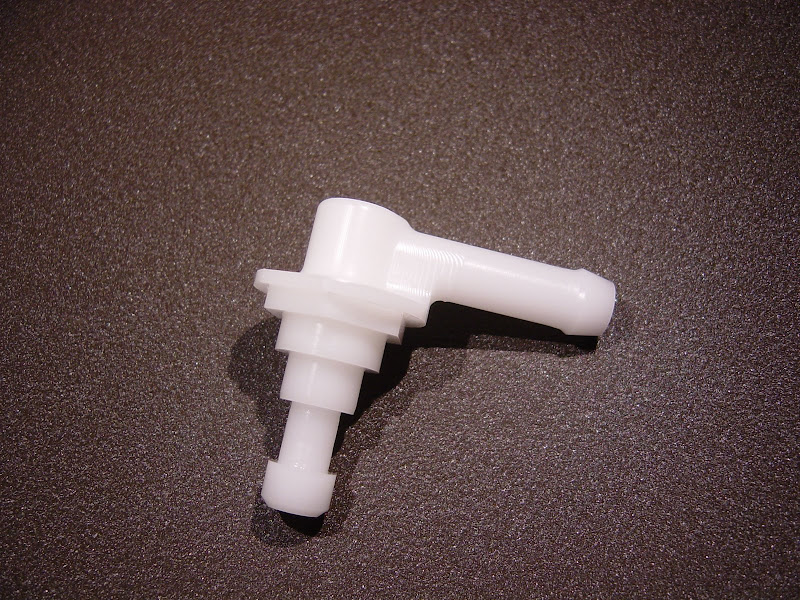
Installing a bulkhead fitting through the fuel pump

Yamaha FJR Motorcycle Forum

Help Support Yamaha FJR Motorcycle Forum:

This site may earn a commission from merchant affiliate links, including eBay, Amazon, and others.
So Joe when is your fuel pump modification kit going to come out? I will take one, thank you. :) Oh yeah I can also host a group buy for you. :lol: :lol:
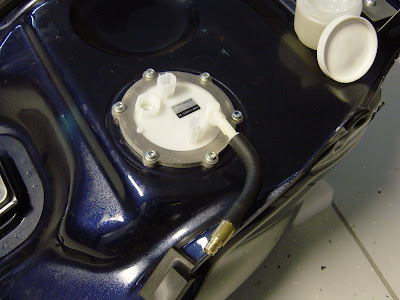
I don't think there are too many GenI fuel pump flanges to be had. I sorta lucked out (at madmike2's expense).

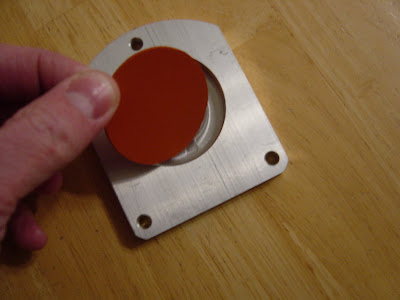
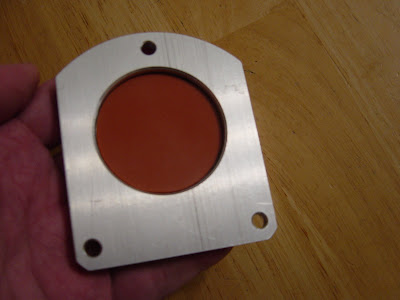
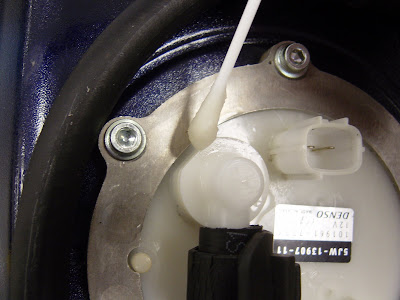
So, if someone else wants to do this it'll mean modifying the GenII fuel pump flange. It could be done, but it involves cutting a taper to a precise depth to free up those lock tab features.

Even though my fitting has no check valve to overcome, and even though the flow size is considerably larger than the GenI return fitting, it's too small for gravity feed.

Those are the cons.

On the other hand... (in my best Tevye impersonation)

I did make an extra one...

And this is what my backyard is looking like...
DSC04397.JPG


As Rod Blagojevich might say; "maybe we could work something out"

Let's see... someone in a year-round riding season, with a auxiliary fuel cell, a GenII FJR, an extra GenI fuel pump flange, a fuel pump from their auxiliary fuel cell...

:"call me" smiley:

What's the worst that could happen? :unsure:
O.K. ... O.K.

The pressure test is scheduled for Sunday. :rolleyes:

 
Last edited by a moderator:
Very nice work on that fitting. I want one! I'll worry about getting the pump flange later. I'm sure as the product line ages more will be available
 
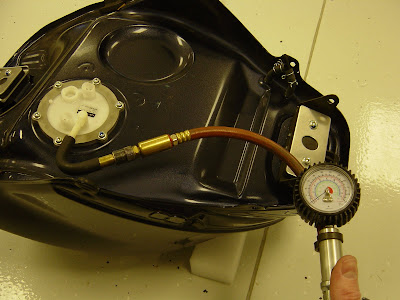
I pressure tested the fitting today.

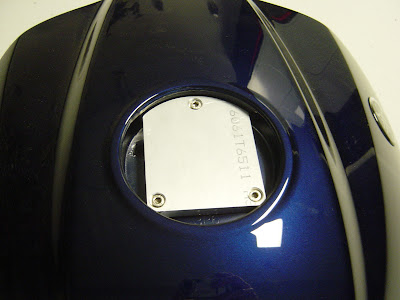
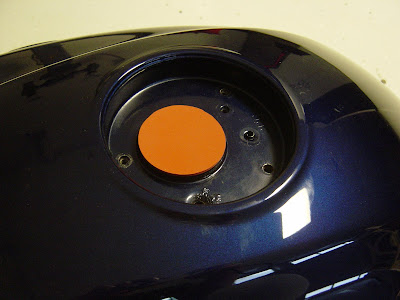
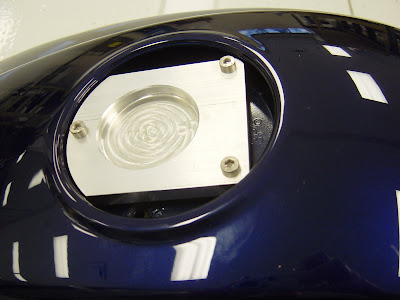
I had to make something to plug the filler neck and this is what I came up with:

DSC04400.JPG
[SIZE=36pt]..[/SIZE]
DSC04401.JPG


DSC04403.JPG


I figured I would start by testing the GenII fuel pump flange. That would tell me if the filler neck was sealed.

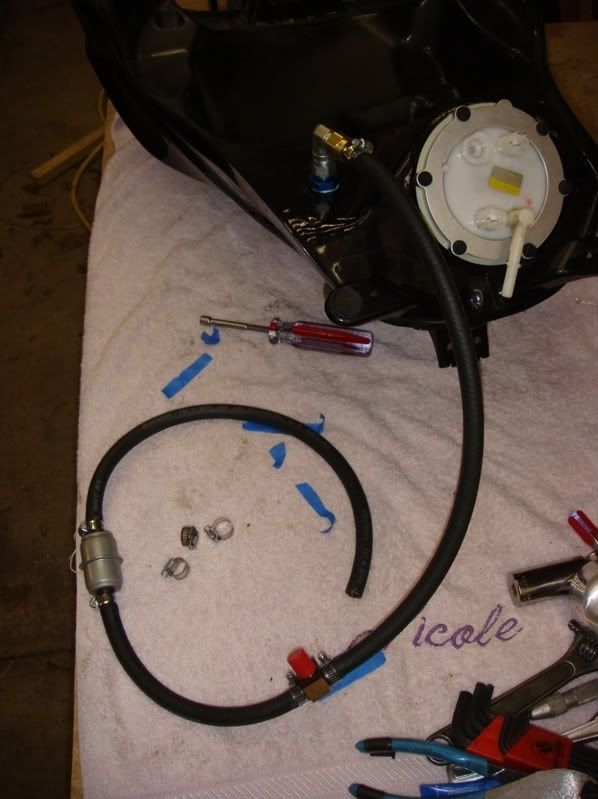
I made a fitting for the fuel line:

DSC04409.JPG


DSC04414.JPG


I pressurized the tank and imediately heard a hissing sound.

The filler neck was leaking. The walls of the pocket are tapered and the aluminum piece I made was binding. I didn't feel like clearancing the aluminum piece I made, so I just flipped it over and used some longer cap screws.

DSC04415.JPG
[SIZE=36pt]..[/SIZE]
DSC04417.JPG


I started pressurizing the tank and it started shifting on the floor. I flipped it over so I could see what was going on.

DSC04419.JPG


I learned two things right away. 1.) It only takes a few psi to deform an FJR tank 2.) My "leak down" tester wasn't going to work.

The gauge on my Harbor Frieght tire inflator has graduations starting at about 20psi, but the tank would be permanently damaged if I put that much pressure in it.

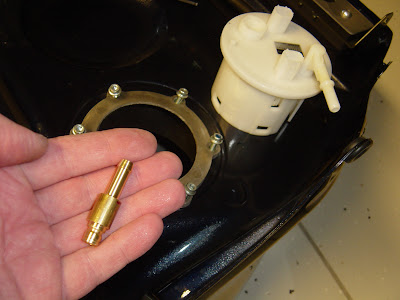
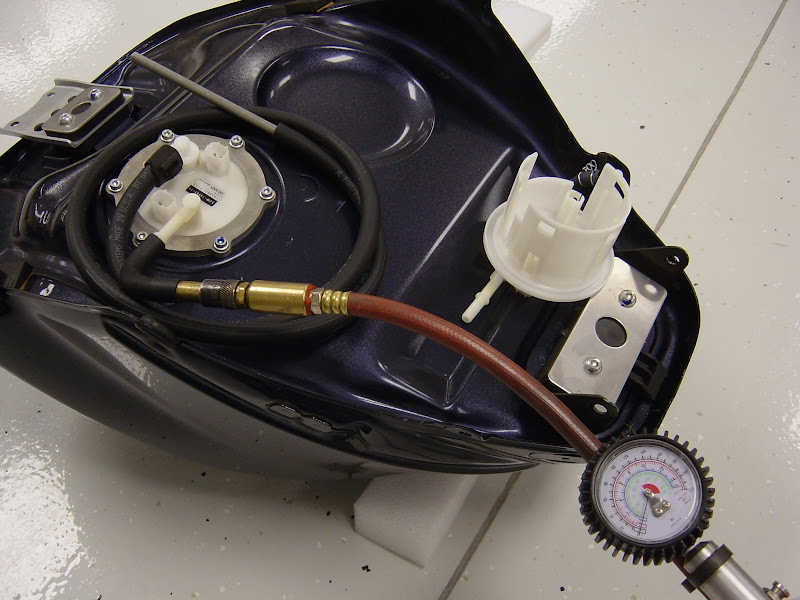
I installed the GenI flange with the new bulkhead fitting and pressurized the tank until the walls of the tank started to show the pressure.

DSC04420.JPG


I made a solution of soapy water and watched for bubbles.

DSC04423.JPG
[SIZE=36pt]..[/SIZE]
DSC04426.JPG


No bubbles! :yahoo:

Underwriters Laboratories probably wouldn't accept my test results, but what about Warchild Laboratories?

Not that I will ever make it to an IBR, but getting the nod that it would pass a tech inspection is important to me.

 
Oh well.. It'll be over soon. At least we'll see more hours of sunlight starting hext week.

Time to finish those two auxiliary tanks

 
I went to install the main tank today.

When I removed the pressurized fittings, I heard a very satisfying "Psshh".

It held pressure for almost five months!

Road test is tentatively scheduled for May 9.

Edit: I'll be riding before then, but the road test with the finished auxiliary tank is planned for May 9. ;)

 
Last edited by a moderator:
I went to install the main tank today.
When I removed the pressurized fittings, I heard a very satisfying "Psshh".

It held pressure for almost five months!

Road test is tentatively scheduled for May 9.

Edit: I'll be riding before then, but the road test with the finished auxiliary tank is planned for May 9. ;)
:yahoo:

 
I went to install the main tank today.
When I removed the pressurized fittings, I heard a very satisfying "Psshh".

It held pressure for almost five months!

Road test is tentatively scheduled for May 9.

Edit: I'll be riding before then, but the road test with the finished auxiliary tank is planned for May 9. ;)
Mandatory 6 month bump.

 
Question for the gurus: I guess if you wanted to get creative for a Gen I, you might run your return to a nipple on the aux. tank and then go ahead with what JTM has on the drawing board for your feed line from aux. tank to main tank. Any reason that wouldn't work (so long as the aux tank has a return nipple or (maybe) a Tee in the feed line)?
IIRC, the return line is pressurized.
It would have to be to get past the check valve and push against the head in the tank. But that would help the scenario, would it not? Don't think the tee would work if you wanted to transfer fuel while rolling due to the back pressure pumping from the Aux would create, but if you put the Aux in-line and had some control for the transfer back to the main tank, I don't see any reason why it would not work.

For those of you who yawn when you see a screen shot of a CAD model:
How can I get me one of these??? :D

 
For those of you who yawn when you see a screen shot of a CAD model:
How can I get me one of these??? :D
Thanks Jeff. I like that photo. It's right up there with photos of of my kids.

O.K. Here's the deal: I have one of these left. A GenI fuel pump flange is also required (which RadioHowie has generously donated).

The fitting is not intended to work with a gravity feed set-up. That means that an auxiliary fuel pump is going to be needed, with the accompanying wiring and switch.

Liability: Just because this fitting works perfectly for me does not mean that it will work for you. I don't want to have to hire a lawyer to protect my ***(ets), so the only way you're going to get your mits on one of these is if I know you and you seem like the kind of person who assumes responsibility for your own actions. Jeff, you qualify!

Cost: I figure this is worth more than any bulkhead fitting assembly offered, because it has the added benefit of being totally reversible if you choose to go back to the factory configuration. But, wait! There's more! You don't have to pay more! You can have this beautifully designed and crafted fitting for the same cost as those other guys are charging for their fittings even though their fittings require messy drillling into your beautiful tank!

O.K. I'll try to stop myself :rolleyes: I hope that was as much fun to read as it was to PUI.

Cost: How does sixty five US dollars (plus a promise not to sue me) plus shipping sound? I'm pretty sure that is less than one of the auxiliary tank manufacturers would charge.

If not, let me know. I don't want anyone to feel I'm taking advantage of them. (except for maybe the chick in the avatar with the compound bow) :blush2:

One last point: The CAD model was offered for free here: <Link>

Another last point (this one is just for Jeff): For some reason, I had trouble attaching the last CAD file. I haven't forgotten and you can expect it as soon as I figure out what the problem is.

 
Just a note on the amount of air pressure necessary to deform a tank.

A few pounds of air pressure is all you need or can use. More than 2 or 3psi would start to deform most tanks. The air pressure is working on every square inch on the inside of the tank and will start to make it spherical pretty quick.

Nice mod and nice photos thanks

 
How can I get me one of these??? :D
Thanks Jeff. I like that photo. It's right up there with photos of of my kids.
O.K. Here's the deal: I have one of these left. A GenI fuel pump flange is also required (which RadioHowie has generously donated).

The fitting is not intended to work with a gravity feed set-up. That means that an auxiliary fuel pump is going to be needed, with the accompanying wiring and switch.

Liability: Just because this fitting works perfectly for me does not mean that it will work for you. I don't want to have to hire a lawyer to protect my ***(ets), so the only way you're going to get your mits on one of these is if I know you and you seem like the kind of person who assumes responsibility for your own actions. Jeff, you qualify!

Cost: I figure this is worth more than any bulkhead fitting assembly offered, because it has the added benefit of being totally reversible if you choose to go back to the factory configuration. But, wait! There's more! You don't have to pay more! You can have this beautifully designed and crafted fitting for the same cost as those other guys are charging for their fittings even though their fittings require messy drillling into your beautiful tank!

O.K. I'll try to stop myself :rolleyes: I hope that was as much fun to read as it was to PUI.

Cost: How does sixty five US dollars (plus a promise not to sue me) plus shipping sound? I'm pretty sure that is less than one of the auxiliary tank manufacturers would charge.

If not, let me know. I don't want anyone to feel I'm taking advantage of them. (except for maybe the chick in the avatar with the compound bow) :blush2:

One last point: The CAD model was offered for free here: <Link>

Another last point (this one is just for Jeff): For some reason, I had trouble attaching the last CAD file. I haven't forgotten and you can expect it as soon as I figure out what the problem is.
What? No "Buy Now and receive a second set Free!" or "Only 5 Equal Payments!"??? :p

I have no idea what the 'other' fittings cost but I know that cost is waaaaay less then you have into it (labour wise) and will be waaaay cheaper to implement (labour wise) so that sounds like a bargain to me. I'll email you!

 
I was just looking at the underside of an '07 Triumph Tiger fuel tank on another forum... notice anything interesting here?

DSC04329.jpg


I was just looking at the underside of an '07 Triumph Tiger fuel tank on another forum... notice anything interesting here?

<img src="https://i6.photobucket.com/albums/y235/porteeab/Tiger1050/DSC04329.jpg" border="0" class="linked-image" />
Yeah. Nicole is probably pissed that her towel became part of the project. :lol: Someone ain't getting any for a while. Unless, of course, Nicole thinks a GREAT Valentine's Day gift is a new fuse block all mounted nicely in her motorcycle. Just guessing that someone who has her name embroidered on a towel isn't one of *those* girls. Of course, I guess those towels could have been a gift from her weird aunt and immediately became shop towels.

Sorry, I got side tracked.

Seriously, Joe, this is a very slick undertaking. I assume it's still working great for you. I prefer gravity and, well, I just don't think is really a viable option due to indefinitely back order on parts. Old fashioned tank drilling will be going on here soon.

 
Top