Homemade Steering Bearing Socket

Yamaha FJR Motorcycle Forum

Help Support Yamaha FJR Motorcycle Forum:

This site may earn a commission from merchant affiliate links, including eBay, Amazon, and others.

PhilJet09

Nondescript FJR Hierarchy Displayed
Joined
May 1, 2010
Messages
1,291
Reaction score
438
Location
Ohio, Toledo suburbs
Since I don't think I'll ever get one of the really nice ones made by Just Roy (anybody know if he's okay?) I decided to make my own.

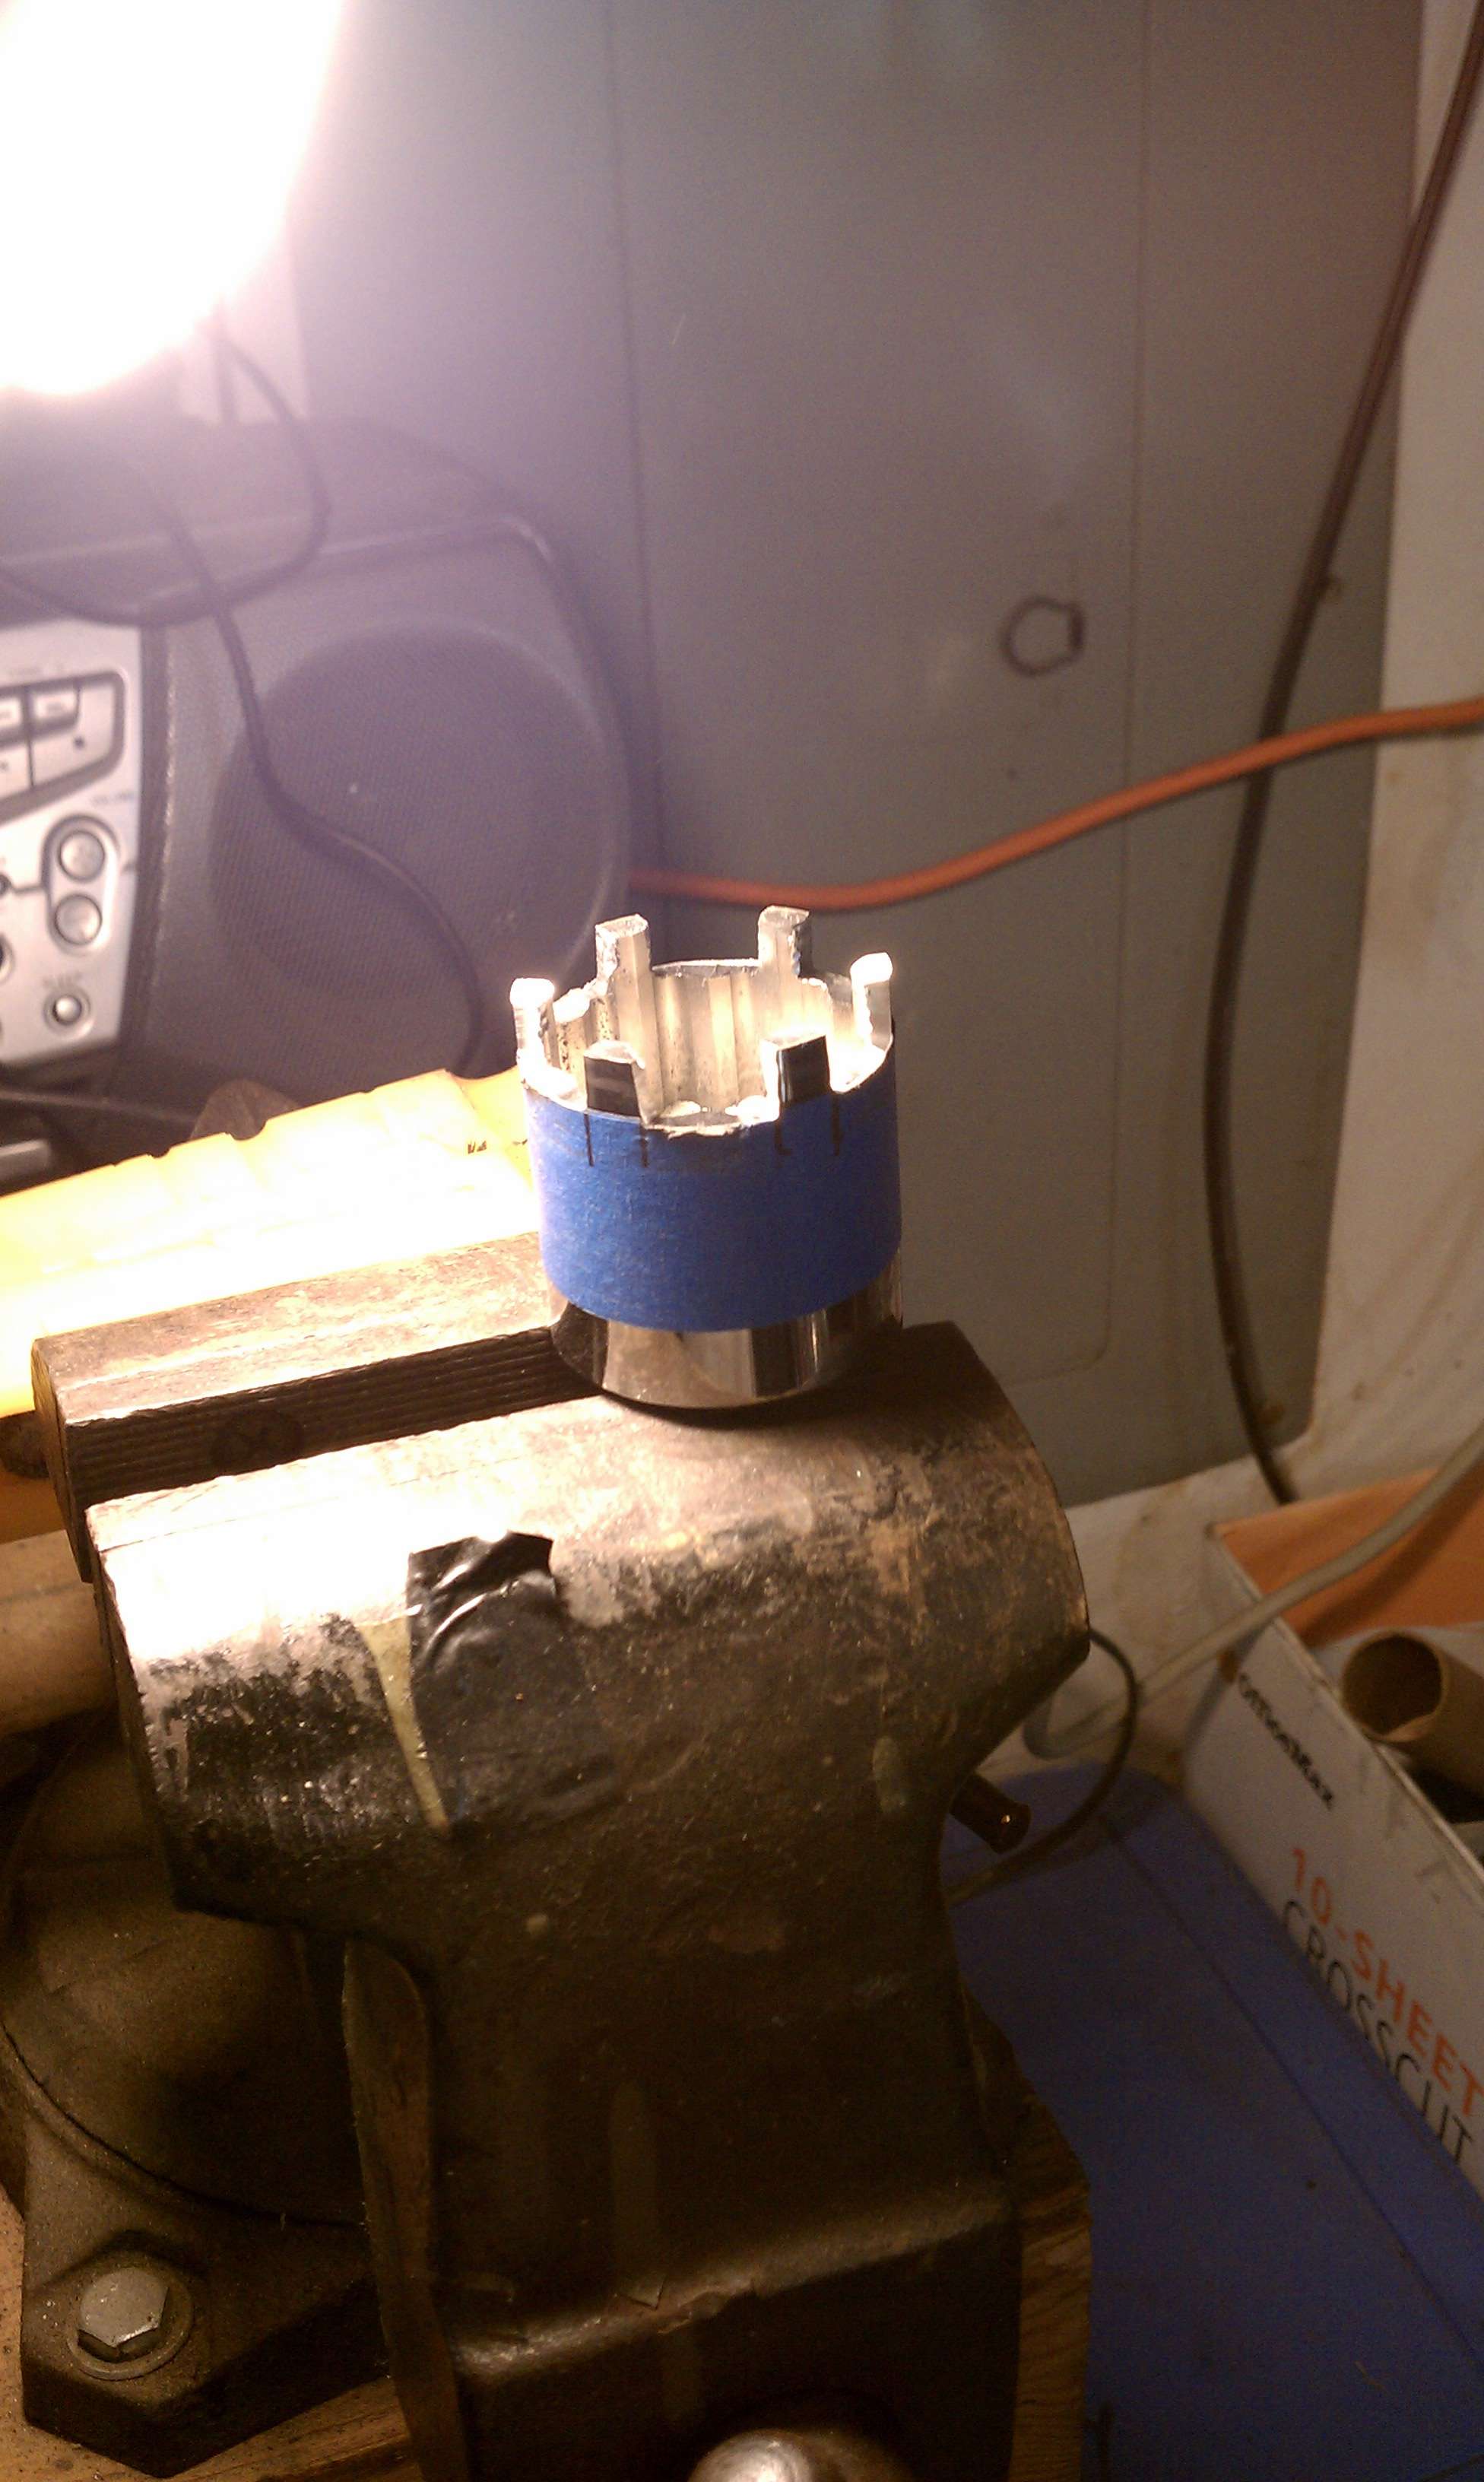
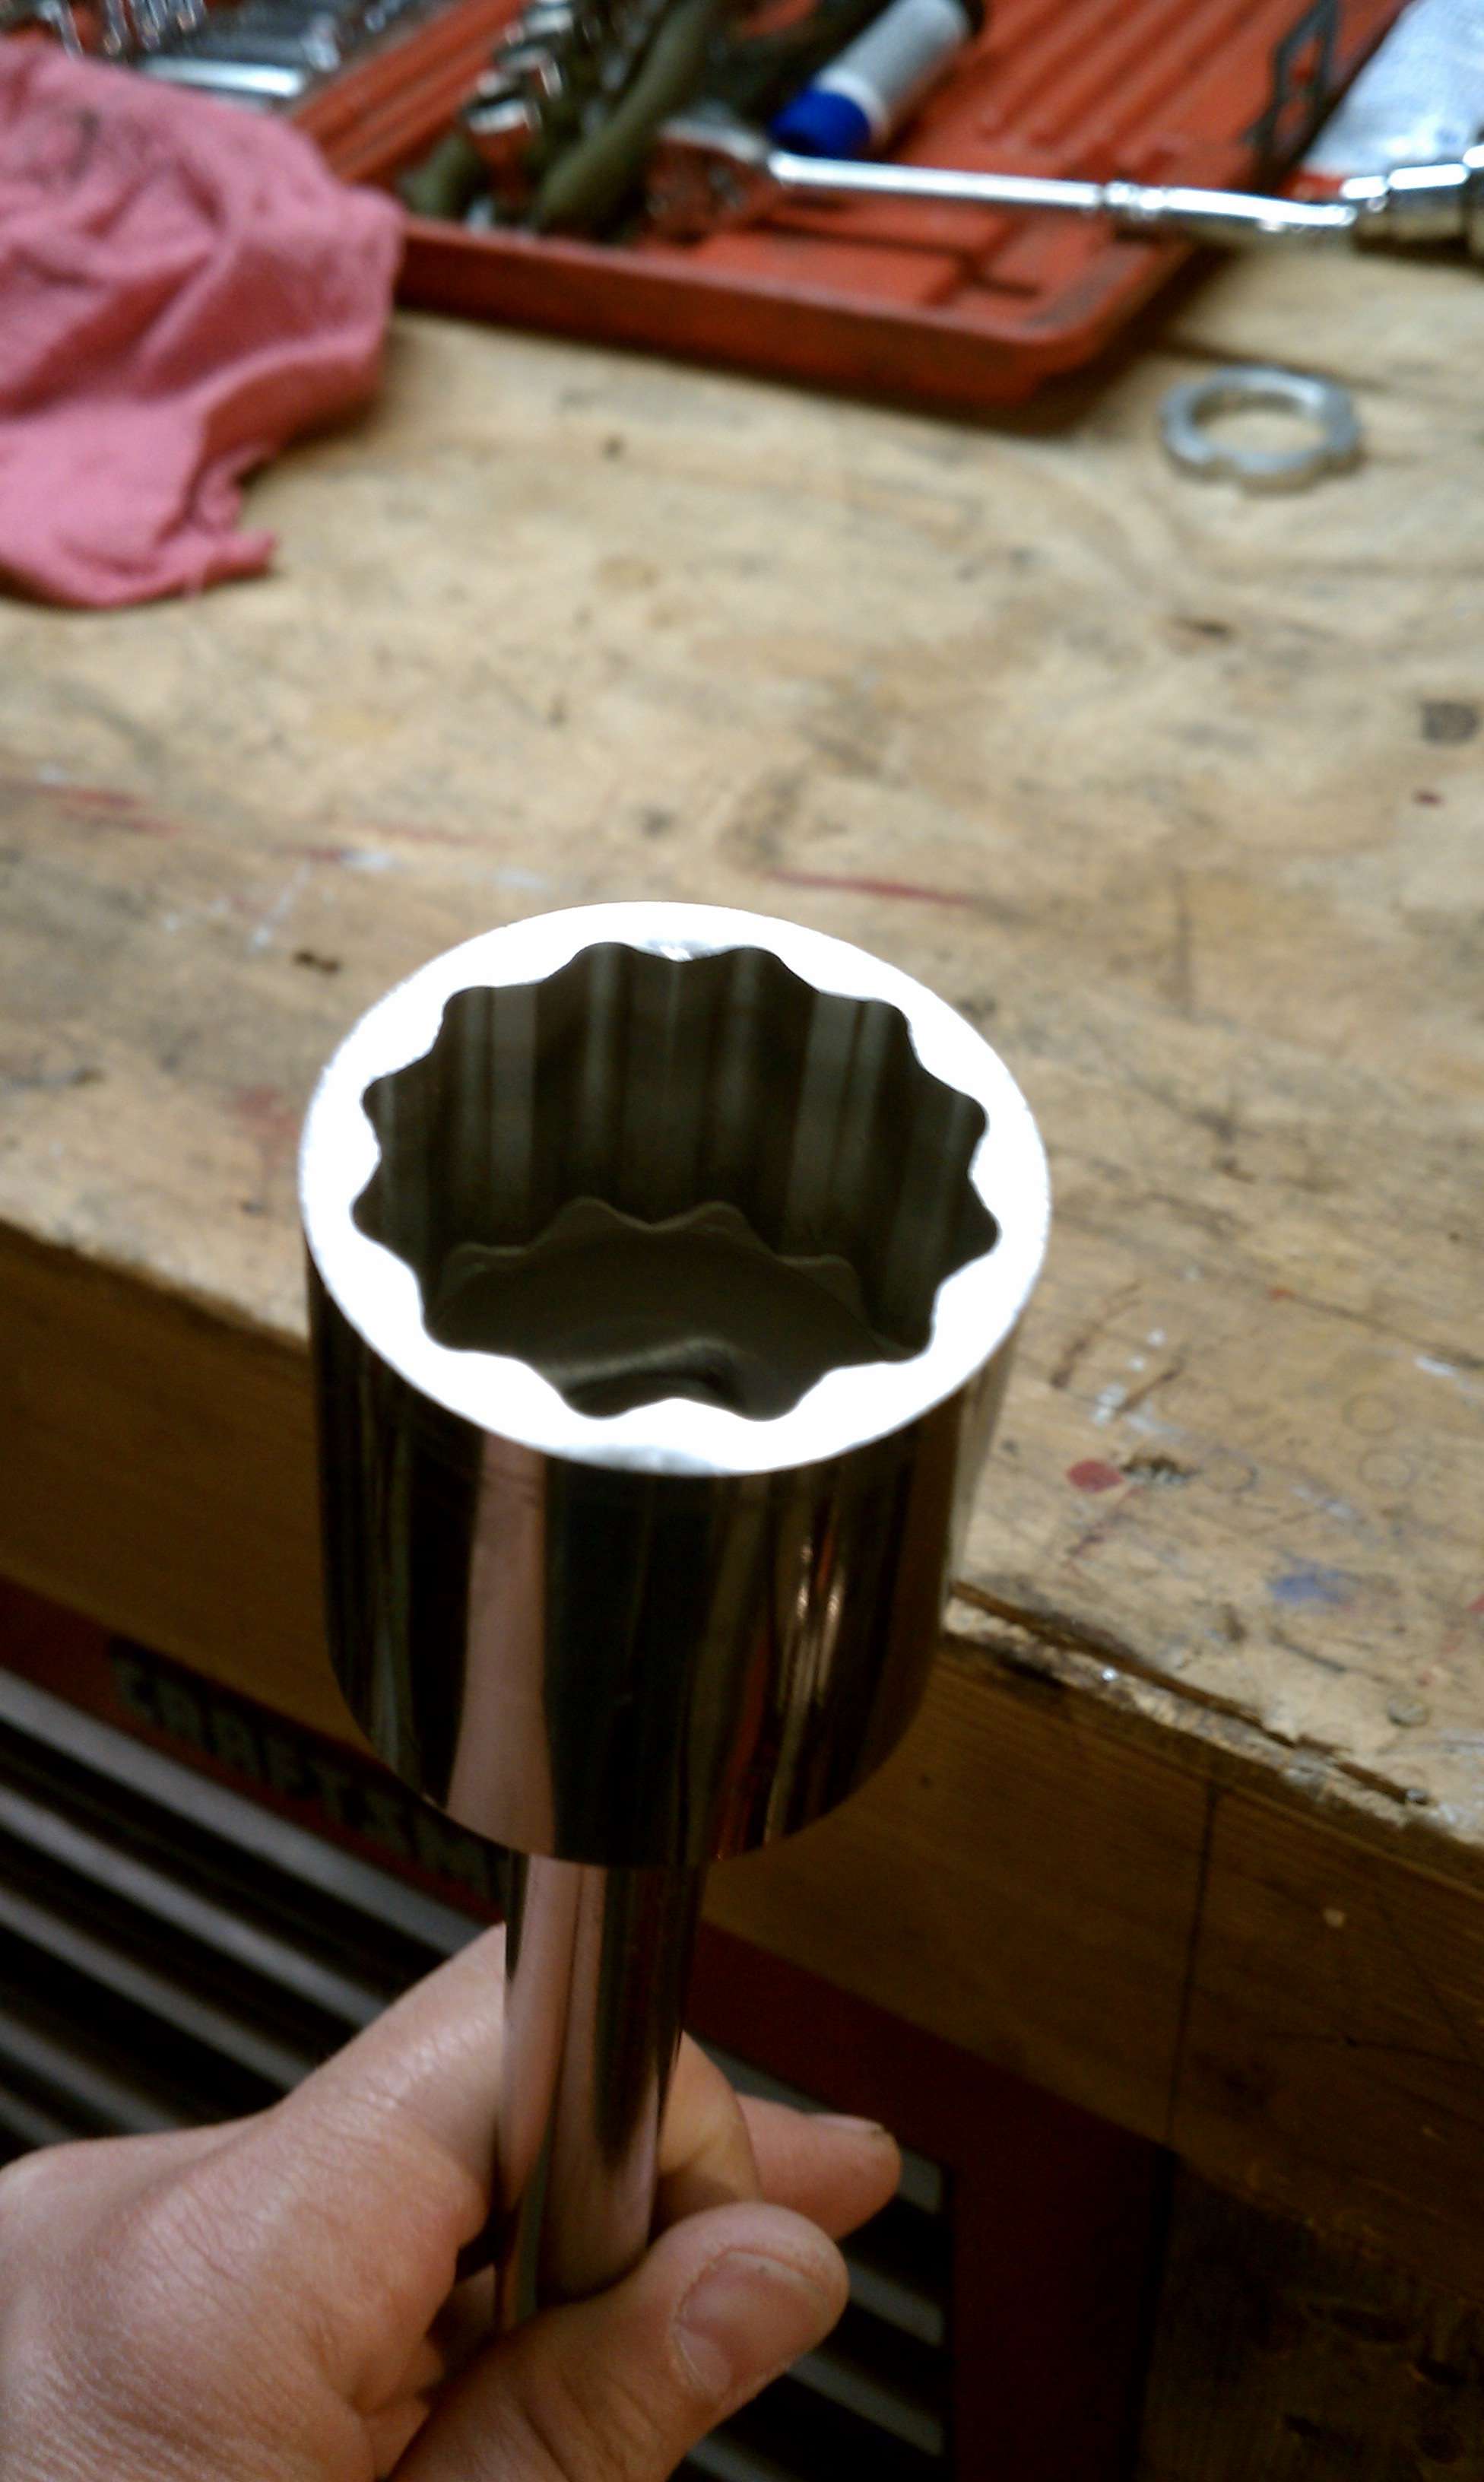
I ride my bike every day, so I purchased a spare castellated nut (90179-30691-00) to use as a pattern so I didn't have to have my bike torn apart to do this. I took the nut to the hardware store and it matched up to a 1 1/4" twelve-point socket very well. The end of the socket is beveled in, so I ground it down smooth first.
imag0148m.jpg


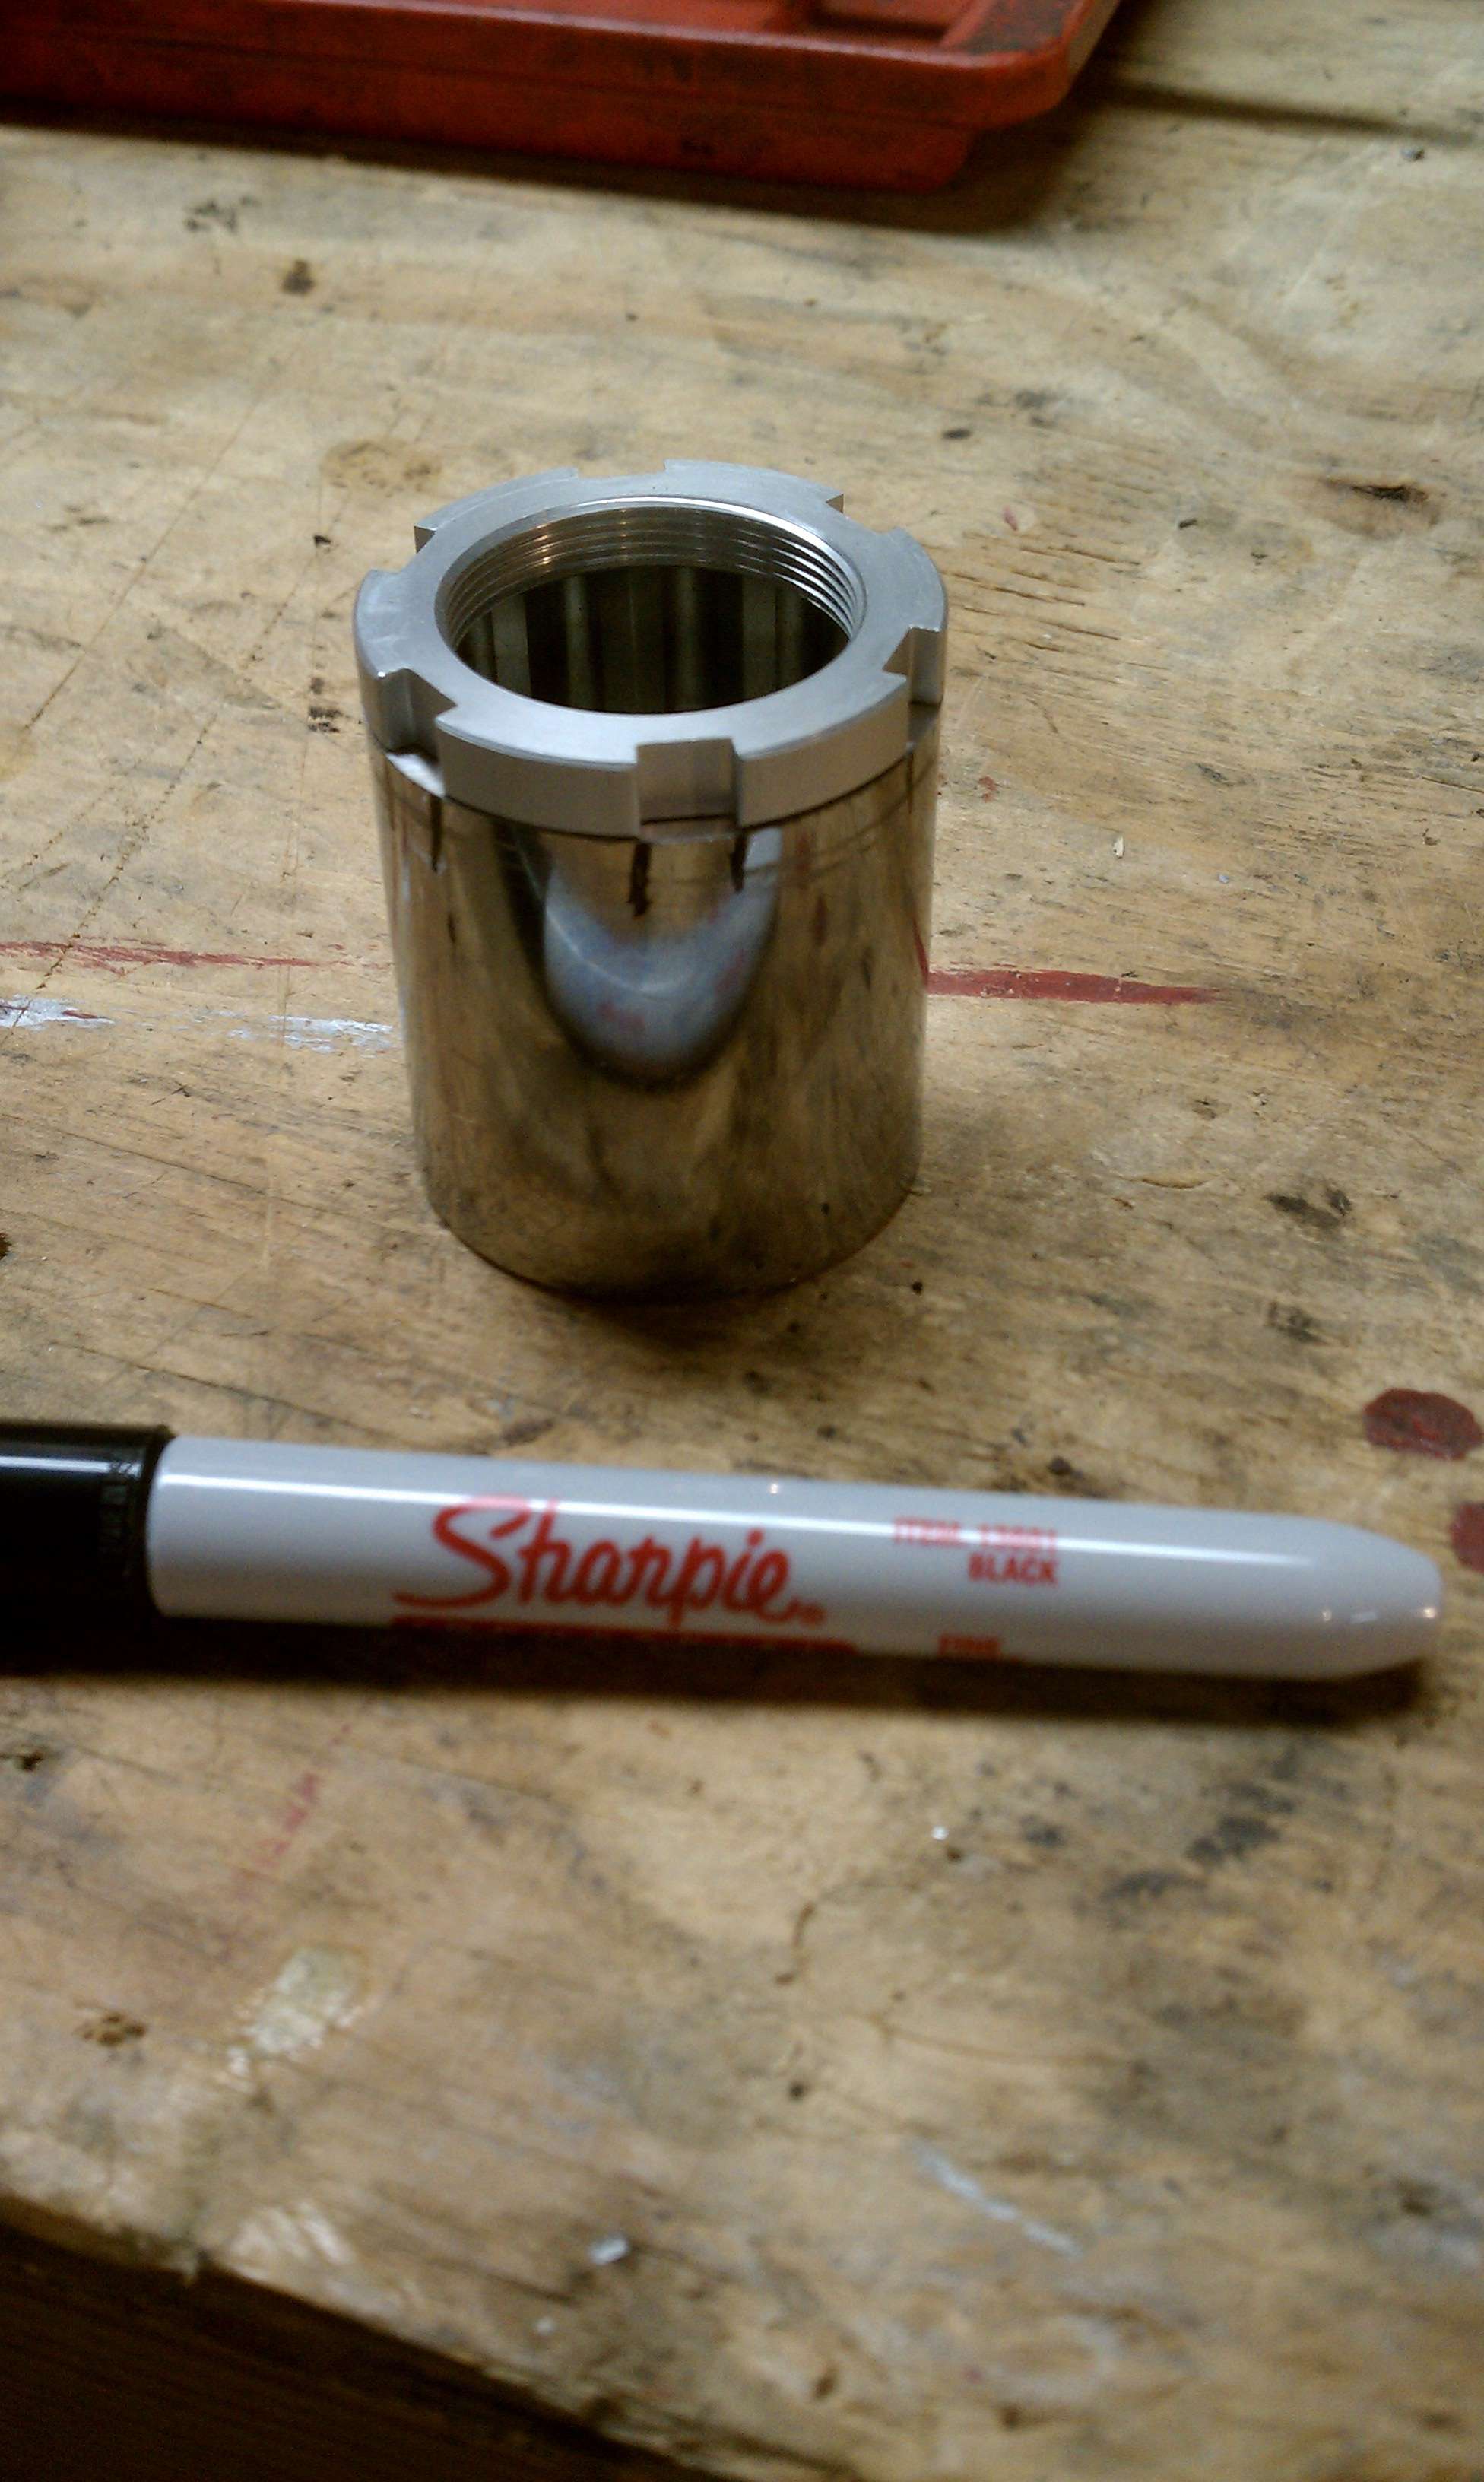
Then I used the nut to mark where to make the cuts.
imag0150j.jpg


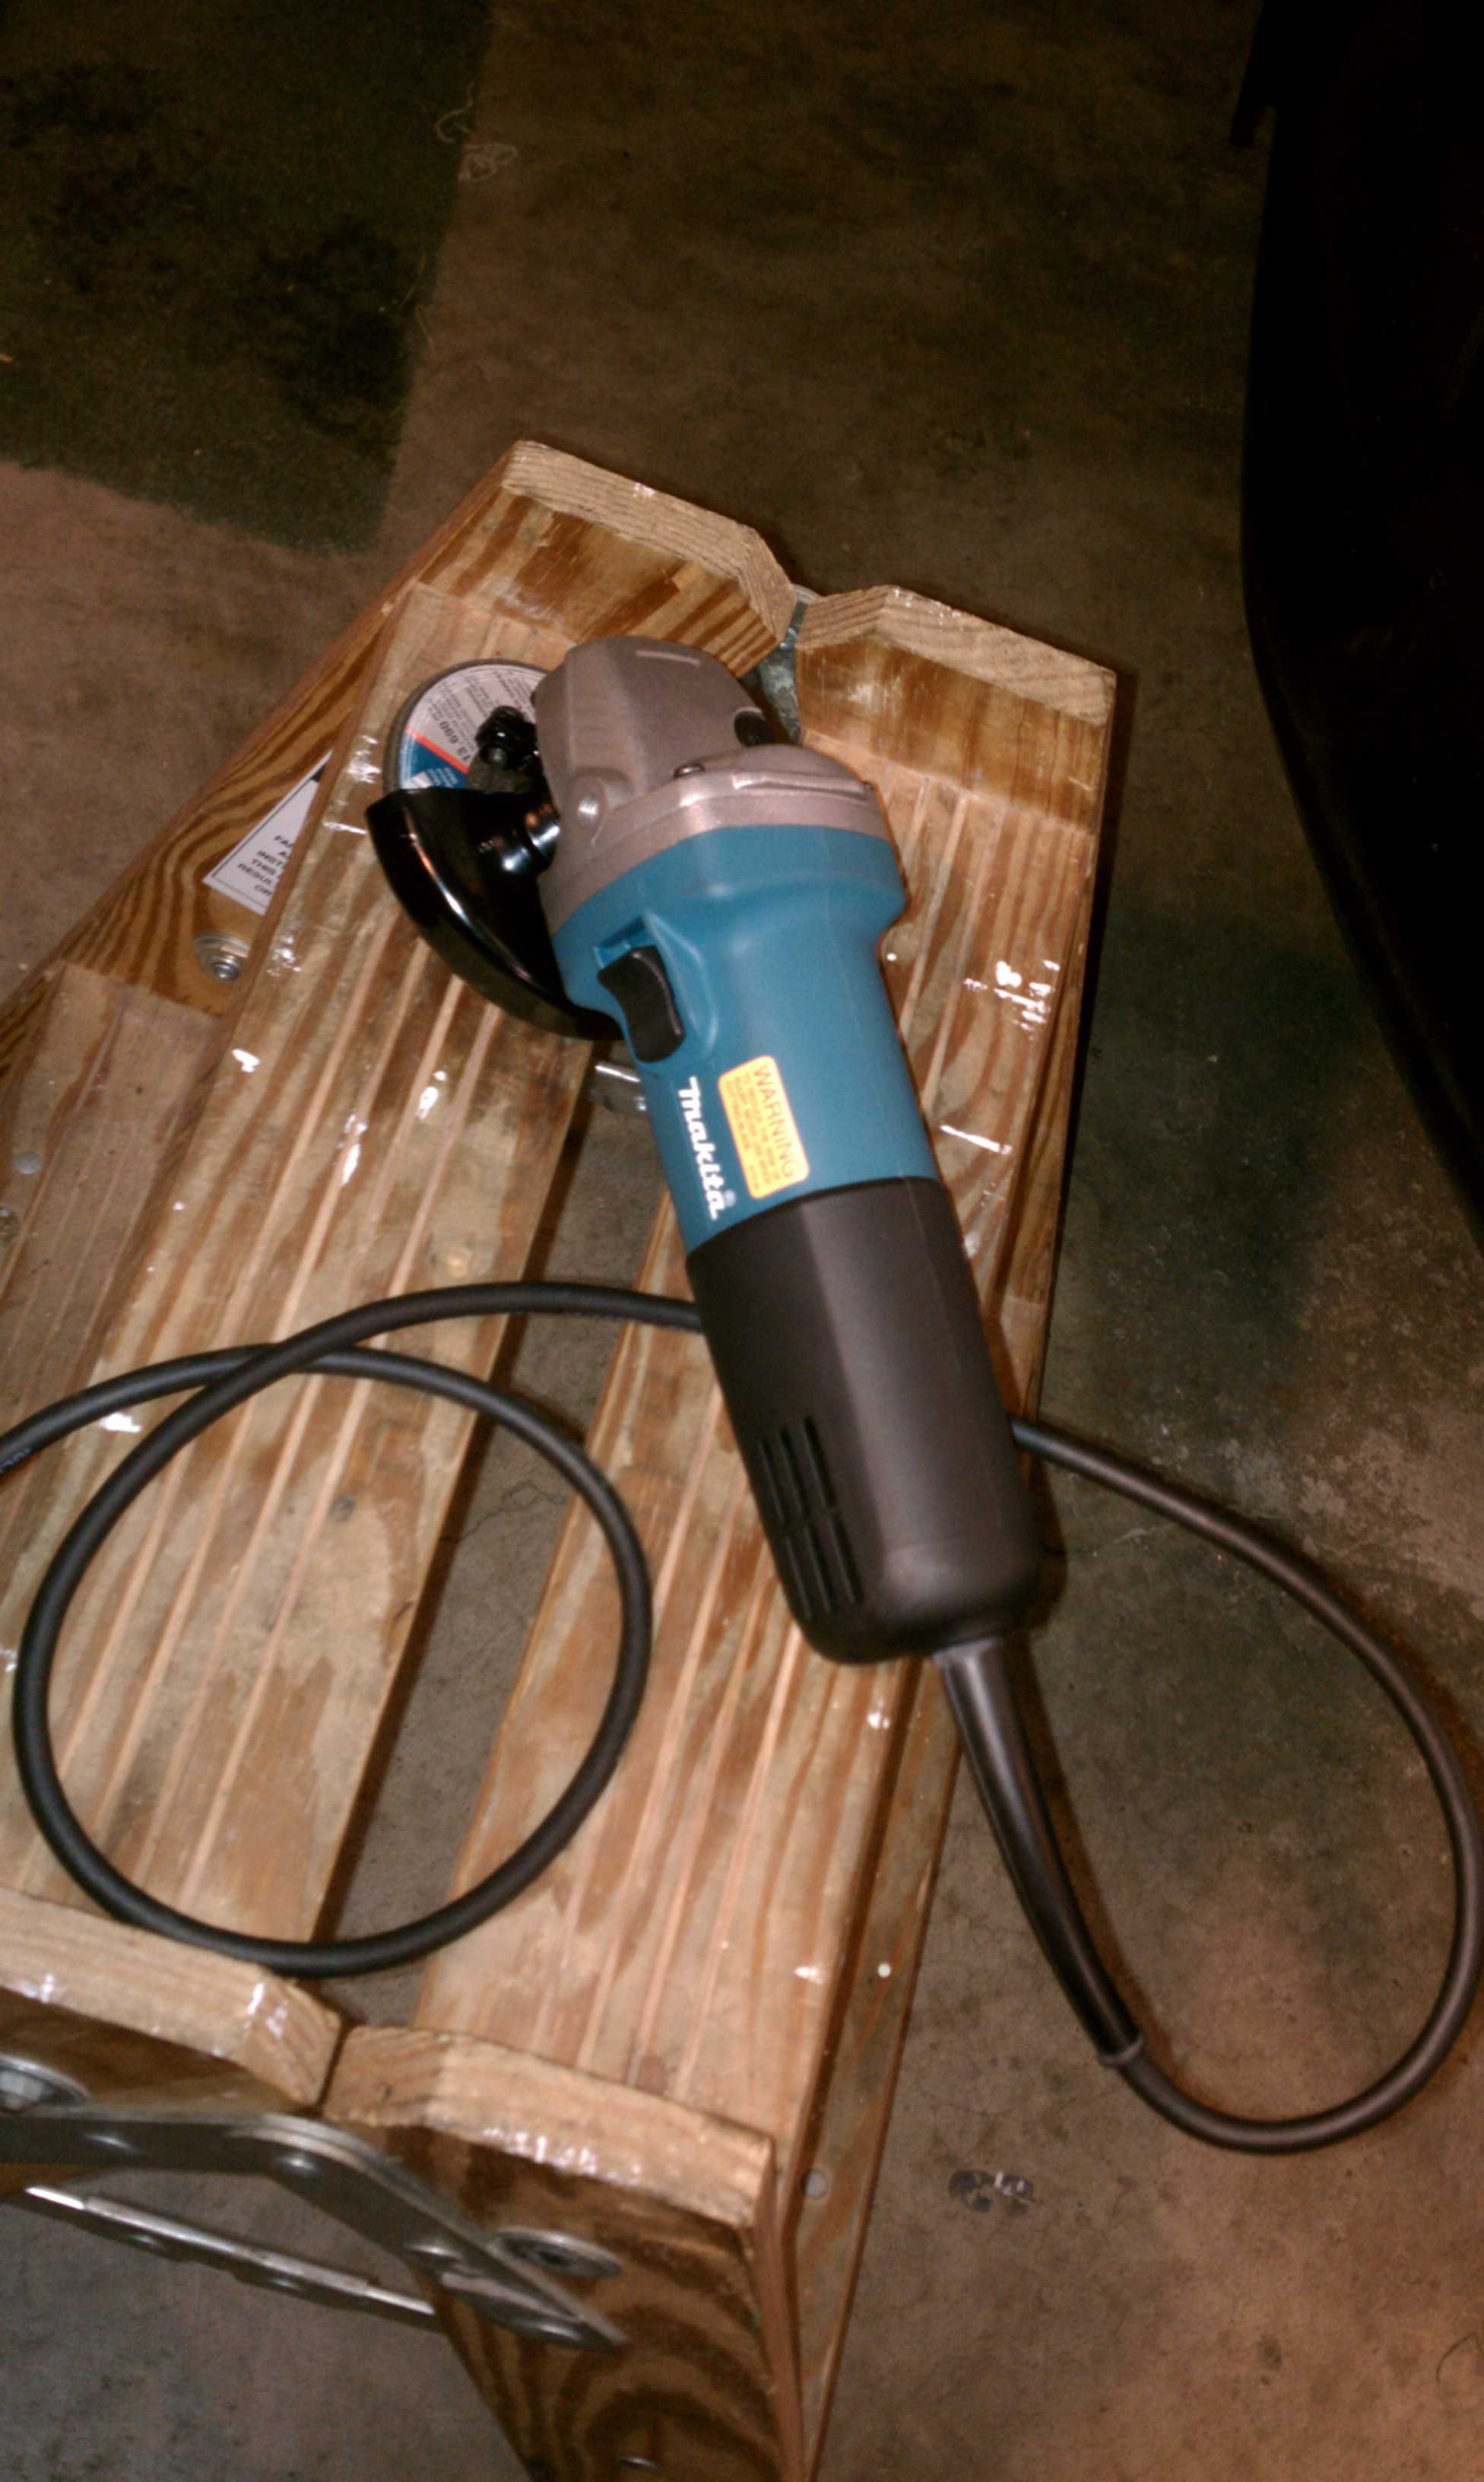
...and used my trusty grinder to remove the bulk of the material.
imag0153g.jpg


This is what I ended up with.

imag0152mc.jpg


The length and width of the "fingers" are right, but they are still too thick to fit the nut, so I had to grind the inside edge out using my Dremel.
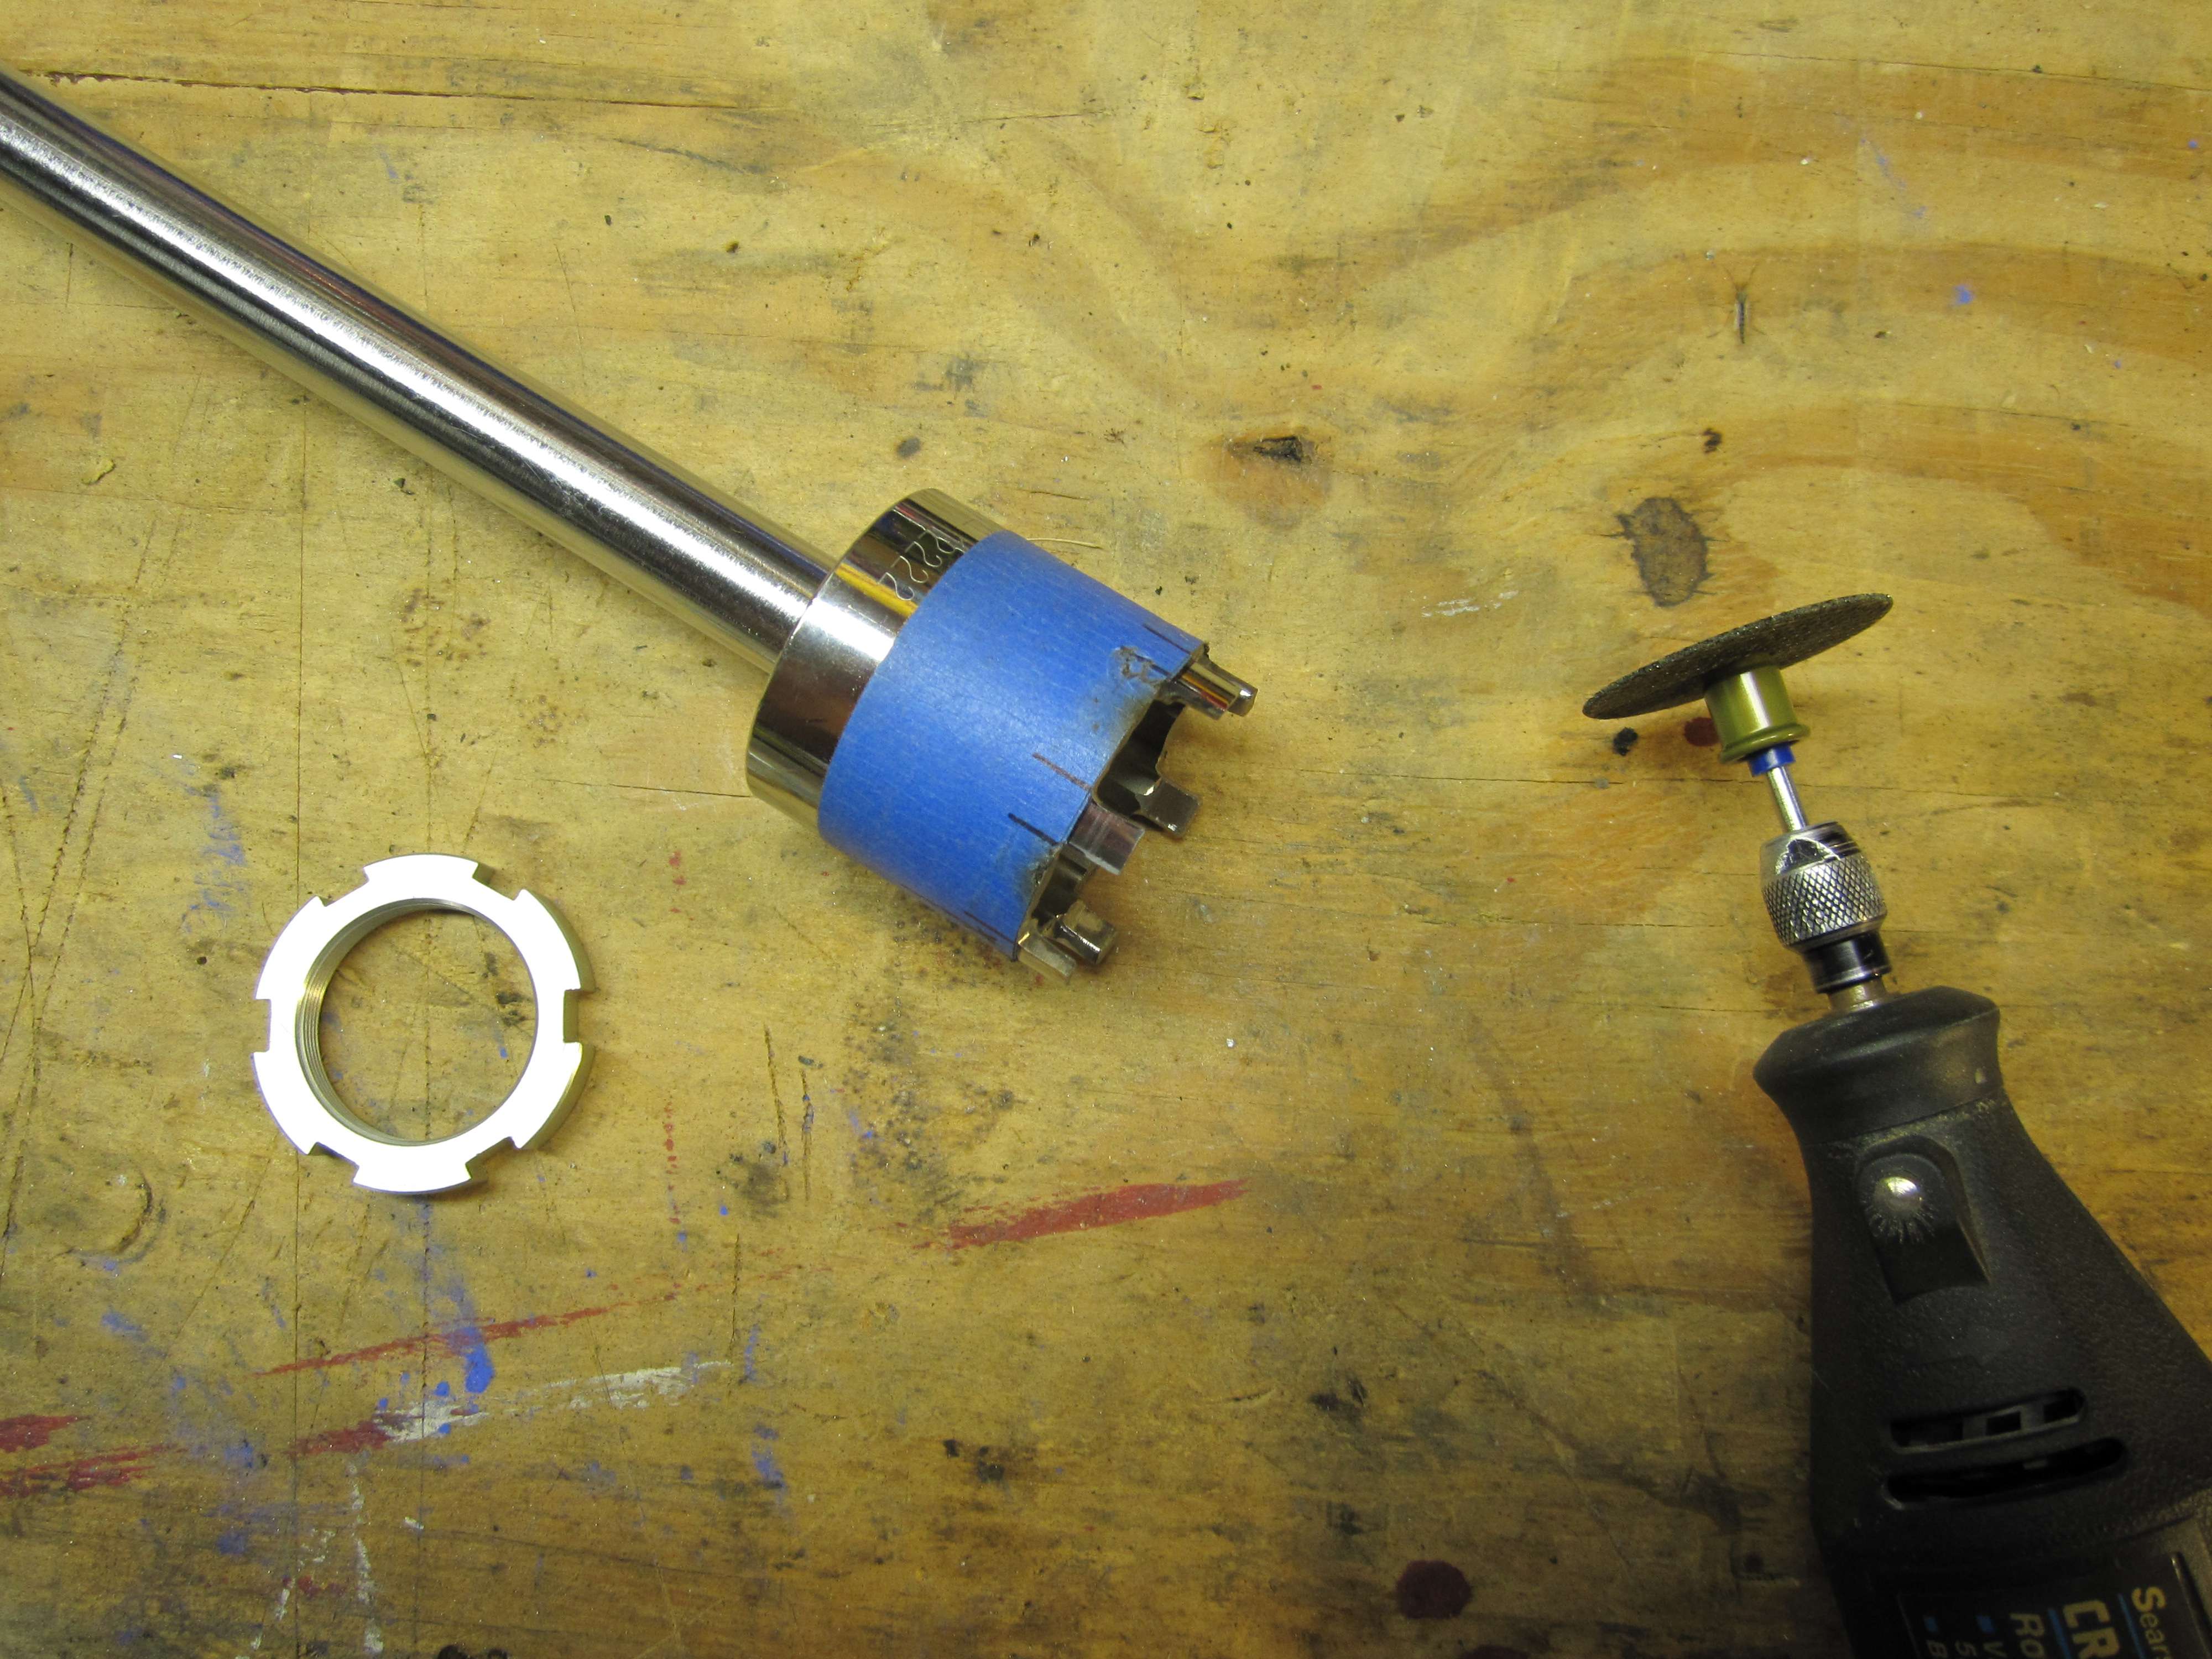
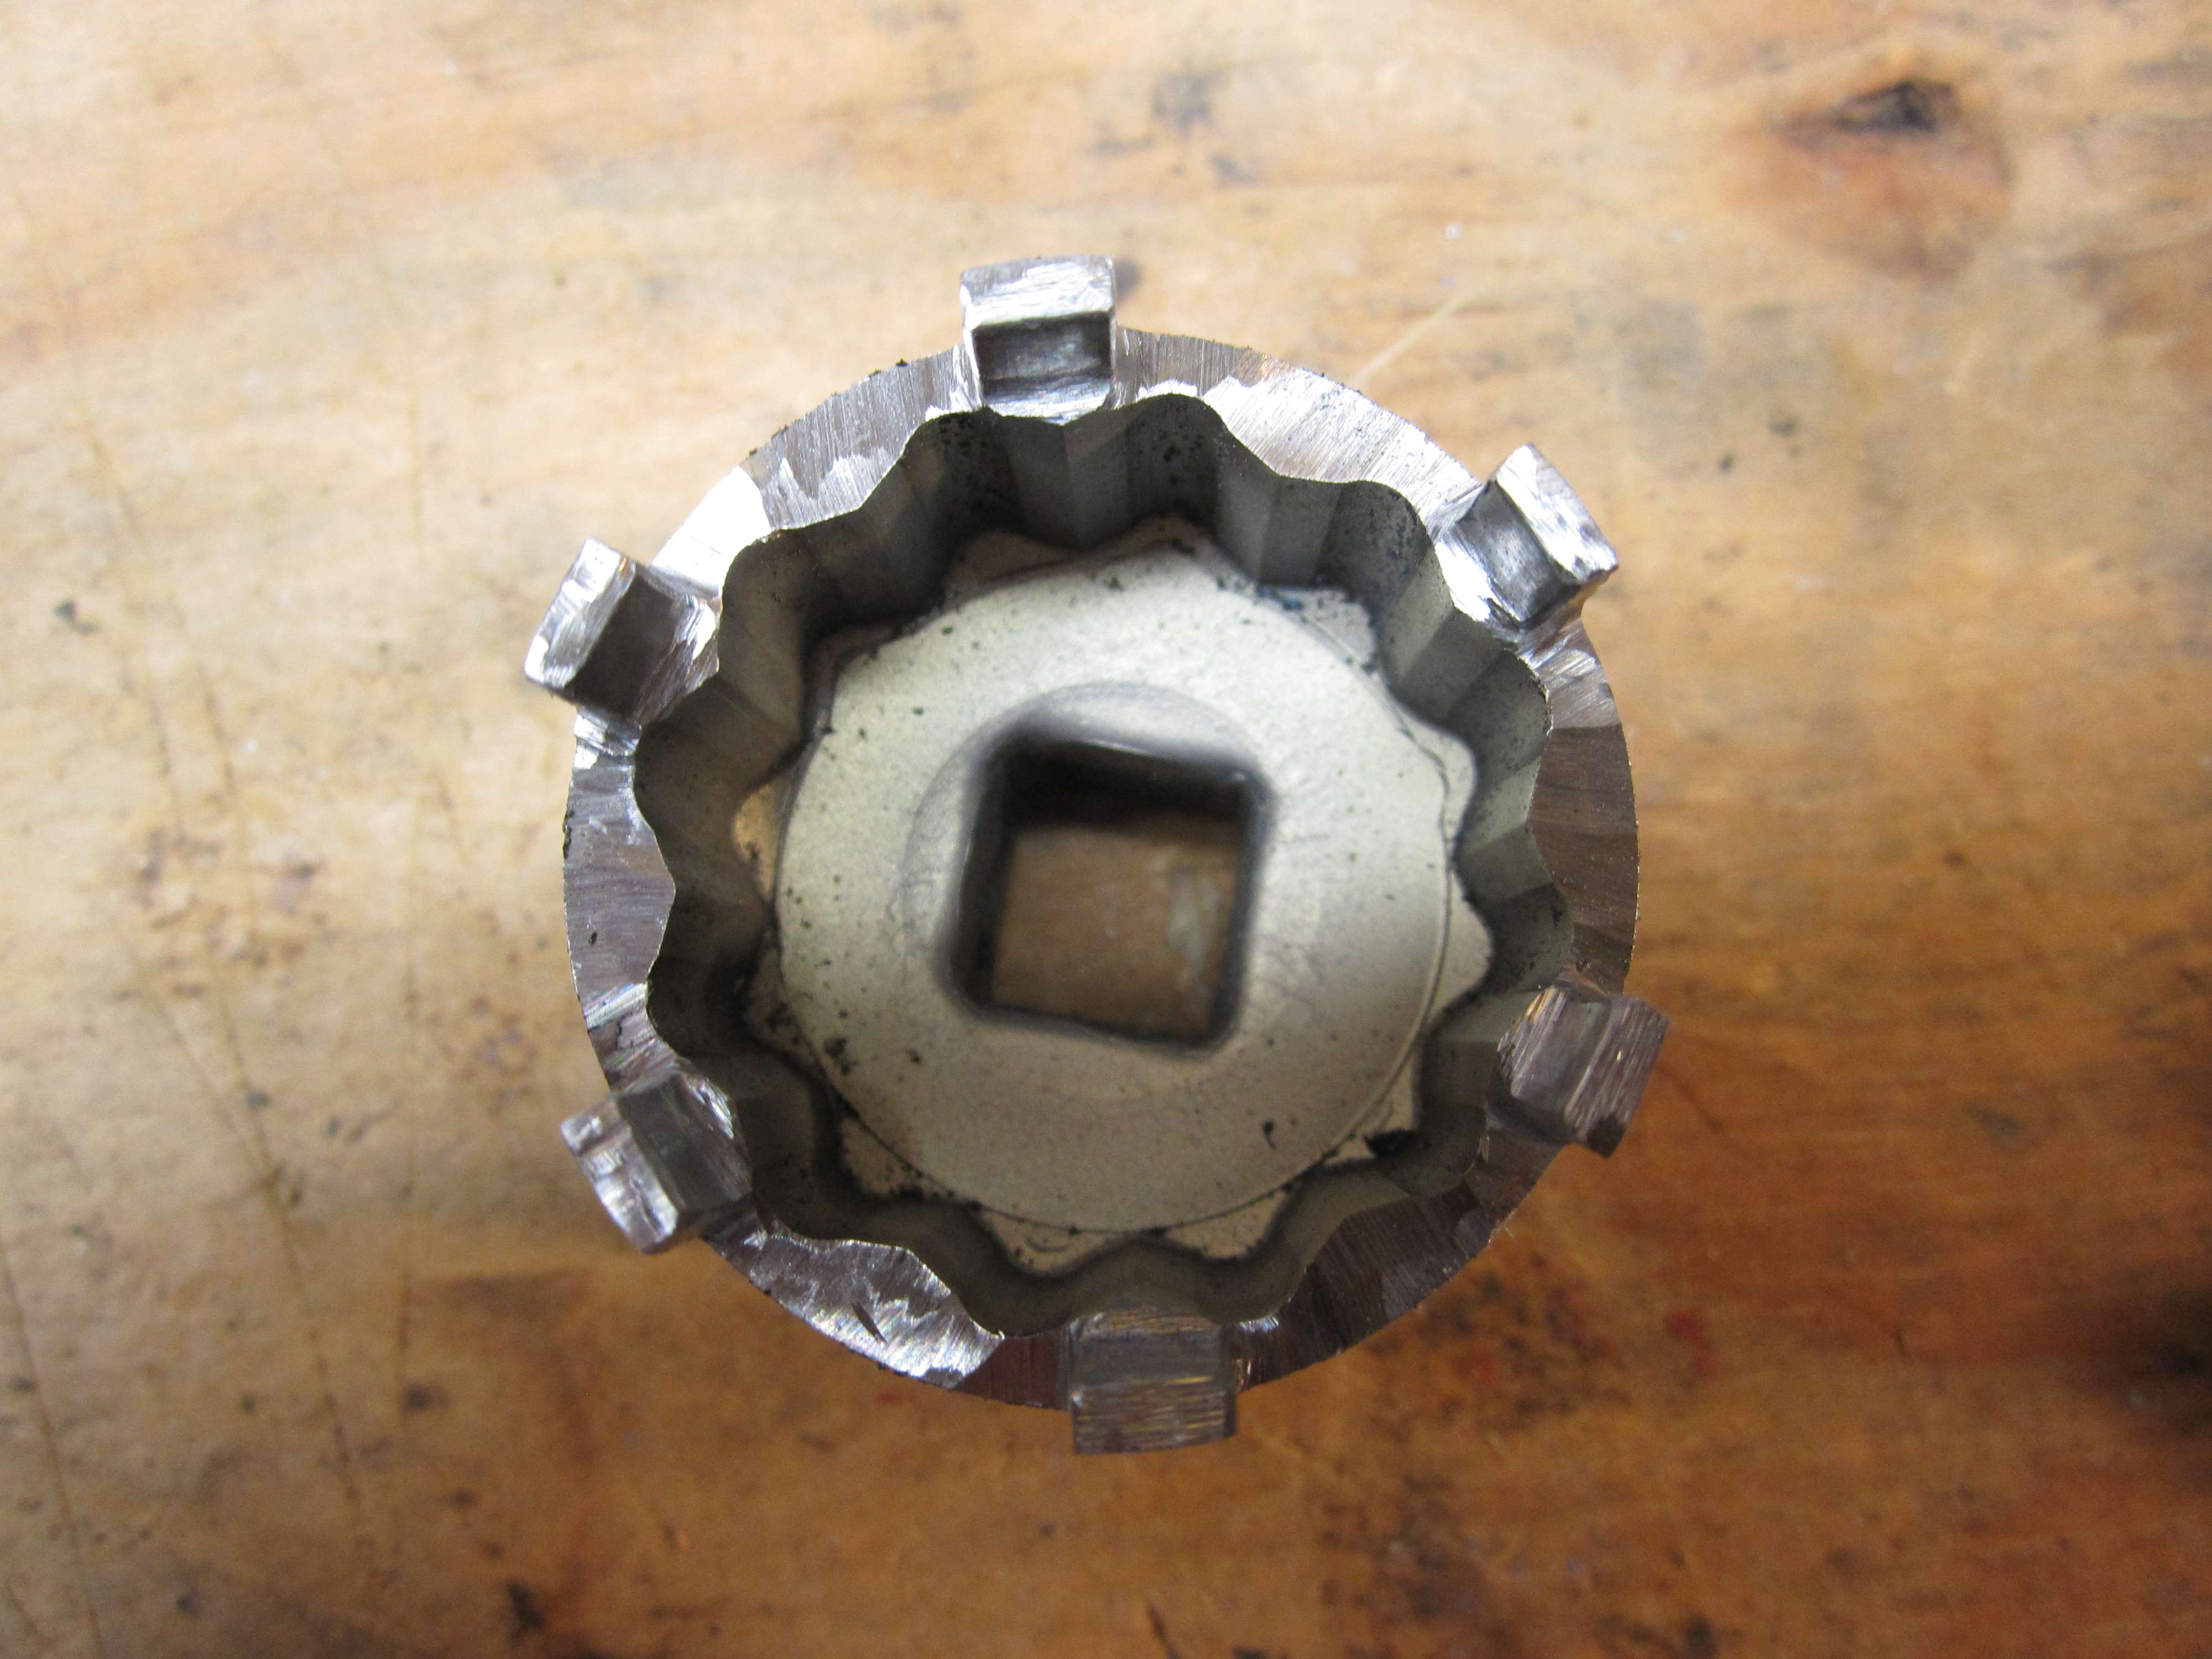
img0854cl.jpg


img0855dx.jpg


It isn't as pretty as Roy's, but it'll do the job and was cheap.

A little extra fine tuning with the Dremel and this is what I have.

img0856l.jpg


Nice work Phil! Unfortunately, I drink WAY too much coffee to be able to hold my portable grinder steady enough to get that done.

 
Very nice set up...my question is this...do those tangs that fit into the nut handle the high torque values okay? I'm sure they have been "load tested" several times by now...just thought I would ask.

Again, clever thinking on the fabrication, so this is not a criticism at all of the concept. I was just curious whether the smaller tooth and the metallurgy supported your great idea. :)

 
Nice work!

Just thinking out loud here...would starting with a slightly larger socket get you more tooth thickness left, along with less internal material removed?

The outside diameter of the socket would then be greater than the nut, but that shouldn't be a problem at reasonable diameters.

Shane
Another possibility: Looking at that socket, there are 12 high points and 12 "pockets," correct? Rotate that socket a few degrees before you start so that your new "teeth" will be located in the pockets of the socket rather than the high points that you chose. Less stock to remove with the dremel.

"

Gary

darksider #44

 
Last edited by a moderator:
Very nice set up...my question is this...do those tangs that fit into the nut handle the high torque values okay? I'm sure they have been "load tested" several times by now...just thought I would ask.

Again, clever thinking on the fabrication, so this is not a criticism at all of the concept. I was just curious whether the smaller tooth and the metallurgy supported your great idea. :)

I had the same concerns, but it hasn't broken yet. For the $10 I have invested in it, it's worth it even if it breaks the next time I use it.

 
Nice work!

Just thinking out loud here...would starting with a slightly larger socket get you more tooth thickness left, along with less internal material removed?

The outside diameter of the socket would then be greater than the nut, but that shouldn't be a problem at reasonable diameters.

Shane
Probably, but this is the only one that I could find at the hardware store that would work that particular day. I get impatient when I have an idea. If I wait too long to do it trying to find the perfect materials it never gets done. :)

 
Nice work!

Just thinking out loud here...would starting with a slightly larger socket get you more tooth thickness left, along with less internal material removed?

The outside diameter of the socket would then be greater than the nut, but that shouldn't be a problem at reasonable diameters.

Shane
Another possibility: Looking at that socket, there are 12 high points and 12 "pockets," correct? Rotate that socket a few degrees before you start so that your new "teeth" will be located in the pockets of the socket rather than the high points that you chose. Less stock to remove with the dremel.

"

Gary

darksider #44

Yep, good idea, I didn't think of that. My philosophy was to use the part with the most "meat", but then you have to grind it away so what does it matter? When/if this one breaks maybe I'll try it that way.

 
It aint' gonna break. I made one from a piece of pipe with only three notches. If you follow the manual, the most torque you will put on it is 37ft#. That is peanuts :rolleyes:

 
I did the same with a bit of pipe which was the exact diameter. Welded a nut on top with a plate, looks bloody rough, but did the trick for torquing the 'All balls' taper bearings I installed in the steering column

 
I made this, below, with a hacksaw, a hand drill and a couple of files; just cost me some time (but I enjoyed the project) and it works great.

IMG_0001.jpg


I made this, below, with a hacksaw, a hand drill and a couple of files; just cost me some time (but I enjoyed the project) and it works great.

IMG_0001.jpg
Would you be willing to share some additional information and sizing on your project? What type and thickness of metal did you use? What is the radius or diameter of the inside curve (I don't have a nut to use as a template), and so forth? Was the hole made for a 3/8 or 1/2 inch drive?

Looks like a pro job.

Dale

 
Top