Parts list:
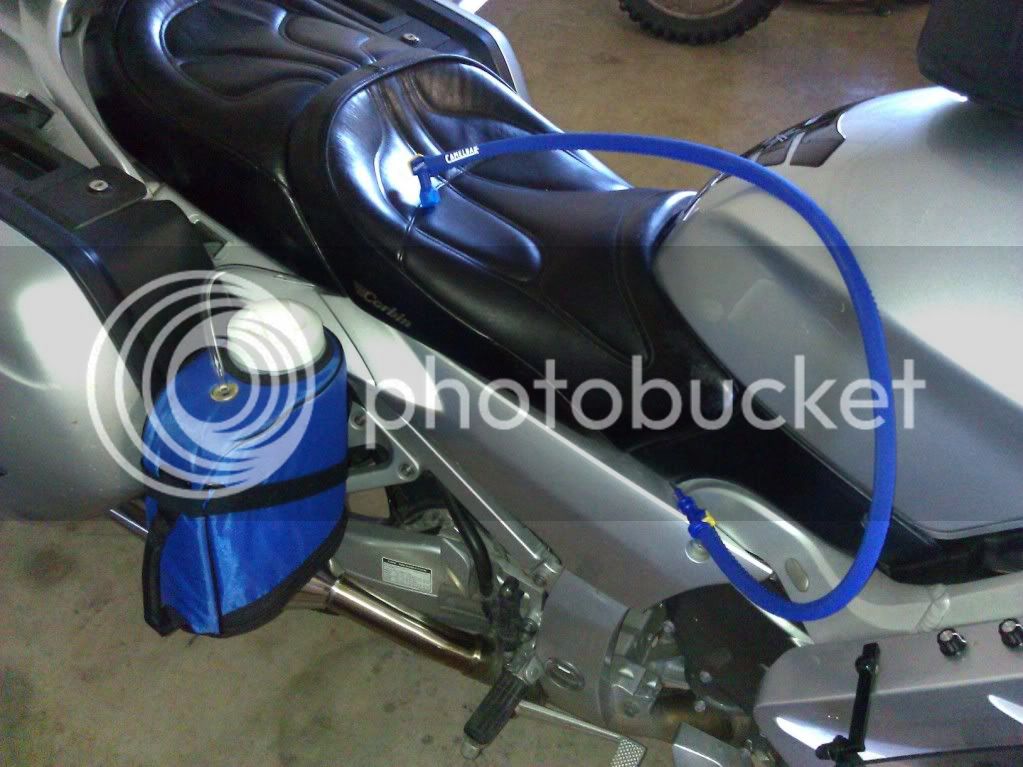
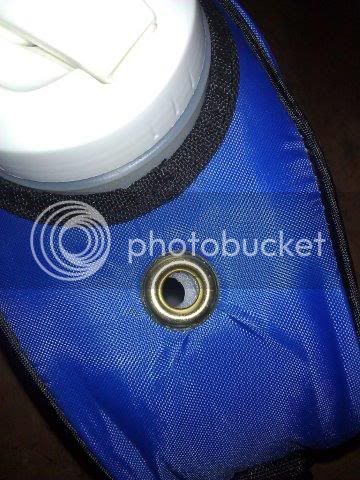
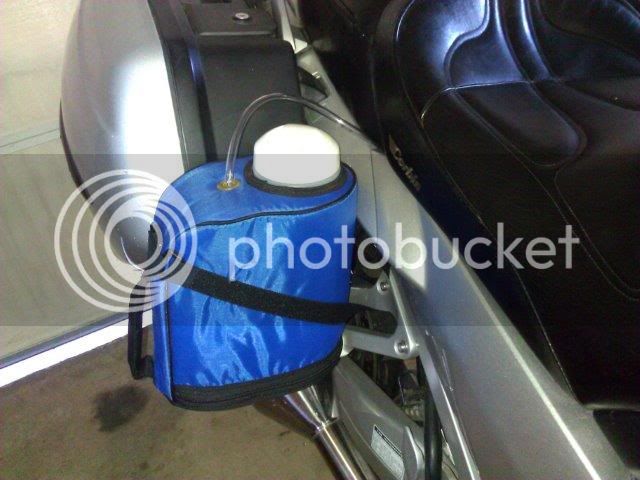
1-gallon jug from Wal-MArt (even come in several colors!) modified with a grommet and 3/8" hole drilled in the jug for tube...
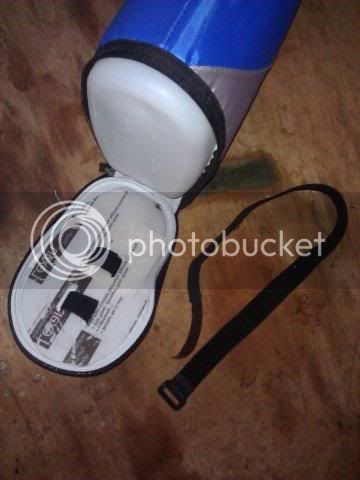
Cut out a piece of plexi in the approximate shape of the base and cut four slots in it to match the position of the foot peg. This will take a bit of any pressure of the straps off of the jug's insulated liner I hope...
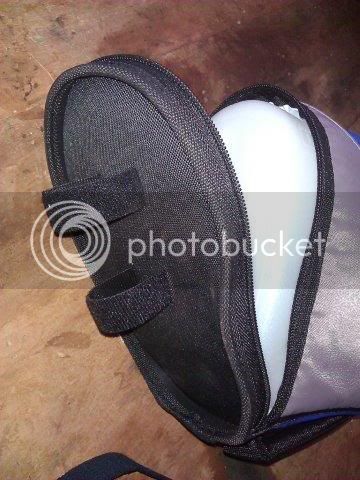
Inserted two pieces of 2-sided Velcro through slits in the bottom of the insulated wrap and through the slots in the plexi. These will wrap tightly around the foot peg without removing the rubber bits...
Wrapped an elastic Velcro strap (form Lowe's) around the foot peg support for a little vertical stability. Though it seems to hold well, this isn't a perfect solution and I'd welcome suggestions for a bit more vertical stability (although the natural pressure of the air coming around the fairing will naturally push the jug back against the side case)...
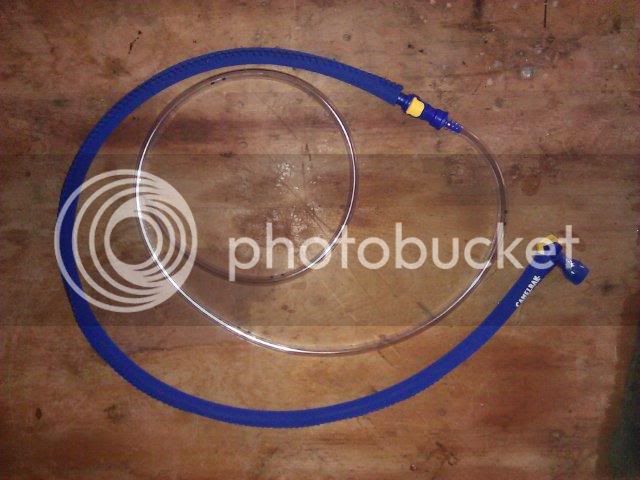
Connected a
Camelbak Antidote Insulated Tube (comes already insulated) to 45" of 3/8"OD/1/4"ID tube with a quick disconnect from a
Camelbak Quick Link Conversion Kit. The Camelbak products can be googled and sourced from a wide variety of online and local vendors at a discount to the prices on the Camelbak site. The vinyl tubing runs in the channel under the seat and will stay in place. The jug can be removed, as, of course, can the insulated section via the QD...
And then made a second one for the other side! Two gallons on board should be more than enough, huh? First ride today seemed to go well. Now to figure out how to easily attach the bite valve end to my tank bag....
