Wicked Webby
Right is Harder than Wrong.
Ok all,
I just completed this and thought I would share. I have wanted to slightly raise my corner clearance but didn't want to change the way my bike handled too much. Thus, I went with a set of 5/8's raise dog bones off of ebay.. Whether you want to raise or lower your Gen II FJR, the following may help.
Lets get a look at the new bones:
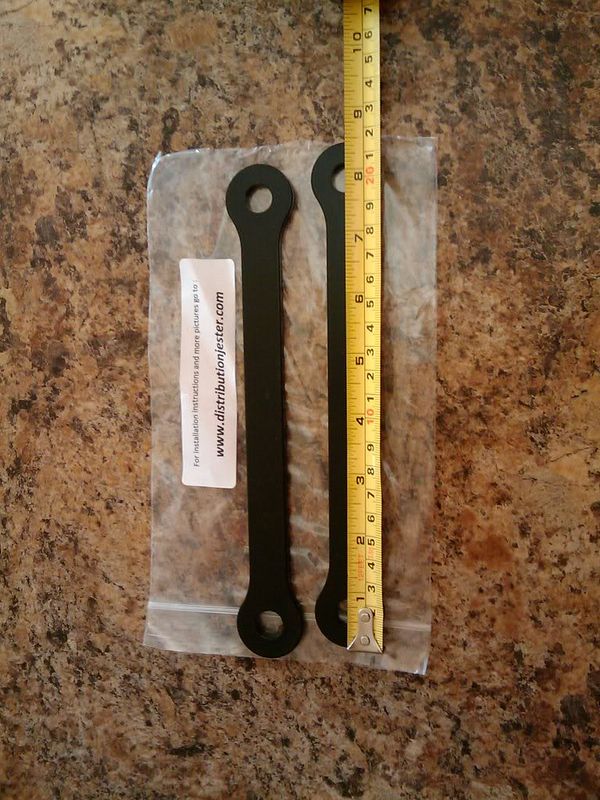
Got them off of ebay.. I bought mine from ebay seller: supermoto36. He sells the 5/8th bones but I had to send him a message on ebay to
get purchase instructions for these specific ones. See related link here:
https://www.fjrforum.com/forum//index.php?s...mp;hl=dog+bones
Here is a pic of the stock bones once removed:
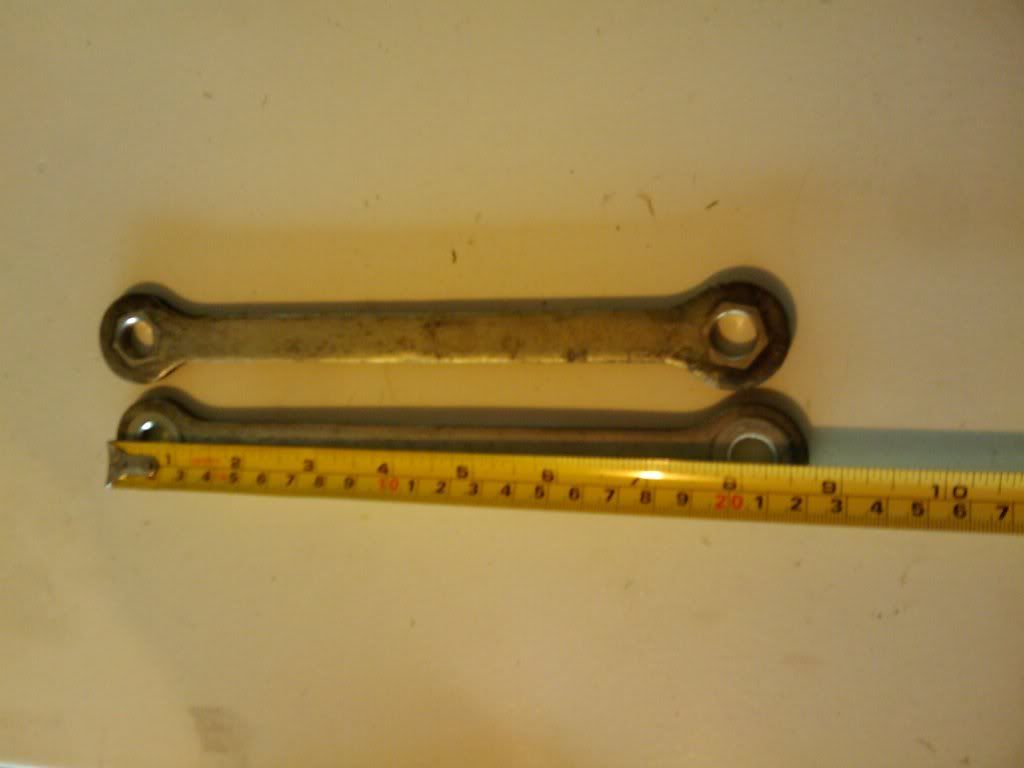
I am sure you noticed... The shorter the bones (from stock), the more rise you get.
***There are hundreds of ways to skin a cat.. Below is how I did mine.
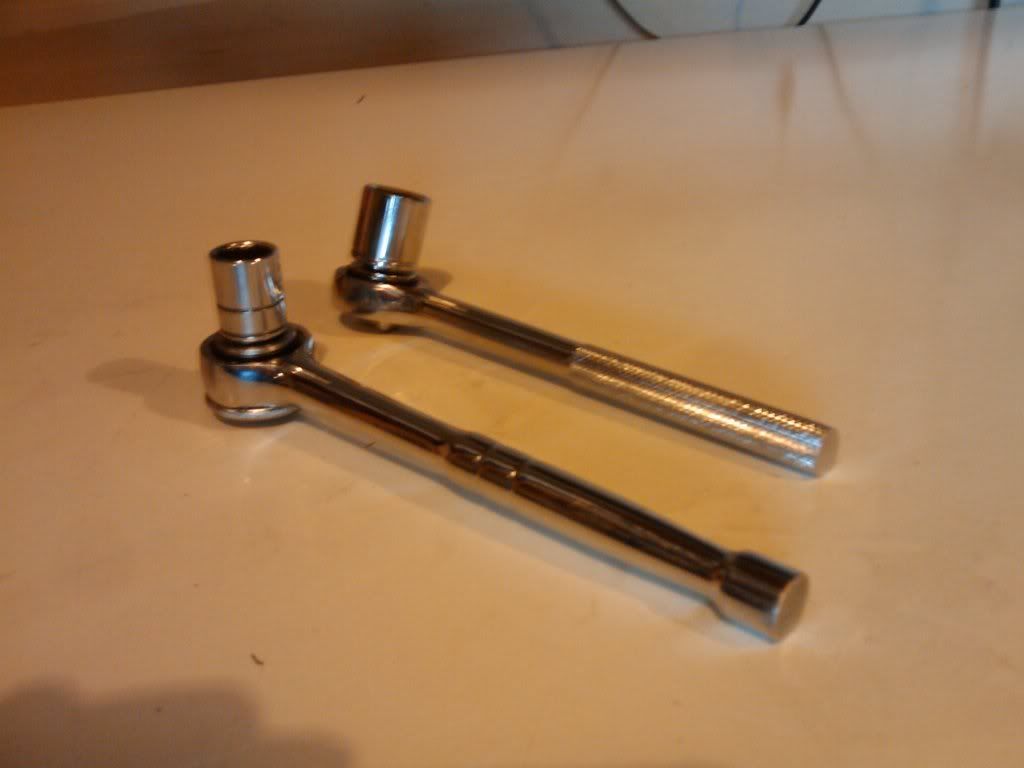
Tools that I used, 14 MM and 17 MM Sockets both with separate drivers:
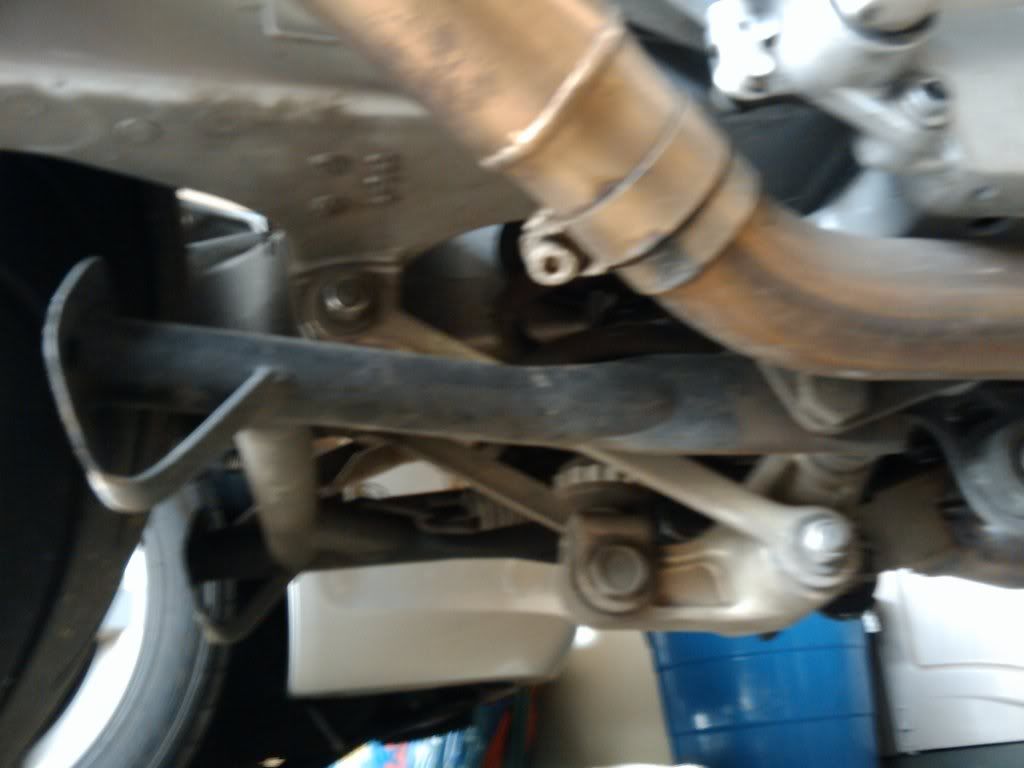
Lets take a look at the stock bones on the bike. They are pinch bolted together by two bolts, washers and lock bolts:
I chose to jack up my bike from beneath the header (using a 2x4 in between the jack and header). I did this because...With the center stand down, I could not get the lower bolt past the center stand to remove it.. I also used my homemade front stand, not to raise the front, but only to center the bike upright while raising the rear section. Remember, you need to get the weight off of the rear tire (to support the bike with the dog bones removed and then position the rear wheel travel to insert the bolts with the new bones in place).
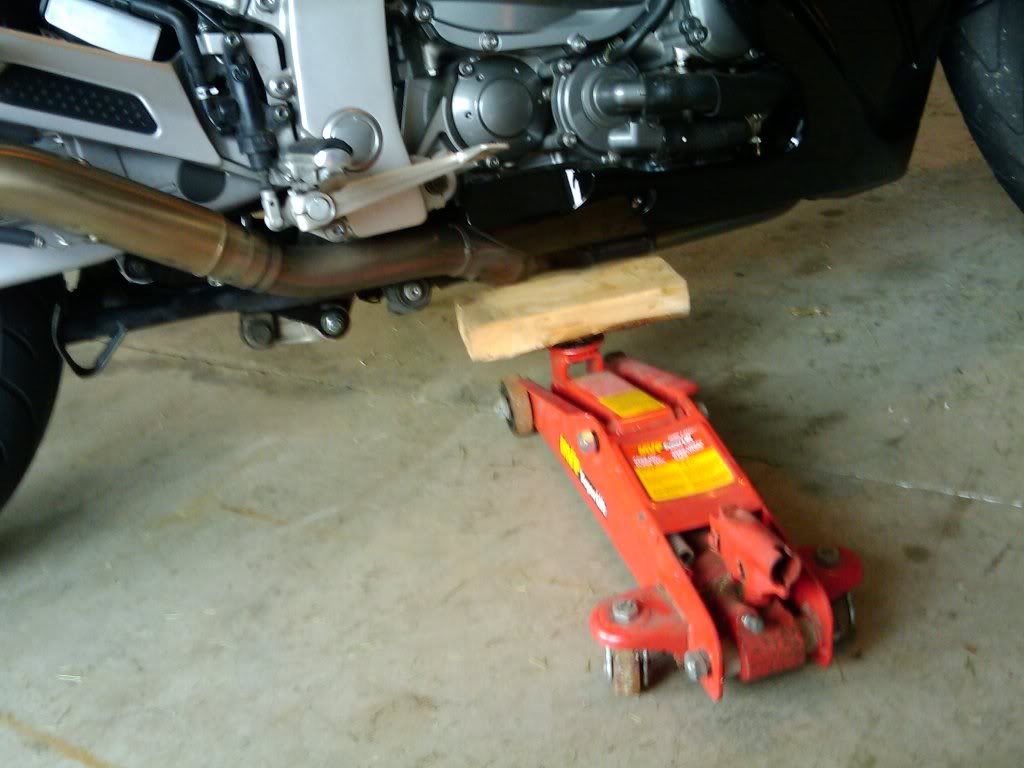
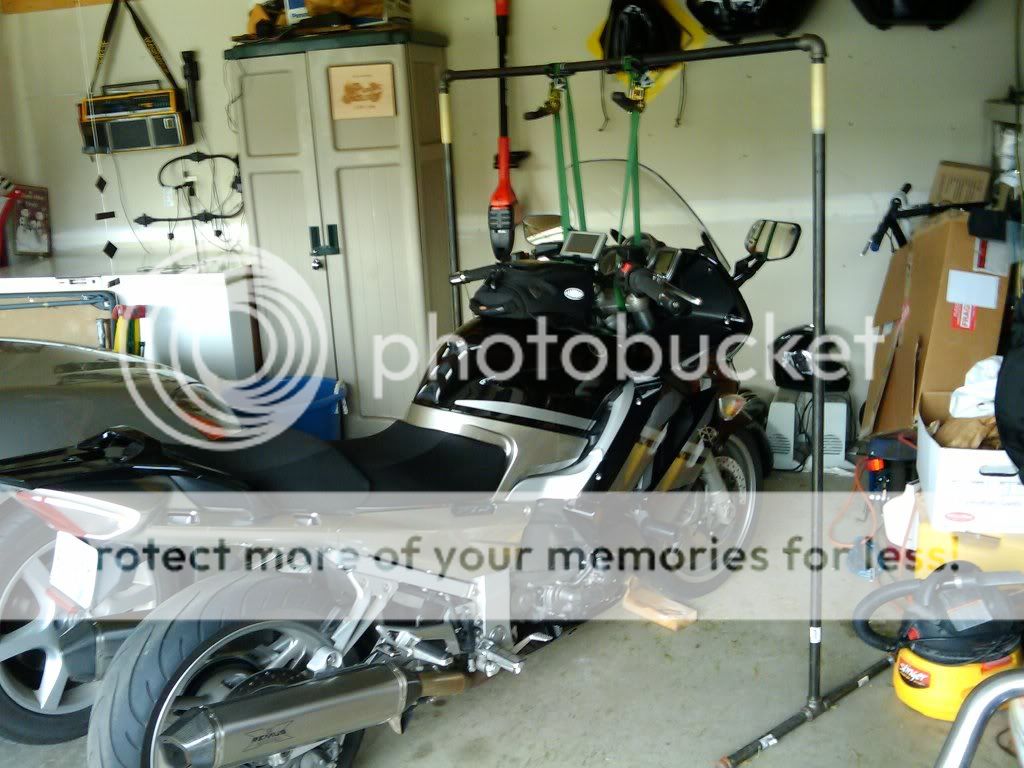
The hardest part about this whole install was getting the bike safely and securely jacked up. Then just unbolt the nuts and bolts (a second person here helps out a lot), remove the stock bones, position the rear tire with your hand (up or down) so that the new dog bones fit and bolt them all back together. It looks like the service manual calls for these bolts to be torqued to 40 FT-LB. FYI, because these nuts were self locking and cramped corridors.. I chose to just tighten mine up, "Good-N-Tight." Probably a bit tighter than they needed to be but not tight enough to break the threads (been there done that ****!!). Use your own discretion here I suppose.
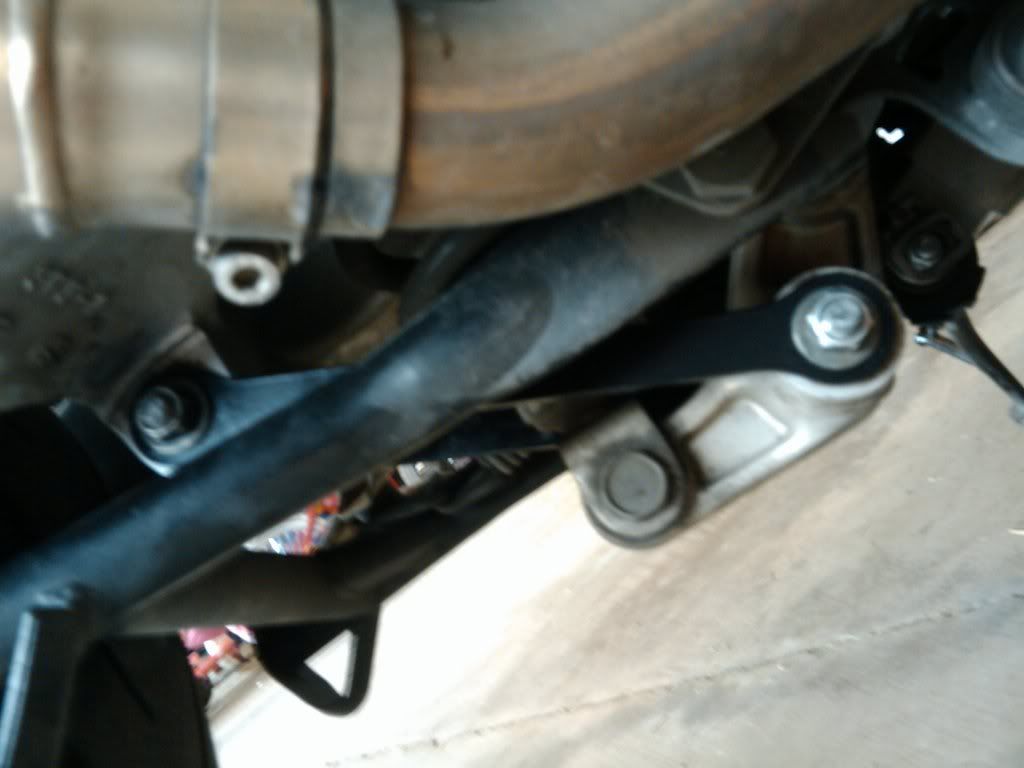
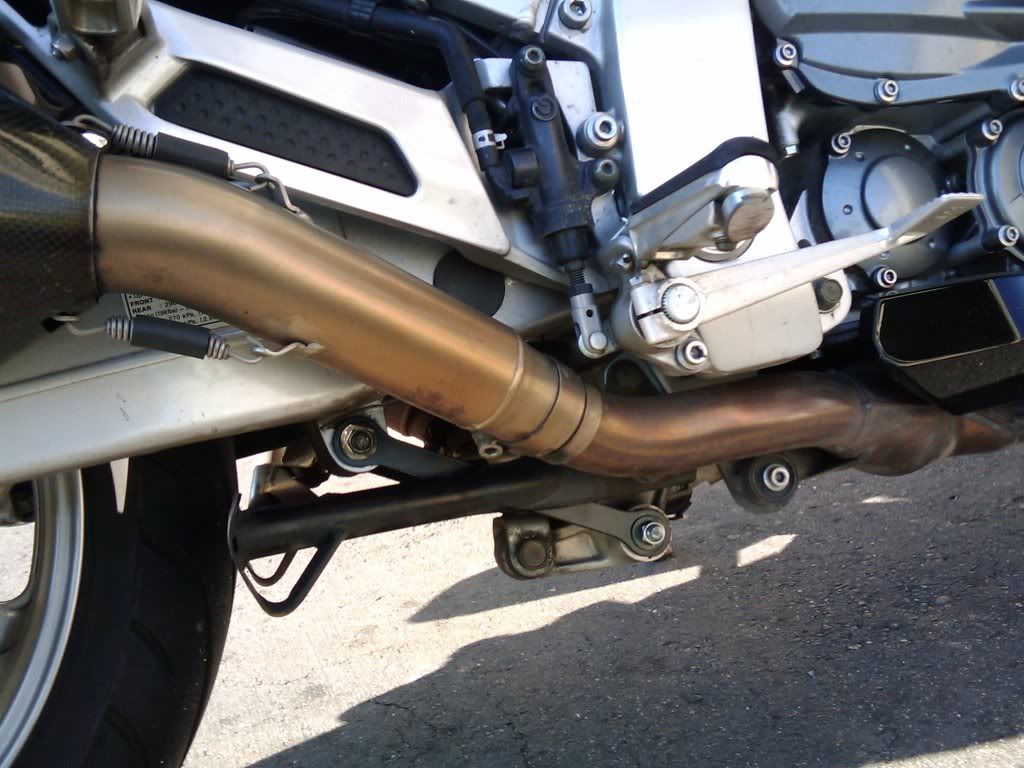
Here are the new dog bones installed:
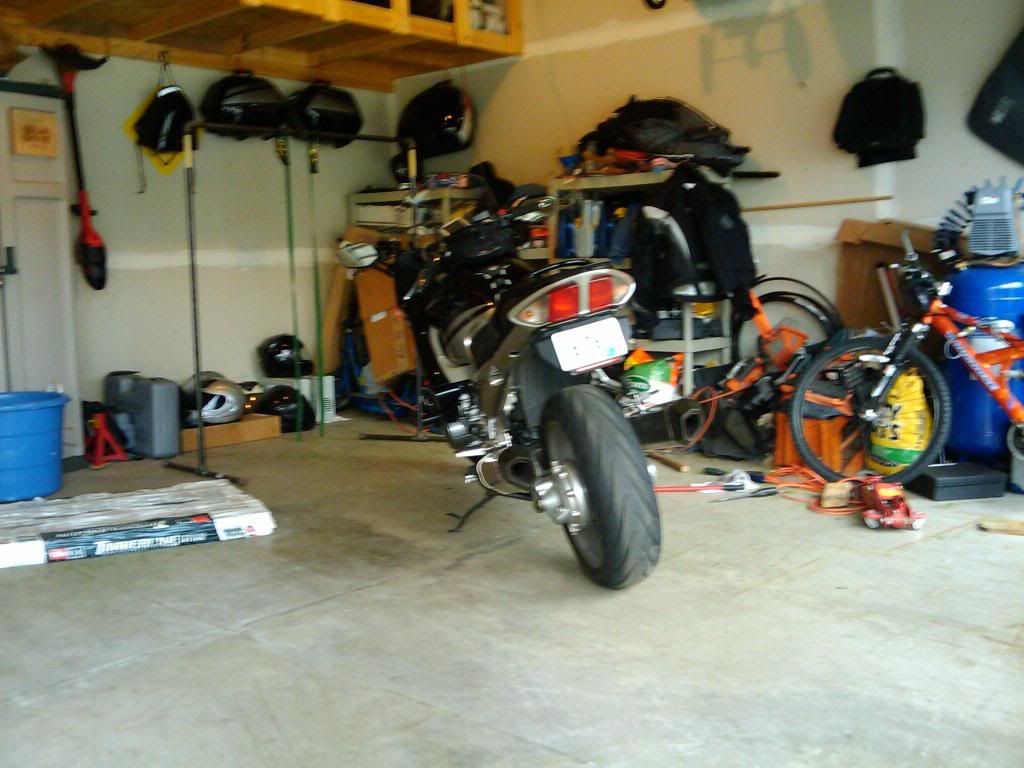
As some here have report... The new increased lean angle, when on the side stand (rear of the bike now stands a bit higher). Sorry this pic was blurry. If you raise your bike more than 5/8's, this will be even greater:
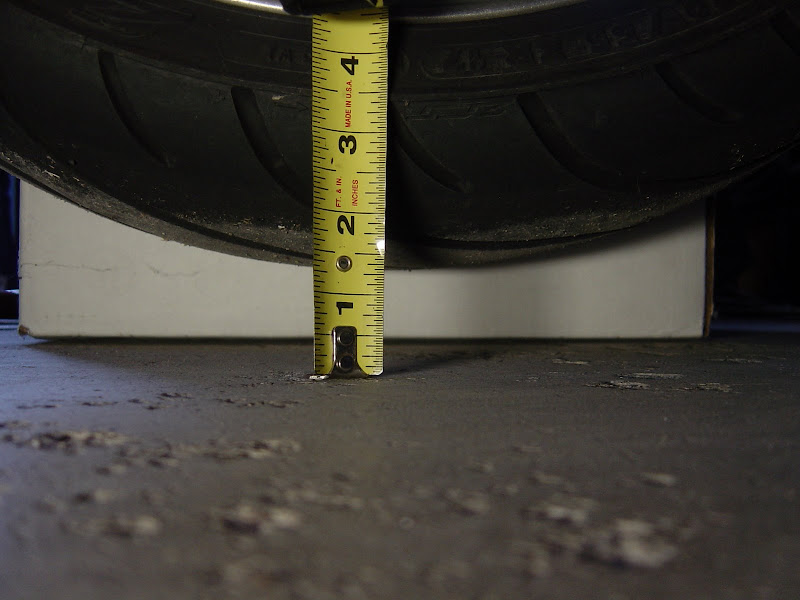
The measurement of my rear tire (to the ground) when on the center stand with the need dog bones installed. BTW, My rear tire is a little over half worn out:
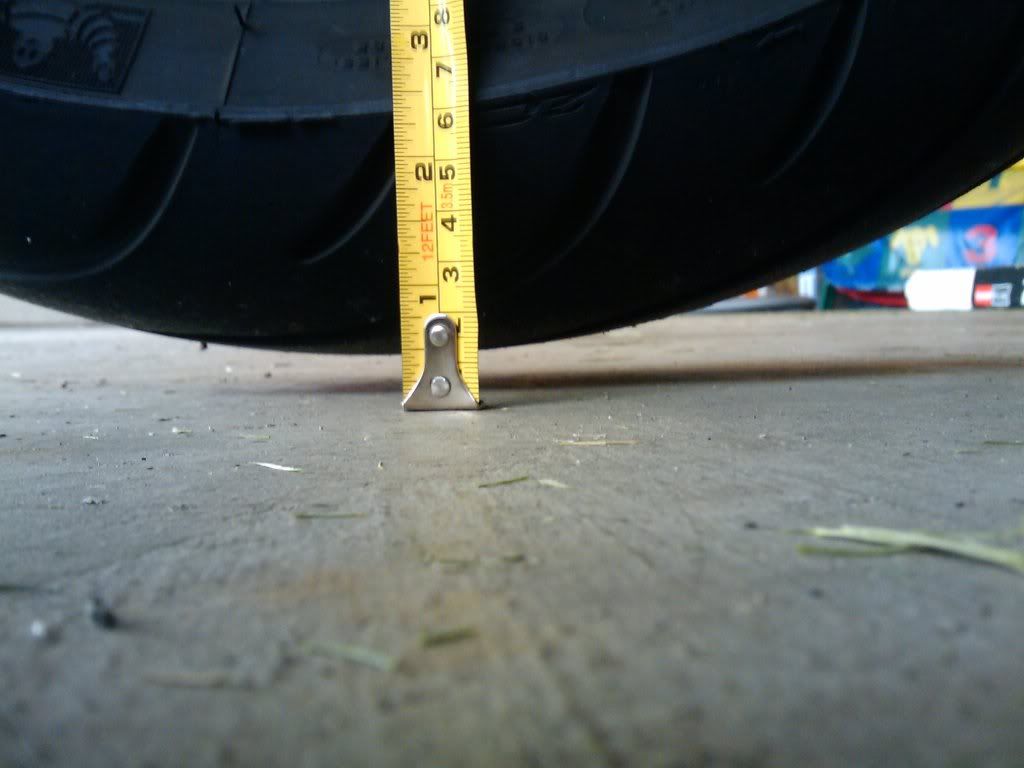
*** Sorry all.. I forgot to get a pre-picture of this with the stock bones... Anyone with a Gen II please feel free to post one up.
I have only got a chance to put about 60 miles on these new bones so far.. My 1st impressions are... I should of done this about 20,000 miles ago!! The 5/8's inch raise is PERFECT for me!!! Turn in is slightly quicker and the added road clearance is sweet!! Maybe...I won't be melting my peg feelers (as much) anymore!! The overall rear raise is slight enough that it hasn't changed my high speed stability at all. Also, as others have noted.. Putting my bike up on the center stand is almost too easy now.
Thats it.. Enjoy!
WW
I just completed this and thought I would share. I have wanted to slightly raise my corner clearance but didn't want to change the way my bike handled too much. Thus, I went with a set of 5/8's raise dog bones off of ebay.. Whether you want to raise or lower your Gen II FJR, the following may help.
Lets get a look at the new bones:

Got them off of ebay.. I bought mine from ebay seller: supermoto36. He sells the 5/8th bones but I had to send him a message on ebay to
get purchase instructions for these specific ones. See related link here:
https://www.fjrforum.com/forum//index.php?s...mp;hl=dog+bones
Here is a pic of the stock bones once removed:

I am sure you noticed... The shorter the bones (from stock), the more rise you get.
***There are hundreds of ways to skin a cat.. Below is how I did mine.
Tools that I used, 14 MM and 17 MM Sockets both with separate drivers:

Lets take a look at the stock bones on the bike. They are pinch bolted together by two bolts, washers and lock bolts:

I chose to jack up my bike from beneath the header (using a 2x4 in between the jack and header). I did this because...With the center stand down, I could not get the lower bolt past the center stand to remove it.. I also used my homemade front stand, not to raise the front, but only to center the bike upright while raising the rear section. Remember, you need to get the weight off of the rear tire (to support the bike with the dog bones removed and then position the rear wheel travel to insert the bolts with the new bones in place).


The hardest part about this whole install was getting the bike safely and securely jacked up. Then just unbolt the nuts and bolts (a second person here helps out a lot), remove the stock bones, position the rear tire with your hand (up or down) so that the new dog bones fit and bolt them all back together. It looks like the service manual calls for these bolts to be torqued to 40 FT-LB. FYI, because these nuts were self locking and cramped corridors.. I chose to just tighten mine up, "Good-N-Tight." Probably a bit tighter than they needed to be but not tight enough to break the threads (been there done that ****!!). Use your own discretion here I suppose.
Here are the new dog bones installed:


As some here have report... The new increased lean angle, when on the side stand (rear of the bike now stands a bit higher). Sorry this pic was blurry. If you raise your bike more than 5/8's, this will be even greater:

The measurement of my rear tire (to the ground) when on the center stand with the need dog bones installed. BTW, My rear tire is a little over half worn out:

*** Sorry all.. I forgot to get a pre-picture of this with the stock bones... Anyone with a Gen II please feel free to post one up.
I have only got a chance to put about 60 miles on these new bones so far.. My 1st impressions are... I should of done this about 20,000 miles ago!! The 5/8's inch raise is PERFECT for me!!! Turn in is slightly quicker and the added road clearance is sweet!! Maybe...I won't be melting my peg feelers (as much) anymore!! The overall rear raise is slight enough that it hasn't changed my high speed stability at all. Also, as others have noted.. Putting my bike up on the center stand is almost too easy now.
Thats it.. Enjoy!
WW
Last edited by a moderator:


