El Cheapo home-made Smuggler?

Yamaha FJR Motorcycle Forum

Help Support Yamaha FJR Motorcycle Forum:

This site may earn a commission from merchant affiliate links, including eBay, Amazon, and others.
Just know....when you are done with your "pal-pouch", I will never be ashamed to ride with you.....

.....or at least meet you at a designated meeting spot.

 
Print "Hecho en Mexico" on the side of this and you will sell a thousand of them!

pet-carrier_zpse81a3b05.jpg


Last edited by a moderator:
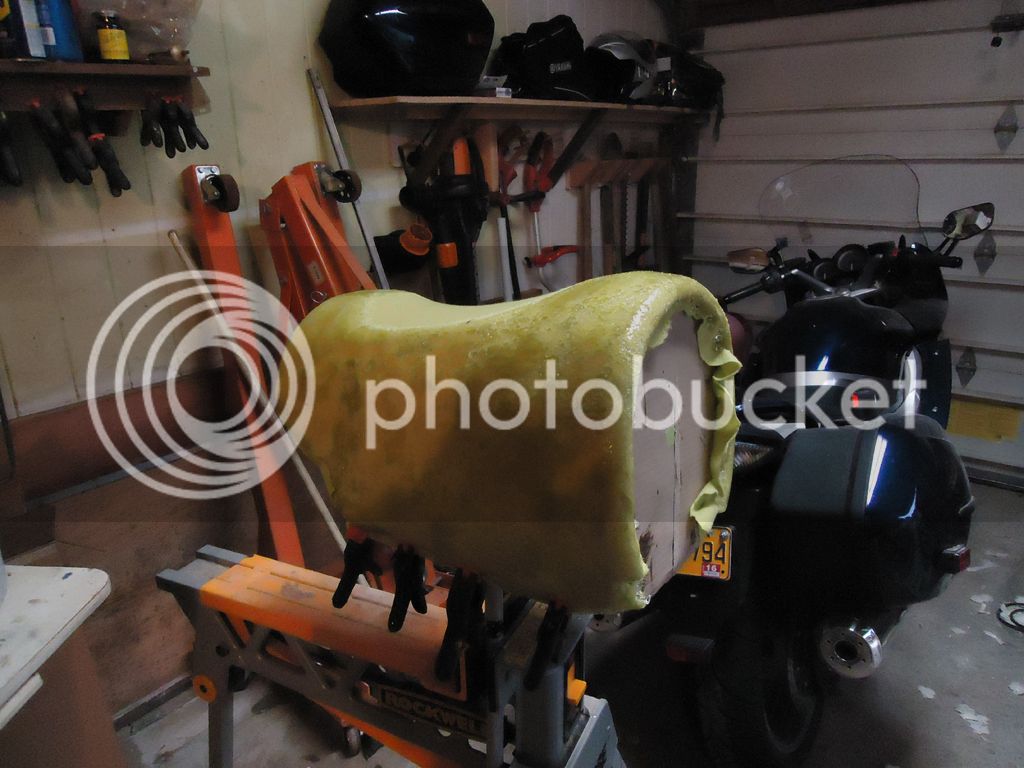
I'm working on a police box that I purchase from an Aussie www.fjr13.org member.

Looks like this:

https://i999.photobucket.com/albums/af117/mferriter/policebox4_zps5e61e55e.jpg

it had a few cracks I had to address and I lined it with fiberglass to reinforce it, since it's pretty thin. I'm now working on the bottom/atachment mechanism using a rear seat pan. The current design is open bottomed, but I want mine to be water tight.
Can you still use the factory rack is that covered?

 
Dencouch you really do need a bubble top on it now. Keep the pooch safe if you have an accident. Marcus went down with Duke in the saddle bag once on Duke's side to I think. Duke just sucked his down into the bag to keep safe.

 
I'm working on a police box that I purchase from an Aussie www.fjr13.org member.

Looks like this:

https://i999.photobucket.com/albums/af117/mferriter/policebox4_zps5e61e55e.jpg

it had a few cracks I had to address and I lined it with fiberglass to reinforce it, since it's pretty thin. I'm now working on the bottom/atachment mechanism using a rear seat pan. The current design is open bottomed, but I want mine to be water tight.
Can you still use the factory rack is that covered?
Great idea using a police box... it fits the lines of the bike better than my "Buddy-Bus" & using a stock seat pan makes sense. I required the depth for my pooch so I had to go a different route to realize this need.

The rack is free & unencumbered. Side bags fit as well. Good luck with your project.

 
I'm working on a police box that I purchase from an Aussie www.fjr13.org member.

Looks like this:

https://i999.photobucket.com/albums/af117/mferriter/policebox4_zps5e61e55e.jpg

it had a few cracks I had to address and I lined it with fiberglass to reinforce it, since it's pretty thin. I'm now working on the bottom/atachment mechanism using a rear seat pan. The current design is open bottomed, but I want mine to be water tight.
Can you still use the factory rack is that covered?
No, I'll have to remove the factory rack. It's not really good for much except the grab-rails, which can't be used anyway with this in place, and the factory trunk which can only hold something like 15 lbs.

It only takes a few minutes to remove the factory rack, so no biggie.

 
by the way - anyone know what's up with the "insert image" button? When I try to insert an image, the whole screen "greys-out" and I get locked up.

Maybe it's just my computer.

 
I'm working on a police box that I purchase from an Aussie www.fjr13.org member.

Looks like this:

https://i999.photobucket.com/albums/af117/mferriter/policebox4_zps5e61e55e.jpg

it had a few cracks I had to address and I lined it with fiberglass to reinforce it, since it's pretty thin. I'm now working on the bottom/atachment mechanism using a rear seat pan. The current design is open bottomed, but I want mine to be water tight.
Can you still use the factory rack is that covered?
No, I'll have to remove the factory rack. It's not really good for much except the grab-rails, which can't be used anyway with this in place, and the factory trunk which can only hold something like 15 lbs.

It only takes a few minutes to remove the factory rack, so no biggie.
Thats a bummer. I have a givi case mounted all time along with my smuggler.

 
.

Thats a bummer. I have a givi case mounted all time along with my smuggler.
Yeah, this is essentially a large smuggler. For longer trips where the trunk is needed, I would put the smuggler back on.

Mostly just a fun project and I really like the way it looks with this box in place without the rack.

 
I dunno... maybe it's just me, but the way I only way that I would envision using a Smuggler type rear seat box would be for use on solo day-rides which would be when I wouldn't want a big trunk on the back. Could use it with the side bags if you really needed carrying capacity, but on multi-day extended trips (which are usually 2-up anyway) I'd forgo the smuggler for a real trunk. I guess that's why I could never see spending the coin for the Corbin affair.

That Police trunk looks really promising to me.

And I would never be able to fit either of my dogs in any luggage that would fit onto an FJR (we have 2 labs).

 
Last edited by a moderator:
I put my regular gear in the smuggler so it is always on the bike. The side bag gets my liners for my motoport gear along with my electric jacket. The other bag is my clothes and the trunk for camping gear. To me the smuggler has become a regular part of the bike since I don't ride two up. When I got my GS it did not have a compartment like the smuggler and it was weird not be able to keep my gear on the bike. We are all different but to me a smuggler has become a must have on my bikes.

 
Update:

One wanted to see a few pix of construction & another suggested the "Buddy-Bus" needed a taste more style.

Buddy wants taillights, so okay... lets do that.

I have junk in my garage stashed away & a little detective work located a couple old taillight diffusers from an old Pontiac. I ripped them down to manageable size & to what looked workable.

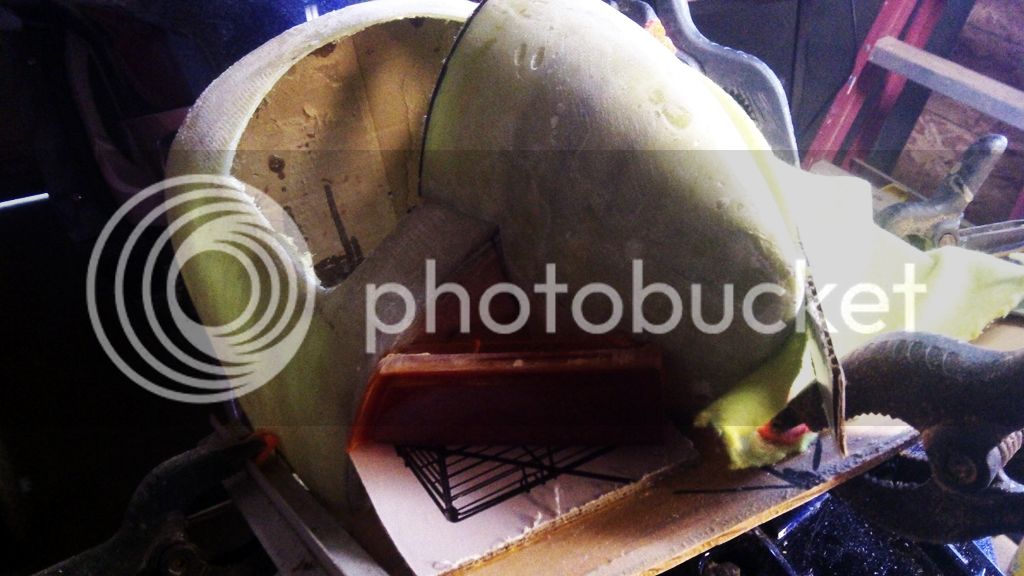
I setup a fixture with clamps, aluminum extrusion stock, cardboard. Once happy with the fit, hot-glued the lenses into alignment. This pix shows what was done.

before-fleese_zpsbee9df15.jpg


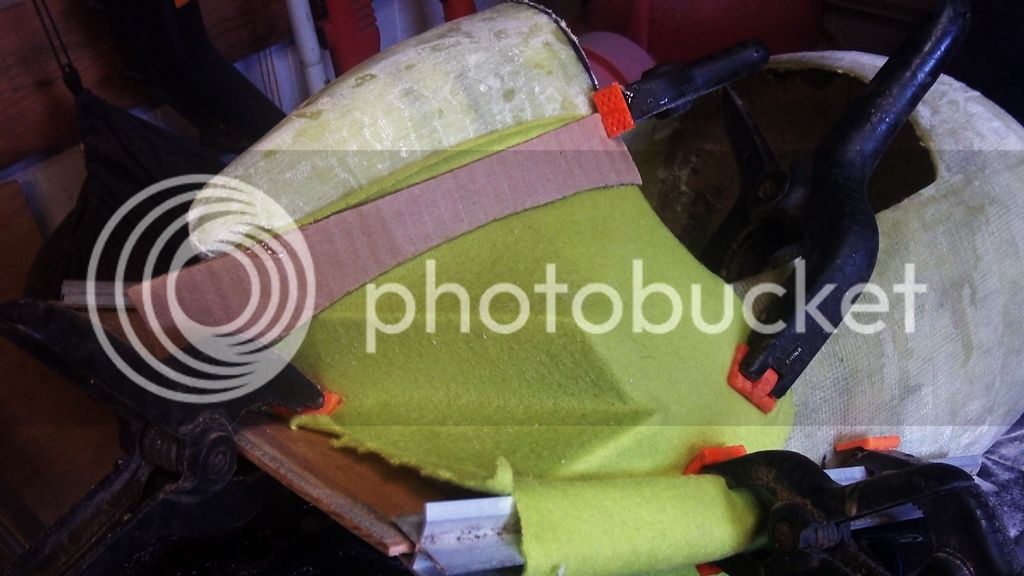
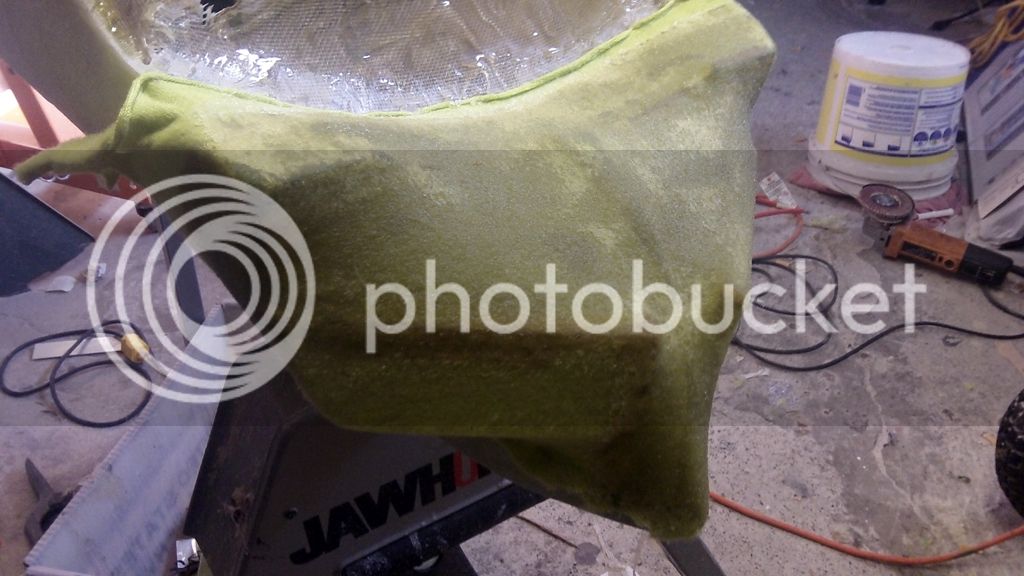
I stretched fleece over the back half of the shell & down over the lenses. This allowed a transition between the round shape of the shell to the rectangular shape of the lenses.

fleese_zps1cf4beb4.jpg


After several layers of fiberglass cloth, the excess will be removed leaving a "styled" back end.

Buddy likes style.... style & girl poodles.
unsure.png


...and this is the underside with the fleece stretched out.

A couple of coats of epoxy over this will firm things up enough to remove the excess fleece and begin layering the fiberglass cloth.

After 3 layers, the thickness will allow smoothing & blending to take place, after which time I can concentrate on other parts of the shell and add additional detail.

Bottom-view_zpscaa9cc98.jpg


Top