Fixing that sticking rear brake pedal for good

Yamaha FJR Motorcycle Forum

Help Support Yamaha FJR Motorcycle Forum:

This site may earn a commission from merchant affiliate links, including eBay, Amazon, and others.
Ah! A very nice improvement for the FJR.

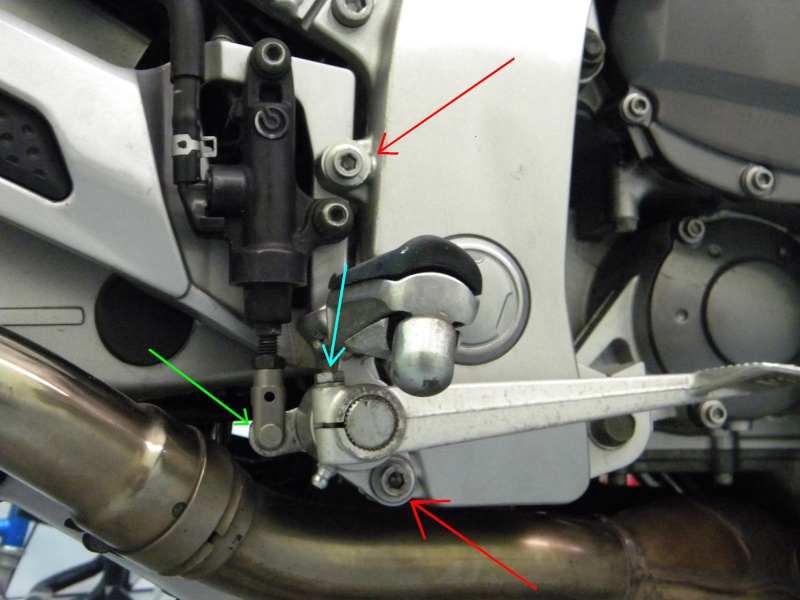
Fred's photos show the mysterious chunk of ballast metal on the underside of the footrest.

After having that pedal/footrest bracket removed do you see any simple mod which would reduce the transmission of engine vibration to the footrest? It's not a big problem but if the vibes could be easily attenuated it would be welcomed.

 
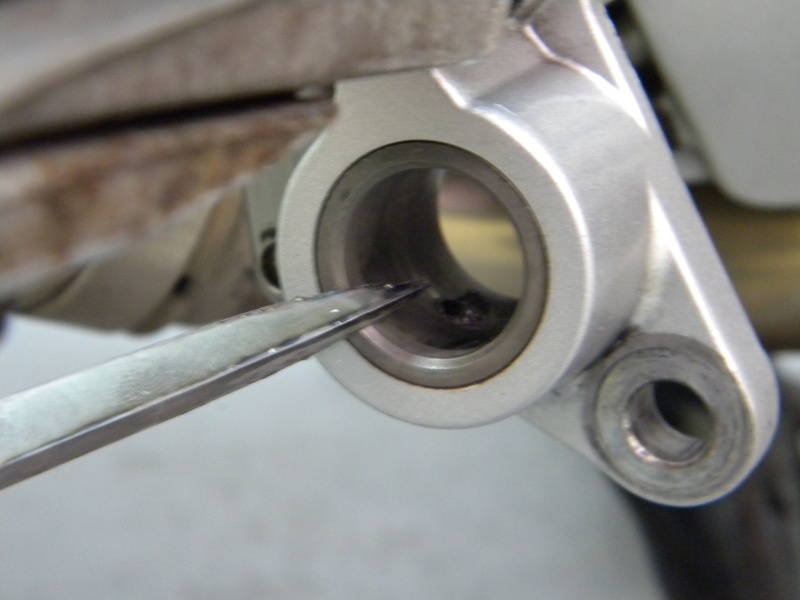
Excellent write up Fred. Having done the teardown/lube a few times on this assembly, I can see the value of the zerk. Thanks for the great photos and write up. Reviewing those fine photos, I did notice that your rear master cylinder looks a little weepy. Is that brake fluid seepage or something else there in third photo? Just checkin...
 
Nice write-up Fred, and another variation to get the job done. I really like your idea of varying the NPT thread depth to get the right angle of the dangle! ;)

--G

 
Both the NPT and nylon insert solutions look good to me - I prefer the nylon insert method because you don't end up with dissimilar metals in contact with each other and there's no modification of any sort required for Gen-II machines - just press it in, screw in the Zerk and apply grease.
It's owner's choice, of course, but there is no dissimilar metals here. Both parts are good ole' steel. And the only "modification" to the brake lever pivot is tapping a few pipe threads inside the counterbore. If you later wanted to unscrew the zerk fitting, nobody would know that it was ever there, unless they peeked inside that hole and noticed the threads.

I did notice that your rear master cylinder looks a little weepy. Is that brake fluid seepage or something else there in third photo? Just checkin...
You caught me, Russ. I had just finished washing the bike before doing this mod. :eek:
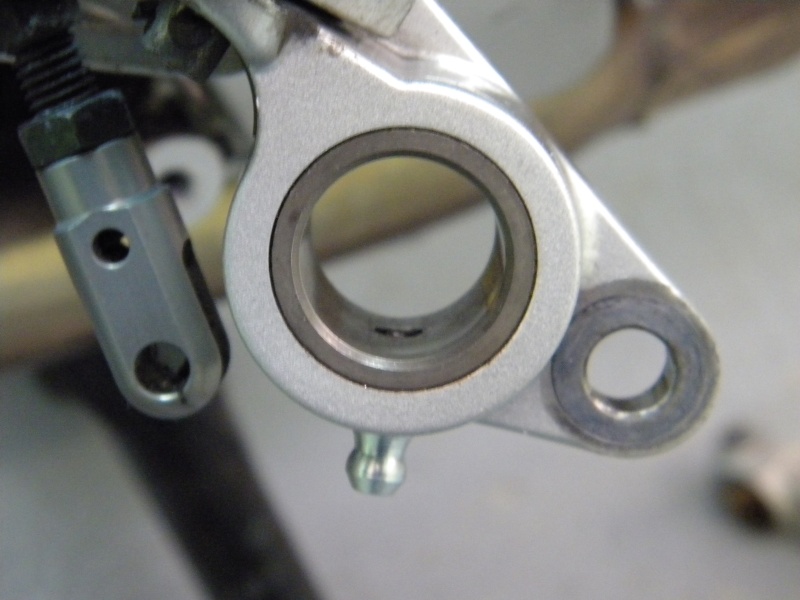
That is the outer rubber dust boot that is just a little bit wet still. Notice that by the final picture the boot had dried off.
But thanks for lookin' out for me. ;)

 
Last edited by a moderator:
Fred - Nice "simplification" mod to the original idea. This will allow others without machine tool access to easily reap the benefits of one shot brake lube. :yahoo:

Now the challenge is to figure out how to achieve something similar for the gear shifter. I had my shifter/left foot peg panel off a couple weeks back, it too was bone dry and bound up. The bike shifts so much better now once lubed. Go figure...

 
Agreed, the shifter pedal could use the same thing, but there is no rear access available on that pivot. Luckily, due to its hidden location it tends not to get cruded up nearly as quickly as the brake lever does did. ;)

Now the pivots that I'd really like to get this sort of a mod for is the rear suspension relay arm pivots. That job is a total PITA. :glare: I have read where someone did something for those once, fitted zerks somehow, but with those steel bearing retainers in some of those needle bearings the effectiveness of greasing via a single zerk seems questionable. :unsure:

 
Fred, you washed your bike?? Thats just plain.........

I hope you have a good reason
It was dirty? I usually do wash it before I do any kind of maintenance.
Good for you Fred. I do the same cuz working on a dirty, nasty bike is no fun. When I do tires for local peeps, my one requirement is clean rims...

--G

 
Last edited by a moderator:
Agreed, the shifter pedal could use the same thing, but there is no rear access available on that pivot. Luckily, due to its hidden location it tends not to get cruded up nearly as quickly as the brake lever does did. ;)

Now the pivots that I'd really like to get this sort of a mod for is the rear suspension relay arm pivots. That job is a total PITA. :glare: I have read where someone did something for those once, fitted zerks somehow, but with those steel bearing retainers in some of those needle bearings the effectiveness of greasing via a single zerk seems questionable. :unsure:

I did it as an experiment three years ago. It works OK on the paired centre bearings but didn't really work on the other two as it involved creating channels below the bearing for the grease to get from the zerk to the edge of the bearing (but still behind the seal) and I found that the grease forced its way out past the seal rather than into the bearing due to the tight fit between the collar and bearing, two winters killed two of the bearings. I've now reverted to removing the linkage to clean and grease it properly.

 
another way, same result:

to start, disassemble the pivot

dscn6130.jpg


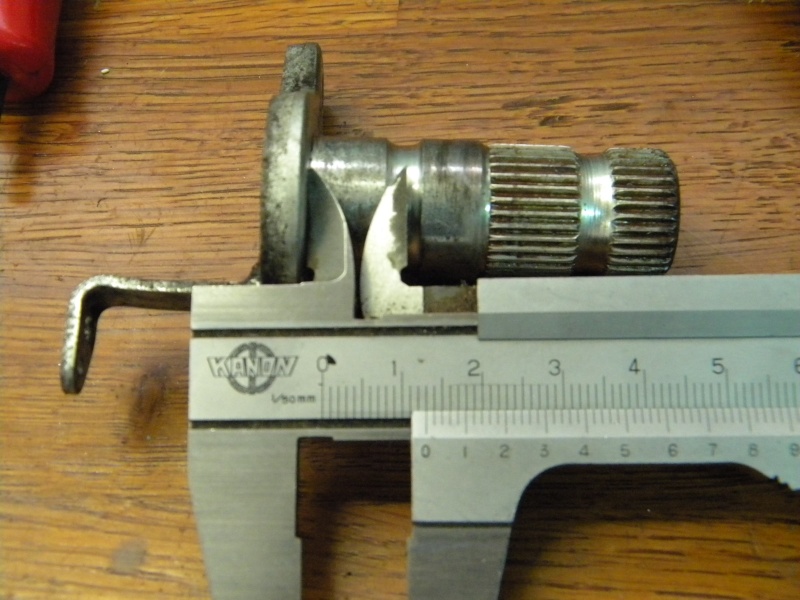
Luck is with us, Mr Yam has scheduled a lubrication groove on the pedal axle
clapping.gif

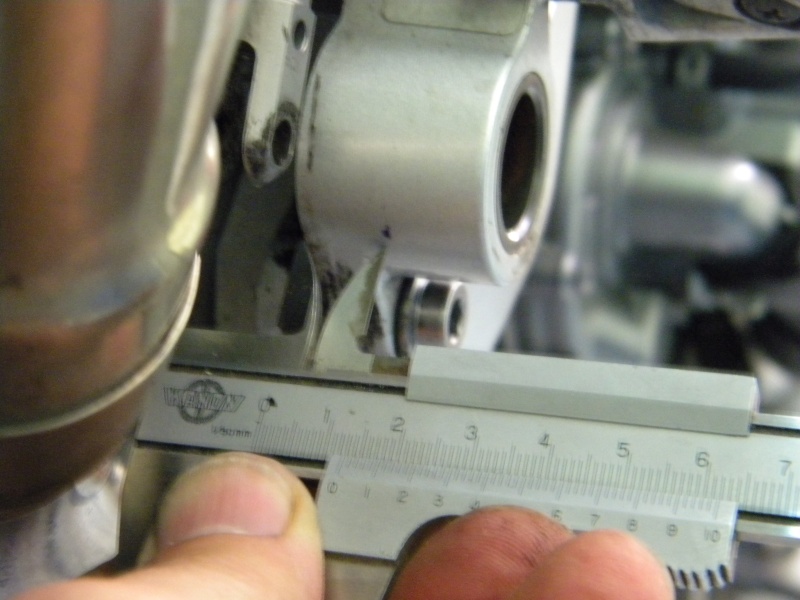
take stock of the middle of the gorge to the edge of the shaft (13mm)

dscn6131.jpg


Then transferred to the plate footrest

dscn6132.jpg


Drill 5 mm diameter for tapping 6 mm (because it's a zerk M6 I'll install)
faith the finished tapping, deburring good indoor with a scraper or similar

dscn6134.jpg


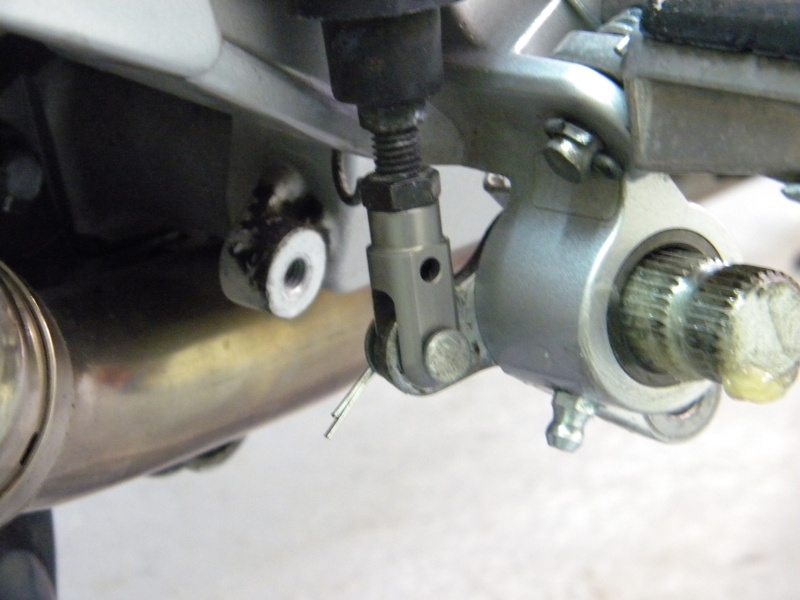
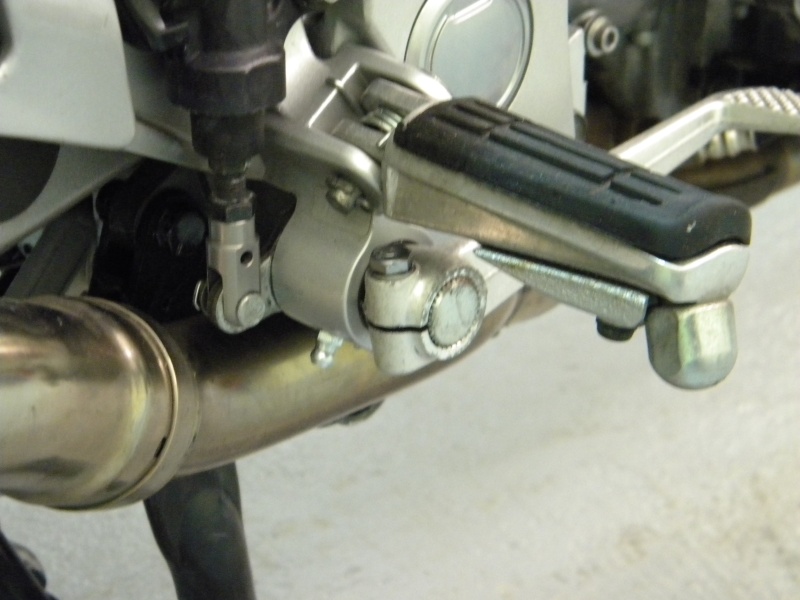
Mount the lubricator (for my part, I rode with brake blue line "light" to prevent loosening due to vibration)

dscn6137.jpg


Then a small test before everything up, we see well on the picture filled the throat and the fat that has migrated to the outer
dscn6138.jpg


We pass the wound with a new pin

dscn6139.jpg


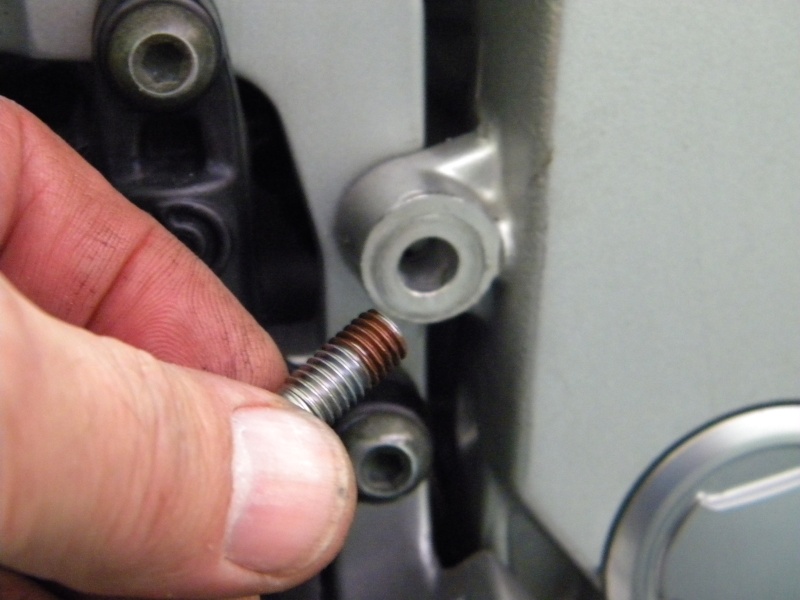
The assembly of steel screws in the aluminum, I always put a can of copper grease to prevent the screw and glue the abyss thread

dscn6140.jpg


and here it is over !!!!!!!

dscn6141.jpg


Thanks Papydjo to made the photo.

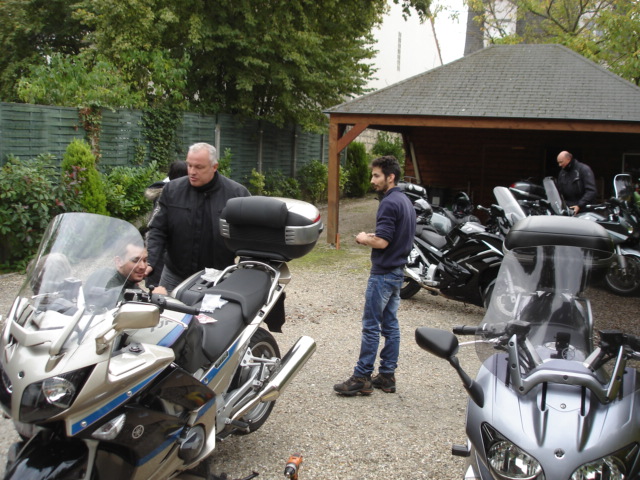
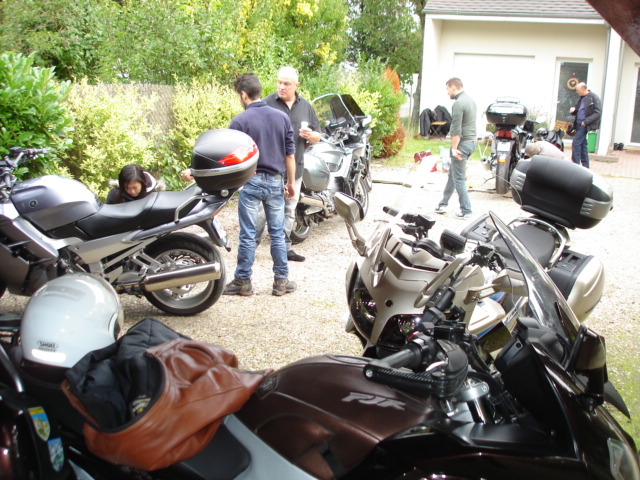
and as we always need an excuse to meet (as our women), after a first try on 3 bikes, I suggested a workshop at home...

dsc02728.jpg


dsc02729.jpg


dsc02731.jpg


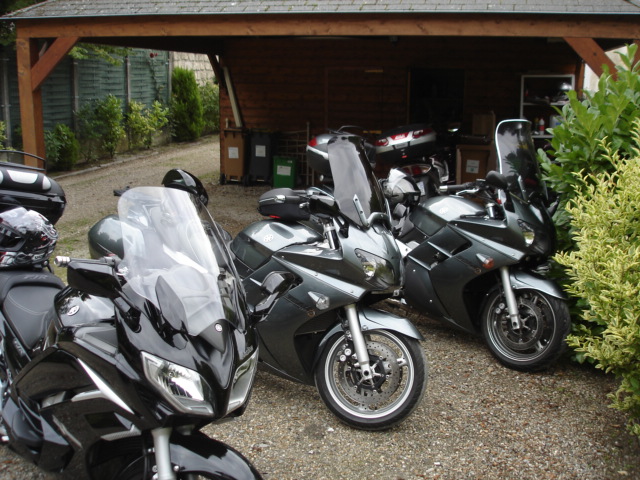
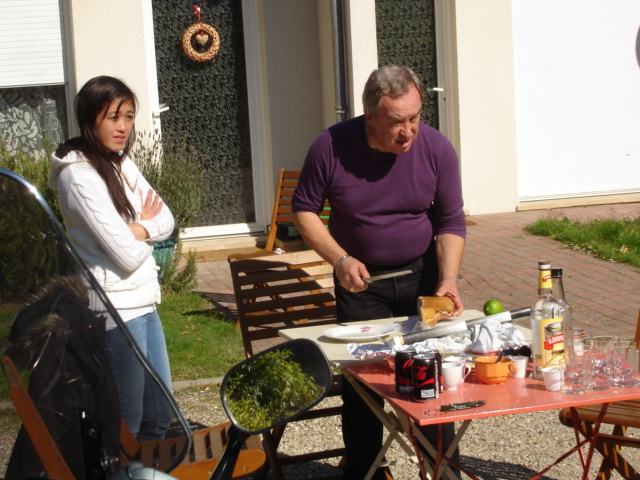
At 13 pm, all zerk was instaled (9 ) so it was the cocktail hour

dsc02732.jpg


Great job!

I see all three Generations of FJRs represented...plus the owners look like they'd fit right in on this side of the pond.
coolsmiley02.gif


--G

 
Top