Wicked Webby
Right is Harder than Wrong.
Hello Everyone.
First lets get the disclaimer out of the way... This is the way I chose to remove my Air Induction System on my 07A FJR1300 and I figured I would share it with those of you looking for some guidance on this and/or haven't done it yet. I know there are plenty of ways to skin a cat. This is how I chose to do mine very cheaply. I am sure it can be done many other ways. This cost me less than $7 dollars to do.
Lets get started...
1) Raise your gas tank, remove your T bar and heat shield..If you aren't familiar with this.. Please refer to Rickster's most excellent post regarding this:
https://www.fjrforum.com/forum/index.php?sh...c=18322&hl=
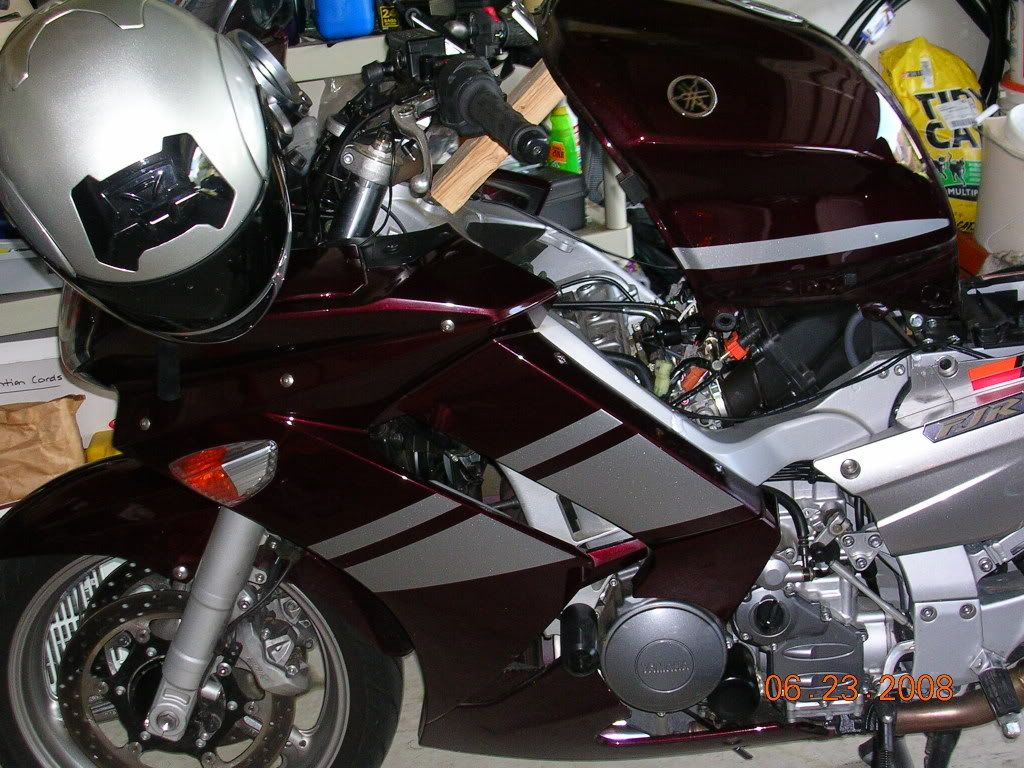
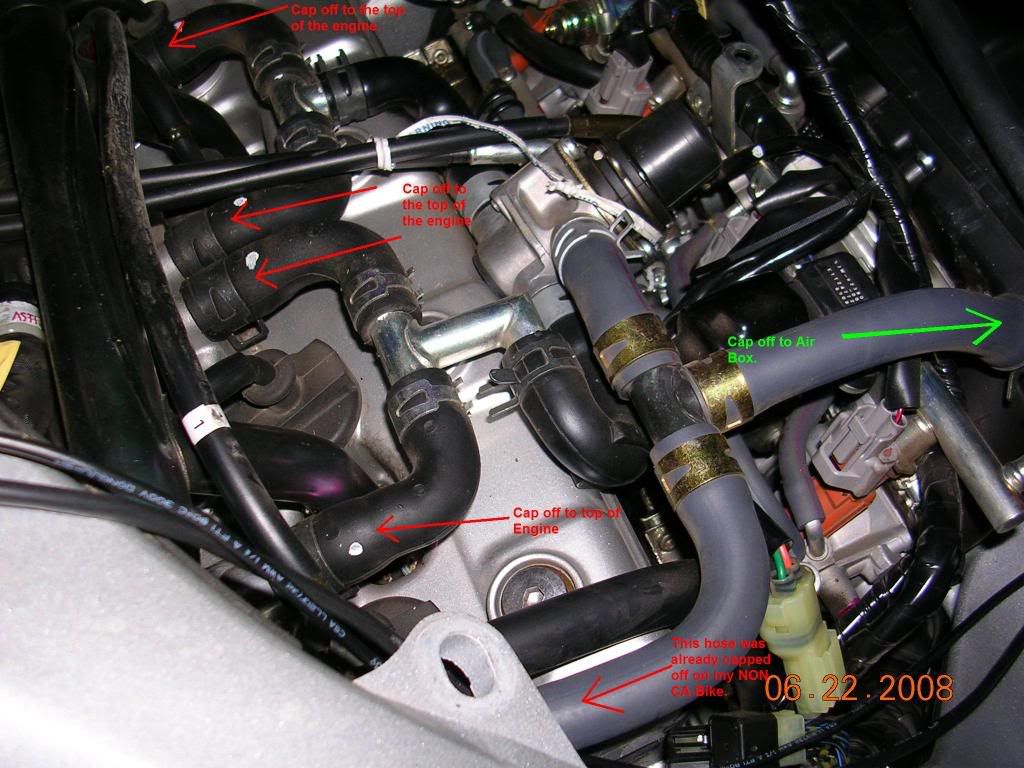
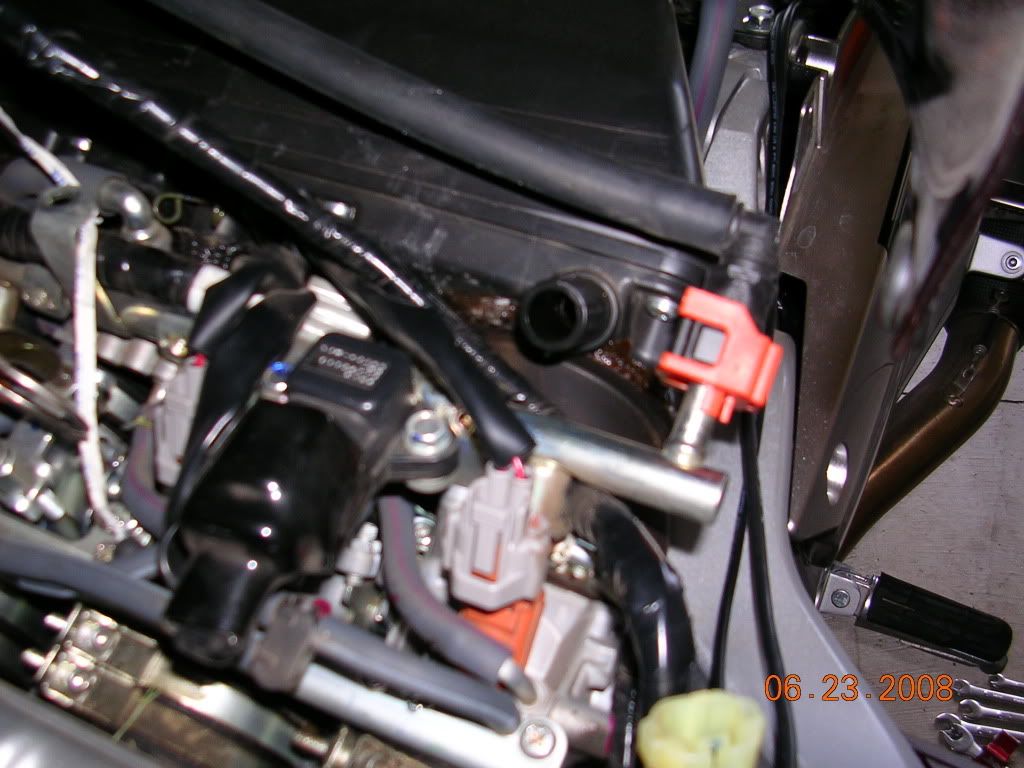
2) Here is the Air induction System. You will be removing all the hoses, clamps that go to the top pf the engine (arrows in red) and the hose and clamp to the air box (arrow in green). The second picture is of where the hose going to the air box attachés to it (using a slightly larger clamp than the others).
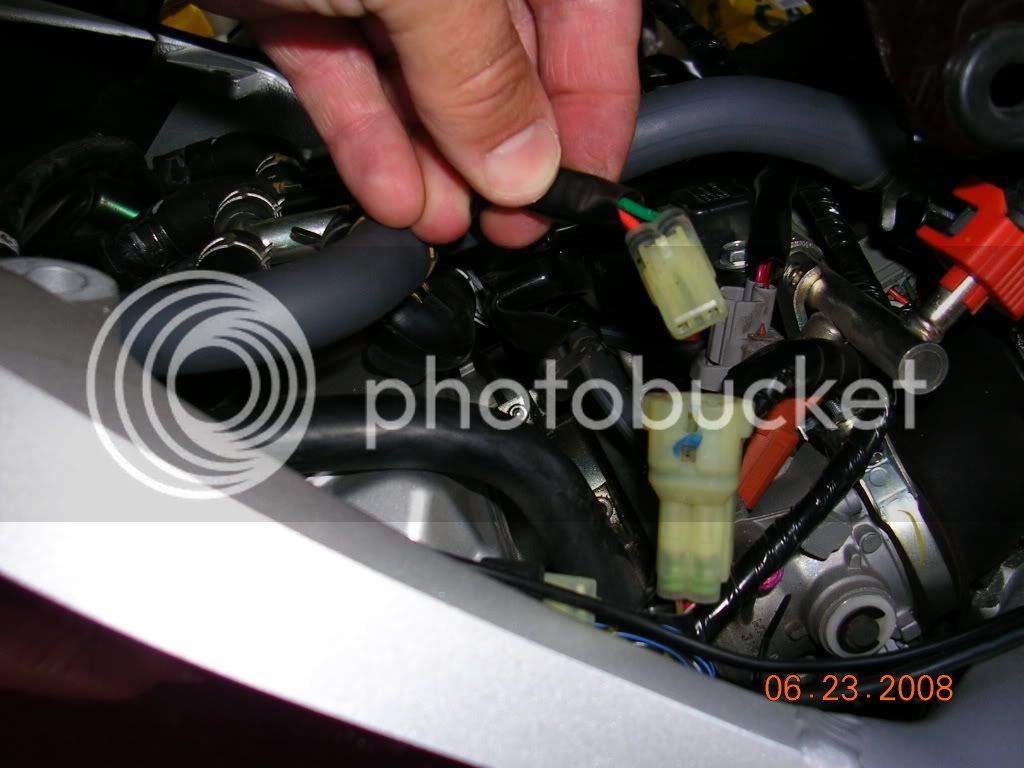
3) Now disconnect the electrical plug that connects to the "smog valve".
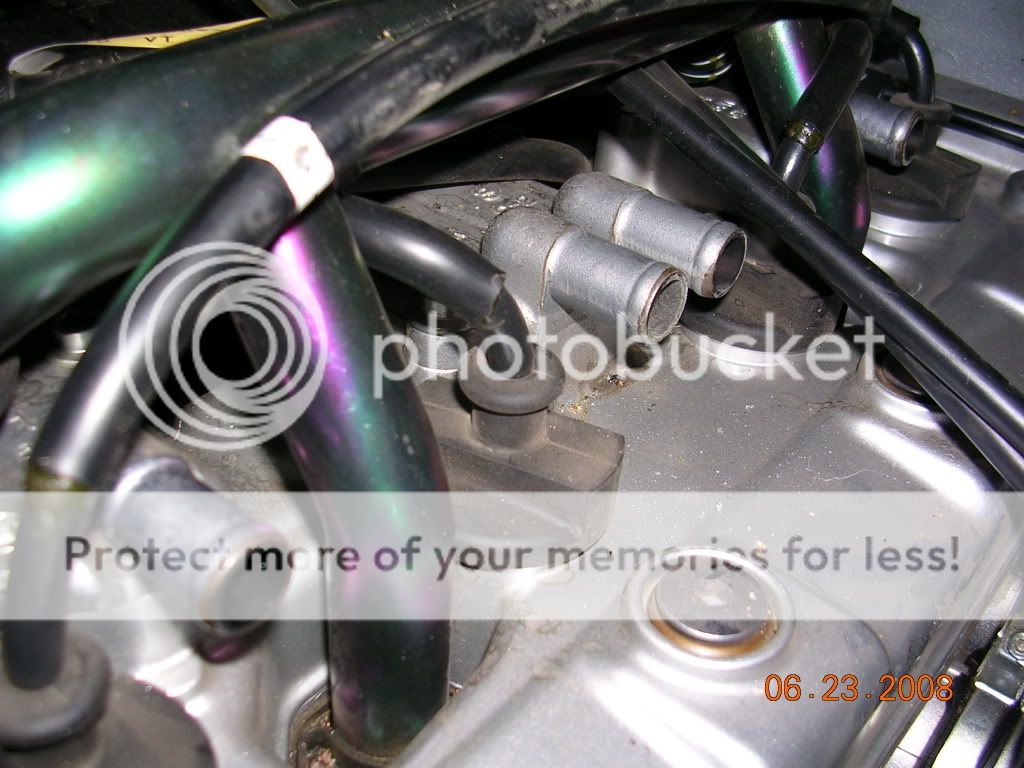
4) After you remove all the stuff, this is what your left with above the engine.
Cleans it up nice for those Throttle Body Sync's.
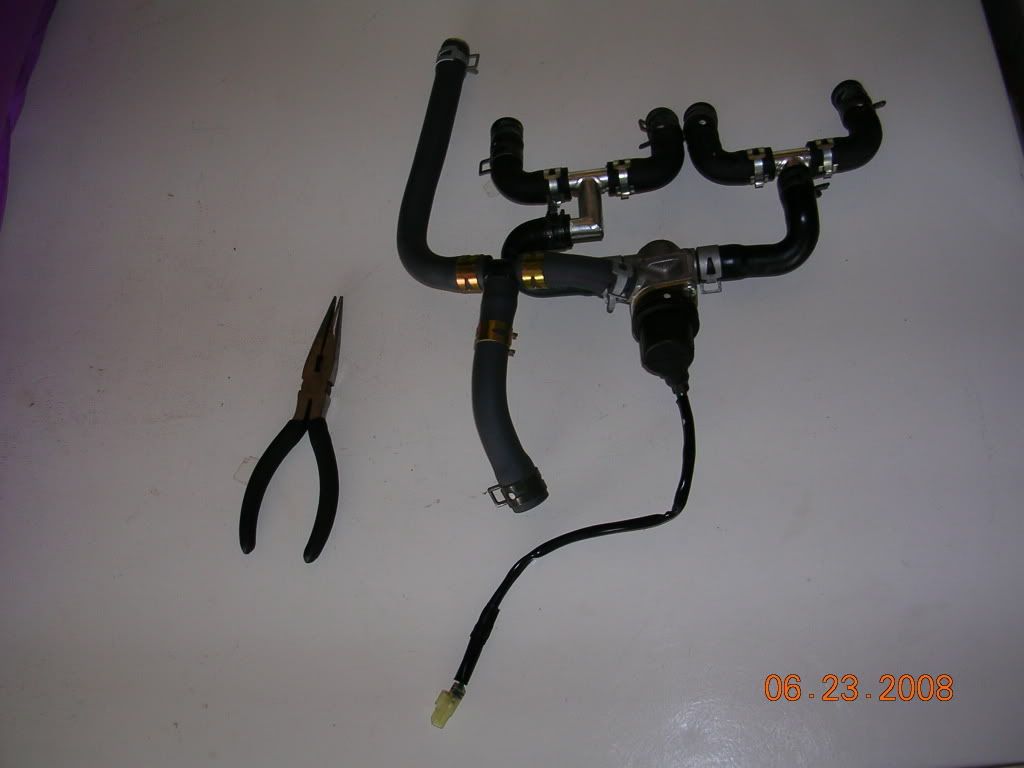
5) This is what you have removed.
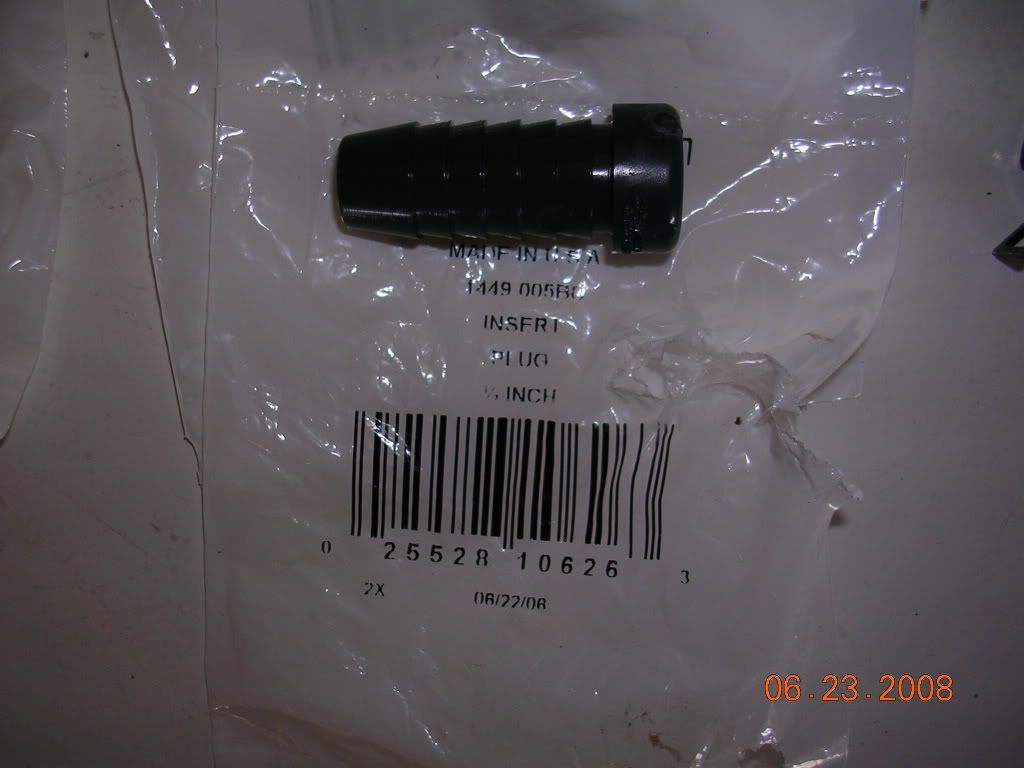
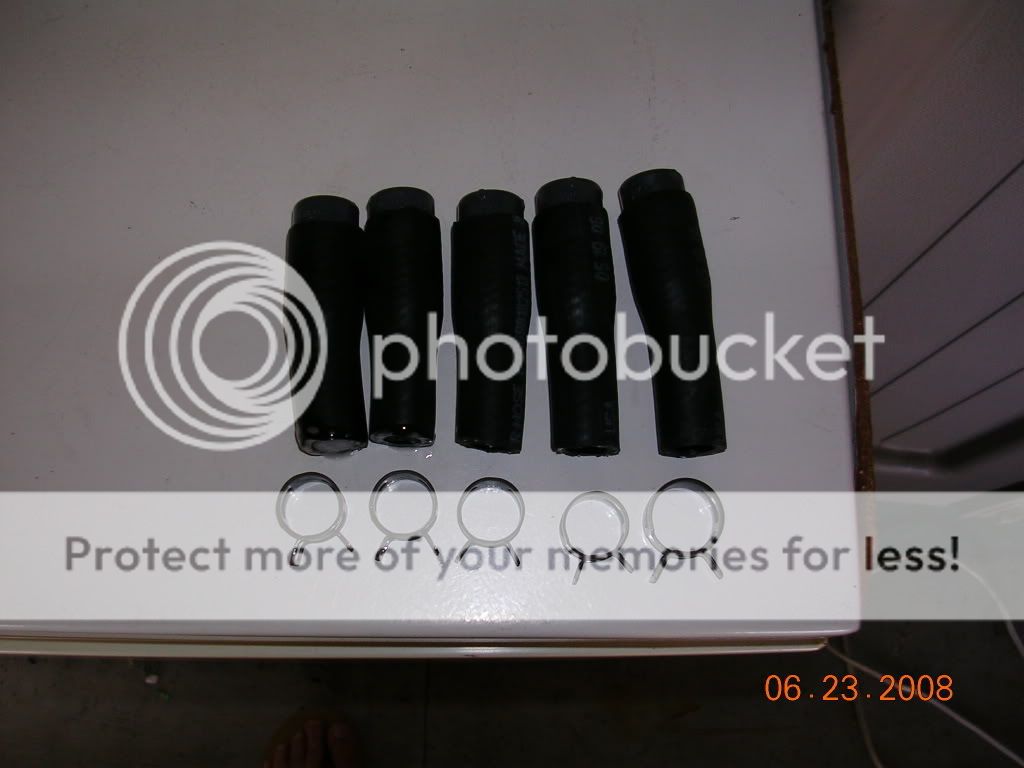
6) I bought a 2 foot piece of 1/2 inch automotive hose and five 1/2 inch irrigation plugs.. These are self tapping plugs no clamp needed.
BUT.. You need some elbow grease and a little soap to muscle them in. I cut 5 pieces of hose 2 1/2 inches long. Inserted the
plugs with a little soap. Re-used some of the clamps to secure them to the engine and air box. (Note).. All the clamps are the same size except
for the one that attachés to the air box (its a bit larger). Make sure to use the appropriate air box clamp.
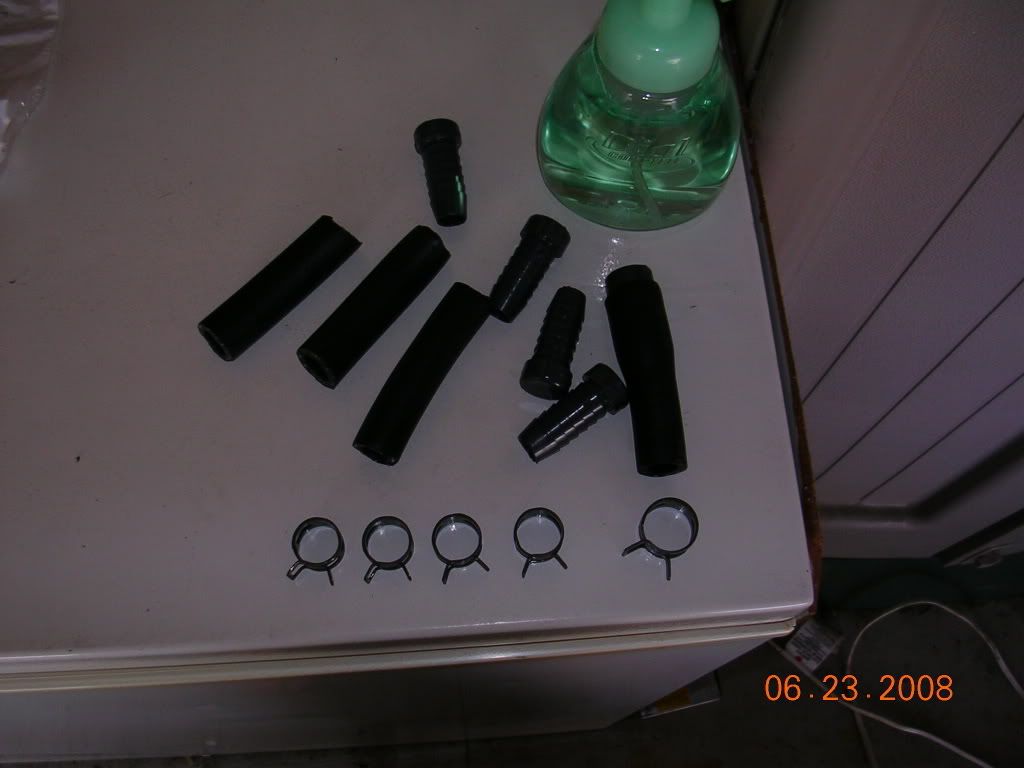
7) Here are all five of my hose's plugged and all ready to get installed.
8) Here they are again all installed!
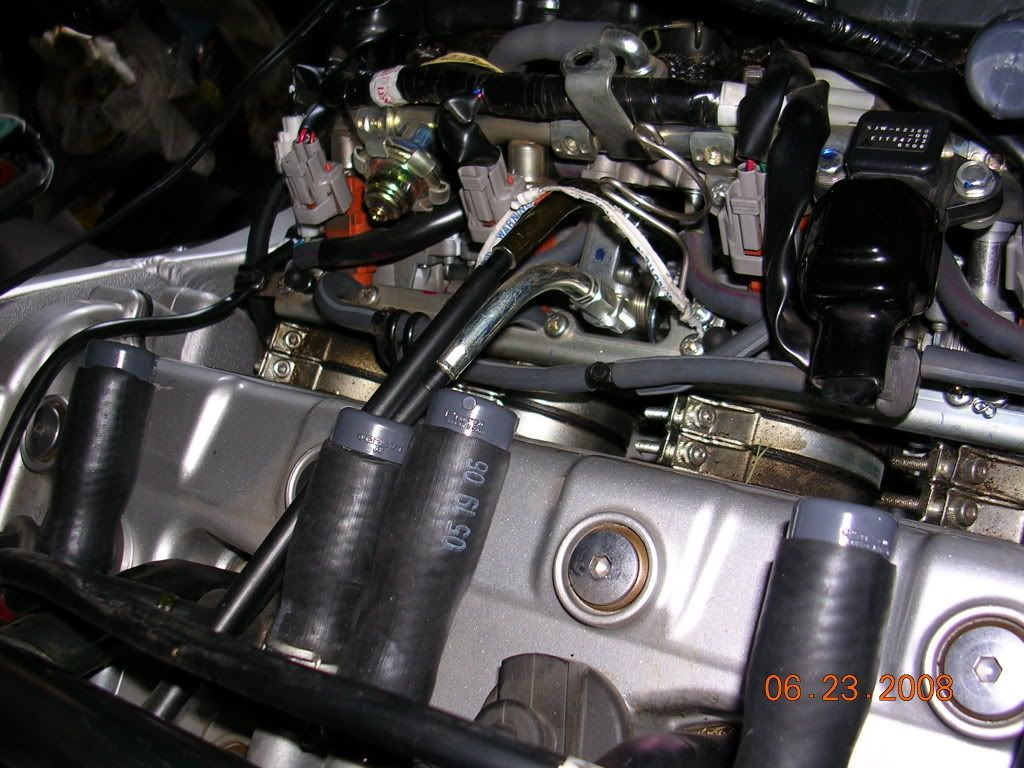
I would do a TBS sync at this point. It should be noted that I had sync'd mine yesterday (very accurately) prior to deciding to remove the Air Induction System. Out of Curiosity.. I decide to re-check them because I did change the air box pressure/vacuum by capping off the system to the air box... Glad I did!! All the cylinders had changed... Especially Cylinders #1 and #4!!
ALL DONE!! NOW I CAN TUNE MY BIKE ACCURATELY WITH TRUE AFR'S!! AND NO MORE POPPING ON DECEL WITH A MODDED BIKE TOO BOOT!!
Hope this helps out,
Wicked Webby
First lets get the disclaimer out of the way... This is the way I chose to remove my Air Induction System on my 07A FJR1300 and I figured I would share it with those of you looking for some guidance on this and/or haven't done it yet. I know there are plenty of ways to skin a cat. This is how I chose to do mine very cheaply. I am sure it can be done many other ways. This cost me less than $7 dollars to do.
Lets get started...
1) Raise your gas tank, remove your T bar and heat shield..If you aren't familiar with this.. Please refer to Rickster's most excellent post regarding this:
https://www.fjrforum.com/forum/index.php?sh...c=18322&hl=

2) Here is the Air induction System. You will be removing all the hoses, clamps that go to the top pf the engine (arrows in red) and the hose and clamp to the air box (arrow in green). The second picture is of where the hose going to the air box attachés to it (using a slightly larger clamp than the others).


3) Now disconnect the electrical plug that connects to the "smog valve".

4) After you remove all the stuff, this is what your left with above the engine.
Cleans it up nice for those Throttle Body Sync's.

5) This is what you have removed.

6) I bought a 2 foot piece of 1/2 inch automotive hose and five 1/2 inch irrigation plugs.. These are self tapping plugs no clamp needed.
BUT.. You need some elbow grease and a little soap to muscle them in. I cut 5 pieces of hose 2 1/2 inches long. Inserted the
plugs with a little soap. Re-used some of the clamps to secure them to the engine and air box. (Note).. All the clamps are the same size except
for the one that attachés to the air box (its a bit larger). Make sure to use the appropriate air box clamp.


7) Here are all five of my hose's plugged and all ready to get installed.

8) Here they are again all installed!

I would do a TBS sync at this point. It should be noted that I had sync'd mine yesterday (very accurately) prior to deciding to remove the Air Induction System. Out of Curiosity.. I decide to re-check them because I did change the air box pressure/vacuum by capping off the system to the air box... Glad I did!! All the cylinders had changed... Especially Cylinders #1 and #4!!
ALL DONE!! NOW I CAN TUNE MY BIKE ACCURATELY WITH TRUE AFR'S!! AND NO MORE POPPING ON DECEL WITH A MODDED BIKE TOO BOOT!!
Hope this helps out,
Wicked Webby
Last edited by a moderator:


![fjackets Real Lambskin Leather Biker Jacket — Quilted Cafe Racer Zip Up Moto Leather Jackets For Men | [1100085] Johnson Brown, XL](https://m.media-amazon.com/images/I/41I7Pm1f+vL._SL500_.jpg)


